2022 HYUNDAI SONATA HYBRID oil temperature
[x] Cancel search: oil temperaturePage 44 of 527

Vehicle Information
2-12
Recommended SAE Viscosity
Number
CAUTION
Always be sure to clean the area around
any filler plug, drain plug, or dipstick
before checking or draining any
lubricant. This is especially important
in dusty or sandy areas and when the
vehicle is used on unpaved roads.
Cleaning the plug and dipstick areas
will prevent dirt and grit from entering
the engine and other mechanisms that
could be damaged.Engine oil viscosity (thickness) has an
effect on fuel economy and cold weather
operating (engine start and engine oil
flowability). Lower viscosity engine oils
can provide better fuel economy and
cold weather performance, however,
higher viscosity engine oils are required
for satisfactory lubrication in hot
weather.
Using oils of any viscosity other than
those recommended could result in
engine damage.
When choosing an oil, consider the
range of temperature your vehicle will be
operated in before the next oil change.
Proceed to select the recommended oil
viscosity from the chart.
Temperature Range for SAE Viscosity Numbers
Temperature °C
-30 -20-10 010 20 30 4050
(°F) -10020 40 60 80 100120
Smartstream G2.0 GDi HEV
20W-50
15W-40
10W-30
0W-16, 0/5W-20, 0/5W-30
*1 : For better fuel economy, it is recommended to use the engine oil of a viscosity grade
0W-16 (API LATEST). However, if the engine oil is not available in your country, select the
proper engine oil using the engine oil viscosity chart.
An engine oil displaying this American Petroleum Institute(API) Certification Mark conforms to the International Lubricant
Specification Advisory Committee (ILSAC). It is recommended to
only use engine oils that uphold this API Certification Mark.
Page 105 of 527
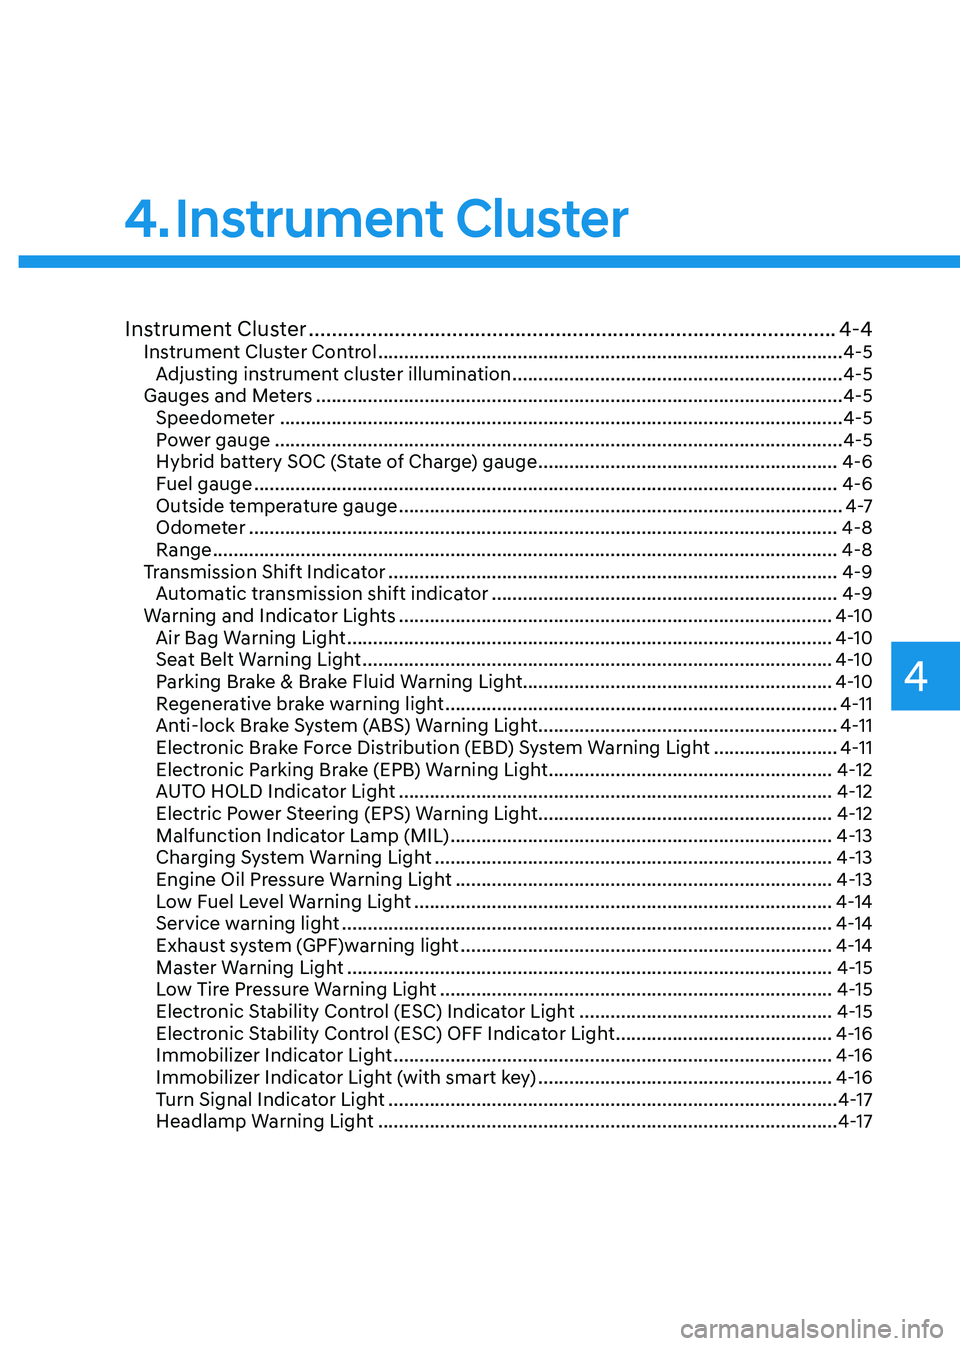
Instrument Cluster
4
Instrument Cluster ........................................................................\
....................4-4Instrument Cluster Control ........................................................................\
..................4-5
Adjusting instrument cluster illumination ................................................................4-5
Gauges and Meters ........................................................................\
..............................4-5
Speedometer ........................................................................\
.....................................4-5
Power gauge ........................................................................\
......................................4-5
Hybrid battery SOC (State of Charge) gauge ..........................................................4-6
Fuel gauge ........................................................................\
.........................................4-6
Outside temperature gauge ........................................................................\
..............4 -7
Odometer ........................................................................\
..........................................4-8
Range ........................................................................\
.................................................4-8
Transmission Shift Indicator ........................................................................\
...............4-9
Automatic transmission shift indicator ...................................................................4-9
Warning and Indicator Lights ........................................................................\
............4-10
Air Bag Warning Light ........................................................................\
......................4-10
Seat Belt Warning Light ........................................................................\
...................4-10
Parking Brake & Brake Fluid Warning Light ............................................................4-10
Regenerative brake warning light ........................................................................\
....4-11
Anti-lock Brake System (ABS) Warning Light ..........................................................4-11
Electronic Brake Force Distribution (EBD) System Warning Light ........................4-11
Electronic Parking Brake (EPB) Warning Light .......................................................4-12
AUTO HOLD Indicator Light ........................................................................\
............4-12
Electric Power Steering (EPS) Warning Light .........................................................4-12
Malfunction Indicator Lamp (MIL) ........................................................................\
..4-13
Charging System Warning Light ........................................................................\
.....4-13
Engine Oil Pressure Warning Light ........................................................................\
.4-13
Low Fuel Level Warning Light ........................................................................\
.........4-14
Service warning light ........................................................................\
.......................4-14
Exhaust system (GPF)warning light ........................................................................\
4-14
Master Warning Light ........................................................................\
......................4-15
Low Tire Pressure Warning Light ........................................................................\
....4-15
Electronic Stability Control (ESC) Indicator Light .................................................4-15
Electronic Stability Control (ESC) OFF Indicator Light ..........................................4-16
Immobilizer Indicator Light ........................................................................\
.............4-16
Immobilizer Indicator Light (with smart key) .........................................................4-16
Turn Signal Indicator Light ........................................................................\
...............4-17
Headlamp Warning Light ........................................................................\
.................4-17
4. Instrument Cluster
Page 312 of 527
While Driving
6-36
Various driving situations, which you may
encounter in SMART mode
• The driving mode automatically
changes to ECO mode after a
certain period of time, when you
gently depress the accelerator pedal
(Your driving is categorized to be
economic.).
• The driving mode automatically
changes to SMART SPORT, when
you abruptly accelerate the vehicle
or repetitively operate the steering
wheel (Your driving is categorized
to be sporty.). In this mode, your
vehicle drives in a lower gear for
abrupt accelerating/decelerating
and increases the engine brake
performance.
• You may still sense the engine
braking performance, even when
you release the accelerator pedal in
SMART SPORT mode. It is because
your vehicle remains in lower gear
over a certain period of time for next
acceleration. Thus, it is a normal
driving situation, not indicating any
malfunction.
• The driving mode automatically
changes to SMART SPORT mode only
in harsh driving situations. In most
of the normal driving situations, the
driving mode sets to be in SMART
ECO mode. Limitation of SMART mode
The SMART mode may be limited in
following situations. (The OFF indicator
illuminates in those situations.)
•
The cruise control is activated :
The cruise control system may
deactivate the SMART mode when
the vehicle is controlled by the set
speed of Smart Cruise Control system.
(SMART mode is not deactivated
just by activating the cruise control
system.)
• The transmission oil temperature is
either extremely low or extremely
high :
The SMART mode can be active in
most of the normal driving situations.
However, an extremely high/ low
transmission oil temperature may
temporarily deactivate the SMART
mode, because the transmission
condition is out of normal operation
condition.
Page 389 of 527
06
6-113
• The shadow is on the lane marker by
a median strip, trees, guardrail, noise
barriers, etc.
• The lane markers are complicated or a
structure substitutes for the lines such
as a construction area.
• There are crosswalk signs or other
symbols on the road.
• The lane marker in a tunnel is stained
with oil, etc.
• The lane suddenly disappears such as
at the intersection.
• Driving the shared lane usage (bicycle
lane, pedestrians lane, etc.)
When external condition is intervened
• The brightness outside changes
suddenly such as when entering or
exiting a tunnel, or when passing
under a bridge.
• The brightness outside is too low such
as when the headlamps are not on at
night or the vehicle is going through
a tunnel.
• There is a boundary structure in the
roadway such as a concrete barrier,
guardrail and reflector post that is
inadvertently being detected by the
camera.
• When light coming from a street light
or an oncoming vehicle is reflected on
a wet road surface such as a puddle in
the road.
• The field of view in front is obstructed
by sun glare. •
There is not enough distance between
you and the vehicle in front to be
able to detect the lane marker or the
vehicle ahead is driving on the lane
marker.
• Driving on a steep grade, over a hill, or
when driving on a curved road.
• The adverse road conditions cause
excessive vehicle vibrations while
driving.
• The surrounding of the inside rear
view mirror temperature is high due to
direct sunlight, etc.
• The sensor recognition changes
suddenly when passing over a speed
bump or driving on a steep up/down
or right/left grade
When front visibility is poor
• The windshield or the camera lens is
blocked with dirt or debris.
• The windshield glass is fogged up; a
clear view of the road is obstructed.
• Placing objects on the dashboard, etc.
• The sensor cannot detect the lane
because of fog, heavy rain or snow.
Page 413 of 527
06
6-137
Chain installation
When installing tire chains, follow the
manufacturer’s instructions and mount
them as tightly possible. Drive slowly
(less than 20 mph (30 km/h)) with
chains installed. If you hear the chains
contacting the body or chassis, stop and
tighten them. If they still make contact,
slow down until the noise stops. Remove
the tire chains as soon as you begin
driving on cleared roads.
When mounting snow chains, park the
vehicle on level ground away from traffic.
Turn on the vehicle Hazard Warning
Flasher and place a triangular emergency
warning device behind the vehicle (if
available). Always place the vehicle in P
(Park), apply the parking brake and turn
off the engine before installing snow
chains.
NOTICE
When using tire chains:
• Wrong size chains or improperly
installed chains can damage your
vehicle's brake lines, suspension,
body and wheels.
• Use SAE "S" class or wire chains.
• If you hear noise caused by chains
contacting the body, retighten the
chain to prevent contact with the
vehicle body.
• To prevent body damage, retighten
the chains after driving 0.3~0.6 miles
(0.5~1.0 km).
• Do not use tire chains on vehicles
equipped with aluminum wheels. If
unavoidable, use a wire type chain.
• Use wire chains less than 0.59 inch
(15mm) wide to prevent damage to
the chain’s connection.
Winter Precautions
Use high quality ethylene glycol
coolant
Your vehicle is delivered with high
quality ethylene glycol coolant in the
cooling system. It is the only type of
coolant that should be used because it
helps prevent corrosion in the cooling
system, lubricates the water pump and
prevents freezing. Be sure to replace or
replenish your coolant in accordance
with the maintenance schedule in
chapter 8. Before winter, have your
coolant tested to assure that its freezing
point is sufficient for the temperatures
anticipated during the winter.
Change to "winter weight" oil if
necessary
In some climates it is recommended that
a lower viscosity "winter weight" oil be
used during cold weather. See chapter 8
for recommendations. If you aren't sure
what weight oil you should use, consult
an authorized HYUNDAI dealer.
Check battery and cables
Winter puts additional burdens on the
battery system. Visually inspect the
battery and cables as described in
chapter 8. The level of charge in your
battery can be checked by an authorized
HYUNDAI dealer or a service station.
Page 464 of 527
08
8-15
Checking the Engine Oil Level
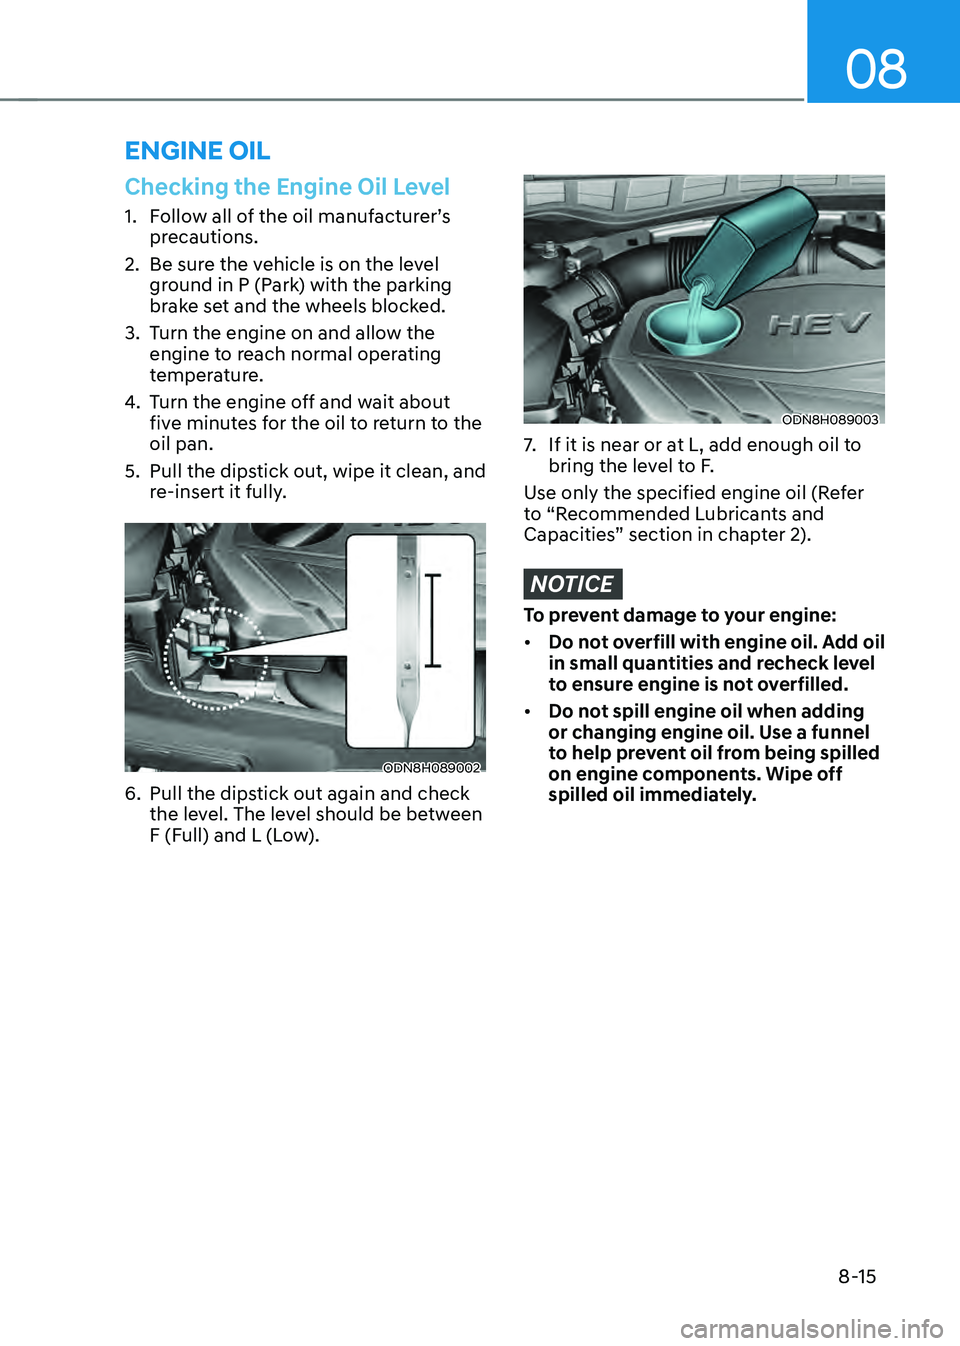
1. Follow all of the oil manufacturer’s
precautions.
2. Be sure the vehicle is on the level
ground in P (Park) with the parking
brake set and the wheels blocked.
3. Turn the engine on and allow the
engine to reach normal operating
temperature.
4. Turn the engine off and wait about
five minutes for the oil to return to the
oil pan.
5. Pull the dipstick out, wipe it clean, and
re-insert it fully.
ODN8H089002
6. Pull the dipstick out again and check
the level. The level should be between
F (Full) and L (Low).
ODN8H089003
7. If it is near or at L, add enough oil to
bring the level to F.
Use only the specified engine oil (Refer
to “Recommended Lubricants and
Capacities” section in chapter 2).
NOTICE
To prevent damage to your engine:
• Do not overfill with engine oil. Add oil
in small quantities and recheck level
to ensure engine is not overfilled.
• Do not spill engine oil when adding
or changing engine oil. Use a funnel
to help prevent oil from being spilled
on engine components. Wipe off
spilled oil immediately.
ENGINE OIL
Page 500 of 527
08
8-51
NOTICE
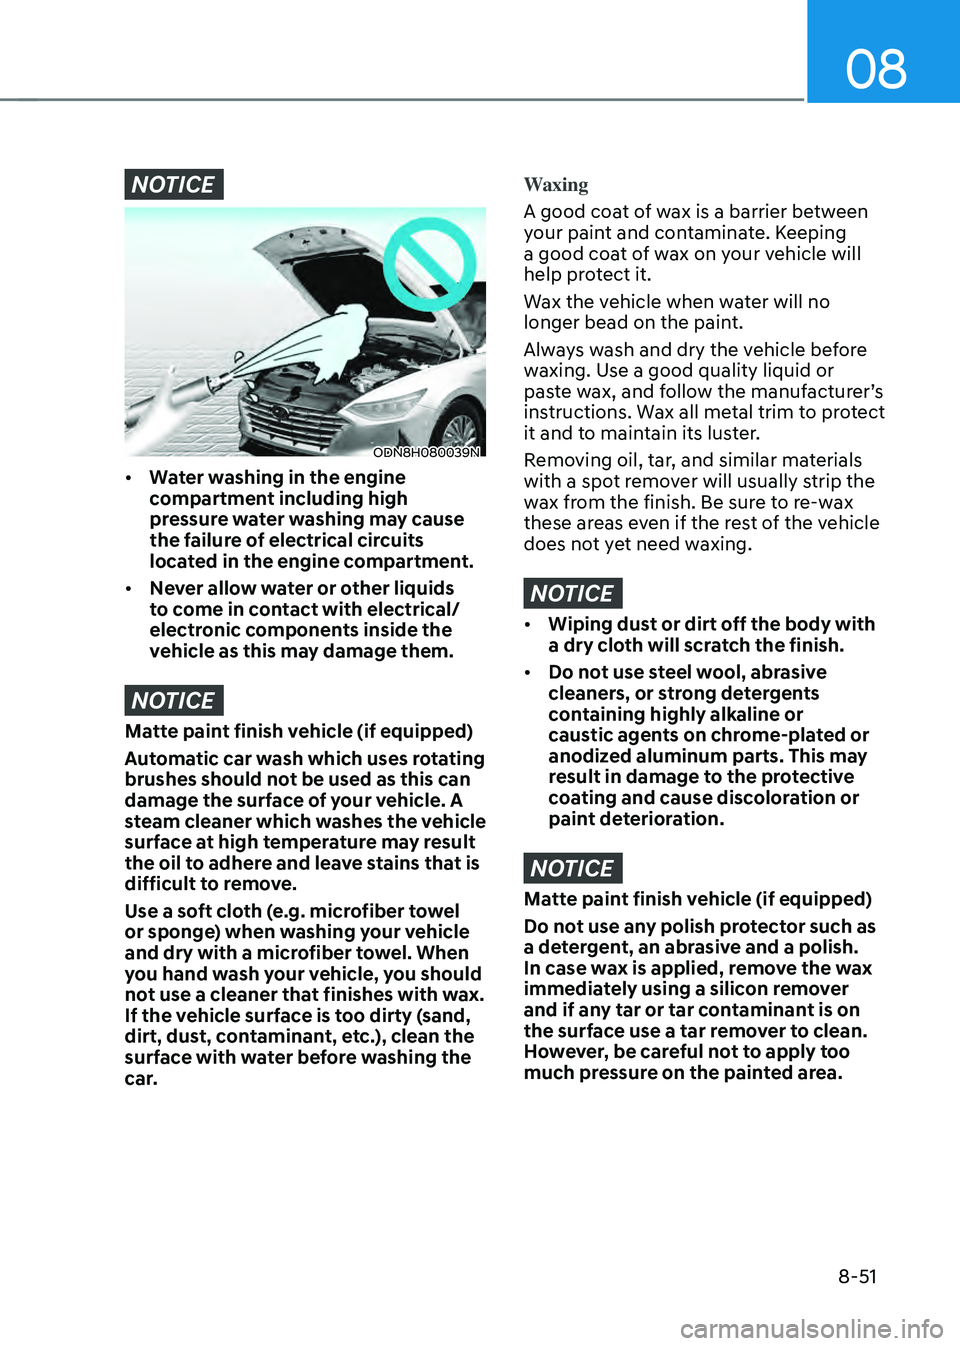
ODN8H080039N
• Water washing in the engine
compartment including high
pressure water washing may cause
the failure of electrical circuits
located in the engine compartment.
• Never allow water or other liquids
to come in contact with electrical/
electronic components inside the
vehicle as this may damage them.
NOTICE
Matte paint finish vehicle (if equipped)
Automatic car wash which uses rotating
brushes should not be used as this can
damage the surface of your vehicle. A
steam cleaner which washes the vehicle
surface at high temperature may result
the oil to adhere and leave stains that is
difficult to remove.
Use a soft cloth (e.g. microfiber towel
or sponge) when washing your vehicle
and dry with a microfiber towel. When
you hand wash your vehicle, you should
not use a cleaner that finishes with wax.
If the vehicle surface is too dirty (sand,
dirt, dust, contaminant, etc.), clean the
surface with water before washing the
car.
Waxing
A good coat of wax is a barrier between
your paint and contaminate. Keeping
a good coat of wax on your vehicle will
help protect it.
Wax the vehicle when water will no
longer bead on the paint.
Always wash and dry the vehicle before
waxing. Use a good quality liquid or
paste wax, and follow the manufacturer’s
instructions. Wax all metal trim to protect
it and to maintain its luster.
Removing oil, tar, and similar materials
with a spot remover will usually strip the
wax from the finish. Be sure to re-wax
these areas even if the rest of the vehicle
does not yet need waxing.
NOTICE
• Wiping dust or dirt off the body with
a dry cloth will scratch the finish.
• Do not use steel wool, abrasive
cleaners, or strong detergents
containing highly alkaline or
caustic agents on chrome-plated or
anodized aluminum parts. This may
result in damage to the protective
coating and cause discoloration or
paint deterioration.
NOTICE
Matte paint finish vehicle (if equipped)
Do not use any polish protector such as
a detergent, an abrasive and a polish.
In case wax is applied, remove the wax
immediately using a silicon remover
and if any tar or tar contaminant is on
the surface use a tar remover to clean.
However, be careful not to apply too
much pressure on the painted area.
Page 521 of 527
I
I-13
M
Maintenance
........................................................................\
.......................................-
Maintenance services
........................................................................\
...............8-4
Owner maintenance
........................................................................\
..................8-5
Scheduled maintenance services
......................................................................8-7
Normal maintenance schedule
........................................................................\
.8-8
Maintenance under severe usage conditions
..................................................8-11
Explanation of scheduled maintenance items
................................................8-13
Tire maintenance
........................................................................\
....................8-30
Maintenance services
........................................................................\
....................8-4
Mirrors
........................................................................\
........................................5-42
Inside rearview mirror
........................................................................\
............5-42
HomeLink® system
........................................................................\
................5-43
Side view mirrors
........................................................................\
...................5-49
Adjusting the side view mirrors
.....................................................................5-49
Folding the side view mirrors
........................................................................\
5-50
Reverse parking aid function
........................................................................\
.5-50
N
Navigation-based Smart Cruise Control (NSCC)
..............................................6-104
O
Occupant Classification System (OCS)
..............................................................3-47
Odometer
........................................................................\
......................................4-5
Oil (Engine)
........................................................................\
................................8-15
Outside temperature gauge
........................................................................\
...........4-7
Owner maintenance
........................................................................\
......................8-5