2022 HYUNDAI SONATA HYBRID reset
[x] Cancel search: resetPage 184 of 527
Convenient Features
5-36
Recalling Positions from Memory
1. Shift to P (Park) while the ignition
switch is in the ON position.
2. Press the desired memory button
(1 or 2). The system will beep once,
and then the driver’s seat position,
side view mirror position, instrument
panel illumination intensity and
head-up display height/brightness
will automatically adjust to the stored
positions.
3. “Settings 1 (or 2) applied” will appear
on the cluster LCD display.
If your vehicle is equipped with
additional navigation, please refer to the
infotainment system manual separately
supplied.
Information
• While recalling the “1” memory
position, pressing the SET or 1 button
temporarily stops the adjustment of
the recalled memory position. Pressing
the 2 button recalls the “2” memory
position.
• While recalling the “2” memory
position, pressing the SET or 2 button
temporarily stops the adjustment of
the recalled memory position. Pressing
the 1 button recalls the “1” memory
position.
• While recalling the stored positions,
pressing one of the control buttons
for the driver’s seat, side view mirror,
instrument panel illumination or head-
up display will cause the movement of
that component to stop and move in
the direction that the control button is
pressed.
Resetting the Driver’s Seat
Memory System
Take the following procedures to reset
the driver’s seat memory system, when it
does not operate properly.
To reset the driver’s seat memory
system
1. Place the ignition switch to the ON
position, shift to P (Park), and open
the driver’s door.
2. Operate the control switch to set
the driver’s seat and seatback to the
foremost position.
3. Simultaneously press the SET button
and push forward the seat movement
switch over 2 seconds.
While resetting the driver’s seat
memory system
1. It starts with the notification sound.
2. The driver’s seat and seatback is
adjusted to the rearward position with
the notification sound.
3. The driver’s seat and seatback is
re-adjusted to the default position
(central position) with the notification
sound.
However, in the following cases, the
resetting procedure and the notification
sound may stop.
- The memory button is pressed.
-The control switch is operated.
-The gear is shifted out of P (Park) .
-The driving speed exceeds 2 mph (3
km/h).
-The driver’s door is closed.
Page 185 of 527
05
5-37
NOTICE
• Reattempt to do the resetting
procedure again, when the resetting
procedure incompletely stops or the
notification sound do not stop.
• Make sure that there is no obstacle
around the driver’s seat in advance
of resetting the driver’s seat memory
system.
Easy Access Function
The system will move the driver’s seat
automatically as follows:
• It will move the driver’s seat rearward
when the Engine Start/Stop button is
pressed to the OFF position.
• It will move the driver’s seat forward
when the Engine Start/Stop button is
pressed to the ACC or START position.
You can activate or deactivate the Easy
Access Function from the User Settings
mode in the cluster LCD display.
‘Convenience → Seat Easy Access →
Off/Normal/Extended’.
For more information, refer to “LCD
Display” in chapter 4.If your vehicle is
equipped with additional navigation,
please refer to the infotainment system
manual separately supplied.
CAUTION
Driver should be cautious when using
this function to assure no injury to
passenger or child on the back seat.
In case of emergency the driver has to
stop movement of front seat (when easy
access feature is activated) by pressing
SET button or any of the driver seat
control switches.
Page 201 of 527
05
5-53
To reset the power windows
If the power windows do not operate
normally, the automatic power window
system must be reset as follows:
1. Place the ignition switch to the ON
position.
2. Close the window and continue
pulling up on the power window
switch for at least one second.
If the power windows do not operate
properly after resetting, have the system
checked by an authorized HYUNDAI
dealer.
WARNING
The automatic reverse feature doesn’t
activate while resetting the power
window system. Make sure body parts
or other objects are safely out of the
way before closing the windows to
avoid injuries or vehicle damage.
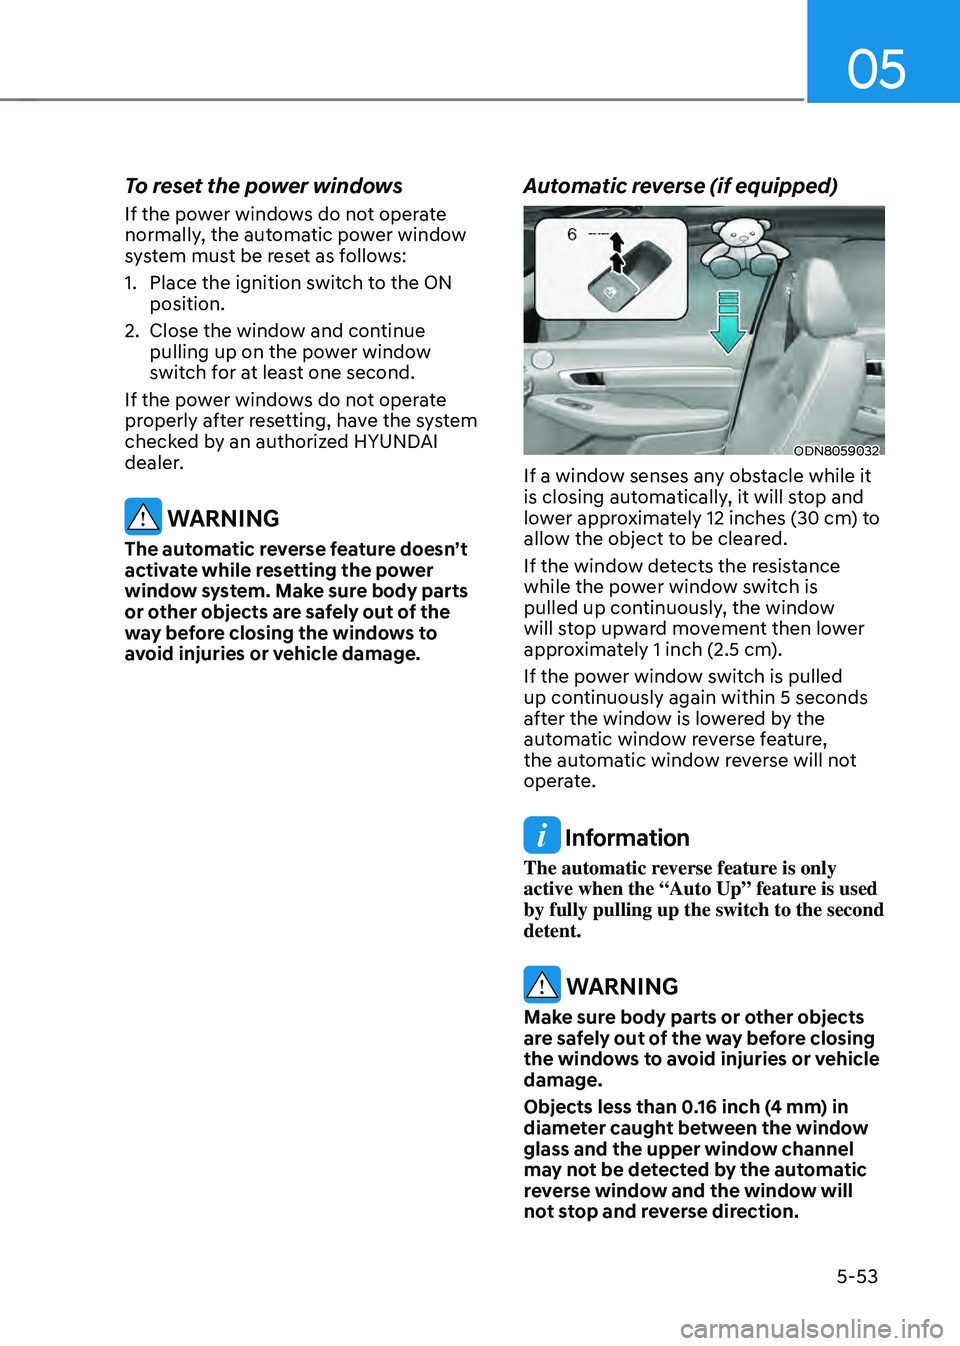
Automatic reverse (if equipped)
ODN8059032
If a window senses any obstacle while it
is closing automatically, it will stop and
lower approximately 12 inches (30 cm) to
allow the object to be cleared.
If the window detects the resistance
while the power window switch is
pulled up continuously, the window
will stop upward movement then lower
approximately 1 inch (2.5 cm).
If the power window switch is pulled
up continuously again within 5 seconds
after the window is lowered by the
automatic window reverse feature,
the automatic window reverse will not
operate.
Information
The automatic reverse feature is only
active when the “Auto Up” feature is used
by fully pulling up the switch to the second
detent.
WARNING
Make sure body parts or other objects
are safely out of the way before closing
the windows to avoid injuries or vehicle
damage.
Objects less than 0.16 inch (4 mm) in
diameter caught between the window
glass and the upper window channel
may not be detected by the automatic
reverse window and the window will
not stop and reverse direction.
Page 206 of 527
Convenient Features
5-58
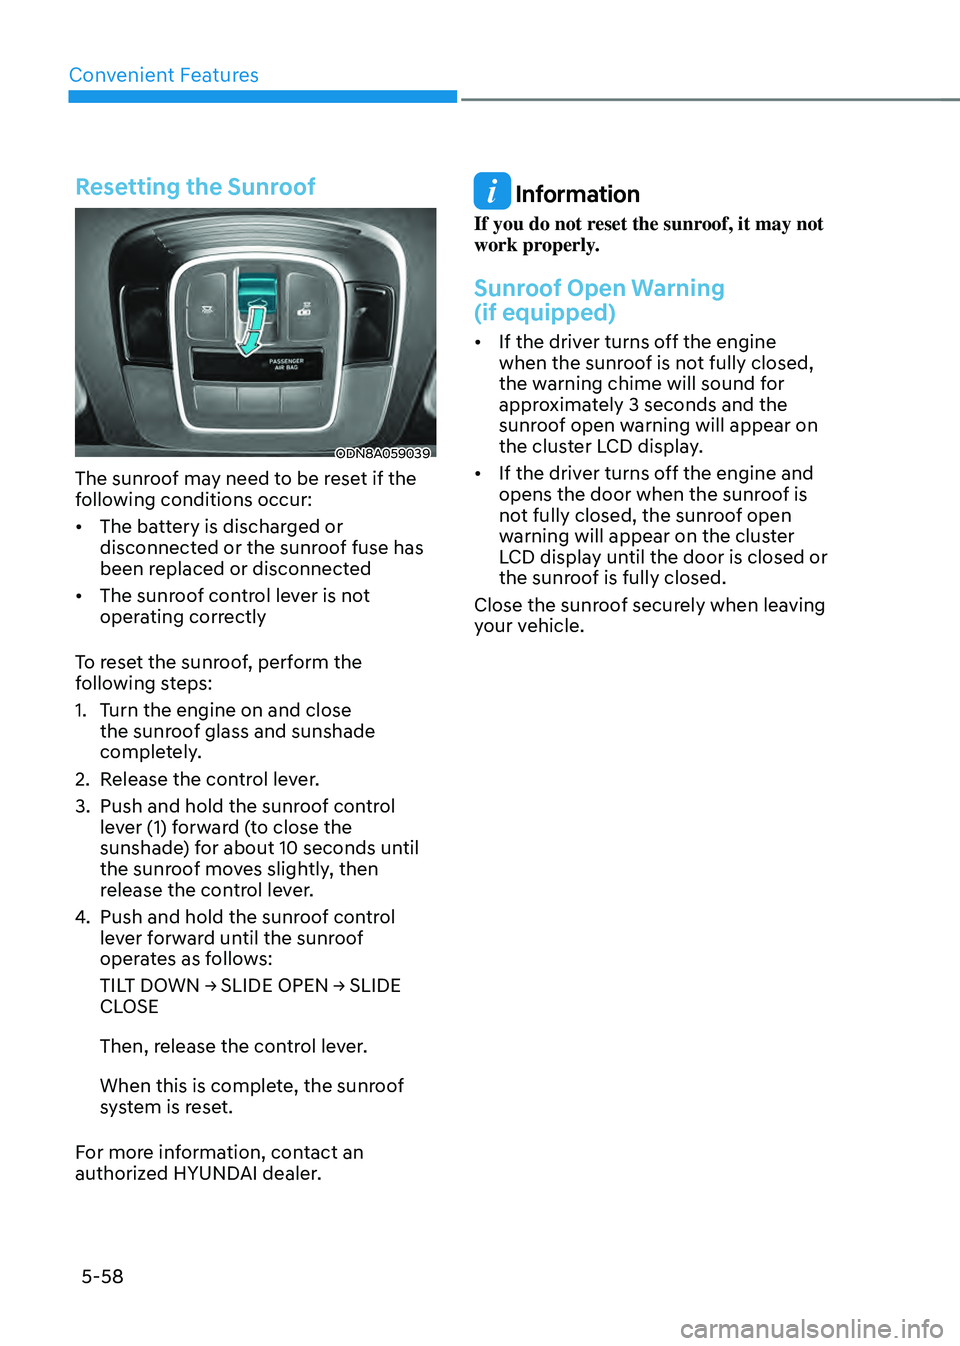
Resetting the Sunroof
ODN8A059039
The sunroof may need to be reset if the
following conditions occur:
• The battery is discharged or
disconnected or the sunroof fuse has
been replaced or disconnected
• The sunroof control lever is not
operating correctly
To reset the sunroof, perform the
following steps:
1. Turn the engine on and close
the sunroof glass and sunshade
completely.
2. Release the control lever.
3. Push and hold the sunroof control
lever (1) forward (to close the
sunshade) for about 10 seconds until
the sunroof moves slightly, then
release the control lever.
4. Push and hold the sunroof control
lever forward until the sunroof
operates as follows:
TILT DOWN → SLIDE OPEN → SLIDE CLOSE
Then, release the control lever.
When this is complete, the sunroof
system is reset.
For more information, contact an
authorized HYUNDAI dealer.
Information
If you do not reset the sunroof, it may not
work properly.
Sunroof Open Warning
(if equipped)
• If the driver turns off the engine
when the sunroof is not fully closed,
the warning chime will sound for
approximately 3 seconds and the
sunroof open warning will appear on
the cluster LCD display.
• If the driver turns off the engine and
opens the door when the sunroof is
not fully closed, the sunroof open
warning will appear on the cluster
LCD display until the door is closed or
the sunroof is fully closed.
Close the sunroof securely when leaving
your vehicle.
Page 255 of 527
05
5-107
Temperature conversion
If the battery has been discharged or
disconnected, the temperature mode
display will reset to Centigrade.
To change the temperature unit from °C
to °F or °F to °C :
-Automatic climate control system
Press the AUTO button for 3 seconds
while pressing the OFF button.
-Instrument cluster
-Go to User Settings → Other → Temperature Unit.
The temperature unit on both the cluster
LCD display and the climate control
screen will change.
Air intake control
This is used to select the outside (fresh)
air position or recirculated air position.
To change the air intake control position,
push the control button.
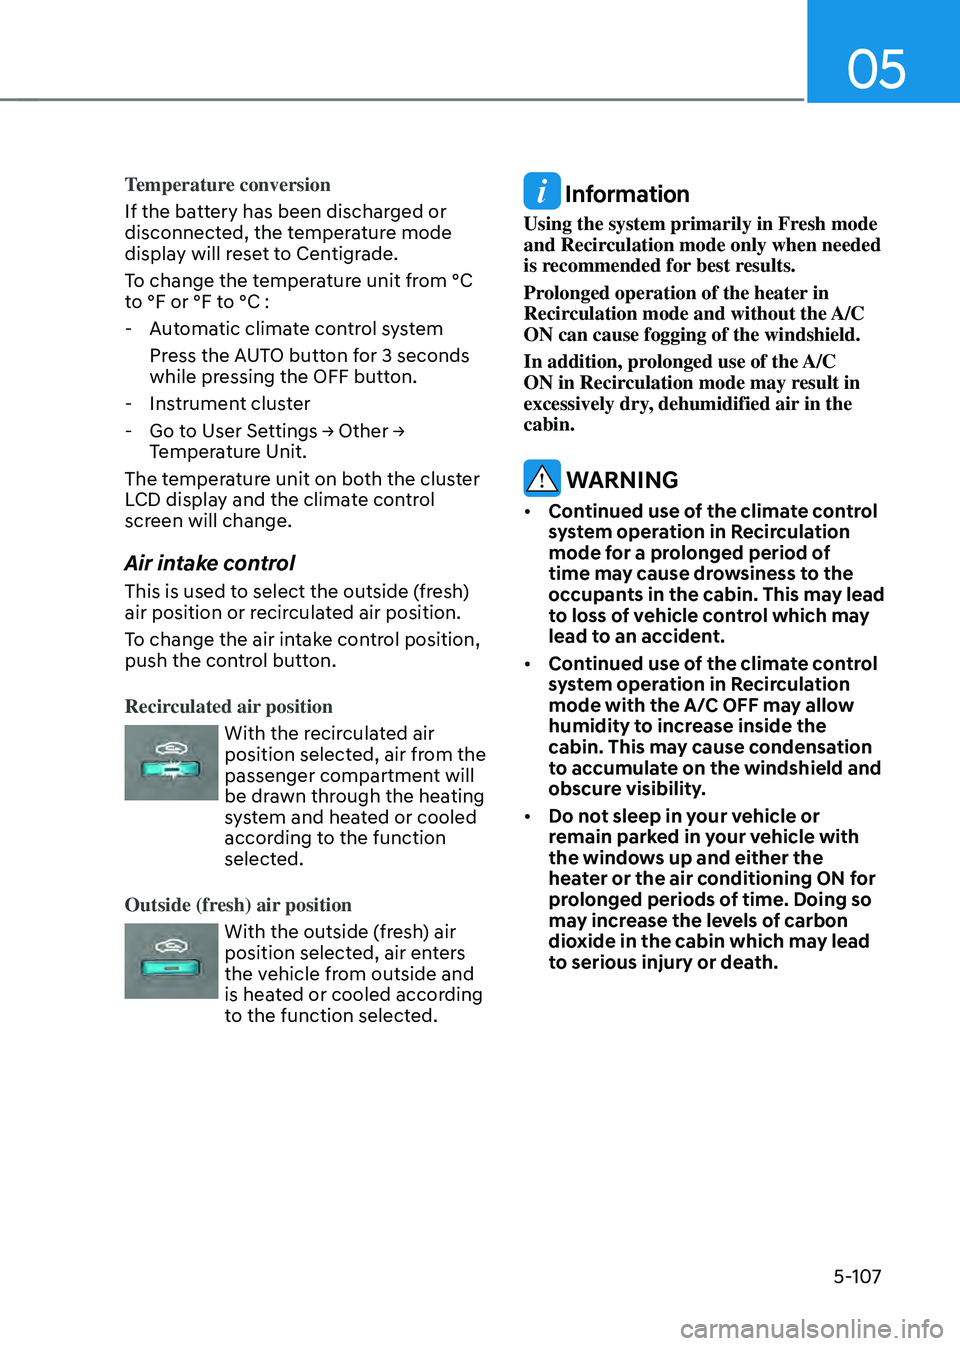
Recirculated air position
With the recirculated air position selected, air from the
passenger compartment will
be drawn through the heating
system and heated or cooled
according to the function
selected.
Outside (fresh) air position
With the outside (fresh) air position selected, air enters
the vehicle from outside and
is heated or cooled according
to the function selected.
Information
Using the system primarily in Fresh mode
and Recirculation mode only when needed
is recommended for best results.
Prolonged operation of the heater in
Recirculation mode and without the A/C
ON can cause fogging of the windshield.
In addition, prolonged use of the A/C
ON in Recirculation mode may result in
excessively dry, dehumidified air in the
cabin.
WARNING
• Continued use of the climate control
system operation in Recirculation
mode for a prolonged period of
time may cause drowsiness to the
occupants in the cabin. This may lead
to loss of vehicle control which may
lead to an accident.
• Continued use of the climate control
system operation in Recirculation
mode with the A/C OFF may allow
humidity to increase inside the
cabin. This may cause condensation
to accumulate on the windshield and
obscure visibility.
• Do not sleep in your vehicle or
remain parked in your vehicle with
the windows up and either the
heater or the air conditioning ON for
prolonged periods of time. Doing so
may increase the levels of carbon
dioxide in the cabin which may lead
to serious injury or death.
Page 262 of 527
Convenient Features
5-114
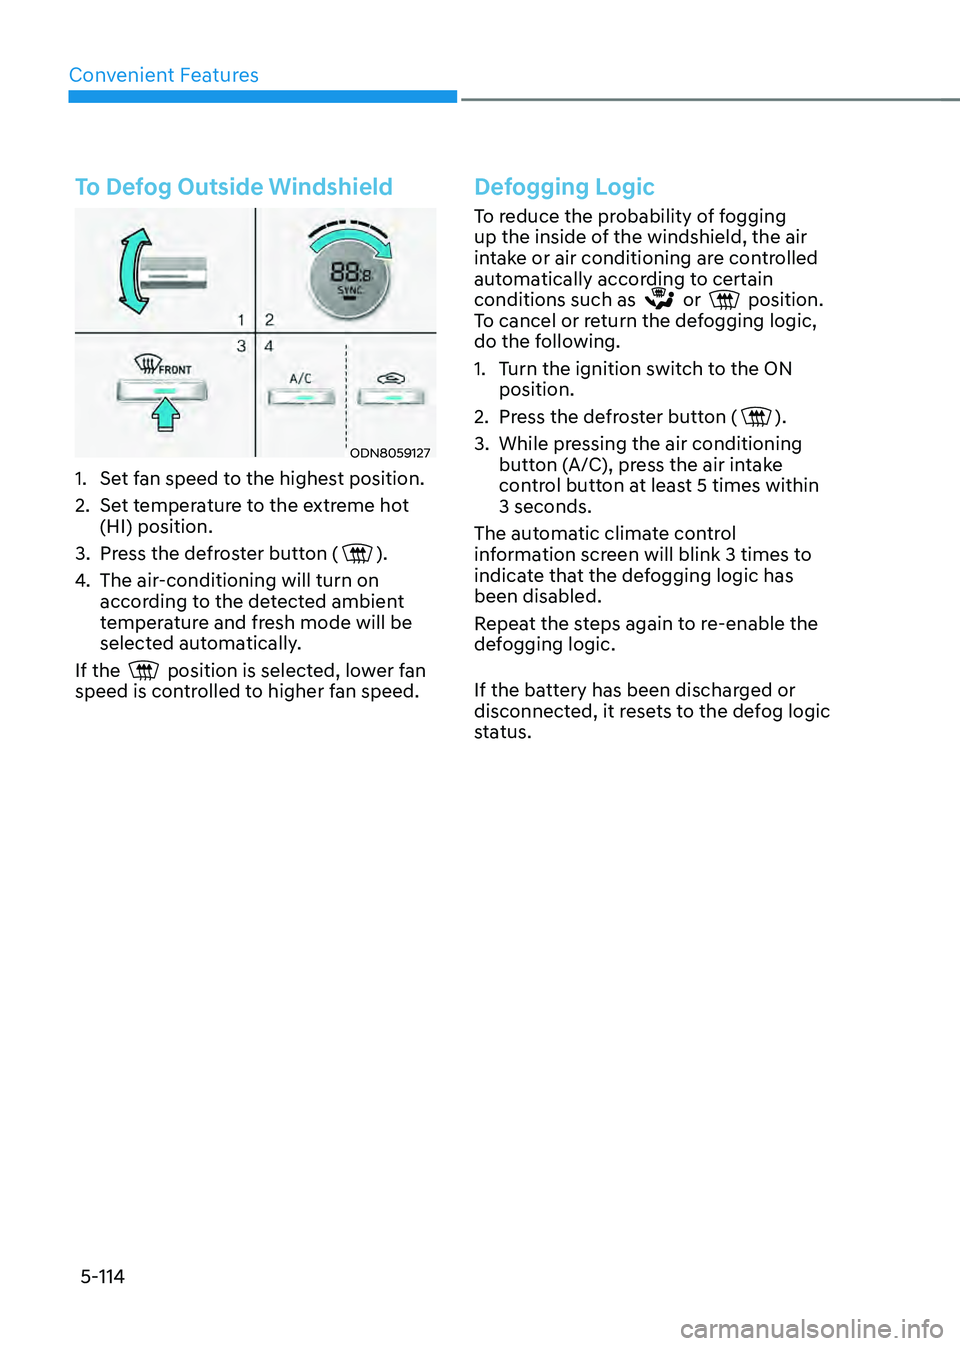
To Defog Outside Windshield
ODN8059127
1. Set fan speed to the highest position.
2. Set temperature to the extreme hot
(HI) position.
3. Press the defroster button ().
4. The air-conditioning will turn on
according to the detected ambient
temperature and fresh mode will be
selected automatically.
If the
position is selected, lower fan speed is controlled to higher fan speed.
Defogging Logic
To reduce the probability of fogging
up the inside of the windshield, the air
intake or air conditioning are controlled
automatically according to certain
conditions such as
or position. To cancel or return the defogging logic,
do the following.
1. Turn the ignition switch to the ON
position.
2. Press the defroster button ().
3. While pressing the air conditioning
button (A/C), press the air intake
control button at least 5 times within
3 seconds.
The automatic climate control
information screen will blink 3 times to
indicate that the defogging logic has
been disabled.
Repeat the steps again to re-enable the
defogging logic.
If the battery has been discharged or
disconnected, it resets to the defog logic
status.
Page 263 of 527
05
5-115
Auto Defogging System (if
equipped)
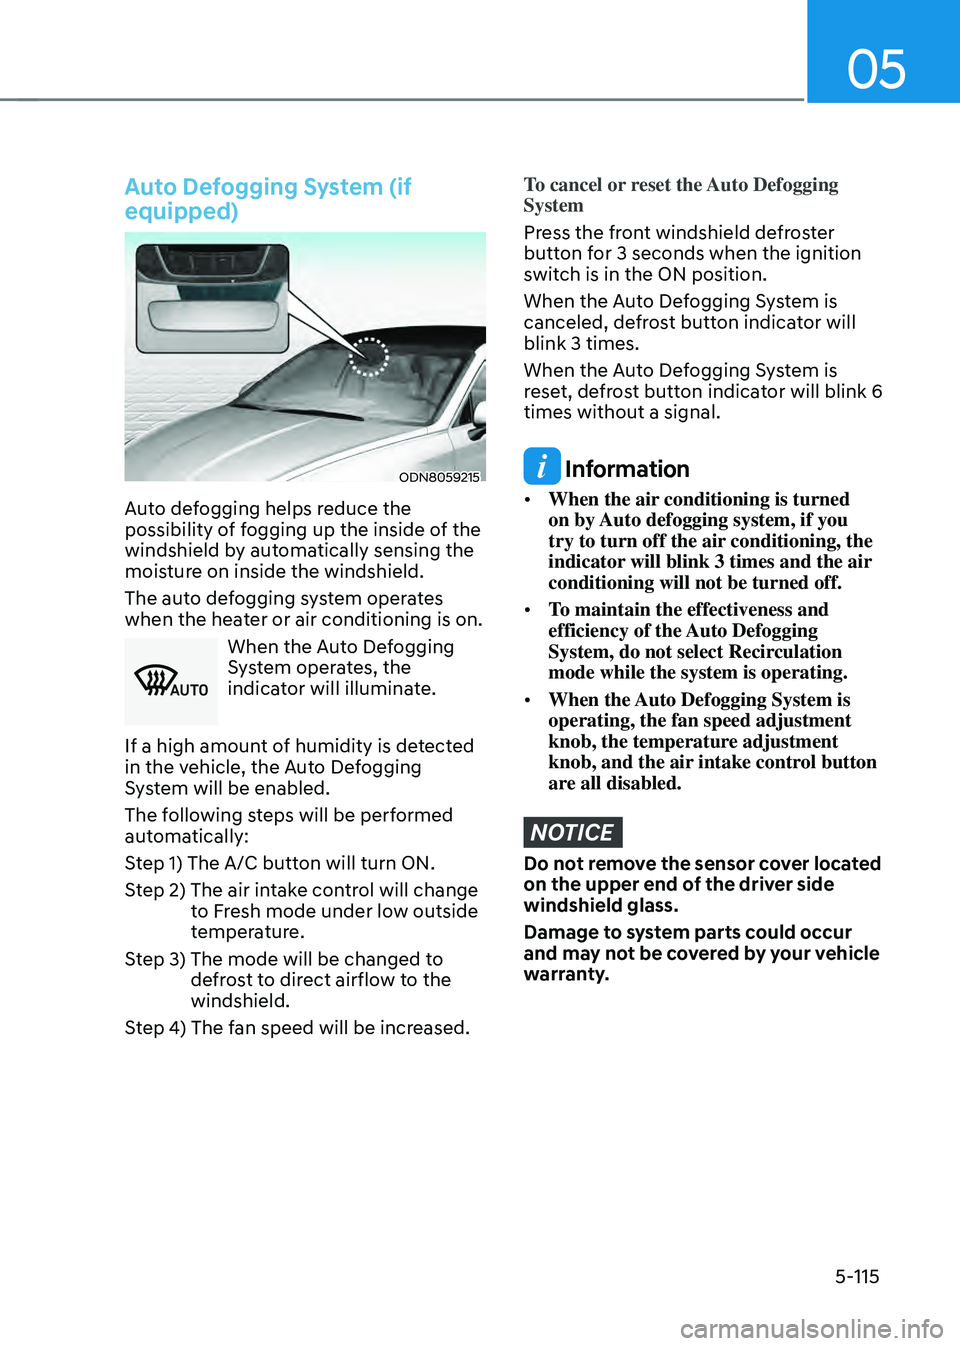
ODN8059215
Auto defogging helps reduce the
possibility of fogging up the inside of the
windshield by automatically sensing the
moisture on inside the windshield.
The auto defogging system operates
when the heater or air conditioning is on.
0024003800370032
When the Auto Defogging
System operates, the
indicator will illuminate.
If a high amount of humidity is detected
in the vehicle, the Auto Defogging
System will be enabled.
The following steps will be performed
automatically:
Step 1) The A/C button will turn ON.
Step 2) The air in take control will change to Fresh mode under low outside
temperature.
Step 3) The mode will be changed t o defrost to direct airflow to the
windshield.
Step 4) The fan speed will be increased.
To cancel or reset the Auto Defogging
System
Press the front windshield defroster
button for 3 seconds when the ignition
switch is in the ON position.
When the Auto Defogging System is
canceled, defrost button indicator will
blink 3 times.
When the Auto Defogging System is
reset, defrost button indicator will blink 6
times without a signal.
Information
• When the air conditioning is turned
on by Auto defogging system, if you
try to turn off the air conditioning, the
indicator will blink 3 times and the air
conditioning will not be turned off.
• To maintain the effectiveness and
efficiency of the Auto Defogging
System, do not select Recirculation
mode while the system is operating.
• When the Auto Defogging System is
operating, the fan speed adjustment
knob, the temperature adjustment
knob, and the air intake control button
are all disabled.
NOTICE
Do not remove the sensor cover located
on the upper end of the driver side
windshield glass.
Damage to system parts could occur
and may not be covered by your vehicle
warranty.
Page 275 of 527

05
5-127
Steering Wheel Audio Control
ODN8059228
NOTICE
Do not operate multiple audio remote
control buttons simultaneously.
VOLUME (VOL + / -) (1)
• Press the VOLUME switch up to
increase volume.
• Press the VOLUME switch down to
decrease volume.
SEEK/PRESET ( / ) (2)
If the SEEK/PRESET switch is pressed up
or down and held for 0.8 second or more,
it will function in the following modes:
• RADIO mode
It will function as the AUTO SEEK
select button. It will SEEK until you
release the button.
• MEDIA mode
It will function as the FF/RW button.
If the SEEK/PRESET switch is pressed up
or down, it will function in the following
modes:
• RADIO mode
It will function as the PRESET STATION
UP/DOWN button.
• MEDIA mode
It will function as the TRACK UP/
DOWN button.
MODE (3)
Press the MODE button to toggle
through Radio, SXM, or AUX modes.
MUTE () (4)
• Press the MUTE button to mute the
sound.
• Press the MUTE button again to
activate the sound.
Information
Detailed information for audio control
buttons are described in a separately
supplied manual with the vehicle.