Page 196 of 527

Convenient Features
5-48
ODN8H059140N
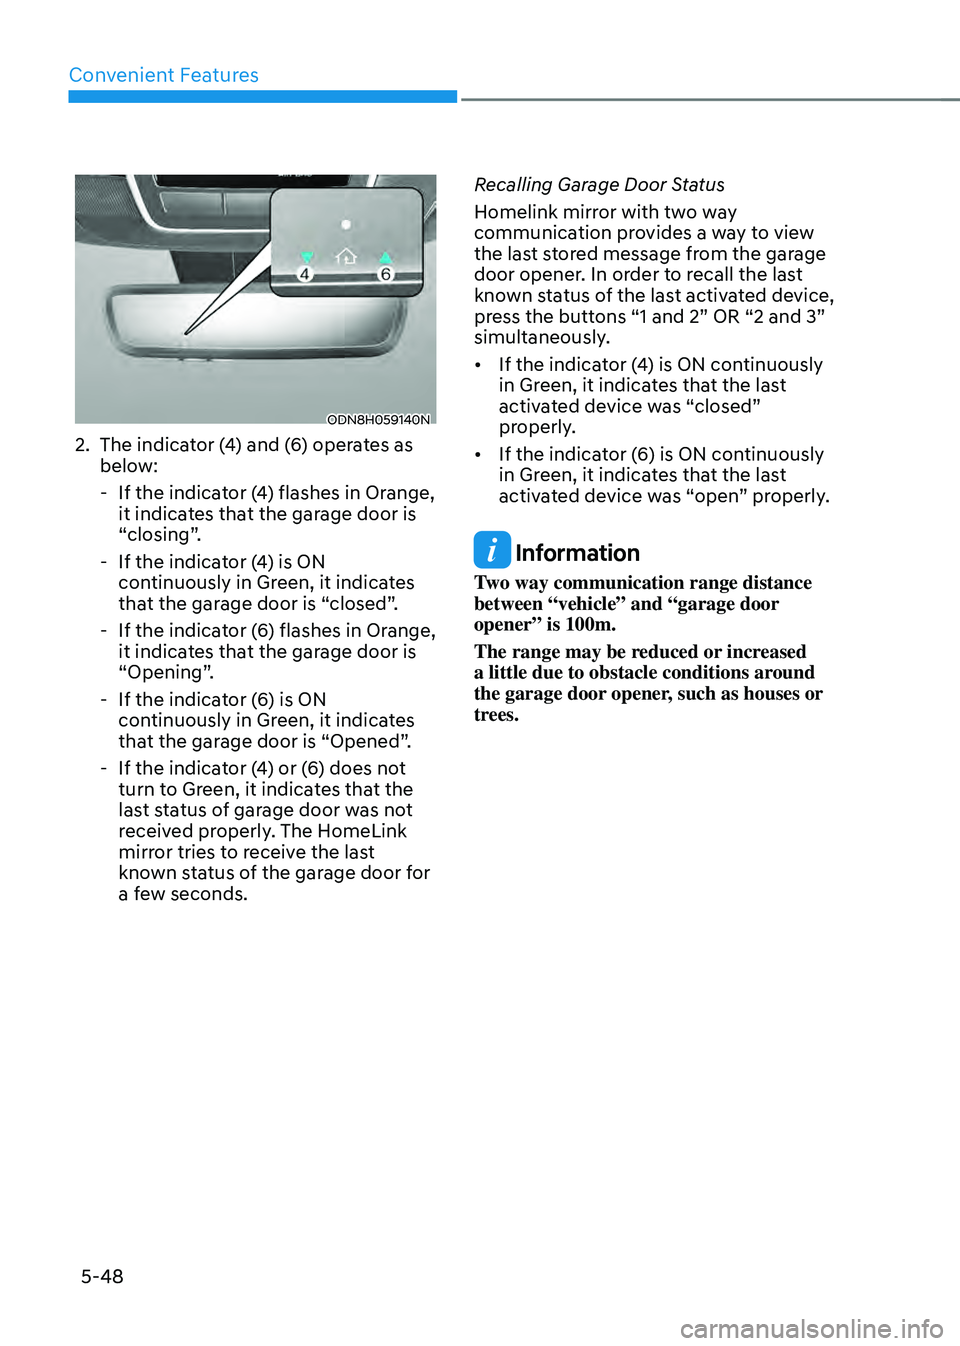
2. The indicator (4) and (6) operates as
below:
-If the indicator (4) flashes in Orange,
it indicates that the garage door is
“closing”.
-If the indicator (4) is ON
continuously in Green, it indicates
that the garage door is “closed”.
-If the indicator (6) flashes in Orange,
it indicates that the garage door is
“Opening”.
-If the indicator (6) is ON
continuously in Green, it indicates
that the garage door is “Opened”.
-If the indicator (4) or (6) does not
turn to Green, it indicates that the
last status of garage door was not
received properly. The HomeLink
mirror tries to receive the last
known status of the garage door for
a few seconds. Recalling Garage Door Status
Homelink mirror with two way
communication provides a way to view
the last stored message from the garage
door opener. In order to recall the last
known status of the last activated device,
press the buttons “1 and 2” OR “2 and 3”
simultaneously.
•
If the indicator (4) is ON continuously
in Green, it indicates that the last
activated device was “closed”
properly.
• If the indicator (6) is ON continuously
in Green, it indicates that the last
activated device was “open” properly.
Information
Two way communication range distance
between “vehicle” and “garage door
opener” is 100m.
The range may be reduced or increased
a little due to obstacle conditions around
the garage door opener, such as houses or
trees.
Page 251 of 527

05
5-103
ODN8059214
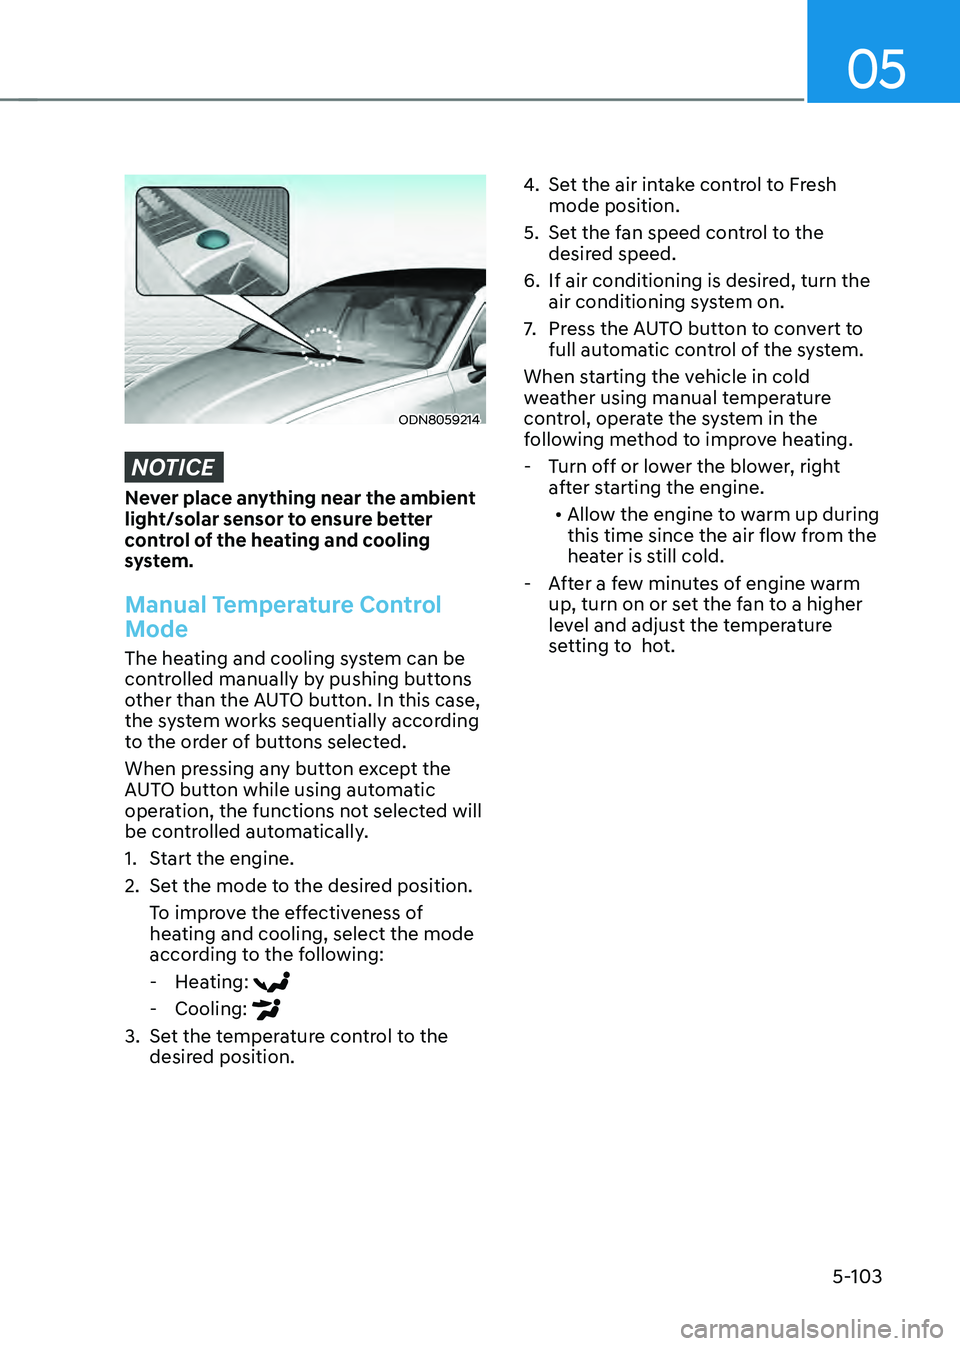
NOTICE
Never place anything near the ambient
light/solar sensor to ensure better
control of the heating and cooling
system.
Manual Temperature Control
Mode
The heating and cooling system can be
controlled manually by pushing buttons
other than the AUTO button. In this case,
the system works sequentially according
to the order of buttons selected.
When pressing any button except the
AUTO button while using automatic
operation, the functions not selected will
be controlled automatically.
1. Start the engine.
2. Set the mode to the desired position.
To improve the effectiveness of
heating and cooling, select the mode
according to the following:
-Heating:
-Cooling:
3. Set the temperature control to the
desired position.
4. Set the air intake control to Fresh
mode position.
5. Set the fan speed control to the
desired speed.
6. If air conditioning is desired, turn the
air conditioning system on.
7. Press the AUTO button to convert to
full automatic control of the system.
When starting the vehicle in cold
weather using manual temperature
control, operate the system in the
following method to improve heating.
- Turn off or lower the blower, right
after starting the engine.
• Allow the engine to warm up during
this time since the air flow from the
heater is still cold.
- After a few minutes of engine warm
up, turn on or set the fan to a higher
level and adjust the temperature
setting to hot.
Page 257 of 527

05
5-109
Air conditioning
ODN8059121
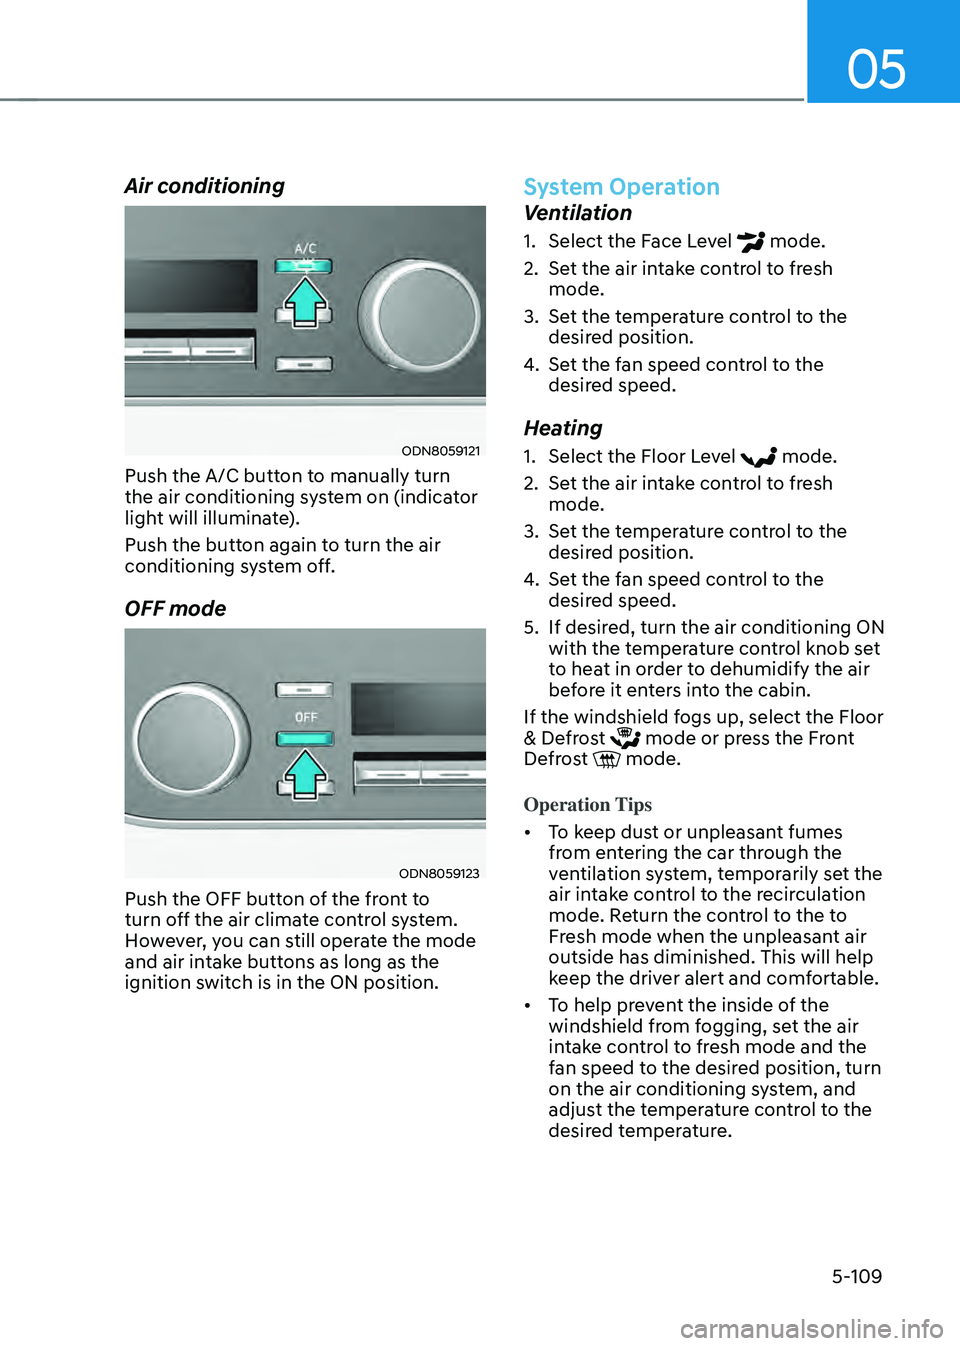
Push the A/C button to manually turn
the air conditioning system on (indicator
light will illuminate).
Push the button again to turn the air
conditioning system off.
OFF mode
ODN8059123
Push the OFF button of the front to
turn off the air climate control system.
However, you can still operate the mode
and air intake buttons as long as the
ignition switch is in the ON position.
System Operation
Ventilation
1. Select the Face Level mode.
2. Set the air intake control to fresh
mode.
3. Set the temperature control to the
desired position.
4. Set the fan speed control to the
desired speed.
Heating
1. Select the Floor Level mode.
2. Set the air intake control to fresh
mode.
3. Set the temperature control to the
desired position.
4. Set the fan speed control to the
desired speed.
5. If desired, turn the air conditioning ON
with the temperature control knob set
to heat in order to dehumidify the air
before it enters into the cabin.
If the windshield fogs up, select the Floor
& Defrost
mode or press the Front Defrost mode.
Operation Tips
• To keep dust or unpleasant fumes
from entering the car through the
ventilation system, temporarily set the
air intake control to the recirculation
mode. Return the control to the to
Fresh mode when the unpleasant air
outside has diminished. This will help
keep the driver alert and comfortable.
• To help prevent the inside of the
windshield from fogging, set the air
intake control to fresh mode and the
fan speed to the desired position, turn
on the air conditioning system, and
adjust the temperature control to the
desired temperature.
Page 275 of 527

05
5-127
Steering Wheel Audio Control
ODN8059228
NOTICE
Do not operate multiple audio remote
control buttons simultaneously.
VOLUME (VOL + / -) (1)
• Press the VOLUME switch up to
increase volume.
• Press the VOLUME switch down to
decrease volume.
SEEK/PRESET ( / ) (2)
If the SEEK/PRESET switch is pressed up
or down and held for 0.8 second or more,
it will function in the following modes:
• RADIO mode
It will function as the AUTO SEEK
select button. It will SEEK until you
release the button.
• MEDIA mode
It will function as the FF/RW button.
If the SEEK/PRESET switch is pressed up
or down, it will function in the following
modes:
• RADIO mode
It will function as the PRESET STATION
UP/DOWN button.
• MEDIA mode
It will function as the TRACK UP/
DOWN button.
MODE (3)
Press the MODE button to toggle
through Radio, SXM, or AUX modes.
MUTE () (4)
• Press the MUTE button to mute the
sound.
• Press the MUTE button again to
activate the sound.
Information
Detailed information for audio control
buttons are described in a separately
supplied manual with the vehicle.