2022 HYUNDAI KONA can h
[x] Cancel search: can hPage 204 of 579

Convenient features
5-70
Battery saver function
The purpose of this feature is to prevent
the battery from being discharged.
The system automatically turns off the
position lamp when the driver turns the
vehicle off and opens the driver-side
door.
With this feature, the position lamps will
turn off automatically if the driver parks
on the side of road at night.
If necessary, to keep the lamps on when
the vehicle is turned off, perform the
following:
(1) Open the driver-side door.
(2) Turn the position lamps OFF and ON
again using the headlamp switch on
the steering column.
Headlamp delay function
(if equipped)
If the key is removed from the ignition
switch or placed in the ACC position
or the LOCK/OFF position with the
headlamps ON, the headlamps (and/
or parking lamps) remain on for about
5 minutes. However, if the driver’s door
is opened and closed, the headlights
are turned off after 15 seconds. Also,
with the engine off if the driver’s door is
opened and closed, the headlamps (and/
or parking lamps) are turned off after 15
seconds.
The headlamps (and/or parking lamps)
can be turned off by pressing the lock
button on the remote key or smart key
twice or turning the headlamp switch to
the OFF or AUTO position.
You can activate or deactivate the
Headlamp Delay function from the User
Settings Mode in the LCD display.
For more information, refer to the “LCD
Display” section in this chapter.
NOTICE
If the driver exits the vehicle through
another door besides the driver
door, the battery saver function
does not operate and the headlamp
delay function does not turn OFF
automatically.
This may cause the battery to
discharge. To avoid battery discharge,
turn OFF the headlamps manually from
the headlamp switch before exiting the
vehicle.
Page 208 of 579
Convenient features
5-74
OOS047409N
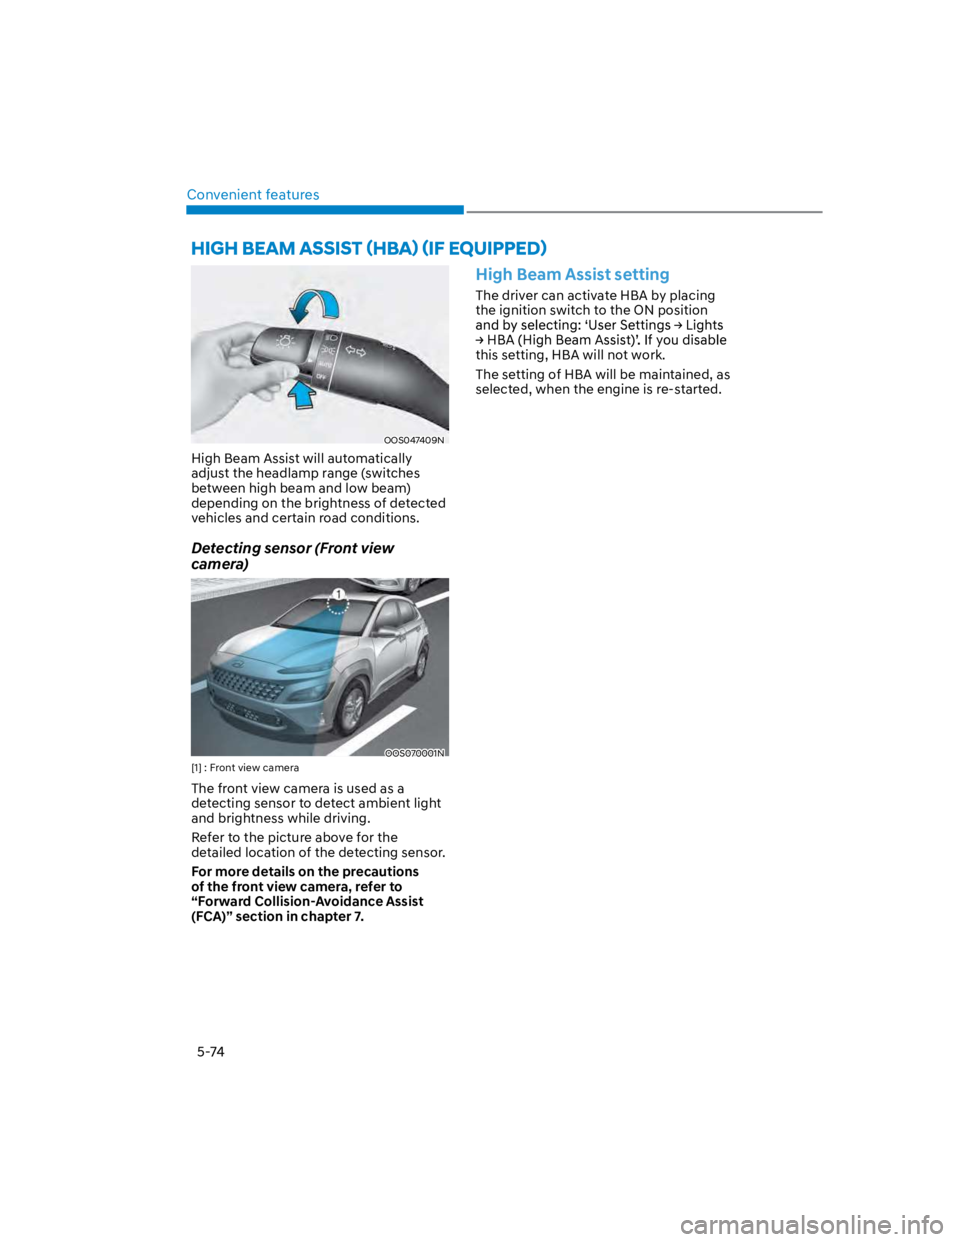
High Beam Assist will automatically
adjust the headlamp range (switches
between high beam and low beam)
depending on the brightness of detected
vehicles and certain road conditions.
Detecting sensor (Front view
camera)
OOS070001N
[1] : Front view camera
The front view camera is used as a
detecting sensor to detect ambient light
and brightness while driving.
Refer to the picture above for the
detailed location of the detecting sensor.
For more details on the precautions
of the front view camera, refer to
“Forward Collision-Avoidance Assist
(FCA)” section in chapter 7.
High Beam Assist setting
The driver can activate HBA by placing
the ignition switch to the ON position
this setting, HBA will not work.
The setting of HBA will be maintained, as
selected, when the engine is re-started.
Page 209 of 579
05
5-75
Operating condition
1. Place the lamp switch in the AUTO
position.
2. Turn on the high beam by pushing the
lever away from you.
3. High Beam Assist () indicator will
illuminate.
4. High Beam Assist will turn on when
vehicle speed is above 25mph (40
km/h).
1) If the lamp switch is pushed away
when High Beam Assist is operating,
High Beam Assist will turn off
and the high beam will be on
continuously.
2) If the lamp switch is pulled towards
you when the high beam is off, the
high beam will turn on without High
Beam Assist canceled. When you let
go of the lamp switch, the lever will
move to the middle and the high
beam will turn off.
3) If the lamp switch is pulled towards
you when the high beam is on by
High Beam Assist, the low beam
will be on and High Beam Assist will
turn off.
4) If the lamp switch is placed to the
headlamp position, High Beam
Assist will turn off and the low
beam will be on continuously.
When High Beam Assist is operating,
high beam switches to low beam if
any of the following conditions occur:
- When the headlamp of an
oncoming vehicle is detected.
- When the tail lamp of a vehicle in
front is detected.
- When the headlamp or tail lamp of a
motorcycle or a bicycle is detected.
- When the surrounding ambient light
is bright enough that high beams
are not required.
- When streetlights or other lights are
detected.
High Beam Assist malfunction
OOS047127L
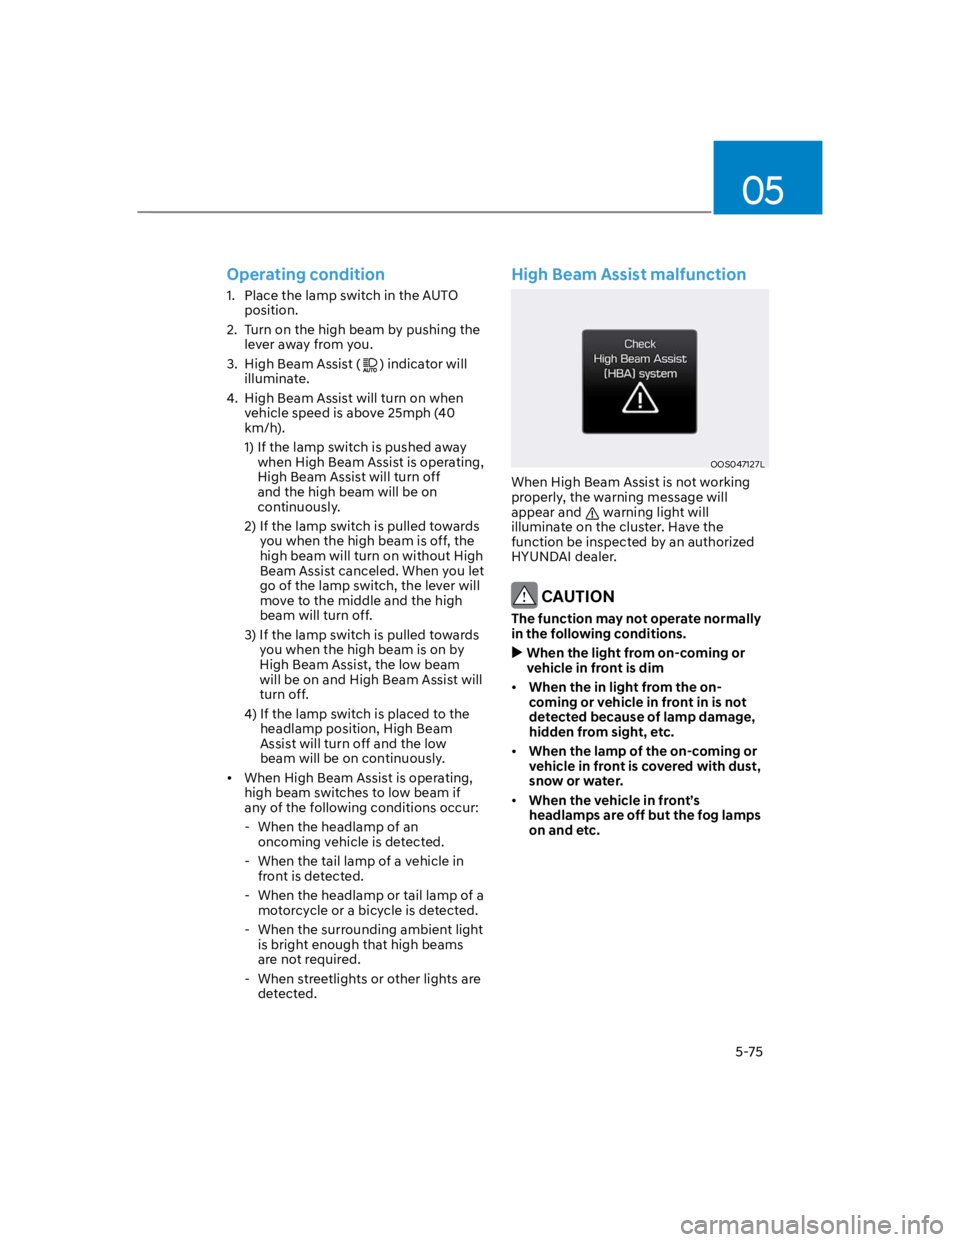
When High Beam Assist is not working
properly, the warning message will
appear and warning light will
illuminate on the cluster. Have the
function be inspected by an authorized
HYUNDAI dealer.
CAUTION
The function may not operate normally
in the following conditions.
When the light from on-coming or
vehicle in front is dim
When the in light from the on-
coming or vehicle in front in is not
detected because of lamp damage,
hidden from sight, etc.
When the lamp of the on-coming or
vehicle in front is covered with dust,
snow or water.
When the vehicle in front’s
headlamps are off but the fog lamps
on and etc.
Page 217 of 579
05
5-83
The mode selection knob controls the
direction of the air flow through the
ventilation system. Air can be directed
to the floor, dashboard outlets, or
windshield. Five symbols are used to
represent Face, Bi-Level, Floor, Floor-
Defrost and Defrost air position.
Air flow is directed toward the upper
body and face. Additionally, each outlet
can be controlled to direct the air
discharged from the outlet.
Air flow is directed towards the face and
the floor.
Most of the air flow is directed to the
floor, with a small amount of the air
being directed to the windshield and side
window defrosters.
Most of the air flow is directed to the
floor and the windshield with a small
amount directed to the side window
defrosters.
Most of the air flow is directed to the
windshield with a small amount of air
directed to the side window defrosters.
OOS047305
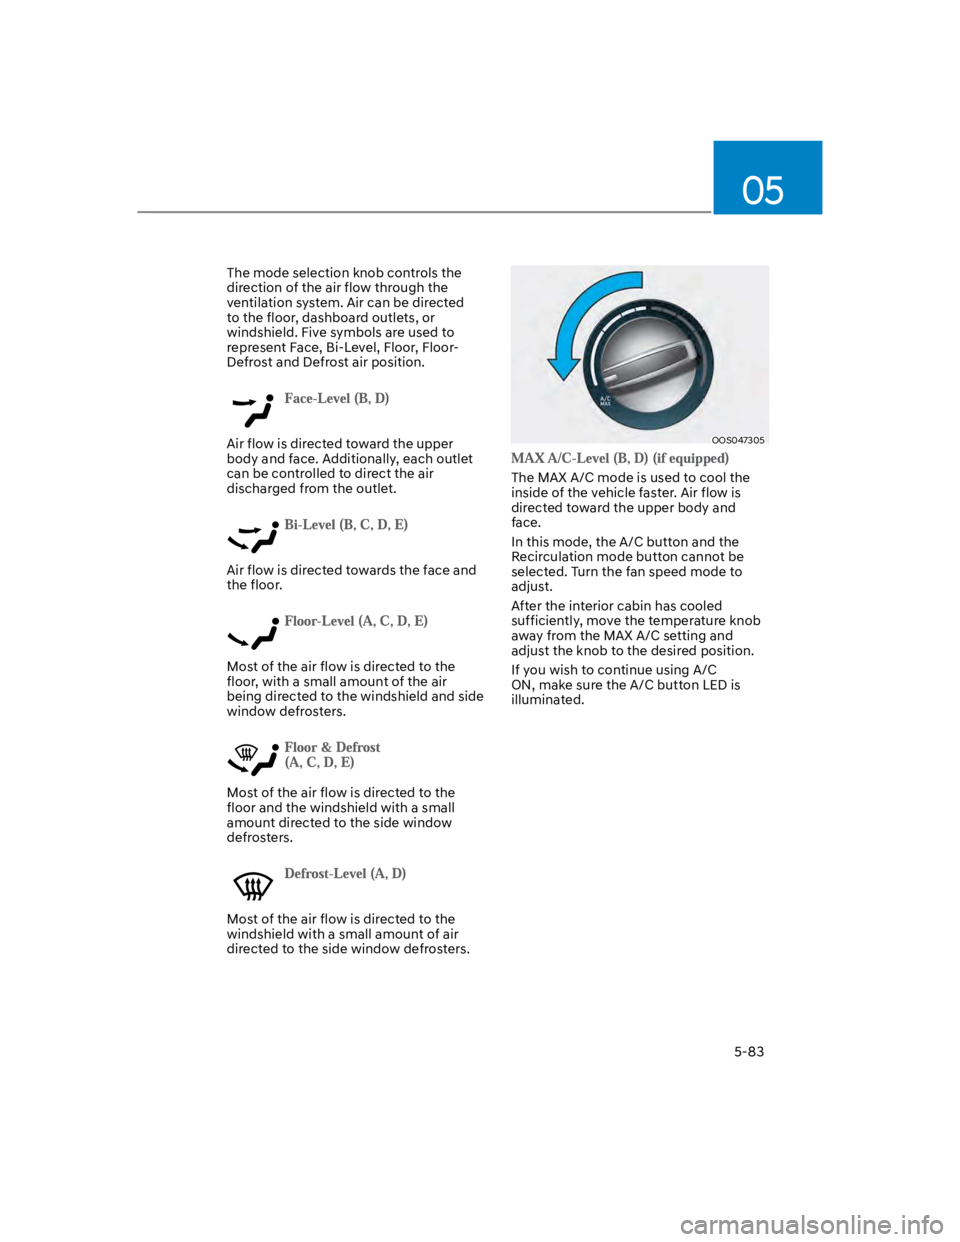
The MAX A/C mode is used to cool the
inside of the vehicle faster. Air flow is
directed toward the upper body and
face.
In this mode, the A/C button and the
Recirculation mode button cannot be
selected. Turn the fan speed mode to
adjust.
After the interior cabin has cooled
sufficiently, move the temperature knob
away from the MAX A/C setting and
adjust the knob to the desired position.
If you wish to continue using A/C
ON, make sure the A/C button LED is
illuminated.
Page 218 of 579
Convenient features
5-84
Instrument panel vents
OOS050102N
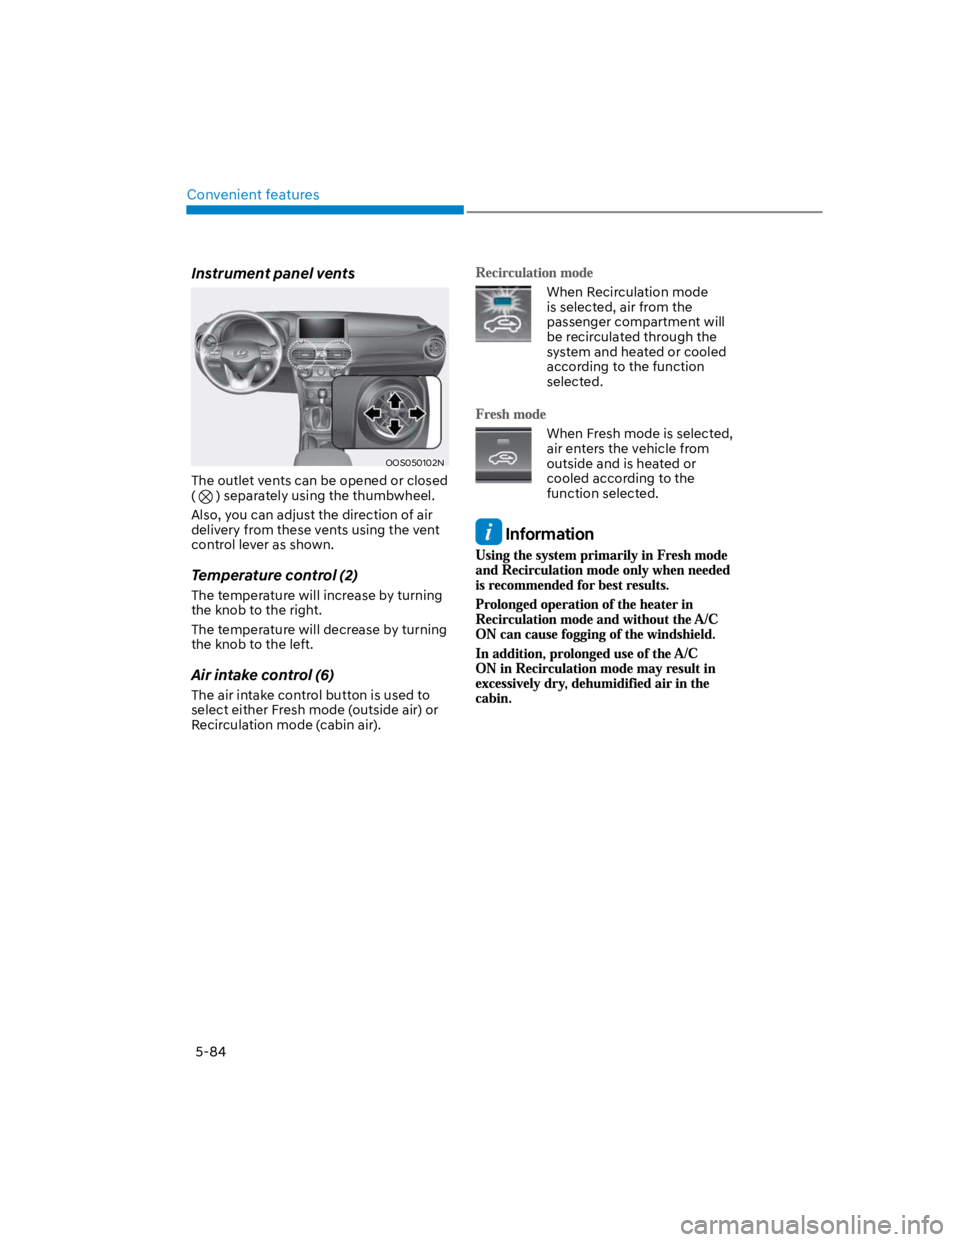
The outlet vents can be opened or closed
( ) separately using the thumbwheel.
Also, you can adjust the direction of air
delivery from these vents using the vent
control lever as shown.
Temperature control (2)
The temperature will increase by turning
the knob to the right.
The temperature will decrease by turning
the knob to the left.
Air intake control (6)
The air intake control button is used to
select either Fresh mode (outside air) or
Recirculation mode (cabin air).
When Recirculation mode
is selected, air from the
passenger compartment will
be recirculated through the
system and heated or cooled
according to the function
selected.
When Fresh mode is selected,
air enters the vehicle from
outside and is heated or
cooled according to the
function selected.
Information
Page 222 of 579
Convenient features
5-88
Checking the amount of air
conditioner refrigerant and
compressor lubricant
When the amount of refrigerant is low,
the performance of the air conditioning
is reduced. Overfilling also reduces the
performance of the air conditioning system.
Therefore, if abnormal operation is found,
have the system inspected by an authorized
HYUNDAI dealer.
NOTICE
It is important that the correct type and
amount of oil and refrigerant is used.
Otherwise, damage to the compressor
and abnormal system operation may
occur. To prevent damage, the air
conditioning system in your vehicle
should only be serviced by trained and
certified technicians.
WARNING
Vehicles equipped with R-1234yf
Since the refrigerant is
mildly flammable and
operated at high pressure,
the air conditioning system
should only be serviced
by trained and certified
technicians. It is important
that the correct type and
amount of oil and refrigerant
are used.
All refrigerants should be reclaimed
with proper equipment.
Venting refrigerants directly to the
atmosphere is harmful to individuals
and environment. Failure to heed these
warnings can lead to serious injuries.
OOS050010N
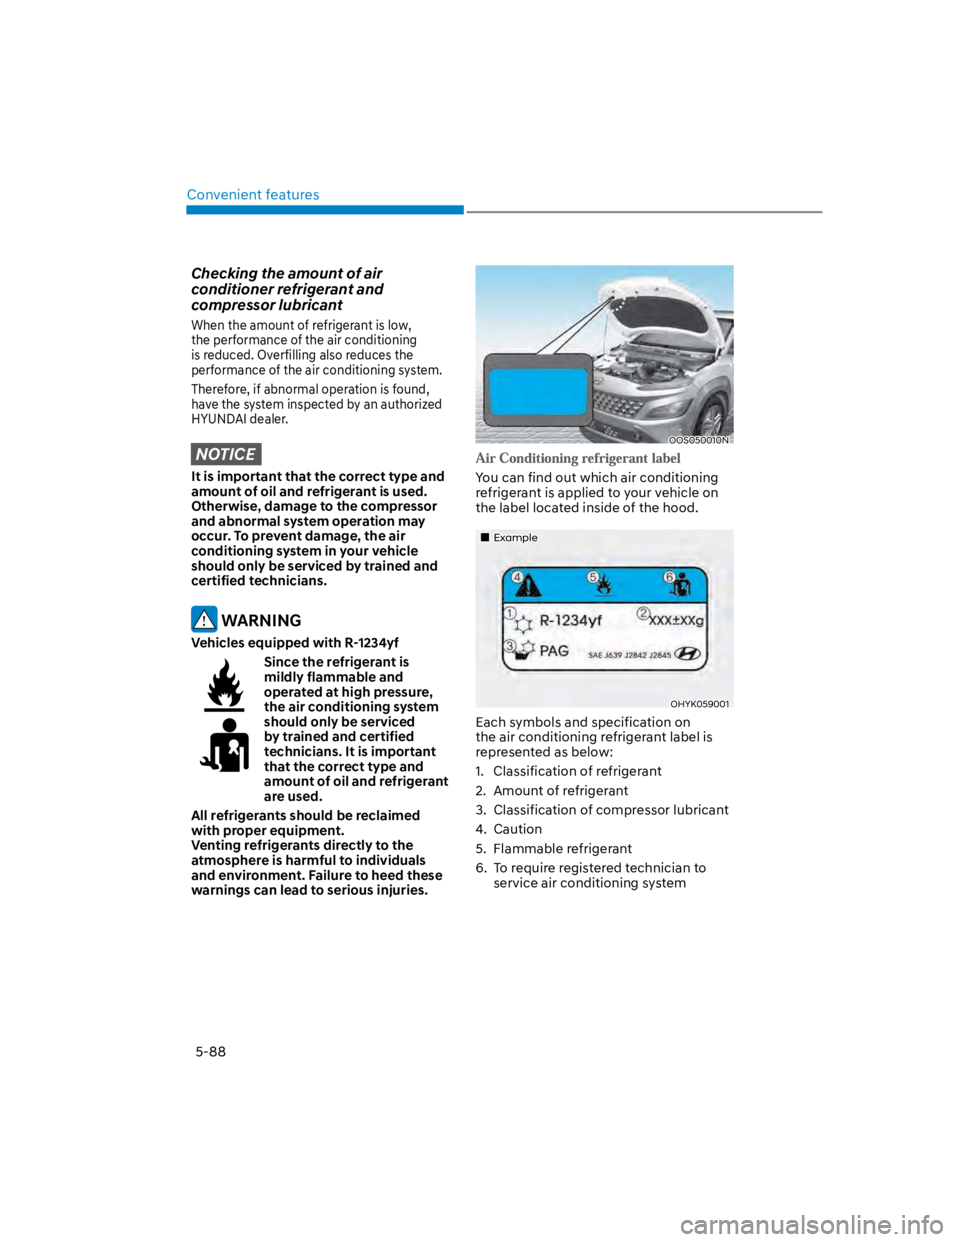
You can find out which air conditioning
refrigerant is applied to your vehicle on
the label located inside of the hood.
Example
OHYK059001
Each symbols and specification on
the air conditioning refrigerant label is
represented as below:
1. Classification of refrigerant
2. Amount of refrigerant
3. Classification of compressor lubricant
4. Caution
5. Flammable refrigerant
6. To require registered technician to
service air conditioning system
Page 224 of 579
Convenient features
5-90
Automatic heating and air
conditioning
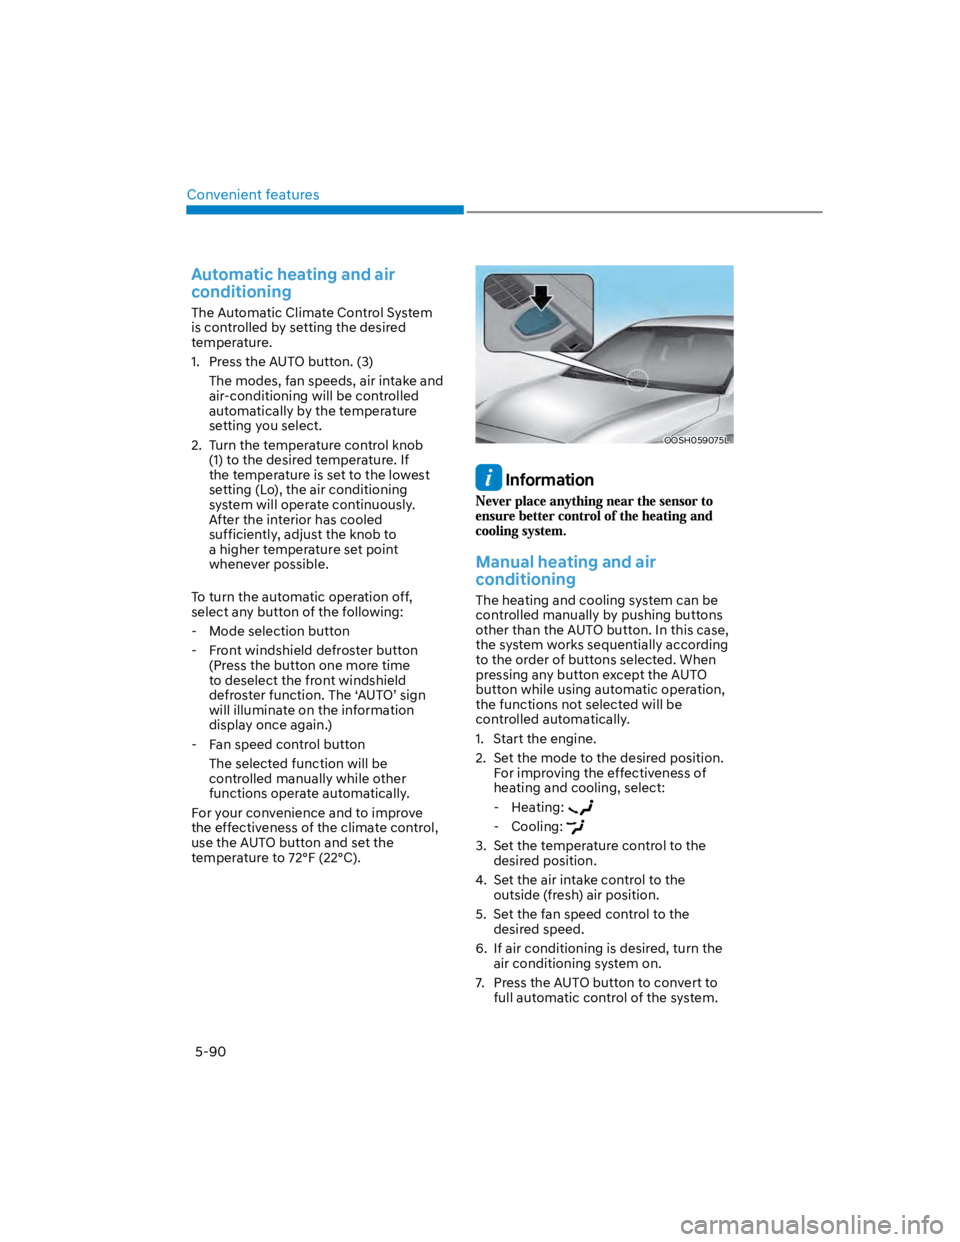
The Automatic Climate Control System
is controlled by setting the desired
temperature.
1. Press the AUTO button. (3)
The modes, fan speeds, air intake and
air-conditioning will be controlled
automatically by the temperature
setting you select.
2. Turn the temperature control knob
(1) to the desired temperature. If
the temperature is set to the lowest
setting (Lo), the air conditioning
system will operate continuously.
After the interior has cooled
sufficiently, adjust the knob to
a higher temperature set point
whenever possible.
To turn the automatic operation off,
select any button of the following:
- Mode selection button
- Front windshield defroster button
(Press the button one more time
to deselect the front windshield
defroster function. The ‘AUTO’ sign
will illuminate on the information
display once again.)
- Fan speed control button
The selected function will be
controlled manually while other
functions operate automatically.
For your convenience and to improve
the effectiveness of the climate control,
use the AUTO button and set the
temperature to 72°F (22°C).
OOSH059075L
Information
Manual heating and air
conditioning
The heating and cooling system can be
controlled manually by pushing buttons
other than the AUTO button. In this case,
the system works sequentially according
to the order of buttons selected. When
pressing any button except the AUTO
button while using automatic operation,
the functions not selected will be
controlled automatically.
1. Start the engine.
2. Set the mode to the desired position.
For improving the effectiveness of
heating and cooling, select:
- Heating:
- Cooling:
3. Set the temperature control to the
desired position.
4. Set the air intake control to the
outside (fresh) air position.
5. Set the fan speed control to the
desired speed.
6. If air conditioning is desired, turn the
air conditioning system on.
7. Press the AUTO button to convert to
full automatic control of the system.
Page 226 of 579
Convenient features
5-92
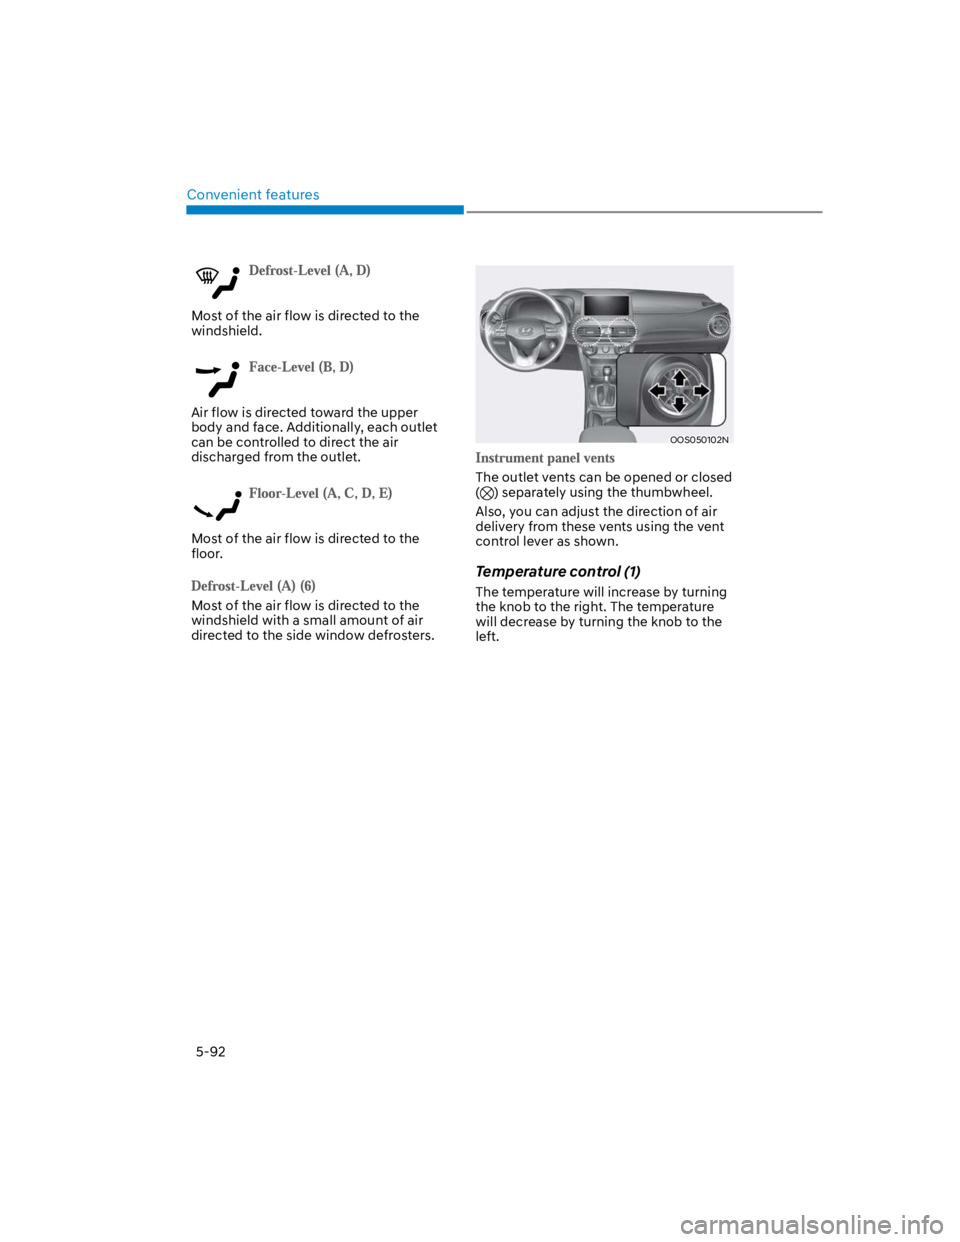
Most of the air flow is directed to the
windshield.
Air flow is directed toward the upper
body and face. Additionally, each outlet
can be controlled to direct the air
discharged from the outlet.
Most of the air flow is directed to the
floor.
Most of the air flow is directed to the
windshield with a small amount of air
directed to the side window defrosters.
OOS050102N
The outlet vents can be opened or closed
() separately using the thumbwheel.
Also, you can adjust the direction of air
delivery from these vents using the vent
control lever as shown.
Temperature control (1)
The temperature will increase by turning
the knob to the right. The temperature
will decrease by turning the knob to the
left.