2022 FORD F-550 change time
[x] Cancel search: change timePage 252 of 740

HOW DOES STABILITY
CONTROL WORK
WARNING: Vehicle modifications
involving braking system, aftermarket
roof racks, suspension, steering system,
tire construction and wheel and tire size
may change the handling characteristics
of your vehicle and may adversely affect
the performance of the electronic
stability control system. In addition,
installing any stereo speakers may
interfere with and adversely affect the
electronic stability control system.
Reducing the effectiveness of the
electronic stability control system could
lead to an increased risk of loss of vehicle
control, vehicle rollover, personal injury
and death. WARNING:
Remember that even
advanced technology cannot defy the
laws of physics. It's always possible to
lose control of a vehicle due to
inappropriate driver input for the
conditions. Aggressive driving on any
road condition can cause you to lose
control of your vehicle increasing the risk
of personal injury or property damage.
Activation of the electronic stability
control system is an indication that at
least some of the tires have exceeded
their ability to grip the road; this could
reduce the operator's ability to control
the vehicle potentially resulting in a loss
of vehicle control, vehicle rollover,
personal injury and death. WARNING: You are responsible for
controlling your vehicle at all times. The
system is designed to be an aid and does
not relieve you of your responsibility to
drive with due care and attention. Failure
to follow this instruction could result in
the loss of control of your vehicle,
personal injury or death.
If a driving condition activates either the
stability control or traction control you may
experience the following conditions:
• The stability and traction control light
flashes.
• Your vehicle slows down.
• Reduced engine power.
The stability control system has several
features built into it to help you maintain
control of your vehicle:
Electronic Stability Control
Electronic stability control enhances your
vehicle ’s ability to prevent skids or lateral
slides by applying brakes to one or more
of the wheels individually and, if necessary,
reducing engine power.
Roll Stability Control
Roll stability control enhances your
vehicle ’s ability to prevent rollovers by
detecting your vehicle ’s roll motion and
the rate at which it changes by applying
the brakes to one or more wheels
individually.
Curve Control
Curve control enhances your vehicle ’s
ability to follow the road when cornering
severely or avoiding objects in the roadway.
Curve control operates by reducing engine
power and, if necessary, applying brakes
to one or more of the wheels individually.
249
2022 Super Duty (TFE) Canada/United States of America, enUSA, Edition date: 202103, First-Printing Stability Control
Page 261 of 740

HYDRAULIC POWER STEERING
ADAPTIVE STEERING
Note:
The adaptive steering system has
diagnostic checks that continuously monitor
the system. If the system detects a fault, a
message displays in the information display.
If a red warning message displays, stop your
vehicle as soon as it is safe to do so. The
message may clear if the fault is no longer
present. If an adaptive steering system
warning message appears each time you
start your vehicle, have the system checked
as soon as possible.
The adaptive steering system continually
changes the steering ratio with changes to
vehicle speed, optimizing the steering
response in all conditions. The system also
changes when you switch on the
transmission tow/haul feature. When you
select the tow/haul button, the adaptive
steering system reduces vehicle sensitivity
to steering inputs at higher vehicle speeds,
while maintaining the ease of parking and
maneuverability at low speeds.
Note: The adaptive steering system is
designed with a locking device. With the
lock engaged, the adaptive steering system
remains mechanically locked at a fixed
steering ratio. You may also notice a click
when you switch the vehicle on or after you
switch it off, as the lock disengages or
engages. Note:
If your vehicle loses electrical power
or detects a fault when you are driving, the
system automatically shuts down and you
retain normal steering function with a fixed
steering ratio. During this time, it is possible
that the steering wheel may not be straight
when the vehicle is driving straight ahead.
In addition, the driver may notice that the
steering wheel angle required to steer the
vehicle may be different.
Note: During parking maneuvers, the
adaptive steering system balances the driver
workload for various steering wheel inputs
and vehicle loading conditions. Under
extreme operating conditions the system
locking device may engage. This strategy
prevents overheating and permanent
damage to the adaptive steering system.
Typical steering and driving maneuvers
allow the system to cool and return to
normal operation.
STEERING –
TROUBLESHOOTING
STEERING – WARNING
INDICATORS The adaptive steering system
indicator illuminates if the
system detects a fault during the
continuous diagnostic checks.
Note: If a red warning message displays,
stop your vehicle as soon as it is safe to do
so.
258
2022 Super Duty (TFE) Canada/United States of America, enUSA, Edition date: 202103, First-Printing SteeringE223375
Page 284 of 740

WHAT IS DRIVE MODE
CONTROL
Your vehicle has various drive modes that
you can select for different driving
conditions. Depending on the drive mode
that you select, the system adjusts various
vehicle settings.
HOW DOES DRIVE MODE
CONTROL WORK
Drive mode control adjusts your vehicle
configuration for each mode you select.
Changing the drive mode adjusts the
steering effort and feel of the steering
system.
The stability and traction control assist
your vehicle control in adverse conditions
or high-performance driving.
Throttle control enhances the powertrain
response, transmission controls become
optimized with shift schedules, and
four-wheel drive settings are optimized
and tuned to each mode.
Changing the drive mode can engage or
disengage the electronic locking
differentials.
Changing the drive mode changes the
four-wheel drive mode to the default
setting for the selected drive mode.
Note:
The system has diagnostic checks
that continuously monitor the system for
proper operation. If a mode is unavailable
due to a system fault, the drive mode
system defaults to normal. When the
system defaults to normal, the driveline
settings remain the same as prior to the
system fault. Note:
The system reverts to the normal
mode each time you start your vehicle. At
startup the system also displays a prompt
on the instrument cluster display that gives
you the option to return to the previously
selected drive mode during the last ignition
cycle. If you select yes, the system returns
to the last selected drive mode and the
default driveline settings associated with
that mode. If you select no, the system
remains in normal mode and the driveline
settings remain the same as selected in the
prior ignition cycle. If you do not select yes
or no, the system stays in normal mode and
the driveline settings remain the same as
selected in the prior ignition cycle.
SELECTING A DRIVE MODE To change the drive mode setting, press
the drive mode button. The drive mode
selection menu appears in the instrument
cluster and allows you to select through
the available drive modes.
281
2022 Super Duty (TFE) Canada/United States of America, enUSA, Edition date: 202103, First-Printing Drive Mode ControlE249567
Page 290 of 740
•
The lane is too narrow.
• Something is obscuring the camera or
it is unable to detect the lane markings
due to environment, traffic or vehicle
conditions.
• Entering or exiting a tight curve when
driving at high speeds.
The lane keeping system may not correct
lane positioning in any of the following
conditions:
• High winds.
• Uneven road surfaces.
• Heavy or uneven loads.
• Incorrect tire pressure.
SWITCHING THE LANE
KEEPING SYSTEM ON AND
OFF - VEHICLES WITH: 4.2
INCH SCREEN To activate the lane keeping
system, press the button on the
steering wheel.
To deactivate the lane keeping system,
press the button again.
Note: When switching the system on or off
a message appears in the information and
entertainment display to show the status.
Note: The system stores the on or off
setting until manually changed, unless it
detects a MyKey ™. If the system detects a
MyKey ™, it defaults to the last setting for
that MyKey ™.
Note: If the system detects a MyKey ™,
pressing the button does not affect the on
or off status of the system. You can only
change the mode and intensity settings.
System Settings
To switch the system on or off, use the
instrument cluster display: 1. Select Driver Assist.
2. Select
Lane-Keeping System.
3. Switch the feature on or off.
The system remembers the last selection.
You do not need to readjust the setting
each time you turn on your vehicle.
Sensitivity:
This setting allows you to
select where in the lane the system
provides a warning. Increasing the
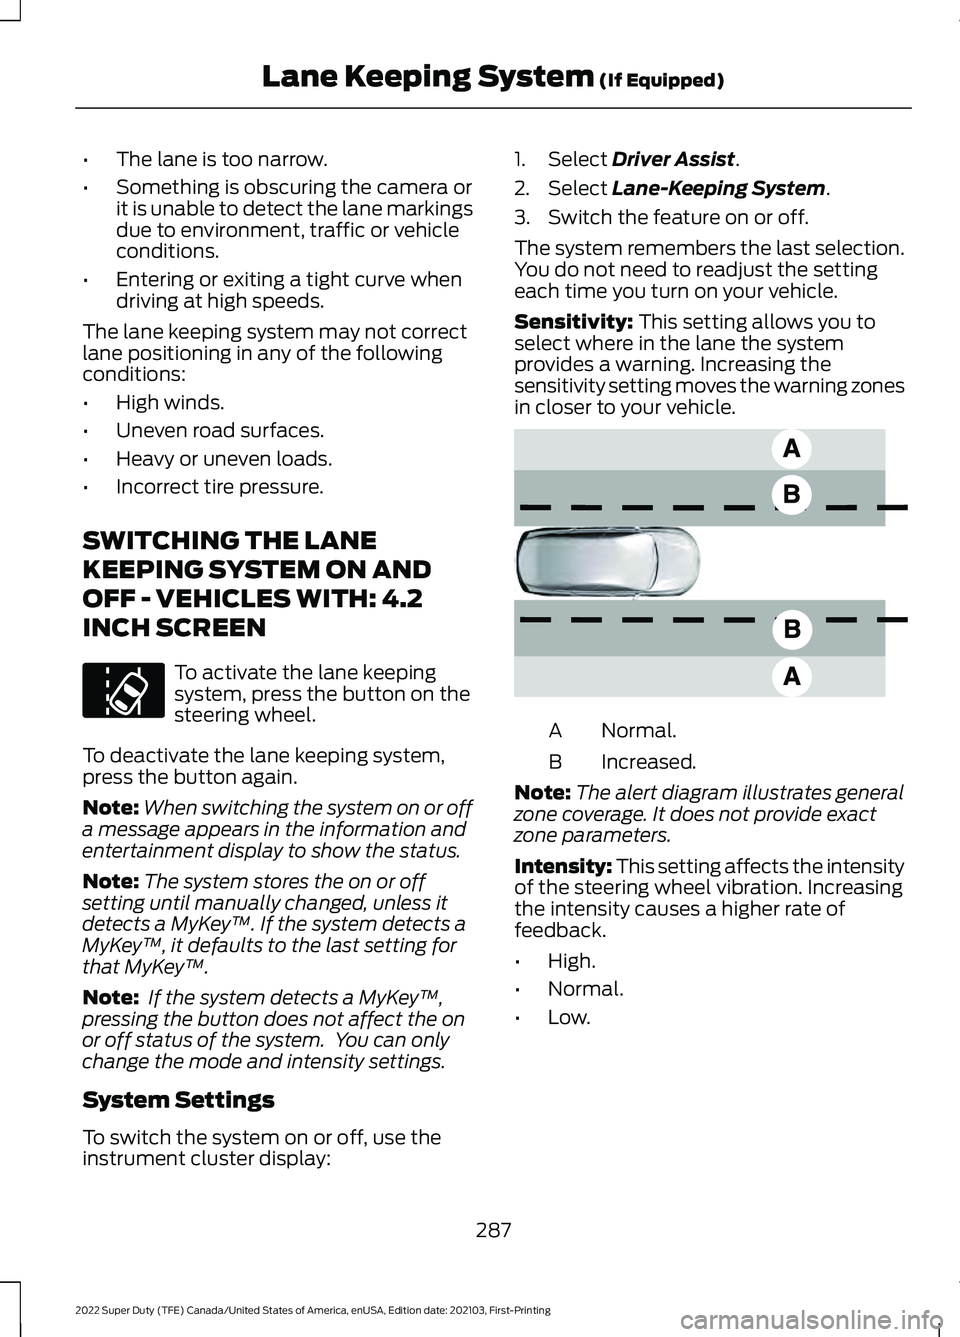
sensitivity setting moves the warning zones
in closer to your vehicle. Normal.
A
Increased.
B
Note: The alert diagram illustrates general
zone coverage. It does not provide exact
zone parameters.
Intensity: This setting affects the intensity
of the steering wheel vibration. Increasing
the intensity causes a higher rate of
feedback.
• High.
• Normal.
• Low.
287
2022 Super Duty (TFE) Canada/United States of America, enUSA, Edition date: 202103, First-Printing Lane Keeping System
(If Equipped)E173233 E165517
Page 291 of 740
SWITCHING THE LANE
KEEPING SYSTEM ON AND
OFF - VEHICLES WITH: 8 INCH
SCREEN
To activate the lane keeping
system, press the button on the
steering wheel.
To deactivate the lane keeping system,
press the button again.
Note: When switching the system on or off
a message appears in the information and
entertainment display to show the status.
Note: The system stores the on or off
setting until manually changed, unless it
detects a MyKey ™. If the system detects a
MyKey ™, it defaults to the last setting for
that MyKey ™.
Note: If the system detects a MyKey ™,
pressing the button does not affect the on
or off status of the system. You can only
change the mode and intensity settings.
System Settings
To switch the system on or off, use the
instrument cluster display:
1. Select Driver Assist.
2. Select
Lane-Keeping System.
3. Switch the feature on or off.
The system remembers the last selection.
You do not need to readjust the setting
each time you turn on your vehicle.
Sensitivity:
This setting allows you to
select where in the lane the system
provides a warning. Increasing the
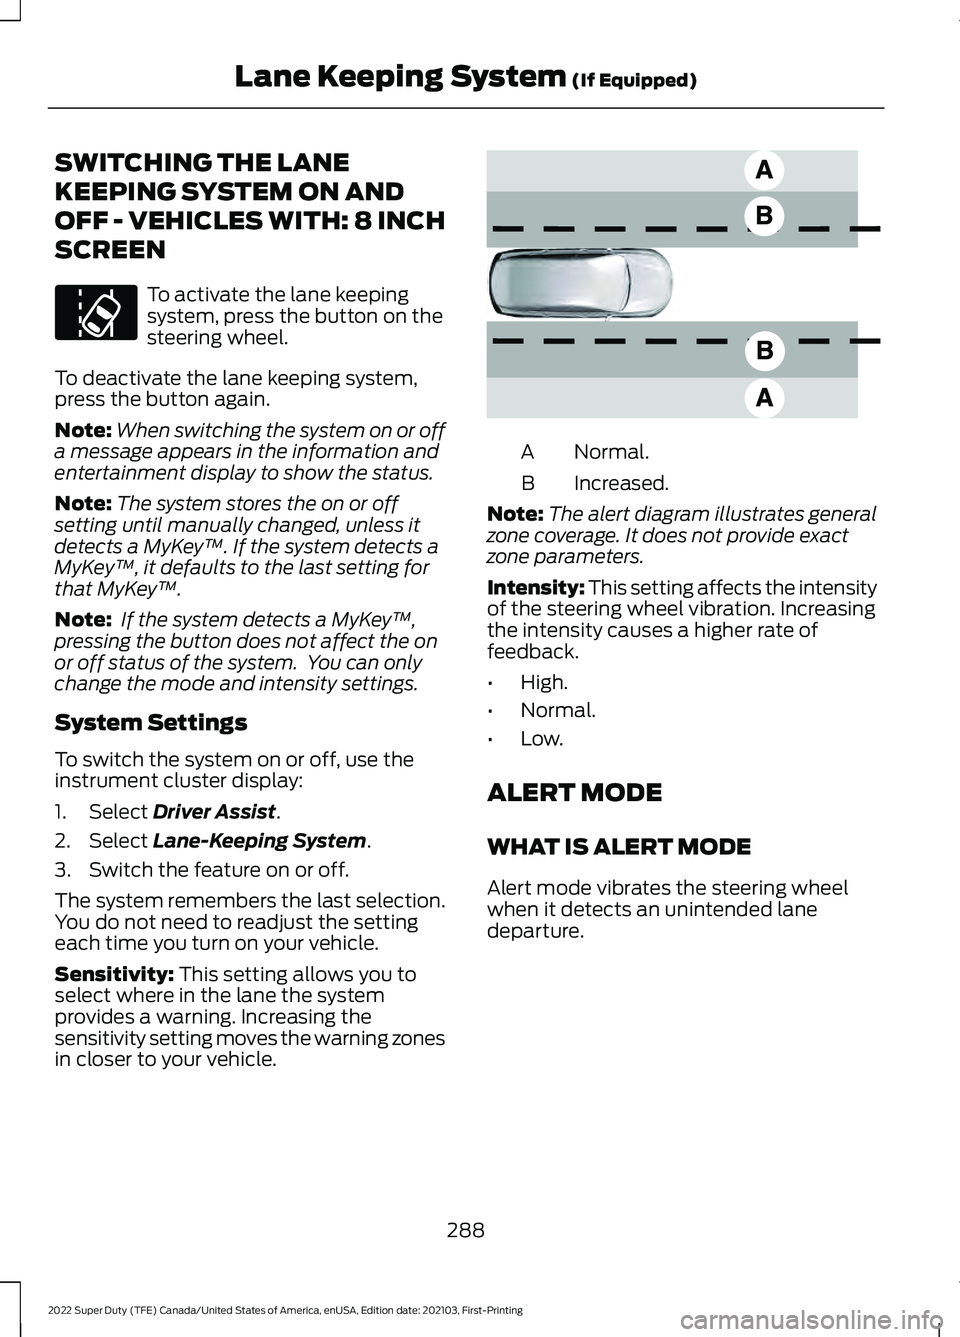
sensitivity setting moves the warning zones
in closer to your vehicle. Normal.
A
Increased.
B
Note: The alert diagram illustrates general
zone coverage. It does not provide exact
zone parameters.
Intensity: This setting affects the intensity
of the steering wheel vibration. Increasing
the intensity causes a higher rate of
feedback.
• High.
• Normal.
• Low.
ALERT MODE
WHAT IS ALERT MODE
Alert mode vibrates the steering wheel
when it detects an unintended lane
departure.
288
2022 Super Duty (TFE) Canada/United States of America, enUSA, Edition date: 202103, First-Printing Lane Keeping System
(If Equipped)E173233 E165517
Page 294 of 740
LANE KEEPING SYSTEM – FREQUENTLY ASKED QUESTIONS
Why is the feature not available (lane markings are gray) when I can see the lane markings
on the road?
Your vehicle speed is less than 40 mph (65 km/h).
The sun is shining directly into the camera lens. A quick intentional lane change has occurred.
Your vehicle stays too close to the lane markings for an extended interval of time. Driving at high speeds in curves.
The last alert warning or aid intervention occurred a short time ago. Ambiguous lane markings, for example, in construction zones. Rapid transition from light to dark, or from dark to light. Sudden offset in lane markings.
ABS or AdvanceTrac ™ is active.
There is a camera blockage due to dirt, grime, fog, frost or water on the windshield. You are driving too close to the vehicle in front of you.
Transitioning between no lane markings to lane markings, or vice versa. There is standing water on the road.
Faint lane markings, for example, partial yellow lane markings on concrete roads. Lane width is too narrow or too wide.
You have not calibrated the camera after a windshield replacement. Driving on tight or on uneven roads.
291
2022 Super Duty (TFE) Canada/United States of America, enUSA, Edition date: 202103, First-Printing Lane Keeping System
(If Equipped)
Page 345 of 740
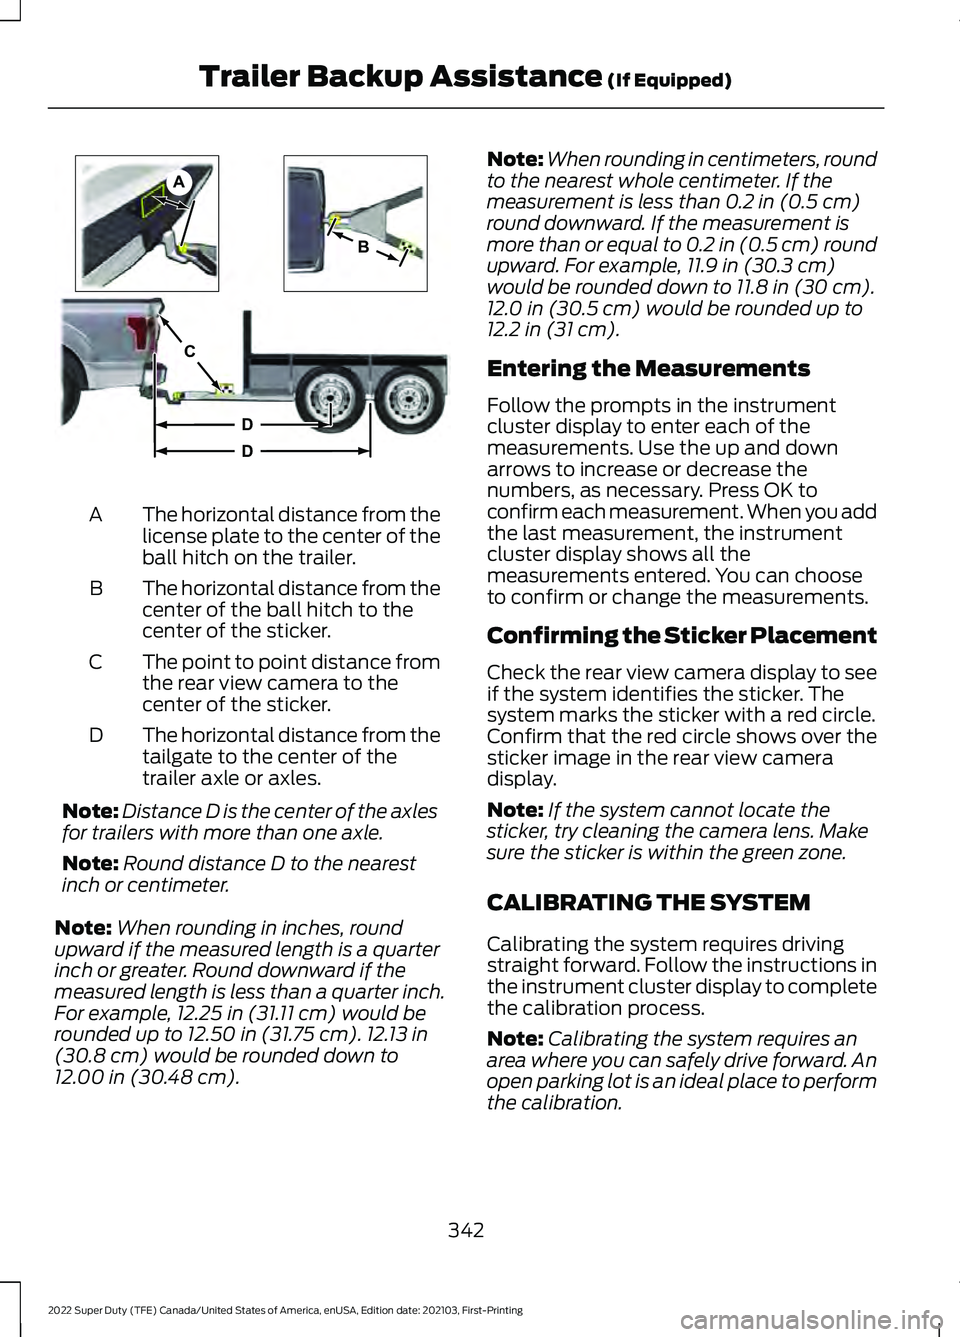
The horizontal distance from the
license plate to the center of the
ball hitch on the trailer.
A
The horizontal distance from the
center of the ball hitch to the
center of the sticker.
B
The point to point distance from
the rear view camera to the
center of the sticker.
C
The horizontal distance from the
tailgate to the center of the
trailer axle or axles.
D
Note: Distance D is the center of the axles
for trailers with more than one axle.
Note: Round distance D to the nearest
inch or centimeter.
Note: When rounding in inches, round
upward if the measured length is a quarter
inch or greater. Round downward if the
measured length is less than a quarter inch.
For example, 12.25 in (31.11 cm) would be
rounded up to 12.50 in (31.75 cm). 12.13 in
(30.8 cm) would be rounded down to
12.00 in (30.48 cm). Note:
When rounding in centimeters, round
to the nearest whole centimeter. If the
measurement is less than
0.2 in (0.5 cm)
round downward. If the measurement is
more than or equal to 0.2 in (0.5 cm) round
upward. For example, 11.9 in (30.3 cm)
would be rounded down to
11.8 in (30 cm).
12.0 in (30.5 cm) would be rounded up to
12.2 in (31 cm).
Entering the Measurements
Follow the prompts in the instrument
cluster display to enter each of the
measurements. Use the up and down
arrows to increase or decrease the
numbers, as necessary. Press OK to
confirm each measurement. When you add
the last measurement, the instrument
cluster display shows all the
measurements entered. You can choose
to confirm or change the measurements.
Confirming the Sticker Placement
Check the rear view camera display to see
if the system identifies the sticker. The
system marks the sticker with a red circle.
Confirm that the red circle shows over the
sticker image in the rear view camera
display.
Note: If the system cannot locate the
sticker, try cleaning the camera lens. Make
sure the sticker is within the green zone.
CALIBRATING THE SYSTEM
Calibrating the system requires driving
straight forward. Follow the instructions in
the instrument cluster display to complete
the calibration process.
Note: Calibrating the system requires an
area where you can safely drive forward. An
open parking lot is an ideal place to perform
the calibration.
342
2022 Super Duty (TFE) Canada/United States of America, enUSA, Edition date: 202103, First-Printing Trailer Backup Assistance
(If Equipped)A
B
C
D
DE209806
Page 356 of 740
Why does the trailer not reverse
straight when using a conventional
trailer?
Factors such as the drawbar
connection to the hitch receiver, road
camber, road grade and compliance
in the trailer suspension can influence
how straight the system is able to
reverse your trailer when the knob is
not turned. You can compensate for
the trailer drifting to the right or left by
slowly turning the knob until the trailer
is following your preferred path and
then holding the knob in that position.
If you would like to recalibrate the
system for straight backing, change
the sticker option in the instrument
cluster display. Confirm the
measurements, and the system
prompts you to perform the calibration
procedure.
Why does the trailer not reverse
straight when using a fifth-wheel or
gooseneck trailer? Verify the sensor is correctly installed.
Other factors such as the hitch
connection, road camber, road slope
and trailer suspension could influence
how straight the system can reverse
the trailer when the control knob is not
turned. You can compensate for the
trailer drifting to the right or left by
slowly turning the knob until the trailer
is following your desired path and then
holding the knob in that position. Why does the system not detect a
sensor?
There could be an issue with the
connection, the wiring harness could
be damaged, you could have multiple
sensors connected or the sensor could
be incorrectly installed. Check that the
12-way connector is fully inserted into
the 12-way socket. The red rubber seal
is not visible when the connector is
fully inserted. Also check that the
wiring harness sensor connection is
fully inserted at the trailer sensor, and
check for damaged wiring between
the 12-way connector and the trailer
sensor. Also, check that the sensor is
installed on a vertical surface with the
arrows pointing straight up.
What does it mean if the system
remains on one message for an
extended time during calibration when
setting up the system with a
conventional trailer? The camera could need to be cleaned,
the sticker could be blocked, the
drawbar could be outside the allowed
range of 4–19 in (10–48 cm) or you
could need to move to a different area
to change the lighting and background.
Verify the sticker is in the proper
location. See
Applying the Trailer
Reversing Aid Sticker (page 341).
You can move to a different area or
change the direction you are driving or
setup the system at a different time
of day. Some trailers are not
compatible with the sticker and
camera system.
What does it mean if the system pauses
during calibration? There could be steering input or trailer
movement during the straight drive
portion of the calibration process.
353
2022 Super Duty (TFE) Canada/United States of America, enUSA, Edition date: 202103, First-Printing Trailer Backup Assistance
(If Equipped)