2022 CHEVROLET SILVERADO 2500 sensor
[x] Cancel search: sensorPage 143 of 441

Chevrolet Silverado 2500 HD/3500 HD Owner Manual (GMNA-Localizing-U.
S./Canada/Mexico-15546003) - 2022 - CRC - 5/5/21
142 Lighting
There is a light sensor on top of the
instrument panel. Do not cover the sensor,
otherwise the headlamps will come on when
they are not needed.
The system may also turn on the headlamps
when driving through a parking garage or
tunnel.
If the vehicle is started in a dark garage, the
automatic headlamp system comes on
immediately. If it is light outside when the
vehicle leaves the garage, there is a slight
delay before the automatic headlamp
system changes to the Daytime Running
Lamps (DRL). During that delay, the
instrument cluster may not be as bright as
usual. Make sure the instrument panelillumination control is in the full bright
position. See
Instrument Panel Illumination
Control 0145.
When it is bright enough outside, the
headlamps will turn off or may change
to DRL.
The automatic headlamp system turns off
when the exterior lamp control is turned to
Oor the ignition is off.
Lights On with Wipers
If the windshield wipers are activated in
daylight with the engine on, and the
exterior lamp control is in AUTO, the
headlamps, parking lamps, and other
exterior lamps come on. The transition time
for the lamps coming on varies based on
wiper speed. When the wipers are not
operating, these lamps turn off. Move the
exterior lamp control to
Oor;to disable
this feature.
Hazard Warning Flashers
|: Press this button to make the front
and rear turn signal lamps flash on and off.
Press again to turn the flashers off.
When the hazard warning flashers are on,
the vehicle's turn signals will not work.
Page 190 of 441
Chevrolet Silverado 2500 HD/3500 HD Owner Manual (GMNA-Localizing-U.
S./Canada/Mexico-15546003) - 2022 - CRC - 5/5/21
Infotainment System 189
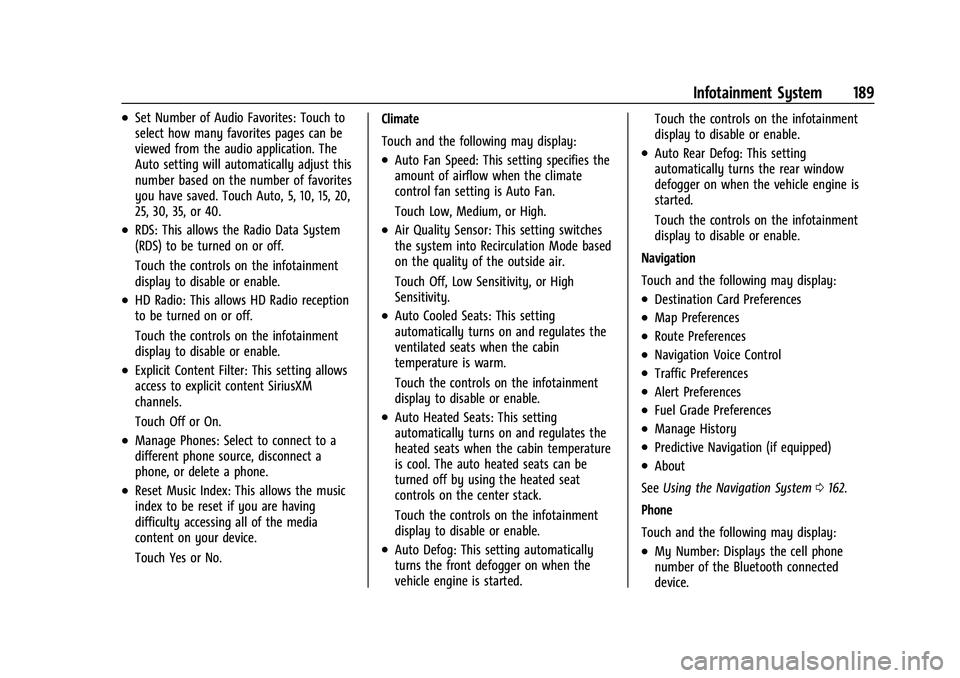
.Set Number of Audio Favorites: Touch to
select how many favorites pages can be
viewed from the audio application. The
Auto setting will automatically adjust this
number based on the number of favorites
you have saved. Touch Auto, 5, 10, 15, 20,
25, 30, 35, or 40.
.RDS: This allows the Radio Data System
(RDS) to be turned on or off.
Touch the controls on the infotainment
display to disable or enable.
.HD Radio: This allows HD Radio reception
to be turned on or off.
Touch the controls on the infotainment
display to disable or enable.
.Explicit Content Filter: This setting allows
access to explicit content SiriusXM
channels.
Touch Off or On.
.Manage Phones: Select to connect to a
different phone source, disconnect a
phone, or delete a phone.
.Reset Music Index: This allows the music
index to be reset if you are having
difficulty accessing all of the media
content on your device.
Touch Yes or No.Climate
Touch and the following may display:
.Auto Fan Speed: This setting specifies the
amount of airflow when the climate
control fan setting is Auto Fan.
Touch Low, Medium, or High.
.Air Quality Sensor: This setting switches
the system into Recirculation Mode based
on the quality of the outside air.
Touch Off, Low Sensitivity, or High
Sensitivity.
.Auto Cooled Seats: This setting
automatically turns on and regulates the
ventilated seats when the cabin
temperature is warm.
Touch the controls on the infotainment
display to disable or enable.
.Auto Heated Seats: This setting
automatically turns on and regulates the
heated seats when the cabin temperature
is cool. The auto heated seats can be
turned off by using the heated seat
controls on the center stack.
Touch the controls on the infotainment
display to disable or enable.
.Auto Defog: This setting automatically
turns the front defogger on when the
vehicle engine is started. Touch the controls on the infotainment
display to disable or enable.
.Auto Rear Defog: This setting
automatically turns the rear window
defogger on when the vehicle engine is
started.
Touch the controls on the infotainment
display to disable or enable.
Navigation
Touch and the following may display:
.Destination Card Preferences
.Map Preferences
.Route Preferences
.Navigation Voice Control
.Traffic Preferences
.Alert Preferences
.Fuel Grade Preferences
.Manage History
.Predictive Navigation (if equipped)
.About
See Using the Navigation System 0162.
Phone
Touch and the following may display:
.My Number: Displays the cell phone
number of the Bluetooth connected
device.
Page 207 of 441
Chevrolet Silverado 2500 HD/3500 HD Owner Manual (GMNA-Localizing-U.
S./Canada/Mexico-15546003) - 2022 - CRC - 5/5/21
206 Climate Controls
Changing the mode cancels the automatic
operation and the system goes into manual
mode. Press AUTO to return to automatic
operation.
To change the current mode, select one or
more of the following:
z:Air is directed to the windshield,
outboard a/c outlets, and side window
outlets.
Y: Air is directed to the a/c outlets.
[:Air is directed to the floor outlets,
with some air directed to the windshield,
outboard a/c outlets, and side window
outlets.
0MAX : Air is directed to the windshield
and the fan runs at a higher speed if not
already above a medium fan speed. This
mode overrides the previous mode selected
and clears fog or frost from the windshield
more quickly. When the control is pressed
again, the system returns to the previous
mode setting and fan speed.
For best results, clear all snow and ice from
the windshield before defrosting.
@: Press to turn on recirculation. An
indicator light comes on. Air is recirculated
to quickly cool the inside of the vehicle.
It can also be used to help reduce outside
air and odors that enter the vehicle.
Avoid using recirculation for long periods of
time in cold or damp conditions. Using
recirculation in cold or damp conditions can
result in window fogging.
A/C : Press to turn the air conditioning on
or off. An indicator light comes on to show
that the air conditioning is enabled. If the
fan is turned off, the air conditioner will not
run. The A/C light will stay on even if the
outside temperatures are below freezing.
Rear Window Defogger
1REAR : If equipped, press to turn the
rear window defogger on or off. An indicator
light on the button comes on to show that
the rear window defogger is on.
The rear window defogger only works when
the engine is running. The defogger turns
off if the ignition is turned off or to ACC/
ACCESSORY.
If equipped with heated outside mirrors,
press
fto turn them on or off. See Heated
Mirrors 037.
Caution
Using a razor blade or sharp object to
clear the inside rear window can damage
the rear window defogger. Repairs would
not be covered by the vehicle warranty.
Do not clear the inside rear window with
sharp objects.
Remote Start Climate Control Operation :
If equipped with remote start, the climate
control system may run when the vehicle is
started remotely. If equipped with heated or
ventilated seats or a heated steering wheel,
these features may come on during a
remote start. See Remote Vehicle Start 020,
Heated and Ventilated Front Seats 053, and
Heated Steering Wheel 0101.
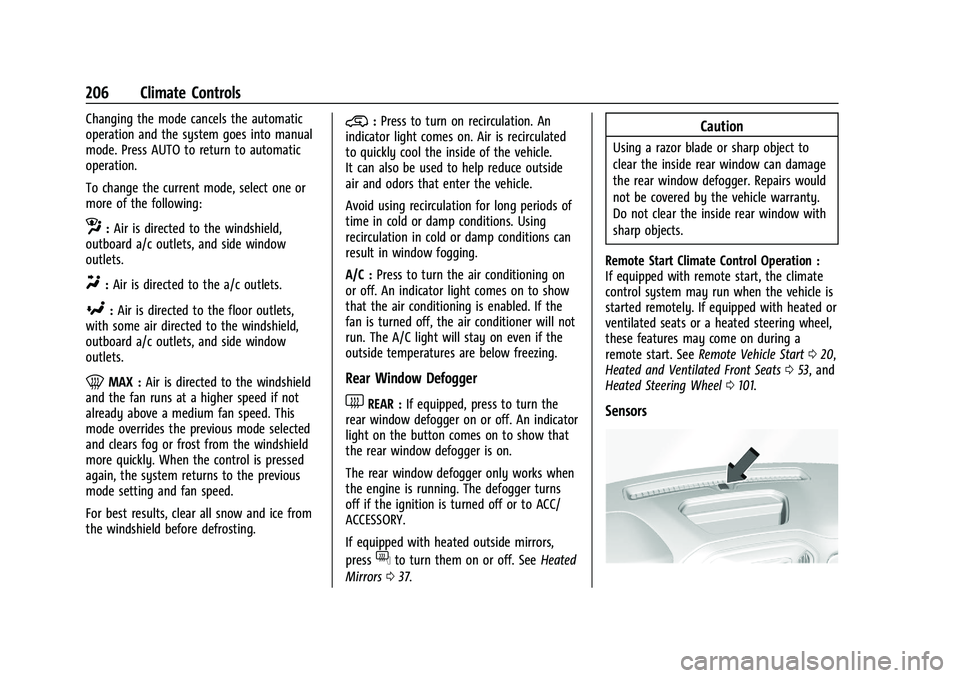
Sensors
Page 208 of 441
Chevrolet Silverado 2500 HD/3500 HD Owner Manual (GMNA-Localizing-U.
S./Canada/Mexico-15546003) - 2022 - CRC - 5/5/21
Climate Controls 207
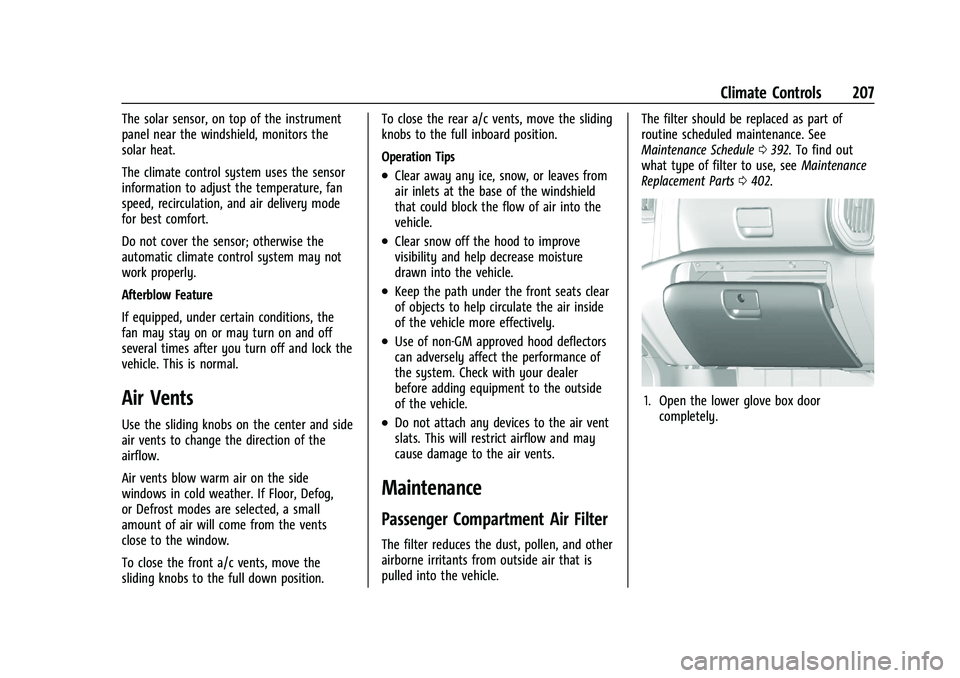
The solar sensor, on top of the instrument
panel near the windshield, monitors the
solar heat.
The climate control system uses the sensor
information to adjust the temperature, fan
speed, recirculation, and air delivery mode
for best comfort.
Do not cover the sensor; otherwise the
automatic climate control system may not
work properly.
Afterblow Feature
If equipped, under certain conditions, the
fan may stay on or may turn on and off
several times after you turn off and lock the
vehicle. This is normal.
Air Vents
Use the sliding knobs on the center and side
air vents to change the direction of the
airflow.
Air vents blow warm air on the side
windows in cold weather. If Floor, Defog,
or Defrost modes are selected, a small
amount of air will come from the vents
close to the window.
To close the front a/c vents, move the
sliding knobs to the full down position.To close the rear a/c vents, move the sliding
knobs to the full inboard position.
Operation Tips
.Clear away any ice, snow, or leaves from
air inlets at the base of the windshield
that could block the flow of air into the
vehicle.
.Clear snow off the hood to improve
visibility and help decrease moisture
drawn into the vehicle.
.Keep the path under the front seats clear
of objects to help circulate the air inside
of the vehicle more effectively.
.Use of non-GM approved hood deflectors
can adversely affect the performance of
the system. Check with your dealer
before adding equipment to the outside
of the vehicle.
.Do not attach any devices to the air vent
slats. This will restrict airflow and may
cause damage to the air vents.
Maintenance
Passenger Compartment Air Filter
The filter reduces the dust, pollen, and other
airborne irritants from outside air that is
pulled into the vehicle.
The filter should be replaced as part of
routine scheduled maintenance. See
Maintenance Schedule
0392. To find out
what type of filter to use, see Maintenance
Replacement Parts 0402.
1. Open the lower glove box door
completely.
Page 253 of 441
Chevrolet Silverado 2500 HD/3500 HD Owner Manual (GMNA-Localizing-U.
S./Canada/Mexico-15546003) - 2022 - CRC - 5/5/21
252 Driving and Operating
the release to override cruise control, briefly
pressing SET–will result in cruise control set
to the current vehicle speed.
Using Cruise Control on Hills
How well the cruise control works on hills
depends on the vehicle speed, the load, and
the steepness of the hills. When going up
steep hills, pressing the accelerator pedal
may be necessary to maintain vehicle speed.
While going downhill, cruise braking helps
maintain driver selected speed.
Cruise Grade Braking is enabled when the
vehicle is started and cruise control is active.
It is not enabled in Range Selection Mode.
It assists in maintaining driver selected
speed when driving on downhill grades by
using the engine and transmission to slow
the vehicle.
For other forms of descent control, see Hill
Descent Control (HDC) 0248, Automatic
Transmission 0235, and Tow/Haul Mode
0 240.
Ending Cruise Control
There are four ways to end cruise control:
.Step lightly on the brake pedal.
.Press*.
.Shift the transmission to N (Neutral).
.To turn off cruise control, press5.
Erasing Speed Memory
The cruise control set speed is erased from
memory if
5is pressed or the ignition is
turned off.
Driver Assistance Systems
This vehicle may have features that work
together to help avoid crashes or reduce
crash damage while driving, backing, and
parking. Read this entire section before
using these systems.
{Warning
Do not rely on the Driver Assistance
Systems. These systems do not replace
the need for paying attention and driving
safely. You may not hear or feel alerts or
warnings provided by these systems.
Failure to use proper care when driving
may result in injury, death, or vehicle
damage. See Defensive Driving 0211.
Under many conditions, these systems
will not: (Continued)
Warning (Continued)
.Detect children, pedestrians, bicyclists,
or animals.
.Detect vehicles or objects outside the
area monitored by the system.
.Work at all driving speeds.
.Warn you or provide you with enough
time to avoid a crash.
.Work under poor visibility or bad
weather conditions.
.Work if the detection sensor is not
cleaned or is covered by ice, snow,
mud, or dirt.
.Work if the detection sensor is
covered up, such as with a sticker,
magnet, or metal plate.
.Work if the area surrounding the
detection sensor is damaged or not
properly repaired.
Complete attention is always required
while driving, and you should be ready to
take action and apply the brakes and/or
steer the vehicle to avoid crashes.
Page 262 of 441
Chevrolet Silverado 2500 HD/3500 HD Owner Manual (GMNA-Localizing-U.
S./Canada/Mexico-15546003) - 2022 - CRC - 5/5/21
Driving and Operating 261
Troubleshooting
The Transparent Trailer calibration may take
longer than expected or not calibrate if:
.The vehicle is driven too fast during
calibration. Speed should be maintained
below 50 km/h (31 mph).
.The vehicle is not driven straight during
calibration. Steering should be maintained
as straight as possible, excessive steering
during calibration may extend
calibration time.
.The calibration is attempted in low light.
Calibration should be attempted when
there is enough light.
.The calibration is attempted during
adverse weather conditions. Calibration
during conditions such as snow or heavy
rain should be avoided.
.The road surface is not ideal for
calibration. Calibration should be
attempted on an alternate road surface.
.The accessory trailer cameras are
swapped at the hitch connector. Ensure
that the camera mounted to the rear of
the trailer is connected to the rear trailer
camera input.
.The accessory trailer camera is mounted,
angled or rotated outside of the defined
mounting location (see camera
installation instructions).
Distortion may be observed in the calibrated
Transparent Trailer View if:
.The accessory trailer camera is mounted,
angled or rotated outside of the defined
mounting location (see camera
installation instructions).
The Transparent Trailer icon may appear
grayed out if:
.A compatible trailer profile is not
configured or a non-compatible trailer
profile is selected.
.The vehicle is in R (Reverse).
.The trailer is not connected.
.The accessory rear trailer camera is not
connected or connected to the incorrect
input.
The preview may not be provided or the
wrong preview may be provided if:
.The accessory cameras are not recognized.
Ensure that the accessory camera(s) are
connected and power cycle the vehicle.
.The accessory trailer cameras are
swapped at the hitch connector. Ensure
that the accessory camera(s) are
connected to the correct input.
.The accessory trailer camera(s) are
connected to the correct camera input.
.The accessory trailer camera(s) are not
installed according to the installation
instructions.
A feature may be unavailable or not
activating as expected if:
.The customization is disabled. Check the
customization settings where applicable.
.The accessory trailer cameras are
swapped at the hitch connector. Ensure
that the accessory camera(s) are
connected to the correct camera input.
A view may switch automatically if:
.The vehicle is shifted to another gear.
Park Assist
If the vehicle has Rear Park Assist (RPA) or
Front and Rear Park Assist (FRPA), as the
vehicle moves at speeds of less than 8 km/h
(5 mph) the sensors on the bumpers may
detect objects up to 1.2 m (4 ft) in front and
2.5 m (8 ft) behind the vehicle within a zone
25 cm (10 in) high off the ground and below
Page 263 of 441

Chevrolet Silverado 2500 HD/3500 HD Owner Manual (GMNA-Localizing-U.
S./Canada/Mexico-15546003) - 2022 - CRC - 5/5/21
262 Driving and Operating
bumper level. These detection distances may
be shorter during warmer or humid weather.
Blocked sensors will not detect objects and
can also cause false detections. Keep the
sensors clean of mud, dirt, snow, ice, and
slush; and clean sensors after a car wash in
freezing temperatures.
{Warning
The Park Assist system does not detect
children, pedestrians, bicyclists, animals,
or objects located below the bumper or
that are too close or too far from the
vehicle. It is not available at speeds
greater than 8 km/h (5 mph). To prevent
injury, death, or vehicle damage, even
with Park Assist, always check the area
around the vehicle and check all mirrors
before moving forward or backing.
The instrument cluster may have a Park
Assist display with bars that show“distance
to object” and object location information
for the Front and Rear Park Assist system.
As the object gets closer, more bars light up
and the bars change color from yellow to
amber to red.
When an object is first detected in the rear,
one beep will be heard from the rear,
or both sides of the Safety Alert Seat will
pulse two times. When an object is very
close —<0.4 m (1.5 ft) in the vehicle rear or
<0.3 m (1 ft) in the vehicle front —five
beeps will sound from the rear or front
depending on object location, or both sides
of the Safety Alert Seat will pulse five times.
Beeps for FPA are higher pitched than
for RPA.
Turning the Features On or Off
PressXon the center stack to turn on or
off the Front and Rear Park Assist. The
indicator light next to the button comes on
when the features are on and turns off
when the features have been disabled.
Front and Rear Park Assist can be turned
Off, On, or On with Towbar. See “Park
Assist” underVehicle Personalization 0131.
If Park Assist is turned off through vehicle
personalization, the Park Assist button will
be disabled. To turn Park Assist on again,
select On in vehicle personalization. The On
with Towbar setting allows Park Assist to
work properly with a trailer hitch. Some
larger trailer hitches may not be compatible.
Turn off Park Assist when towing a trailer.
To turn the RPA symbols on or off, see
“Rear Camera Park Assist Symbols” under
Vehicle Personalization 0131.
Rear Cross Traffic Alert (RCTA)
System
If equipped, when the vehicle is shifted into
R (Reverse), RCTA shows a red warning
triangle with a left or right pointing arrow
on the infotainment display to warn of
traffic coming from the left or right. This
system detects objects coming from up to
Page 265 of 441

Chevrolet Silverado 2500 HD/3500 HD Owner Manual (GMNA-Localizing-U.
S./Canada/Mexico-15546003) - 2022 - CRC - 5/5/21
264 Driving and Operating
{Warning
FCA does not provide a warning to help
avoid a crash, unless it detects a vehicle.
FCA may not detect a vehicle ahead if
the FCA sensor is blocked by dirt, snow,
or ice, or if the windshield is damaged.
It may also not detect a vehicle on
winding or hilly roads, or in conditions
that can limit visibility such as fog, rain,
or snow, or if the headlamps or
windshield are not cleaned or in proper
condition. Keep the windshield,
headlamps, and FCA sensors clean and in
good repair.
Collision Alert
With Head-Up Display
Without Head-Up Display
When your vehicle approaches another
detected vehicle too rapidly, the red FCA
display will flash on the windshield. Also,
eight rapid high-pitched beeps will sound
from the front, or both sides of the Safety
Alert Seat will pulse five times. When this
Collision Alert occurs, the brake system may
prepare for driver braking to occur more
rapidly which can cause a brief, mild
deceleration. Continue to apply the brake
pedal as needed. Cruise control may be
disengaged when the Collision Alert occurs.
Tailgating Alert
The vehicle ahead indicator will display
amber when you are following a vehicle
ahead much too closely.
Selecting the Alert Timing
The Collision Alert control is on the steering
wheel. Press
[to set the FCA timing to
Far, Medium, or Near. The first button press
shows the current setting on the DIC.
Additional button presses will change this
setting. The chosen setting will remain until
it is changed and will affect the timing of
both the Collision Alert and the Tailgating
Alert features. The timing of both alerts will
vary based on vehicle speed. The faster the
vehicle speed, the farther away the alert will
occur. Consider traffic and weather
conditions when selecting the alert timing.
The range of selectable alert timings may
not be appropriate for all drivers and driving
conditions.
Unnecessary Alerts
FCA may provide unnecessary alerts for
turning vehicles, vehicles in other lanes,
objects that are not vehicles, or shadows.
These alerts are normal operation and the
vehicle does not need service.