2021 TOYOTA PROACE CITY VERSO change time
[x] Cancel search: change timePage 163 of 272

163
Practical information
7
NOTIC E
A clogged passenger compartment filter can adversely affect air conditioning system performance and generate undesirable odours.
Air filter
Depending on the environment and the use of the vehicle (e.g. dusty atmosphere, city driving), change it twice as often, if necessary.
Oil filter
Change the oil filter each time the engine oil is changed.
Particle filter (Diesel)
When the particle filter is approaching saturation, this warning lamp comes on temporarily, accompanied by a message warning of the risk
of filter clogging.As soon as the traffic conditions permit, regenerate the filter by driving at a speed of at least 60 km/h (37 mph) until the warning lamp goes off.
NOTIC E
If the warning lamp stays on, this indicates a low Diesel additive level.For more information on Checking levels, refer to the corresponding section.
NOTIC E
Following prolonged operation of the vehicle at very low speed or at idle, you may, in exceptional circumstances, notice the emission of water vapour at the exhaust while accelerating. This has no impact on the vehicle’s behaviour or the environment.
NOTIC E
New vehicleDuring the first few particle filter regeneration operations, you may notice a "burning" smell. This is perfectly normal.
Manual gearbox
The gearbox does not require any maintenance (no oil change).
Automatic gearbox
The gearbox does not require any maintenance (no oil change).
Brake pads
Brake wear depends on the style of driving, particularly in the case of vehicles used in town, over short distances. It may be necessary to have the condition of the brakes checked, even between vehicle services.Unless there is a leak in the circuit, a drop in the brake fluid level indicates that the brake pads are worn.
NOTIC E
After washing the vehicle, moisture, or in wintry conditions, ice can form on the brake discs and pads: braking efficiency may be reduced. Gently dab the brakes to dry and defrost them.
Brake disc wear
For information on checking brake disc wear, contact a TOYOTA dealer or a qualified workshop.
Page 169 of 272
169
In the event of a breakdown
8
Running out of fuel
(Diesel)
On vehicles fitted with Diesel engines, the fuel system must be primed if you run out of fuel.If the engine does not start first time, do not keep trying, but start the procedure again from the beginning.
NOTIC E
For more information on Misfuel prevention (Diesel), refer to the corresponding section.
With Euro 6.2/6.3 engines
► Switch on the ignition (without starting the engine).► Wait around 1 minute and switch off the ignition.► Operate the starter motor to start the engine.If the engine does not start at the first attempt, do not keep trying, but restart the procedure.
Tool kit
► For easier access, move the seat(s) forward.
Accessing the tools
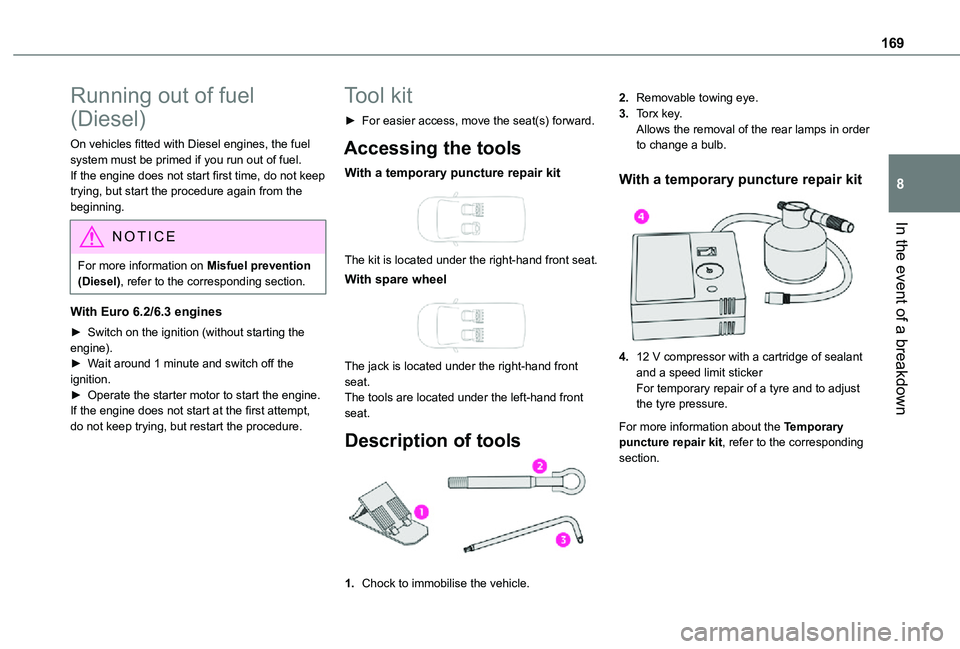
With a temporary puncture repair kit
The kit is located under the right-hand front seat.
With spare wheel
The jack is located under the right-hand front seat.The tools are located under the left-hand front seat.
Description of tools
1.Chock to immobilise the vehicle.
2.Removable towing eye.
3.Torx key.Allows the removal of the rear lamps in order to change a bulb.
With a temporary puncture repair kit
4.12 V compressor with a cartridge of sealant and a speed limit stickerFor temporary repair of a tyre and to adjust the tyre pressure.
For more information about the Temporary puncture repair kit, refer to the corresponding section.
Page 181 of 272
181
In the event of a breakdown
8
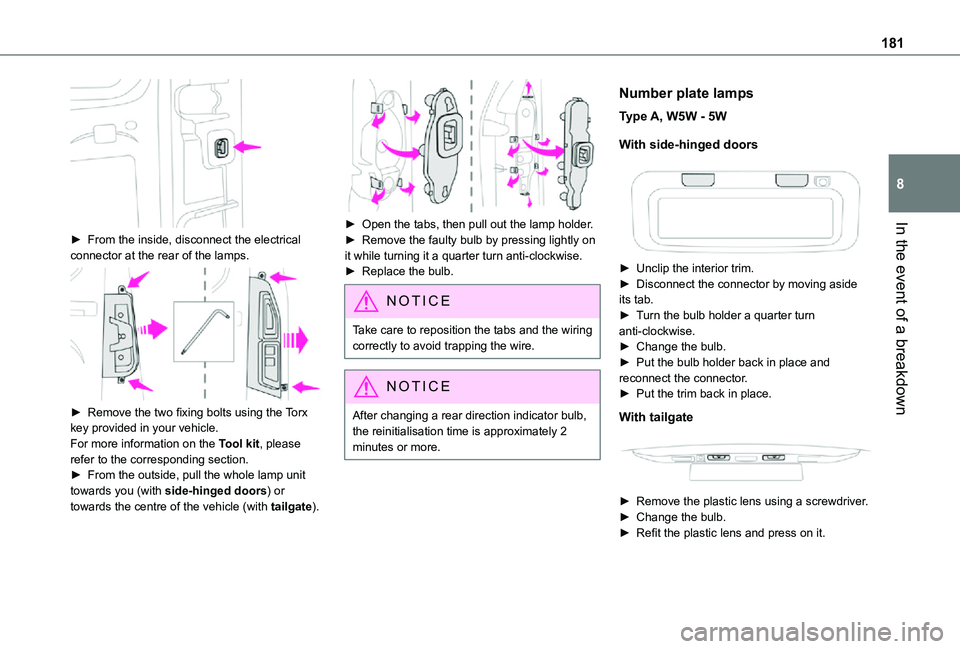
► From the inside, disconnect the electrical connector at the rear of the lamps.
► Remove the two fixing bolts using the Torx key provided in your vehicle.For more information on the Tool kit, please refer to the corresponding section.► From the outside, pull the whole lamp unit towards you (with side-hinged doors) or towards the centre of the vehicle (with tailgate).
► Open the tabs, then pull out the lamp holder.► Remove the faulty bulb by pressing lightly on it while turning it a quarter turn anti-clockwise.► Replace the bulb.
NOTIC E
Take care to reposition the tabs and the wiring correctly to avoid trapping the wire.
NOTIC E
After changing a rear direction indicator bulb, the reinitialisation time is approximately 2
minutes or more.
Number plate lamps
Type A, W5W - 5W
With side-hinged doors
► Unclip the interior trim.► Disconnect the connector by moving aside its tab.► Turn the bulb holder a quarter turn anti-clockwise.► Change the bulb.► Put the bulb holder back in place and reconnect the connector.► Put the trim back in place.
With tailgate
► Remove the plastic lens using a screwdriver.► Change the bulb.► Refit the plastic lens and press on it.
Page 199 of 272
199
Bluetooth® audio system
10
6Represents the signal strength for the band being listened to.
NOTIC E
When changing region, updating the list of preset radio stations is recommended.
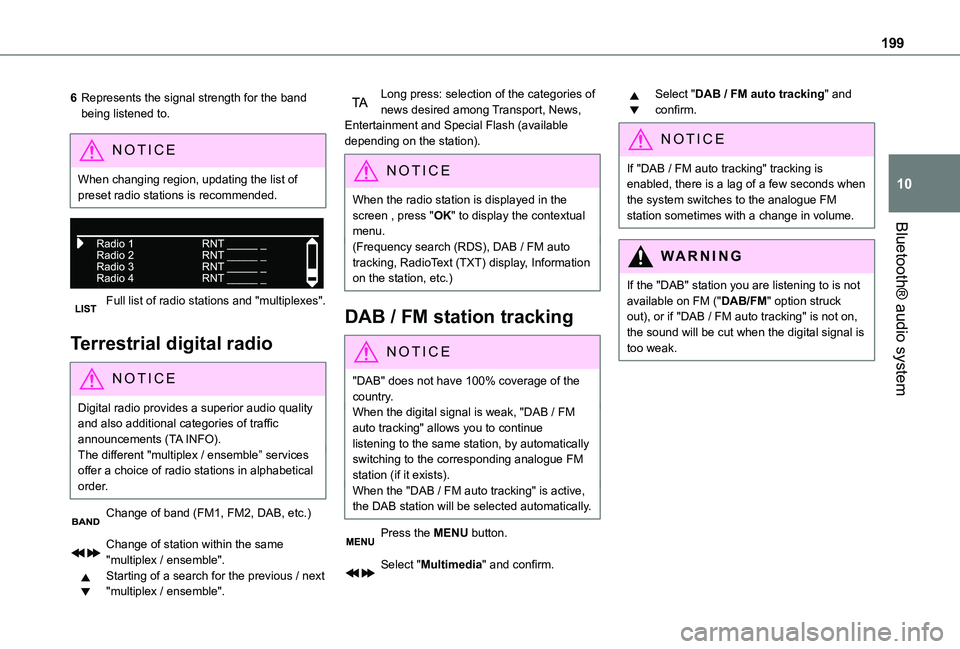
Full list of radio stations and "multiplexes".
Terrestrial digital radio
NOTIC E
Digital radio provides a superior audio quality and also additional categories of traffic announcements (TA INFO).The different "multiplex / ensemble” services offer a choice of radio stations in alphabetical order.
Change of band (FM1, FM2, DAB, etc.)
Change of station within the same "multiplex / ensemble".Starting of a search for the previous / next "multiplex / ensemble".
Long press: selection of the categories of news desired among Transport, News, Entertainment and Special Flash (available depending on the station).
NOTIC E
When the radio station is displayed in the screen , press "OK" to display the contextual menu.
(Frequency search (RDS), DAB / FM auto tracking, RadioText (TXT) display, Information on the station, etc.)
DAB / FM station tracking
NOTIC E
"DAB" does not have 100% coverage of the country.When the digital signal is weak, "DAB / FM auto tracking" allows you to continue listening to the same station, by automatically switching to the corresponding analogue FM station (if it exists).When the "DAB / FM auto tracking" is active, the DAB station will be selected automatically.
Press the MENU button.
Select "Multimedia" and confirm.
Select "DAB / FM auto tracking" and confirm.
NOTIC E
If "DAB / FM auto tracking" tracking is enabled, there is a lag of a few seconds when the system switches to the analogue FM station sometimes with a change in volume.
WARNI NG
If the "DAB" station you are listening to is not available on FM ("DAB/FM" option struck out), or if "DAB / FM auto tracking" is not on, the sound will be cut when the digital signal is too weak.
Page 200 of 272
200
Media
USB port
Insert the USB memory stick into the USB port or connect the USB device to the USB port using a suitable cable (not supplied).The system changes automatically to "USB" source.
WARNI NG
To protect the system, do not use a USB hub.
NOTIC E
Any additional devices connected to the system must comply with the standard applicable to the product and/or the standard IEC 60950-1.
The system builds playlists (in temporary memory); this operation can take from a few seconds to several minutes at the first connection.Reduce the number of non-music files and the number of folders to reduce the waiting time. Playlists are updated every time a new USB memory stick is connected.
* Depending on availability and the type of device used.
N OTIC E
When the USB port is used, the portable device charges automatically.
Play mode
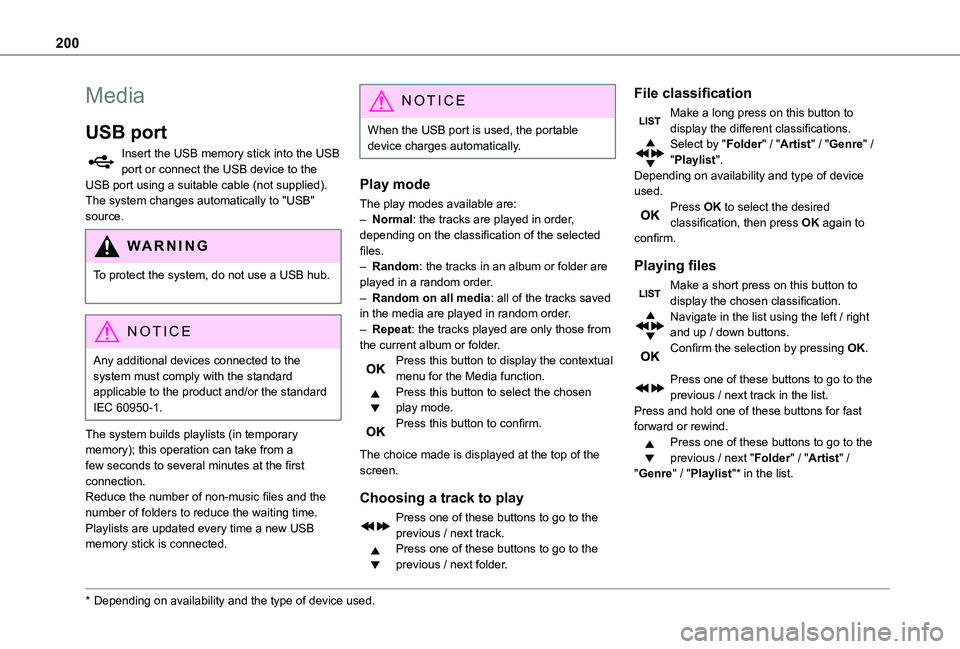
The play modes available are:– Normal: the tracks are played in order, depending on the classification of the selected files.– Random: the tracks in an album or folder are played in a random order.– Random on all media: all of the tracks saved in the media are played in random order.– Repeat: the tracks played are only those from the current album or folder.Press this button to display the contextual menu for the Media function.Press this button to select the chosen play mode.Press this button to confirm.
The choice made is displayed at the top of the screen.
Choosing a track to play
Press one of these buttons to go to the previous / next track.Press one of these buttons to go to the previous / next folder.
File classification
Make a long press on this button to display the different classifications.Select by "Folder" / "Artist" / "Genre" / "Playlist".Depending on availability and type of device used.Press OK to select the desired classification, then press OK again to confirm.
Playing files
Make a short press on this button to display the chosen classification.Navigate in the list using the left / right and up / down buttons.Confirm the selection by pressing OK.
Press one of these buttons to go to the previous / next track in the list.Press and hold one of these buttons for fast forward or rewind.Press one of these buttons to go to the
previous / next "Folder" / "Artist" / "Genre" / "Playlist"* in the list.
Page 209 of 272
209
TOYOTA Connect Radio
11
NOTIC E
In the "Settings" menu, it is possible to create a profile for an individual or for a group of people with shared interests, and configure a wide range of settings (radio presets, audio settings, ambiences, etc.). Settings are applied automatically.
NOTIC E
In very hot conditions, the volume may be limited to protect the system. It may enter standby mode (with the screen and sound off) for 5 minutes or more.The system will resume normal operation when the temperature in the passenger compartment has dropped.
Steering mounted controls
Steering mounted controls -
Type 1
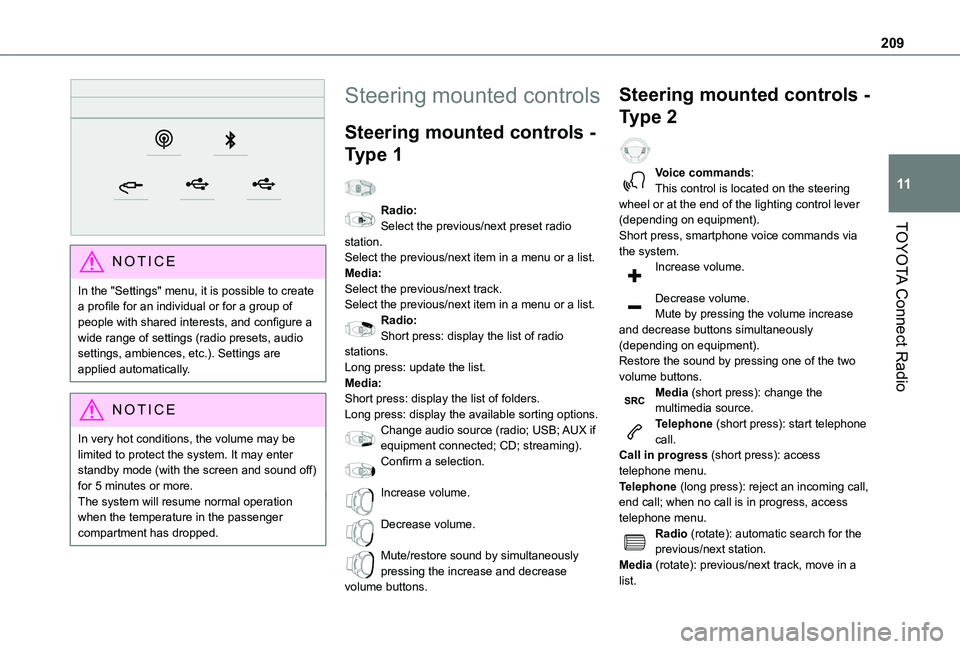
Radio:Select the previous/next preset radio station.Select the previous/next item in a menu or a list.Media:Select the previous/next track.Select the previous/next item in a menu or a list.Radio:Short press: display the list of radio stations.Long press: update the list.Media:Short press: display the list of folders.Long press: display the available sorting options.Change audio source (radio; USB; AUX if
equipment connected; CD; streaming).Confirm a selection.
Increase volume.
Decrease volume.
Mute/restore sound by simultaneously pressing the increase and decrease volume buttons.
Steering mounted controls -
Type 2
Voice commands:This control is located on the steering wheel or at the end of the lighting control lever (depending on equipment).Short press, smartphone voice commands via the system.Increase volume.
Decrease volume.Mute by pressing the volume increase and decrease buttons simultaneously (depending on equipment).Restore the sound by pressing one of the two volume buttons.Media (short press): change the multimedia source.Telephone (short press): start telephone call.
Call in progress (short press): access telephone menu.Telephone (long press): reject an incoming call, end call; when no call is in progress, access telephone menu.Radio (rotate): automatic search for the previous/next station.Media (rotate): previous/next track, move in a list.
Page 214 of 272
214
Press in the shaded area to confirm.
NOTIC E
If "FM-DAB Follow-up" is activated, there may be a time offset of a few seconds when the system switches to "FM" analogue radio, and in some cases a change in volume.When the digital signal quality is restored, the
system automatically changes back to "DAB".
WARNI NG
If the "DAB" station being listened to is not available on "FM", or if "FM-DAB Follow-up" is not activated, the sound will cut out while the digital signal is too weak.
Media
USB port
Insert the USB memory stick into the USB port or connect the USB device to the USB port using a suitable cable (not supplied).
WARNI NG
To protect the system, do not use a USB hub.
The system builds playlists (in temporary memory); this operation can take from a few seconds to several minutes at the first connection.Reduce the number of non-music files and the number of folders to reduce the waiting time.Playlists are updated whenever the ignition is switched off or a USB memory stick is connected. The audio system memorises these lists, which will subsequently load faster if they have not been changed.
Selecting the source
Press Radio Media to display the main page.Press the "SOURCES" button.Select the source.
Bluetooth Streaming®
Streaming allows you to listen to the audio feed from your smartphone.The Bluetooth profile must be activated.First adjust the volume on the portable device (to a high level). Then adjust the volume of the system.If play does not start automatically, it may be necessary to start the audio playback from the smartphone.Control is from the portable device or by using the system's touch buttons.
NOTIC E
Once connected in Streaming mode, the smartphone is considered to be a media source.
Connecting Apple® players
Connect the Apple® player to the USB socket using a suitable cable (not supplied).Play starts automatically.Control is via the audio system.
Page 216 of 272
216
MirrorLinkTM smartphone
connection
NOTIC E
The "MirrorLinkTM" function requires a compatible smartphone and applications.
Telephone not connected by
Bluetooth®
When connecting a smartphone to the system, we recommend enabling Bluetooth® on the smartphone.Connect a USB cable. The smartphone charges when connected by a USB cable.From the system, press "Telephone" to display the main page.Press "MirrorLinkTM" to start the application in the system.Depending on the smartphone, it may be necessary to activate the "MirrorLinkTM" function.During the procedure, several screen pages relating to certain features are displayed.Accept to start and complete the connection.
Telephone connected by Bluetooth®
Connect a USB cable. The smartphone charges when connected by a USB cable.
From the system, press "Telephone" to display the main page.Press the "PHONE" button to display the secondary page.Press "MirrorLinkTM" to start the application in the system.Once the connection is established, a page is displayed, showing the applications already downloaded to the smartphone that are compatible with MirrorLinkTM technology.Access to the different audio sources remains available in the margin of the MirrorLinkTM display, using the touch buttons located in the upper bar.Access to the menus for the system is possible at any time using the dedicated buttons.
NOTIC E
There may be a pause before applications become available, depending on the quality of the network.
CarPlay® smartphone
connection
Connect a USB cable. The smartphone charges when connected by a USB cable.From the system, press Telephone to display the CarPlay® interface.OrIf the smartphone has already connected by Bluetooth®.
Connect a USB cable. The smartphone charges when connected by a USB cable.From the system, press "Telephone" to display the main page.Press the "PHONE" button to access the secondary page.Press "CarPlay" to display the CarPlay® interface.
NOTIC E
On connecting the USB cable, the CarPlay® function deactivates the system's Bluetooth® mode.
NOTIC E
When the USB cable is disconnected and the ignition is switched off then back on, the system will not automatically switch to Radio Media mode; the source must be changed manually.
The CarPlay® navigation can be accessed at any time by pressing the system's Navigation button.
Android Auto smartphone
connection
On the smartphone, download the Android Auto application.