2021 TOYOTA PROACE CITY abs
[x] Cancel search: absPage 8 of 272
8
Eco mode
This mode optimises the heating and air conditioning functions to reduce fuel consumption.
Activation/Deactivation
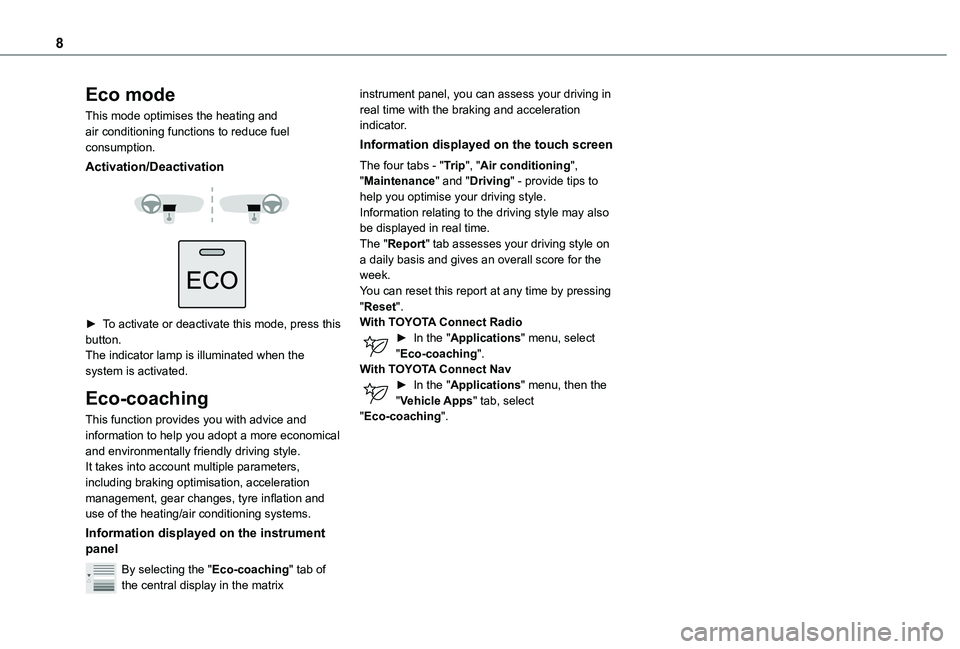
► To activate or deactivate this mode, press this button.The indicator lamp is illuminated when the system is activated.
Eco-coaching
This function provides you with advice and information to help you adopt a more economical and environmentally friendly driving style.It takes into account multiple parameters, including braking optimisation, acceleration management, gear changes, tyre inflation and use of the heating/air conditioning systems.
Information displayed on the instrument panel
By selecting the "Eco-coaching" tab of the central display in the matrix
instrument panel, you can assess your driving in real time with the braking and acceleration indicator.
Information displayed on the touch screen
The four tabs - "Trip", "Air conditioning", "Maintenance" and "Driving" - provide tips to help you optimise your driving style.Information relating to the driving style may also be displayed in real time.The "Report" tab assesses your driving style on a daily basis and gives an overall score for the week.You can reset this report at any time by pressing "Reset".With TOYOTA Connect Radio► In the "Applications" menu, select "Eco-coaching".With TOYOTA Connect Nav► In the "Applications" menu, then the "Vehicle Apps" tab, select "Eco-coaching".
Page 13 of 272
13
Instruments
1
If manual application and release commands are not working, the electric parking brake control lever is faulty.The automatic functions must be used at all times and are automatically re-enabled in the event of a control lever fault.Carry out (2).
Low fuel level
/2
1 1Fixed (warning lamp or LED) and needle in the red zone (depending on version), accompanied by an audible signal and a message.The audible signal and the message are repeated with increasing frequency as the fuel level drops towards zero.When it first comes on there remains less than 6 litres of fuel in the tank.Refuel without delay to avoid running out of fuel.Never drive until completely empty, this could damage the emission control and injection systems.
Presence of water in diesel filter
Fixed (with LCD symbols instrument panel).The diesel filter contains water.Risk of damage to the injection system : carry out (2) without delay.
Engine self-diagnosis systemFlashing.The engine management system has a fault.
There is a risk that the catalytic converter will be destroyed.Carry out (2) without fail.Fixed.The emission control system has a fault.The warning lamp should go off when the engine is started.Carry out (3) quickly.Fixed.A minor engine fault has been detected.Carry out (3).Fixed.A major engine fault has been detected.Carry out (1) and then (2).
Diesel engine pre-heatingFixed.The period of illumination depends on the climatic conditions.The ignition is on.Wait until the warning lamp goes off before starting.
If the engine does not start, switch the ignition off and then on, wait until the indicator lamp goes off again, then start the engine.
Under-inflationFixed, accompanied by an audible signal and a message.The pressure in one or more wheels is too low.Check the pressure of the tyres as soon as possible.
Reinitialise the detection system after adjusting the pressure.Under-inflation warning lamp flashing then fixed and Service warning lamp fixed.The tyre pressure monitoring system is faulty.Under-inflation detection is no longer monitored.Check the tyre pressures as soon as possible and carry out (3).
Anti-lock braking system (ABS)Fixed.The anti-lock braking system has a fault.The vehicle retains conventional braking.Drive carefully at moderate speed, then carry out (3).
Collision Risk Alert / Active Safety BrakeFixed, accompanied by the display of a message.The system has been deactivated via the vehicle configuration menu.Flashing.The system is operating.
The vehicle brakes briefly so as to reduce the speed of collision with the vehicle ahead.Fixed, accompanied by a message and an audible signal.The system has a fault.Carry out (3).Fixed.The system has a fault.If these warning lamps come on after the engine is switched off and then restarted, carry out (3).
Page 40 of 272
40
Reactivating the interior volumetric
and anti-tilt monitoring
► Deactivate the perimeter monitoring by unlocking the vehicle with the remote control or the Keyless Entry and Starting system.The indicator lamp in the button goes off.► Reactivate all monitoring by locking the vehicle with the remote control or the Keyless Entry and Starting system.The red indicator lamp in the button once again flashes every second.
Triggering of the alarm
This is indicated by sounding of the siren and flashing of the direction indicators for 30 seconds.Depending on the country of sale, certain monitoring functions remain active until the alarm has been triggered eleven times consecutively.When the vehicle is unlocked using the remote control or the "Keyless Entry and Starting" system, rapid flashing of the red indicator lamp
in the button informs you that the alarm was triggered during your absence. When the ignition is switched on, the flashing stops immediately.
Failure of the remote control
To deactivate the monitoring functions:► unlock the vehicle using the key (integral to the remote control) in the driver's door lock,► open the door; the alarm is triggered,► switch on the ignition; the alarm stops; the indicator lamp in the button goes off.
Locking the vehicle without
activating the alarm
► Lock or deadlock the vehicle using the key (integral to the remote control) in the driver's door lock.
Malfunction
When the ignition is switched on, fixed illumination of the red indicator lamp in the button indicates a malfunction of the system.Have it checked by a TOYOTA dealer or a qualified workshop.
Automatic activation
(Depending on the country of sale)The system is activated automatically 2 minutes after the last door or the boot is closed.► To avoid triggering the alarm on entering the vehicle, first press the unlocking button on the remote control or unlock the vehicle using the “Keyless Entry and Starting” system.
Electric windows
1.Left-hand electric window control.
2.Right-hand electric window control.
Manual operation
► To open/close the window, press/pull the switch without passing the point of resistance; the window stops as soon as the switch is released.
Automatic operation
(Depending on version)► To open/close the window, press/pull the switch past its resistance point: the window opens/closes completely when the switch is released.Operating the switch again stops the movement of the window.
NOTIC E
Window controls remain operational for approximately 45 seconds after switching off the ignition or after locking the vehicle.After that time, the controls are disabled. To reactivate them, switch on the ignition or unlock the vehicle.
Page 57 of 272
57
Ease of use and comfort
3
WARNI NG
Deactivate the front passenger airbag when carrying long objects.
Moving the partition
Moving the partition forwards
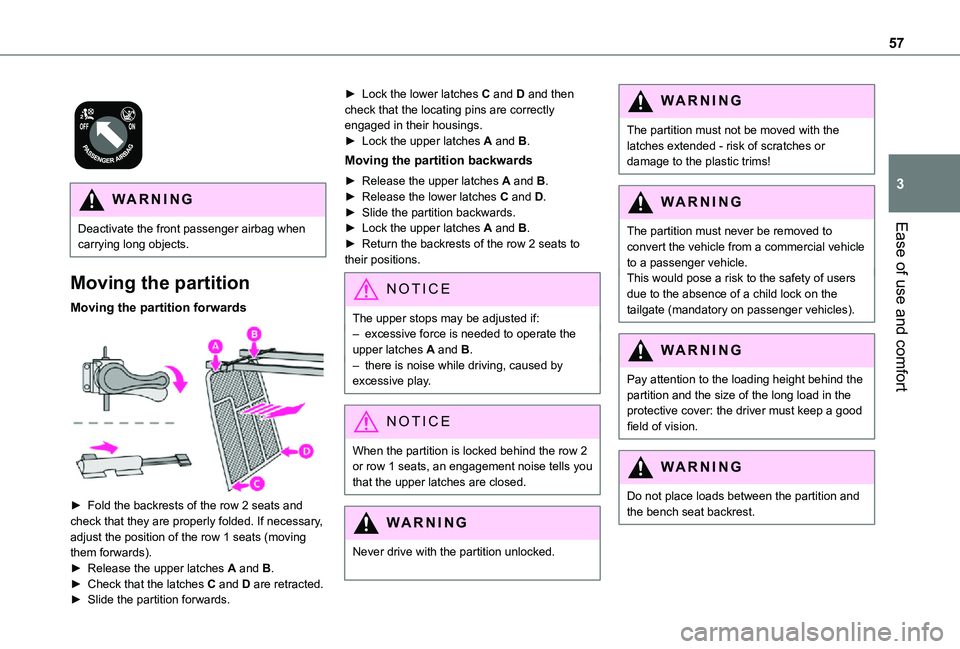
► Fold the backrests of the row 2 seats and check that they are properly folded. If necessary, adjust the position of the row 1 seats (moving them forwards).► Release the upper latches A and B.► Check that the latches C and D are retracted.
► Slide the partition forwards.
► Lock the lower latches C and D and then check that the locating pins are correctly engaged in their housings.► Lock the upper latches A and B.
Moving the partition backwards
► Release the upper latches A and B.► Release the lower latches C and D.► Slide the partition backwards.► Lock the upper latches A and B.► Return the backrests of the row 2 seats to their positions.
NOTIC E
The upper stops may be adjusted if:– excessive force is needed to operate the upper latches A and B.– there is noise while driving, caused by excessive play.
NOTIC E
When the partition is locked behind the row 2 or row 1 seats, an engagement noise tells you that the upper latches are closed.
WARNI NG
Never drive with the partition unlocked.
WARNI NG
The partition must not be moved with the latches extended - risk of scratches or damage to the plastic trims!
WARNI NG
The partition must never be removed to
convert the vehicle from a commercial vehicle to a passenger vehicle.This would pose a risk to the safety of users due to the absence of a child lock on the tailgate (mandatory on passenger vehicles).
WARNI NG
Pay attention to the loading height behind the partition and the size of the long load in the protective cover: the driver must keep a good field of vision.
WARNI NG
Do not place loads between the partition and the bench seat backrest.
Page 82 of 272
82
NOTIC E
Access to dataYou have the right to access the data and, if necessary, submit a request to rectify, erase or restrict the processing of any personal information not processed in accordance with the provisions of Regulation 2016/679 (GDPR). Third parties to which data has been communicated shall be notified of any rectification, erasure or restriction carried out in accordance with the aforementioned Directive, unless doing so would be impossible or require a disproportionate effort. You also have the right to lodge a complaint with the relevant data protection authority.
Hazard warning lamps
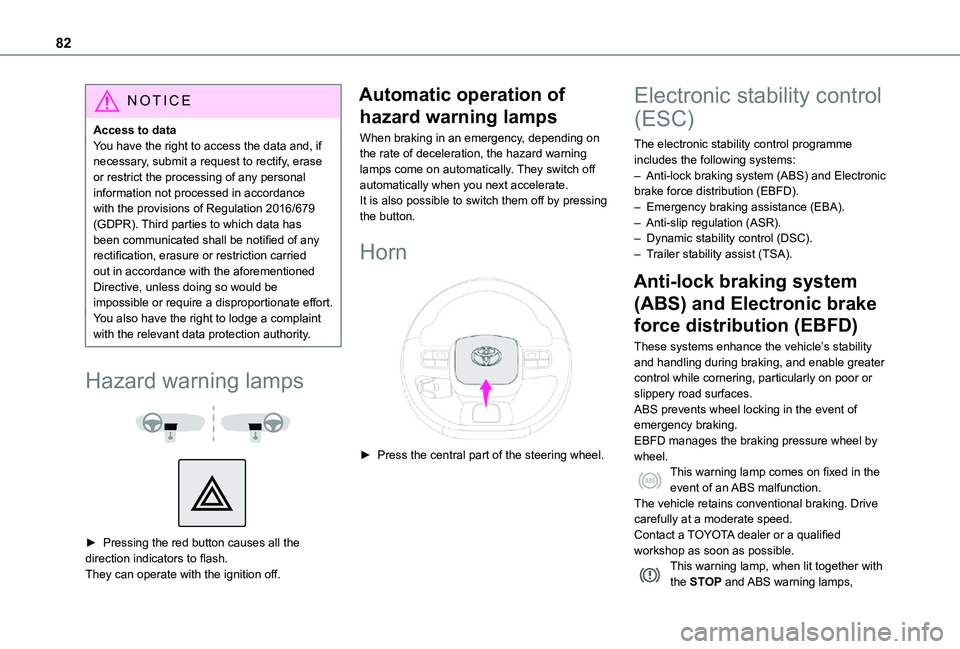
► Pressing the red button causes all the direction indicators to flash.They can operate with the ignition off.
Automatic operation of
hazard warning lamps
When braking in an emergency, depending on the rate of deceleration, the hazard warning lamps come on automatically. They switch off automatically when you next accelerate.It is also possible to switch them off by pressing the button.
Horn
► Press the central part of the steering wheel.
Electronic stability control
(ESC)
The electronic stability control programme includes the following systems:– Anti-lock braking system (ABS) and Electronic brake force distribution (EBFD).– Emergency braking assistance (EBA).– Anti-slip regulation (ASR).– Dynamic stability control (DSC).– Trailer stability assist (TSA).
Anti-lock braking system
(ABS) and Electronic brake
force distribution (EBFD)
These systems enhance the vehicle’s stability and handling during braking, and enable greater control while cornering, particularly on poor or slippery road surfaces.ABS prevents wheel locking in the event of emergency braking.EBFD manages the braking pressure wheel by
wheel.This warning lamp comes on fixed in the event of an ABS malfunction.The vehicle retains conventional braking. Drive carefully at a moderate speed.Contact a TOYOTA dealer or a qualified workshop as soon as possible.This warning lamp, when lit together with the STOP and ABS warning lamps,
Page 83 of 272
83
Safety
5
accompanied by a message and an audible signal, indicates an EBFD malfunction.You must stop as soon as it is safe to do so.Contact a TOYOTA dealer or a qualified workshop.
NOTIC E
The normal operation of the ABS may result in slight vibrations in the brake pedal.
WARNI NG
When braking in an emergency, press very firmly and maintain this pressure.
WARNI NG
When changing wheels (tyres and rims), ensure that these are approved for your vehicle.
WARNI NG
After an impact, have these systems checked by a TOYOTA dealer or a qualified workshop.
Emergency braking
assistance (EBA)
In an emergency, this system enables you to reach the optimum braking pressure more quickly and therefore reduce the stopping distance.It is triggered in relation to the speed at which the brake pedal is pressed. This is felt by a reduction in the resistance of the pedal and an increase in braking efficiency.
Anti-slip regulation (ASR)
/ Dynamic stability control
(DSC)
Anti-slip regulation optimises traction using engine braking and by applying the brakes on the driving wheels to avoid wheel spinning. It also enhances the vehicle's directional stability while accelerating.If there is a difference between the vehicle’s trajectory and the path desired by the driver, the
dynamic stability control system automatically uses engine braking and the brakes on one or more wheels to return the vehicle to the desired path, within the limits of the laws of physics.These systems are activated automatically every time the vehicle is started.They come into operation in the event of a grip or trajectory problem.
This warning lamp on the instrument panel flashes to indicate that they are operating.
Deactivation / Reactivation
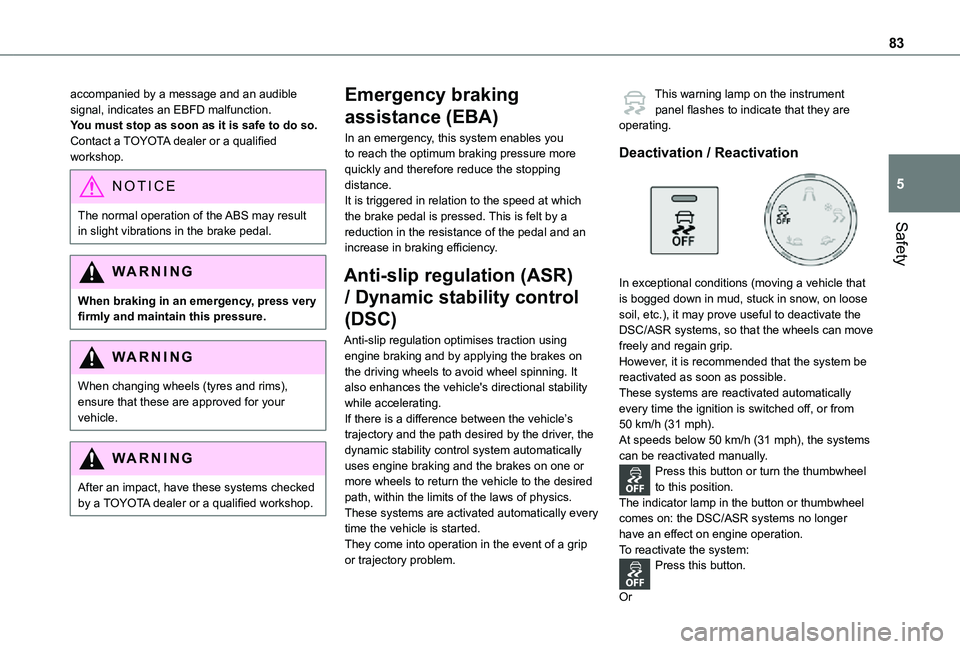
In exceptional conditions (moving a vehicle that is bogged down in mud, stuck in snow, on loose soil, etc.), it may prove useful to deactivate the DSC/ASR systems, so that the wheels can move freely and regain grip.However, it is recommended that the system be reactivated as soon as possible.These systems are reactivated automatically every time the ignition is switched off, or from 50 km/h (31 mph).At speeds below 50 km/h (31 mph), the systems can be reactivated manually.Press this button or turn the thumbwheel to this position.The indicator lamp in the button or thumbwheel comes on: the DSC/ASR systems no longer have an effect on engine operation.To reactivate the system:Press this button.
Or
Page 108 of 272
108
► Pull the control lever in the application direction for 2 seconds.Deactivation of the automatic functions is confirmed by illumination of this indicator lamp in the instrument panel.► Release the control lever and the brake pedal.From now on, the parking brake can only be applied and released manually using the control lever.Repeat this procedure to reactivate automatic operation (confirmed by the indicator lamp in the instrument panel going off).
Emergency braking
In the event of a fault with the brake pedal or in an exceptional situation (e.g. driver taken ill, driver under instruction), a continuous pull on the electric parking brake control lever will brake the vehicle. Braking takes place while the control lever is being pulled; it is interrupted when the control lever is released.The ABS and DSC systems ensure stability of
the vehicle during emergency braking.If the emergency braking malfunctions, the message "Parking brake control faulty" will be displayed in the instrument panel.
If the ABS and DSC systems malfunction, signalled by the illumination of one or both
warning lamps in the instrument panel, then stability of the vehicle is no longer guaranteed.In this event, stability must be assured by the driver by repeating alternate "pull-release" actions on the control lever until the vehicle is immobilised.
Hill start assist
This system keeps your vehicle briefly stationary (for approximately 2 seconds) when making a hill start, while you transfer your foot from the brake pedal to the accelerator pedal.This system is only active when:– the vehicle is completely stationary, with your foot on the brake pedal,– certain slope conditions are met,– the driver’s door is closed.
WARNI NG
Do not leave the vehicle while it is being held temporarily by hill start assist.If someone needs to get out of the vehicle with the engine running, apply the parking brake manually. After that, ensure that the parking brake indicator lamp and the indicator lamp P in the electric parking brake control lever are on fixed.
WARNI NG
The hill start assist function cannot be deactivated. However, use of the parking brake to immobilise the vehicle interrupts its operation.
Operation
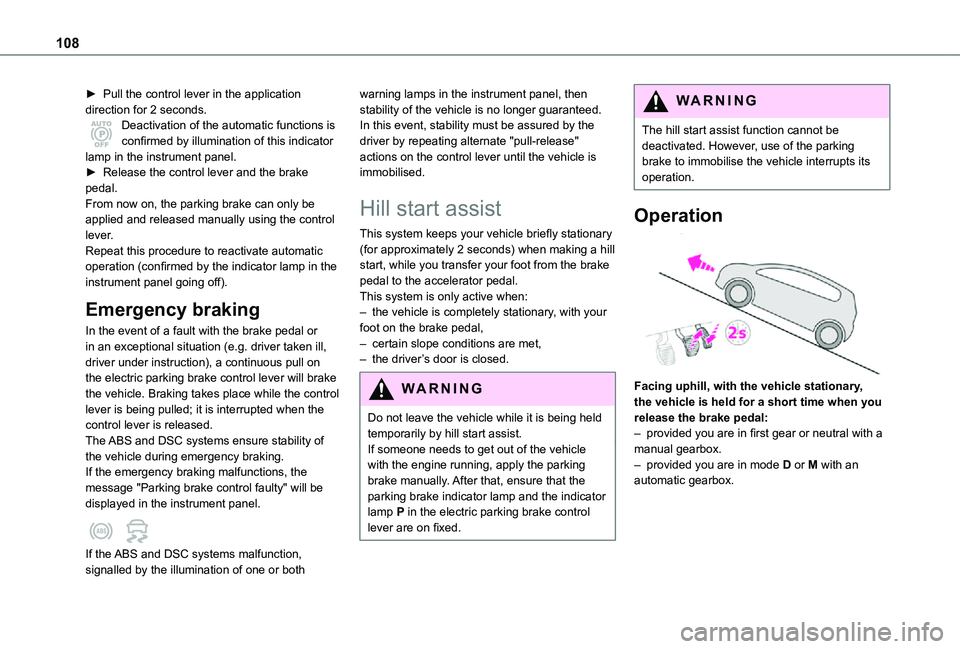
Facing uphill, with the vehicle stationary, the vehicle is held for a short time when you release the brake pedal:– provided you are in first gear or neutral with a manual gearbox.– provided you are in mode D or M with an automatic gearbox.
Page 120 of 272
120
WARNI NG
Driving aids cameraThis camera and its associated functions may be impaired or not work if the windscreen area in front of the camera is dirty, misty, frosty, covered with snow, damaged or masked by a sticker.On versions with camera alone, this message indicates to you that the camera is obstructed: "Driving aids camera: visibility limited, see user guide".In humid and cold weather, demist the windscreen regularly.Poor visibility (inadequate street lighting, heavy rain, thick fog, snowfall), dazzle (headlamps of an oncoming vehicle, low sun, reflections on a damp road, leaving a tunnel, alternating shade and light) can also impair detection performance.In the event of a windscreen replacement, contact a TOYOTA dealer or a qualified workshop to recalibrate the camera;
otherwise, the operation of the associated driving aids may be disrupted.
NOTIC E
Other camerasThe images from the camera(s) displayed on the touch screen or on the instrument panel may be distorted by the relief.
In the presence of areas in shade, or in conditions of bright sunlight or inadequate lighting, the image may be darkened and with lower contrast.Obstacles may appear further away than they actually are.
WARNI NG
SensorsThe operation of the sensors as well as the associated functions may be disturbed by sound interference such as that emitted by noisy vehicles and machinery (e.g. lorries, pneumatic drills), by the accumulation of snow or dead leaves on the road or in the event of damaged bumpers and mirrors.When reverse gear is engaged, an audible signal (long beep) indicates that the sensors may be dirty.A front or rear impact to the vehicle can upset the sensors’ settings, which is not
always detected by the system: distance measurements may be distorted.The sensors do not systematically detect obstacles that are too low (pavements, studs) or too thin (trees, posts, wire fences).Certain obstacles located in the sensors’ blind spots may not be detected or may no longer be detected during the manoeuvre.Certain materials (fabrics) absorb sound waves: pedestrians may not be detected.
NOTIC E
MaintenanceClean the bumpers and door mirrors and the field of vision of the cameras regularly.When washing your vehicle at high pressure, direct the spray from at least 30 cm (0 ft 11") away from the sensors and cameras.
WARNI NG
MatsThe use of mats not approved by TOYOTA may interfere with the operation of the speed limiter or cruise control.To avoid any risk of jamming the pedals:► ensure that the mat is secured correctly,► never fit one mat on top of another.
NOTIC E
Units of speed
Ensure that the units of speed displayed on the instrument panel (km/h or mph) are those for the country you are driving in.If this is not the case, when the vehicle is stationary, set the display to the required units of speed so that it complies with what is authorised locally.In case of doubt, contact a TOYOTA dealer or a qualified workshop.