2021 TOYOTA PROACE CITY Phone
[x] Cancel search: PhonePage 3 of 272
3
Contents
Memorising speeds 133Active Safety Brake with Collision Risk Alert and Intelligent emergency braking assistance 133Active Lane Departure Warning System 136Blind Spot Monitoring System 139Active Blind Spot Monitoring System 141Distraction detection 141Parking sensors 143Reversing Camera 145Surround Rear Vision 146
7Practical information
Compatibility of fuels 150Refuelling 150Misfuel prevention (Diesel) 152Snow chains 152Towing device 153Overload indicator 155Energy economy mode 156Roof bars / Roof rack 157Bonnet 158
Engine compartment 159Checking levels 159Speed checks 161AdBlue® (Diesel engines) 163Free-wheeling 166Advice on care and maintenance 166
8In the event of a breakdown
Running out of fuel (Diesel) 168
Tool kit 168Temporary puncture repair kit 169Spare wheel 172Changing a bulb 175Changing a fuse 18112 V battery 183Towing 186
9Technical data
Dimensions 189Engine technical data and towed loads 193Identification markings 196
10Bluetooth® audio system
First steps 197Steering mounted controls 198Menus 199Radio 199DAB (Digital Audio Broadcasting) radio 200Media 202Telephone 204
Frequently asked questions 207
11TOYOTA Connect Radio
First steps 210Steering mounted controls 2 11Menus 212Applications 213Radio 214DAB (Digital Audio Broadcasting) radio 215
Media 216
Telephone 217Settings 221Frequently asked questions 223
12TOYOTA Connect Nav
First steps 225Steering mounted controls 226Menus 226Voice commands 228Navigation 232Connected navigation 234Applications 237Radio 240DAB (Digital Audio Broadcasting) radio 241Media 242Telephone 243Settings 246Frequently asked questions 249
■Alphabetical index
Page 5 of 272
5
Overview
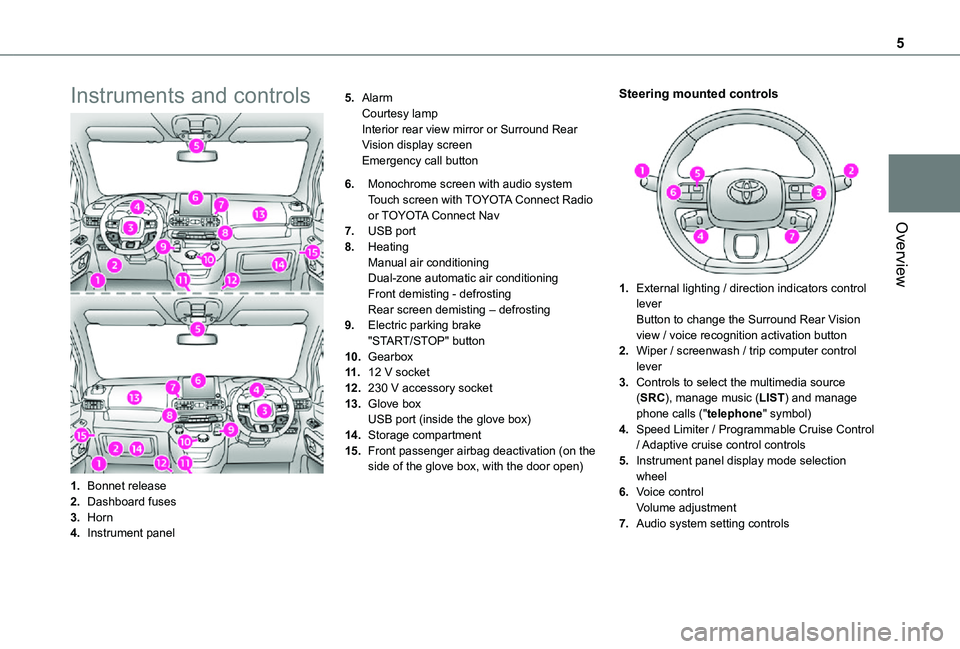
Instruments and controls
1.Bonnet release
2.Dashboard fuses
3.Horn
4.Instrument panel
5.AlarmCourtesy lampInterior rear view mirror or Surround Rear Vision display screenEmergency call button
6.Monochrome screen with audio systemTouch screen with TOYOTA Connect Radio or TOYOTA Connect Nav
7.USB port
8.HeatingManual air conditioningDual-zone automatic air conditioningFront demisting - defrostingRear screen demisting – defrosting
9.Electric parking brake"START/STOP" button
10.Gearbox
11 .12 V socket
12.230 V accessory socket
13.Glove boxUSB port (inside the glove box)
14.Storage compartment
15.Front passenger airbag deactivation (on the side of the glove box, with the door open)
Steering mounted controls
1.External lighting / direction indicators control leverButton to change the Surround Rear Vision view / voice recognition activation button
2.Wiper / screenwash / trip computer control lever
3.Controls to select the multimedia source (SRC), manage music (LIST) and manage phone calls ("telephone" symbol)
4.Speed Limiter / Programmable Cruise Control
/ Adaptive cruise control controls
5.Instrument panel display mode selection wheel
6.Voice controlVolume adjustment
7.Audio system setting controls
Page 24 of 272
24
NOTIC E
If one of the doors or the boot is still open or if the electronic key for the Keyless Entry and Starting system has been left inside the vehicle, central locking will be disabled.However, if the vehicle is fitted with an alarm, it will be activated after 45 seconds.
NOTIC E
If the vehicle is unlocked but the doors or tailgate are not subsequently opened, the vehicle will automatically lock itself again after approximately 30 seconds. If the vehicle is fitted with an alarm, it will also be reactivated automatically.
NOTIC E
Automatic door mirror folding and unfolding can be deactivated by a TOYOTA dealer or a qualified workshop.
WARNI NG
As a safety measure, never leave the vehicle, even for a short time, without taking the Keyless Entry and Starting system’s electronic key with you.Be aware of the risk of theft of the vehicle if the key is present in one of the defined areas while the vehicle is unlocked.
WARNI NG
To preserve the battery charge in the electronic key and the vehicle's battery, the "hands-free" functions are set to hibernation mode after 21 days without use. To restore these functions, press one of the remote control buttons or start the engine with the electronic key in the reader.For more information on starting with the Keyless Entry and Starting system, refer to the corresponding section.
NOTIC E
Electrical interferenceThe electronic key may not operate if close to certain electronic devices: telephone (switched on or on standby), laptop computer, strong magnetic fields, etc.
Locating the vehicle
This function helps you to spot your vehicle from a distance, with the vehicle locked:– The direction indicators flash for approximately 10 seconds.– The courtesy lamps come on.► Press this button.
Remote lighting
Briefly pressing this button switches on the lighting remotely (sidelamps, dipped beam headlamps and number plate lamps).Pressing this button again before the end of the timed period cancels remote lighting.
Advice
WARNI NG
Remote controlThe remote control is a sensitive, high-frequency device; avoid handling it in your pocket, due to the risk of unintentionally unlocking the vehicle.Avoid pressing the remote control buttons while out of range of the vehicle, due to the risk of rendering the remote control
Page 51 of 272
51
Ease of use and comfort
3
It also allows a smartphone to be connected by MirrorLinkTM, Android Auto® or CarPlay®, enabling certain smartphone applications to be used on the touch screen.For best results, use a cable made or approved by the device manufacturer.These applications can be managed using the steering mounted controls or the audio system controls.
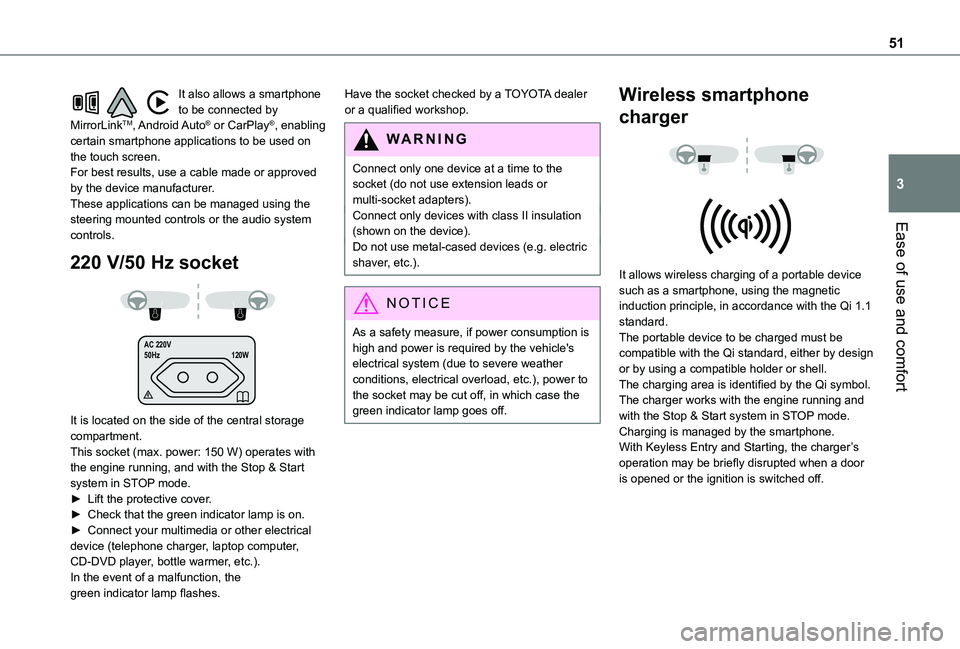
220 V/50 Hz socket
AC 220V
50Hz 120W
It is located on the side of the central storage compartment.This socket (max. power: 150 W) operates with the engine running, and with the Stop & Start system in STOP mode.► Lift the protective cover.► Check that the green indicator lamp is on.► Connect your multimedia or other electrical device (telephone charger, laptop computer, CD-DVD player, bottle warmer, etc.).In the event of a malfunction, the green indicator lamp flashes.
Have the socket checked by a TOYOTA dealer or a qualified workshop.
WARNI NG
Connect only one device at a time to the socket (do not use extension leads or multi-socket adapters).Connect only devices with class II insulation (shown on the device).
Do not use metal-cased devices (e.g. electric shaver, etc.).
NOTIC E
As a safety measure, if power consumption is high and power is required by the vehicle's electrical system (due to severe weather conditions, electrical overload, etc.), power to the socket may be cut off, in which case the green indicator lamp goes off.
Wireless smartphone
charger
It allows wireless charging of a portable device such as a smartphone, using the magnetic induction principle, in accordance with the Qi 1.1 standard.The portable device to be charged must be compatible with the Qi standard, either by design or by using a compatible holder or shell.The charging area is identified by the Qi symbol.The charger works with the engine running and with the Stop & Start system in STOP mode.Charging is managed by the smartphone.With Keyless Entry and Starting, the charger’s operation may be briefly disrupted when a door is opened or the ignition is switched off.
Page 156 of 272
156
Measurement display in the instrument panel
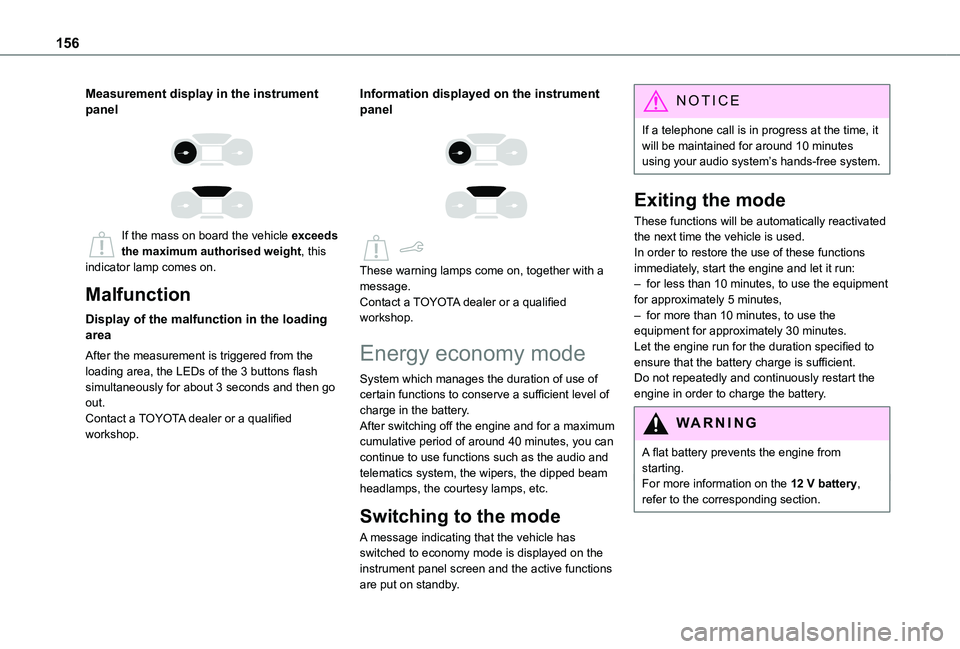
If the mass on board the vehicle exceeds the maximum authorised weight, this indicator lamp comes on.
Malfunction
Display of the malfunction in the loading area
After the measurement is triggered from the loading area, the LEDs of the 3 buttons flash simultaneously for about 3 seconds and then go out.Contact a TOYOTA dealer or a qualified workshop.
Information displayed on the instrument panel
These warning lamps come on, together with a message.Contact a TOYOTA dealer or a qualified workshop.
Energy economy mode
System which manages the duration of use of certain functions to conserve a sufficient level of charge in the battery.After switching off the engine and for a maximum cumulative period of around 40 minutes, you can continue to use functions such as the audio and telematics system, the wipers, the dipped beam headlamps, the courtesy lamps, etc.
Switching to the mode
A message indicating that the vehicle has switched to economy mode is displayed on the instrument panel screen and the active functions are put on standby.
NOTIC E
If a telephone call is in progress at the time, it will be maintained for around 10 minutes using your audio system’s hands-free system.
Exiting the mode
These functions will be automatically reactivated the next time the vehicle is used.In order to restore the use of these functions immediately, start the engine and let it run:– for less than 10 minutes, to use the equipment for approximately 5 minutes,– for more than 10 minutes, to use the equipment for approximately 30 minutes.Let the engine run for the duration specified to ensure that the battery charge is sufficient.Do not repeatedly and continuously restart the engine in order to charge the battery.
WARNI NG
A flat battery prevents the engine from starting.For more information on the 12 V battery, refer to the corresponding section.
Page 182 of 272
182
NOTIC E
For more information on installing a towbar or TAXI type equipment, contact a TOYOTA dealer.
Dashboard fuses
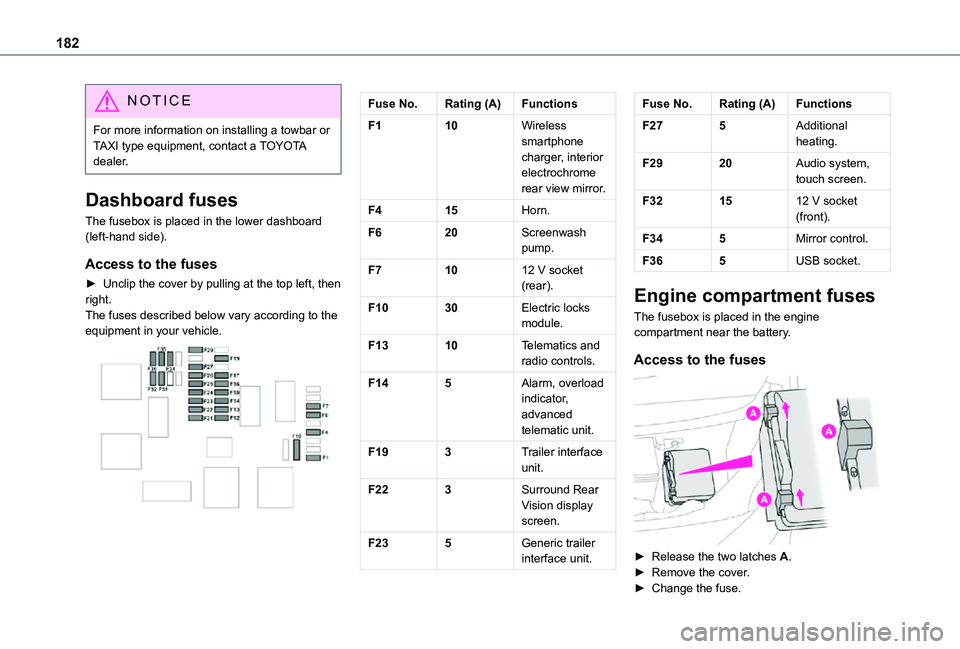
The fusebox is placed in the lower dashboard (left-hand side).
Access to the fuses
► Unclip the cover by pulling at the top left, then right.The fuses described below vary according to the equipment in your vehicle.
Fuse No.Rating (A)Functions
F110Wireless smartphone charger, interior electrochrome rear view mirror.
F415Horn.
F620Screenwash pump.
F71012 V socket (rear).
F1030Electric locks module.
F1310Telematics and radio controls.
F145Alarm, overload indicator, advanced telematic unit.
F193Trailer interface unit.
F223Surround Rear Vision display screen.
F235Generic trailer interface unit.
Fuse No.Rating (A)Functions
F275Additional heating.
F2920Audio system, touch screen.
F321512 V socket (front).
F345Mirror control.
F365USB socket.
Engine compartment fuses
The fusebox is placed in the engine compartment near the battery.
Access to the fuses
► Release the two latches A.► Remove the cover.► Change the fuse.
Page 197 of 272
197
Bluetooth® audio system
10
Bluetooth® audio system
NOTIC E
The different functions and settings described vary according to the version and configuration of your vehicle.
WARNI NG
As a safety measure and because it requires sustained attention by the driver, the pairing
of a Bluetooth mobile telephone with the Bluetooth hands-free system of your audio system must be done with the vehicle stationary and the ignition on.
WARNI NG
Your audio system is coded in such a way that it will only operate in your vehicle.All work on the system must be carried out exclusively by a dealer or qualified workshop, to avoid any risk of electrocution, fire or mechanical faults.
NOTIC E
To avoid discharging the battery, the audio system may switch off after a few minutes if the engine is not running.
First steps
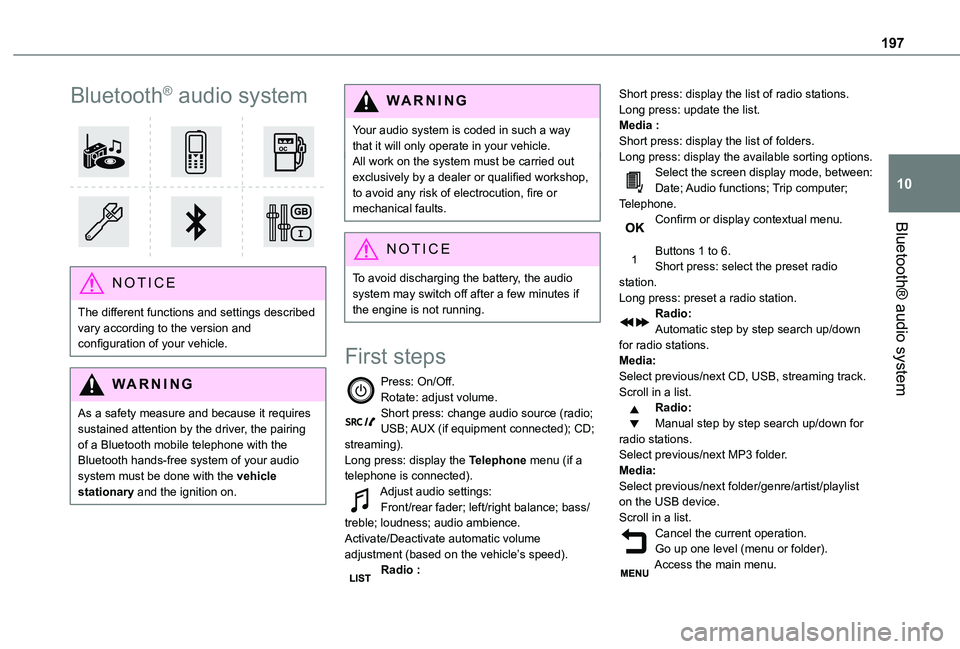
Press: On/Off.Rotate: adjust volume.Short press: change audio source (radio; USB; AUX (if equipment connected); CD; streaming).Long press: display the Telephone menu (if a telephone is connected).Adjust audio settings:Front/rear fader; left/right balance; bass/treble; loudness; audio ambience.Activate/Deactivate automatic volume adjustment (based on the vehicle’s speed).Radio :
Short press: display the list of radio stations.Long press: update the list.Media :Short press: display the list of folders.Long press: display the available sorting options.Select the screen display mode, between:Date; Audio functions; Trip computer; Telephone.Confirm or display contextual menu.
Buttons 1 to 6.Short press: select the preset radio station.Long press: preset a radio station.Radio:Automatic step by step search up/down for radio stations.Media:Select previous/next CD, USB, streaming track.Scroll in a list.Radio:Manual step by step search up/down for radio stations.
Select previous/next MP3 folder.Media:Select previous/next folder/genre/artist/playlist on the USB device.Scroll in a list.Cancel the current operation.Go up one level (menu or folder).Access the main menu.
Page 198 of 272
198
Activate/Deactivate TA function (traffic announcements).Long press: select type of announcement.Selection of FM/DAB/AM wavebands.
Steering mounted controls
Steering mounted controls -
Type 1
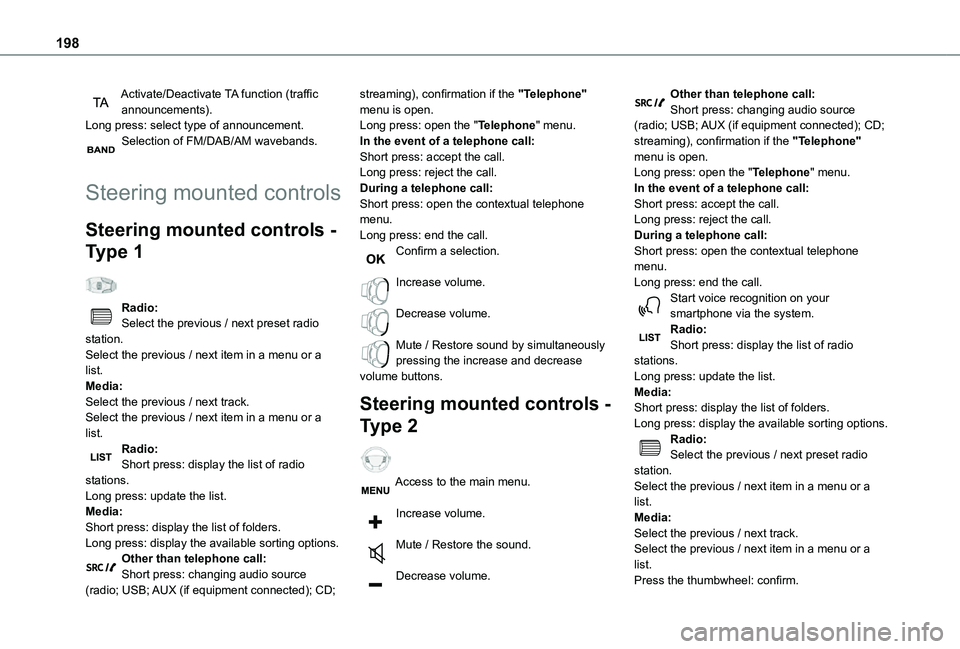
Radio:Select the previous / next preset radio station.Select the previous / next item in a menu or a list.Media:Select the previous / next track.Select the previous / next item in a menu or a list.
Radio:Short press: display the list of radio stations.Long press: update the list.Media:Short press: display the list of folders.Long press: display the available sorting options.Other than telephone call:Short press: changing audio source (radio; USB; AUX (if equipment connected); CD;
streaming), confirmation if the "Telephone" menu is open.Long press: open the "Telephone" menu.In the event of a telephone call:Short press: accept the call.Long press: reject the call.During a telephone call:Short press: open the contextual telephone menu.Long press: end the call.Confirm a selection.
Increase volume.
Decrease volume.
Mute / Restore sound by simultaneously pressing the increase and decrease volume buttons.
Steering mounted controls -
Type 2
Access to the main menu.
Increase volume.
Mute / Restore the sound.
Decrease volume.
Other than telephone call:Short press: changing audio source (radio; USB; AUX (if equipment connected); CD; streaming), confirmation if the "Telephone" menu is open.Long press: open the "Telephone" menu.In the event of a telephone call:Short press: accept the call.Long press: reject the call.During a telephone call:Short press: open the contextual telephone menu.Long press: end the call.Start voice recognition on your smartphone via the system.Radio:Short press: display the list of radio stations.Long press: update the list.Media:Short press: display the list of folders.Long press: display the available sorting options.Radio:
Select the previous / next preset radio station.Select the previous / next item in a menu or a list.Media:Select the previous / next track.Select the previous / next item in a menu or a list.Press the thumbwheel: confirm.