2021 TOYOTA PROACE CITY ignition
[x] Cancel search: ignitionPage 35 of 272
35
Access
2
The state of the system stays in the memory when the ignition is switched off.
WARNI NG
Driving with the doors locked may render access by the emergency services to the interior difficult in an emergency.
NOTIC E
Carrying long or voluminous objectsIf you want to drive with the boot open, you should press the central locking button to lock the doors. Otherwise, every time the speed of the vehicle exceeds 10 km/h (6 mph), the locks will rebound and the alerts mentioned above will appear.Pressing the central locking button unlocks the vehicle.Above 10 km/h (6 mph), this unlocking is temporary.
Side-hinged doors
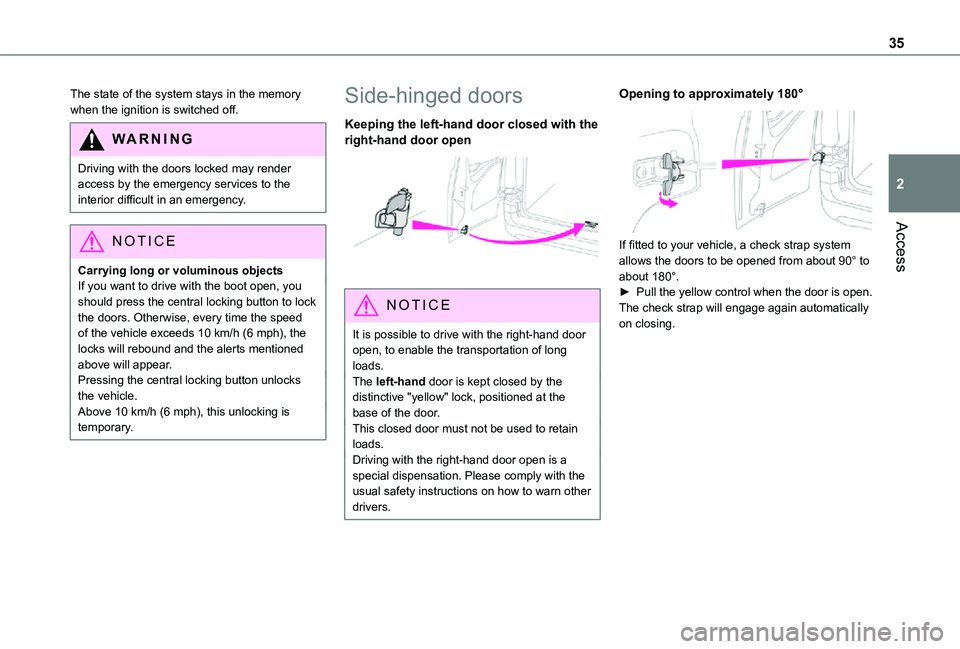
Keeping the left-hand door closed with the right-hand door open
NOTIC E
It is possible to drive with the right-hand door open, to enable the transportation of long loads.The left-hand door is kept closed by the distinctive "yellow" lock, positioned at the base of the door.This closed door must not be used to retain loads.
Driving with the right-hand door open is a special dispensation. Please comply with the usual safety instructions on how to warn other drivers.
Opening to approximately 180°
If fitted to your vehicle, a check strap system allows the doors to be opened from about 90° to about 180°.► Pull the yellow control when the door is open.The check strap will engage again automatically on closing.
Page 39 of 272
39
Access
2
Anti-tilt monitoring
The system checks for any change in the attitude of the vehicle.The alarm is triggered if the vehicle is lifted or moved.
NOTIC E
When the vehicle is parked, the alarm will not be triggered if the vehicle is knocked.
Locking the vehicle with full
alarm system
Activation
► Switch off the engine and exit the vehicle.► Lock the vehicle using the remote control or the "Keyless Entry and Starting" system.The monitoring system is active: the red indicator lamp in the button flashes every second and the direction indicators come on for about 2 seconds.
NOTIC E
Following an instruction to lock the vehicle, the exterior perimeter monitoring is activated after 5 seconds and the interior volumetric
and anti-tilt monitoring after 45 seconds.
NOTIC E
If an opening (door, boot or bonnet) is not closed properly, the vehicle is not locked but the exterior perimeter monitoring will be activated after 45 seconds at the same time as the interior volumetric and anti-tilt monitoring.
Deactivation
► Press the unlocking button on the remote control.or► Unlock the vehicle with the Keyless Entry and Starting system.The monitoring system is deactivated: the indicator lamp in the button goes off and the direction indicators flash for about 2 seconds.
NOTIC E
When the vehicle automatically locks itself again (as happens if a door or the boot is not opened within 30 seconds of unlocking), the monitoring system is also reactivated automatically.
Locking the vehicle
with exterior perimeter
monitoring only
Disable volumetric and anti-tilt monitoring to avoid unwanted alarm triggering in certain cases, such as:– Slightly open window or sunroof. – Washing the vehicle.– Changing a wheel.– Towing your vehicle.– Transport on a ship or ferry.
Deactivating the interior volumetric
and anti-tilt monitoring
► Switch off the ignition and within 10 seconds press the alarm button until its red indicator lamp is on fixed.► Get out of the vehicle.► Immediately lock the vehicle using the remote control or the "Keyless Entry and Starting" system.Only the exterior perimeter monitoring is
activated; the red indicator lamp in the button flashes every second.
NOTIC E
To be taken into account, the deactivation must be carried out every time the ignition is switched off.
Page 40 of 272
40
Reactivating the interior volumetric
and anti-tilt monitoring
► Deactivate the perimeter monitoring by unlocking the vehicle with the remote control or the Keyless Entry and Starting system.The indicator lamp in the button goes off.► Reactivate all monitoring by locking the vehicle with the remote control or the Keyless Entry and Starting system.The red indicator lamp in the button once again flashes every second.
Triggering of the alarm
This is indicated by sounding of the siren and flashing of the direction indicators for 30 seconds.Depending on the country of sale, certain monitoring functions remain active until the alarm has been triggered eleven times consecutively.When the vehicle is unlocked using the remote control or the "Keyless Entry and Starting" system, rapid flashing of the red indicator lamp
in the button informs you that the alarm was triggered during your absence. When the ignition is switched on, the flashing stops immediately.
Failure of the remote control
To deactivate the monitoring functions:► unlock the vehicle using the key (integral to the remote control) in the driver's door lock,► open the door; the alarm is triggered,► switch on the ignition; the alarm stops; the indicator lamp in the button goes off.
Locking the vehicle without
activating the alarm
► Lock or deadlock the vehicle using the key (integral to the remote control) in the driver's door lock.
Malfunction
When the ignition is switched on, fixed illumination of the red indicator lamp in the button indicates a malfunction of the system.Have it checked by a TOYOTA dealer or a qualified workshop.
Automatic activation
(Depending on the country of sale)The system is activated automatically 2 minutes after the last door or the boot is closed.► To avoid triggering the alarm on entering the vehicle, first press the unlocking button on the remote control or unlock the vehicle using the “Keyless Entry and Starting” system.
Electric windows
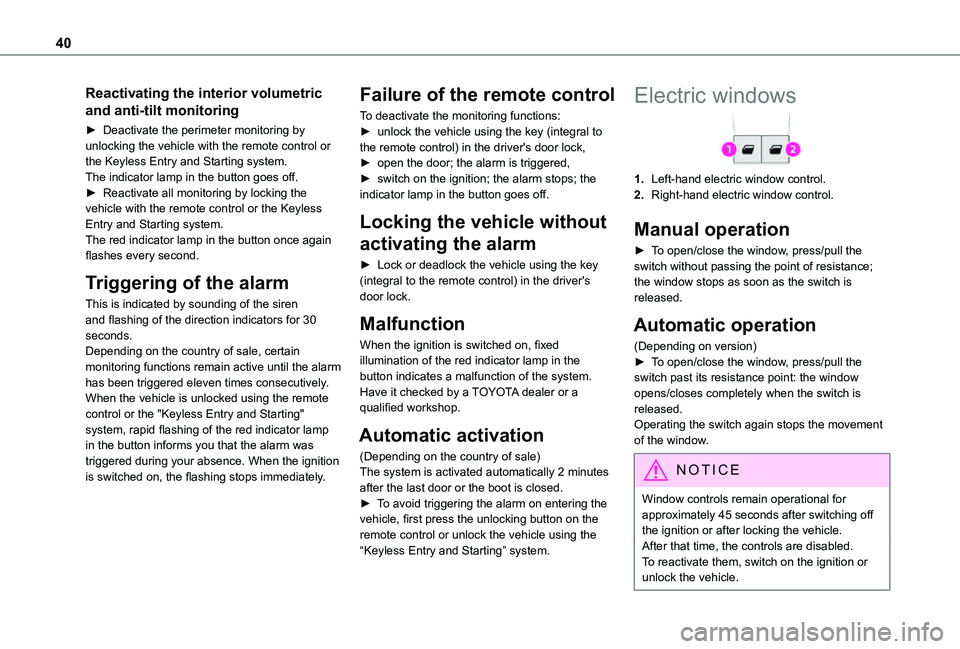
1.Left-hand electric window control.
2.Right-hand electric window control.
Manual operation
► To open/close the window, press/pull the switch without passing the point of resistance; the window stops as soon as the switch is released.
Automatic operation
(Depending on version)► To open/close the window, press/pull the switch past its resistance point: the window opens/closes completely when the switch is released.Operating the switch again stops the movement of the window.
NOTIC E
Window controls remain operational for approximately 45 seconds after switching off the ignition or after locking the vehicle.After that time, the controls are disabled. To reactivate them, switch on the ignition or unlock the vehicle.
Page 45 of 272
45
Ease of use and comfort
3
Steering wheel
adjustment
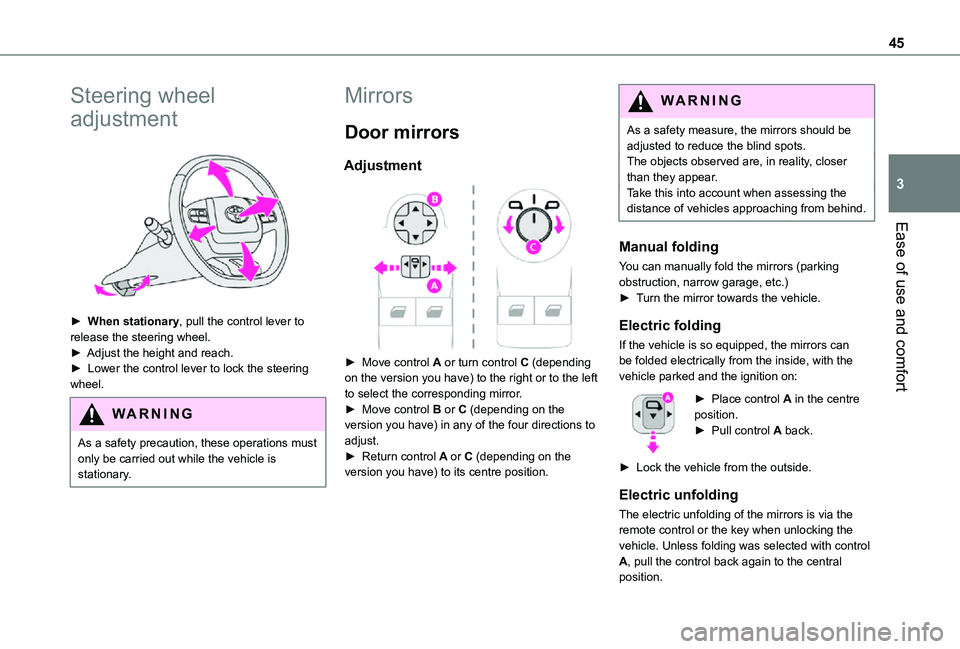
► When stationary, pull the control lever to release the steering wheel.► Adjust the height and reach.► Lower the control lever to lock the steering wheel.
WARNI NG
As a safety precaution, these operations must only be carried out while the vehicle is stationary.
Mirrors
Door mirrors
Adjustment
► Move control A or turn control C (depending on the version you have) to the right or to the left to select the corresponding mirror.► Move control B or C (depending on the version you have) in any of the four directions to adjust.
► Return control A or C (depending on the version you have) to its centre position.
WARNI NG
As a safety measure, the mirrors should be adjusted to reduce the blind spots.The objects observed are, in reality, closer than they appear.Take this into account when assessing the distance of vehicles approaching from behind.
Manual folding
You can manually fold the mirrors (parking obstruction, narrow garage, etc.)► Turn the mirror towards the vehicle.
Electric folding
If the vehicle is so equipped, the mirrors can be folded electrically from the inside, with the vehicle parked and the ignition on:
► Place control A in the centre position.► Pull control A back.
► Lock the vehicle from the outside.
Electric unfolding
The electric unfolding of the mirrors is via the remote control or the key when unlocking the vehicle. Unless folding was selected with control A, pull the control back again to the central position.
Page 51 of 272
51
Ease of use and comfort
3
It also allows a smartphone to be connected by MirrorLinkTM, Android Auto® or CarPlay®, enabling certain smartphone applications to be used on the touch screen.For best results, use a cable made or approved by the device manufacturer.These applications can be managed using the steering mounted controls or the audio system controls.
220 V/50 Hz socket
AC 220V
50Hz 120W
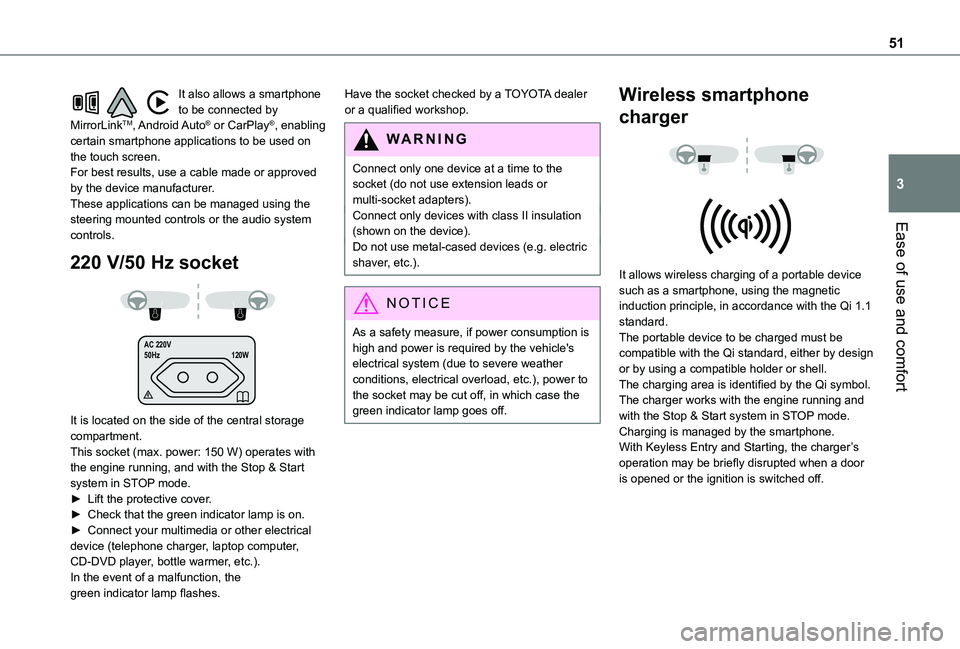
It is located on the side of the central storage compartment.This socket (max. power: 150 W) operates with the engine running, and with the Stop & Start system in STOP mode.► Lift the protective cover.► Check that the green indicator lamp is on.► Connect your multimedia or other electrical device (telephone charger, laptop computer, CD-DVD player, bottle warmer, etc.).In the event of a malfunction, the green indicator lamp flashes.
Have the socket checked by a TOYOTA dealer or a qualified workshop.
WARNI NG
Connect only one device at a time to the socket (do not use extension leads or multi-socket adapters).Connect only devices with class II insulation (shown on the device).
Do not use metal-cased devices (e.g. electric shaver, etc.).
NOTIC E
As a safety measure, if power consumption is high and power is required by the vehicle's electrical system (due to severe weather conditions, electrical overload, etc.), power to the socket may be cut off, in which case the green indicator lamp goes off.
Wireless smartphone
charger
It allows wireless charging of a portable device such as a smartphone, using the magnetic induction principle, in accordance with the Qi 1.1 standard.The portable device to be charged must be compatible with the Qi standard, either by design or by using a compatible holder or shell.The charging area is identified by the Qi symbol.The charger works with the engine running and with the Stop & Start system in STOP mode.Charging is managed by the smartphone.With Keyless Entry and Starting, the charger’s operation may be briefly disrupted when a door is opened or the ignition is switched off.
Page 69 of 272
69
Ease of use and comfort
3
Courtesy lamp
Automatic switching on/off
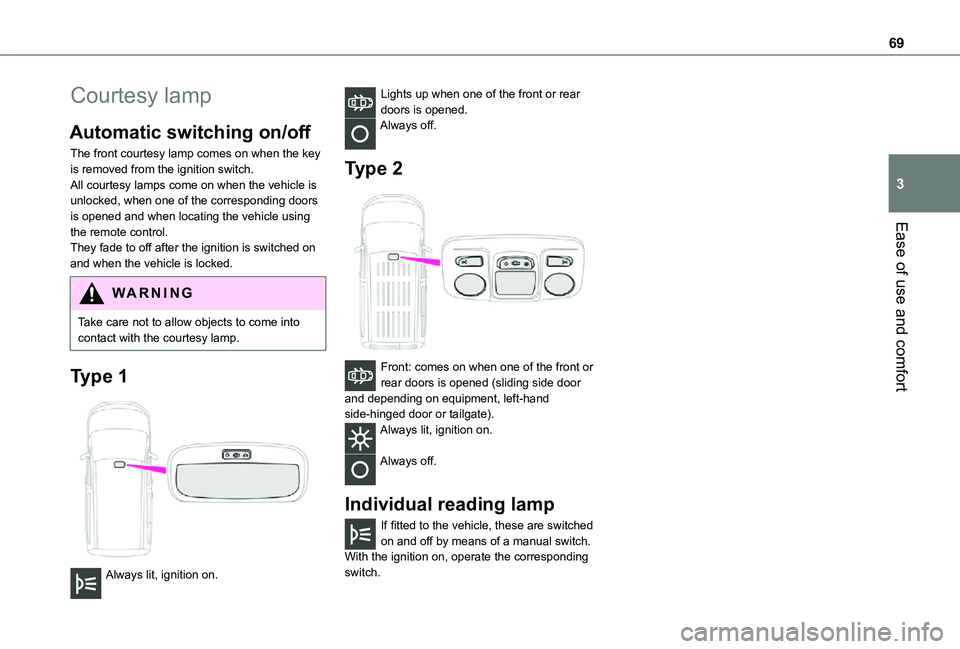
The front courtesy lamp comes on when the key is removed from the ignition switch.All courtesy lamps come on when the vehicle is unlocked, when one of the corresponding doors is opened and when locating the vehicle using the remote control. They fade to off after the ignition is switched on and when the vehicle is locked.
WARNI NG
Take care not to allow objects to come into contact with the courtesy lamp.
Type 1
Always lit, ignition on.
Lights up when one of the front or rear doors is opened.Always off.
Type 2
Front: comes on when one of the front or rear doors is opened (sliding side door and depending on equipment, left-hand side-hinged door or tailgate).Always lit, ignition on.
Always off.
Individual reading lamp
If fitted to the vehicle, these are switched on and off by means of a manual switch.With the ignition on, operate the corresponding switch.
Page 71 of 272
71
Lighting and visibility
4
If the lighting is switched off automatically ("AUTO" position) or the dipped beam headlamps are switched off manually, the foglamps and sidelamps will remain on.► Turn the ring backwards to switch the foglamps off; the sidelamps will then switch off.
NOTIC E
When the lighting is left onAn audible signal when a front door is opened warns the driver that the vehicle's exterior lighting is on, with the ignition off and in manual lighting mode.In this case, switching off the lighting stops the audible signal.The lighting goes off when you switch off the ignition, but you can always switch it on again using the lighting control lever.
NOTIC E
Travelling abroad
If using your vehicle in a country that drives on the other side of the road, the headlamps must be adjusted to avoid dazzling on-coming drivers.Contact a TOYOTA dealer or a qualified workshop.
WARNI NG
In good or rainy weather, by both day and night, use of the front foglamps and the rear foglamps are prohibited. In these situations, the power of their beams may dazzle other drivers. They should only be used in fog or falling snow.In these weather conditions, it is your responsibility to switch on the foglamps and dipped headlamps manually as the sunshine sensor may detect sufficient light.Switch off the front and rear foglamps when they are no longer necessary.
WARNI NG
Never look too closely at the luminous beam of LED headlamps: risk of serious eye injury.
Direction indicators
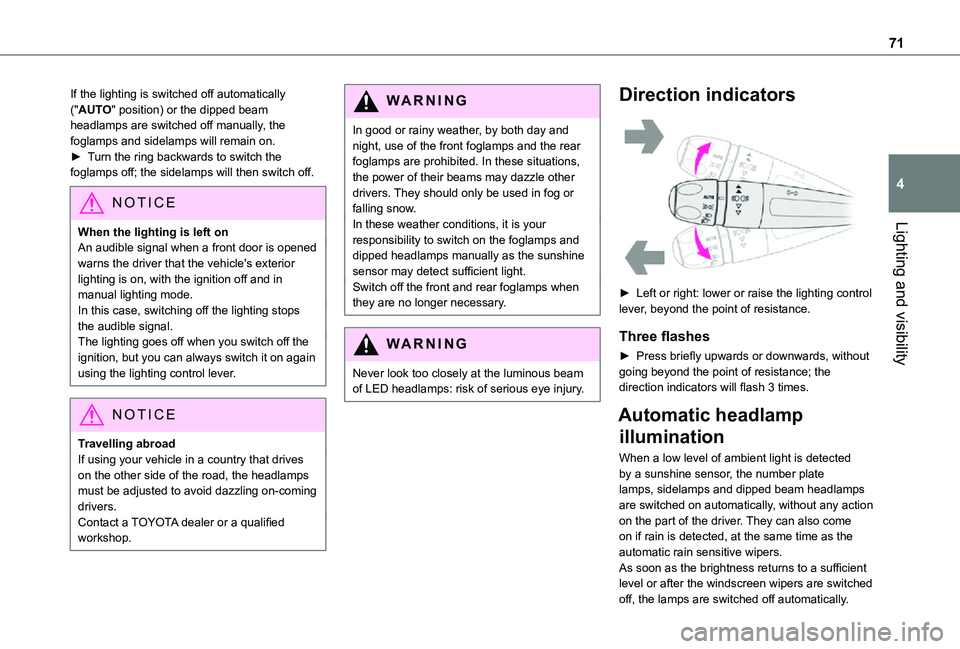
► Left or right: lower or raise the lighting control lever, beyond the point of resistance.
Three flashes
► Press briefly upwards or downwards, without going beyond the point of resistance; the direction indicators will flash 3 times.
Automatic headlamp
illumination
When a low level of ambient light is detected by a sunshine sensor, the number plate lamps, sidelamps and dipped beam headlamps are switched on automatically, without any action on the part of the driver. They can also come on if rain is detected, at the same time as the automatic rain sensitive wipers.As soon as the brightness returns to a sufficient level or after the windscreen wipers are switched off, the lamps are switched off automatically.
Page 72 of 272
72
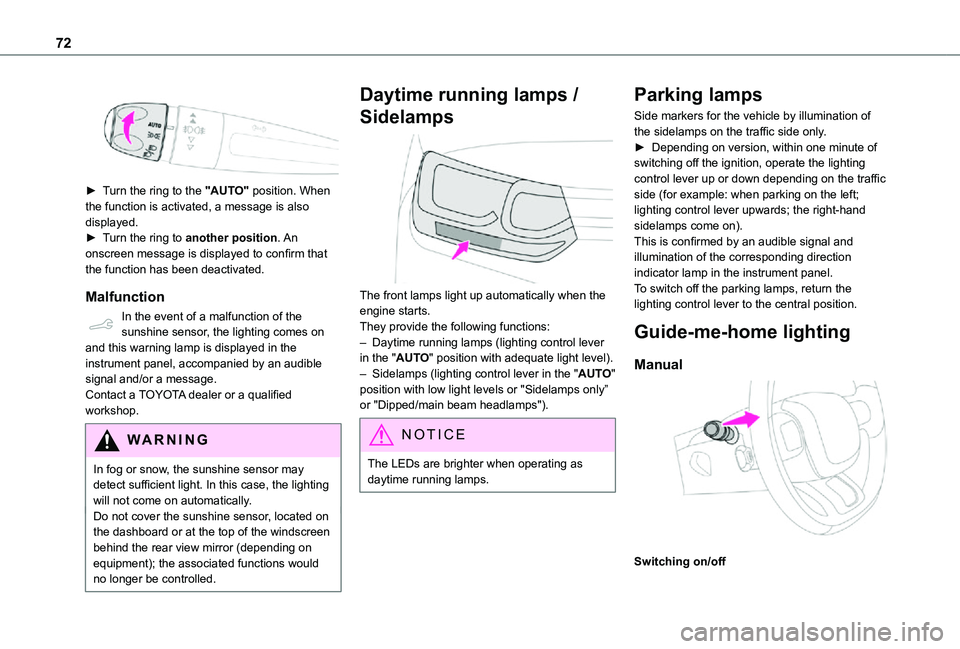
► Turn the ring to the "AUTO" position. When the function is activated, a message is also displayed.► Turn the ring to another position. An
onscreen message is displayed to confirm that the function has been deactivated.
Malfunction
In the event of a malfunction of the sunshine sensor, the lighting comes on and this warning lamp is displayed in the instrument panel, accompanied by an audible signal and/or a message.Contact a TOYOTA dealer or a qualified workshop.
WARNI NG
In fog or snow, the sunshine sensor may detect sufficient light. In this case, the lighting will not come on automatically.Do not cover the sunshine sensor, located on the dashboard or at the top of the windscreen behind the rear view mirror (depending on equipment); the associated functions would no longer be controlled.
Daytime running lamps /
Sidelamps
The front lamps light up automatically when the engine starts.They provide the following functions:– Daytime running lamps (lighting control lever in the "AUTO" position with adequate light level).– Sidelamps (lighting control lever in the "AUTO" position with low light levels or "Sidelamps only” or "Dipped/main beam headlamps").
NOTIC E
The LEDs are brighter when operating as daytime running lamps.
Parking lamps
Side markers for the vehicle by illumination of the sidelamps on the traffic side only.► Depending on version, within one minute of switching off the ignition, operate the lighting control lever up or down depending on the traffic side (for example: when parking on the left; lighting control lever upwards; the right-hand sidelamps come on).This is confirmed by an audible signal and illumination of the corresponding direction indicator lamp in the instrument panel.To switch off the parking lamps, return the lighting control lever to the central position.
Guide-me-home lighting
Manual
Switching on/off