2021 TOYOTA PROACE CITY Emergency
[x] Cancel search: EmergencyPage 35 of 272
35
Access
2
The state of the system stays in the memory when the ignition is switched off.
WARNI NG
Driving with the doors locked may render access by the emergency services to the interior difficult in an emergency.
NOTIC E
Carrying long or voluminous objectsIf you want to drive with the boot open, you should press the central locking button to lock the doors. Otherwise, every time the speed of the vehicle exceeds 10 km/h (6 mph), the locks will rebound and the alerts mentioned above will appear.Pressing the central locking button unlocks the vehicle.Above 10 km/h (6 mph), this unlocking is temporary.
Side-hinged doors
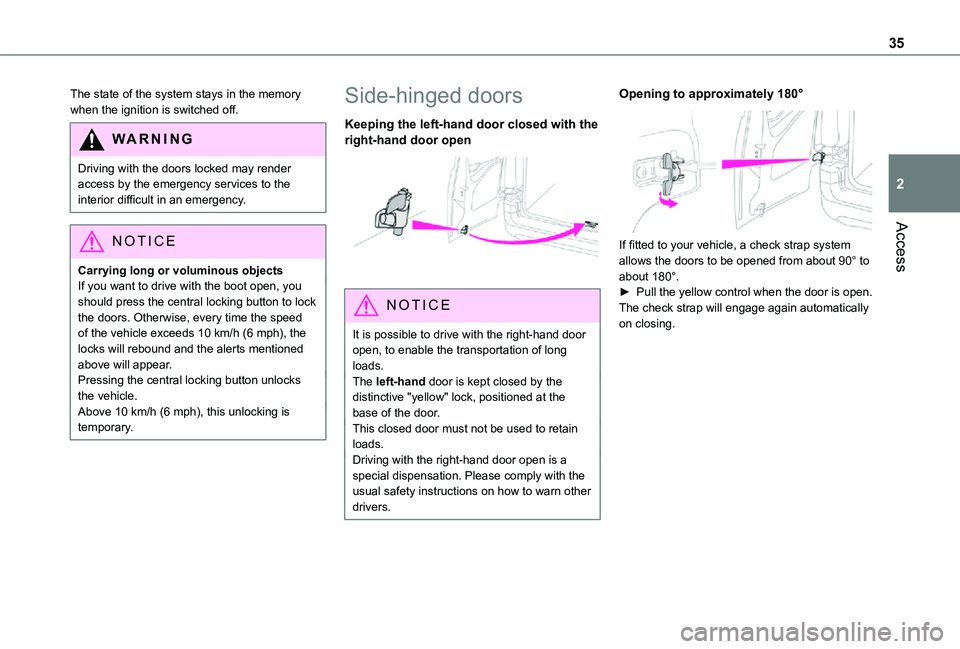
Keeping the left-hand door closed with the right-hand door open
NOTIC E
It is possible to drive with the right-hand door open, to enable the transportation of long loads.The left-hand door is kept closed by the distinctive "yellow" lock, positioned at the base of the door.This closed door must not be used to retain loads.
Driving with the right-hand door open is a special dispensation. Please comply with the usual safety instructions on how to warn other drivers.
Opening to approximately 180°
If fitted to your vehicle, a check strap system allows the doors to be opened from about 90° to about 180°.► Pull the yellow control when the door is open.The check strap will engage again automatically on closing.
Page 80 of 272
80
Emergency or assistance
call (type 1)
Localised Emergency Call
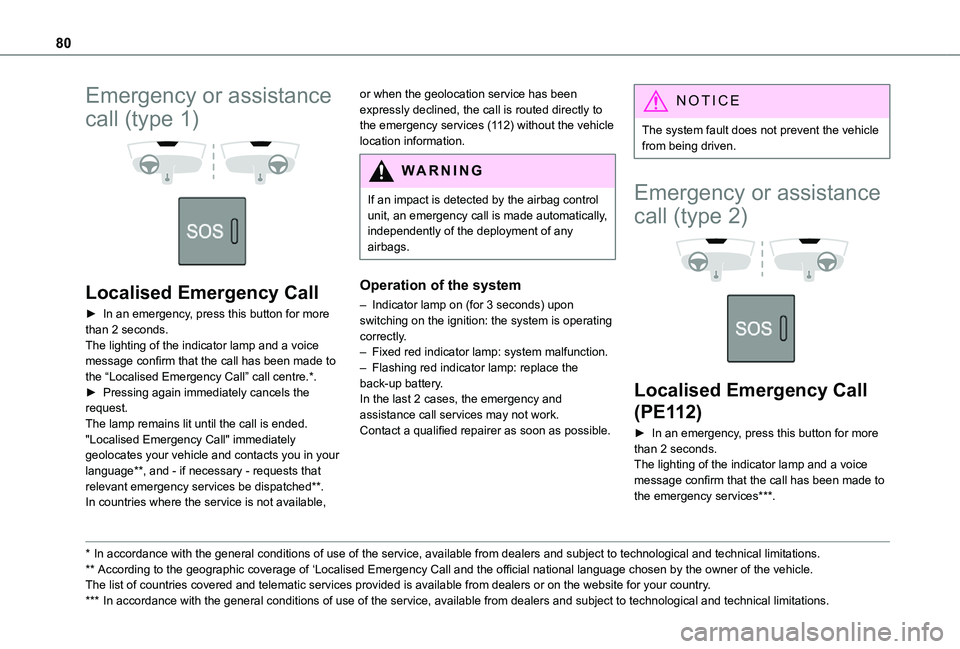
► In an emergency, press this button for more than 2 seconds.The lighting of the indicator lamp and a voice message confirm that the call has been made to the “Localised Emergency Call” call centre.*.► Pressing again immediately cancels the request.The lamp remains lit until the call is ended."Localised Emergency Call" immediately geolocates your vehicle and contacts you in your language**, and - if necessary - requests that relevant emergency services be dispatched**. In countries where the service is not available,
* In accordance with the general conditions of use of the service, available from dealers an\
d subject to technological and technical limitations.
** According to the geographic coverage of ‘Localised Emergency Call and the official national language chosen by the owner of the vehicle.The list of countries covered and telematic services provided is availab\
le from dealers or on the website for your country.
*** In accordance with the general conditions of use of the service, available from dealers\
and subject to technological and technical limitations.
or when the geolocation service has been expressly declined, the call is routed directly to the emergency services (112) without the vehicle location information.
WARNI NG
If an impact is detected by the airbag control unit, an emergency call is made automatically, independently of the deployment of any
airbags.
Operation of the system
– Indicator lamp on (for 3 seconds) upon switching on the ignition: the system is operating correctly.– Fixed red indicator lamp: system malfunction.– Flashing red indicator lamp: replace the back-up battery.In the last 2 cases, the emergency and assistance call services may not work.Contact a qualified repairer as soon as possible.
NOTIC E
The system fault does not prevent the vehicle from being driven.
Emergency or assistance
call (type 2)
Localised Emergency Call
(PE112)
► In an emergency, press this button for more than 2 seconds.The lighting of the indicator lamp and a voice message confirm that the call has been made to the emergency services***.
Page 81 of 272
81
Safety
5
‘Localised Emergency Call’ immediately locates your vehicle and puts you in contact with the appropriate emergency services*.► Pressing again immediately cancels the request.The indicator lamp flashes when the vehicle data is sent, and then remains lit when communication is established.
WARNI NG
If an impact is detected by the airbag control unit, an emergency call is made automatically, independently of the deployment of any airbags.
NOTIC E
‘Localised Emergency Call’ is a service that can be accessed free of charge.
System operation
– Upon switching on the ignition, if the indicator lamp lights up red, then green, and then goes out: the system is operating correctly.– If the indicator lamp is fixed red: system malfunction– If the indicator lamp flashes red: replace the
emergency battery.
* In areas covered by ‘Localised Emergency Call’. The list of countries covered and telematic services provided is availab\
le from dealers or on the website for your country.
In the latter two cases, emergency and assistance call services may not work.Contact a dealer or a qualified repairer as soon as possible.
N OTIC E
The system fault does not prevent the vehicle from being driven.
NOTIC E
Data processingAll processing of personal information by the "Localised Emergency Call" system (PE112) complies with the framework for protection of personal information established by Regulation 2016/679 (GDPR) and Directive 2002/58/EC of the European Parliament and the Council, and in particular, seeks to protect the vital interests of the data subject, in accordance with Article 6.1, paragraph d) of Regulation 2016/679.Personal information processing is strictly limited to the management of the "Localised Emergency Call" system used with the “112” European single emergency call number.The "Localised Emergency Call" system is able to collect and process only the following data relating to the vehicle: chassis number,
type (passenger vehicle or light commercial vehicle), fuel type or power source, most recent three locations and direction of travel, and a timestamped log file recording the automatic activation of the system.The recipients of the processed data are the emergency call handling centres designated by the relevant national authorities in the territory in which they are located, enabling priority reception and handling of calls to the “112” emergency number.
NOTIC E
Data storageData contained in the system’s memory is not accessible from outside the system until a call is made. The system is not traceable and is not continuously monitored in its normal operating mode. The data in the system's internal memory is automatically and continuously erased. Only the vehicle’s three most recent locations are stored.When an emergency call is triggered, the data log is stored for no more than 13 hours.
Page 82 of 272
82
NOTIC E
Access to dataYou have the right to access the data and, if necessary, submit a request to rectify, erase or restrict the processing of any personal information not processed in accordance with the provisions of Regulation 2016/679 (GDPR). Third parties to which data has been communicated shall be notified of any rectification, erasure or restriction carried out in accordance with the aforementioned Directive, unless doing so would be impossible or require a disproportionate effort. You also have the right to lodge a complaint with the relevant data protection authority.
Hazard warning lamps
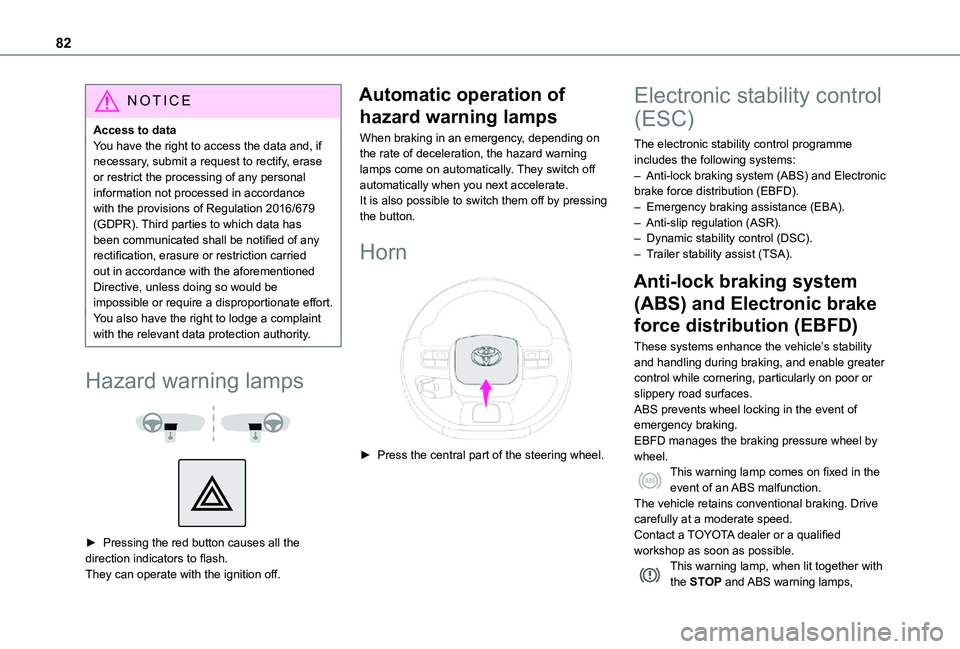
► Pressing the red button causes all the direction indicators to flash.They can operate with the ignition off.
Automatic operation of
hazard warning lamps
When braking in an emergency, depending on the rate of deceleration, the hazard warning lamps come on automatically. They switch off automatically when you next accelerate.It is also possible to switch them off by pressing the button.
Horn
► Press the central part of the steering wheel.
Electronic stability control
(ESC)
The electronic stability control programme includes the following systems:– Anti-lock braking system (ABS) and Electronic brake force distribution (EBFD).– Emergency braking assistance (EBA).– Anti-slip regulation (ASR).– Dynamic stability control (DSC).– Trailer stability assist (TSA).
Anti-lock braking system
(ABS) and Electronic brake
force distribution (EBFD)
These systems enhance the vehicle’s stability and handling during braking, and enable greater control while cornering, particularly on poor or slippery road surfaces.ABS prevents wheel locking in the event of emergency braking.EBFD manages the braking pressure wheel by
wheel.This warning lamp comes on fixed in the event of an ABS malfunction.The vehicle retains conventional braking. Drive carefully at a moderate speed.Contact a TOYOTA dealer or a qualified workshop as soon as possible.This warning lamp, when lit together with the STOP and ABS warning lamps,
Page 83 of 272
83
Safety
5
accompanied by a message and an audible signal, indicates an EBFD malfunction.You must stop as soon as it is safe to do so.Contact a TOYOTA dealer or a qualified workshop.
NOTIC E
The normal operation of the ABS may result in slight vibrations in the brake pedal.
WARNI NG
When braking in an emergency, press very firmly and maintain this pressure.
WARNI NG
When changing wheels (tyres and rims), ensure that these are approved for your vehicle.
WARNI NG
After an impact, have these systems checked by a TOYOTA dealer or a qualified workshop.
Emergency braking
assistance (EBA)
In an emergency, this system enables you to reach the optimum braking pressure more quickly and therefore reduce the stopping distance.It is triggered in relation to the speed at which the brake pedal is pressed. This is felt by a reduction in the resistance of the pedal and an increase in braking efficiency.
Anti-slip regulation (ASR)
/ Dynamic stability control
(DSC)
Anti-slip regulation optimises traction using engine braking and by applying the brakes on the driving wheels to avoid wheel spinning. It also enhances the vehicle's directional stability while accelerating.If there is a difference between the vehicle’s trajectory and the path desired by the driver, the
dynamic stability control system automatically uses engine braking and the brakes on one or more wheels to return the vehicle to the desired path, within the limits of the laws of physics.These systems are activated automatically every time the vehicle is started.They come into operation in the event of a grip or trajectory problem.
This warning lamp on the instrument panel flashes to indicate that they are operating.
Deactivation / Reactivation
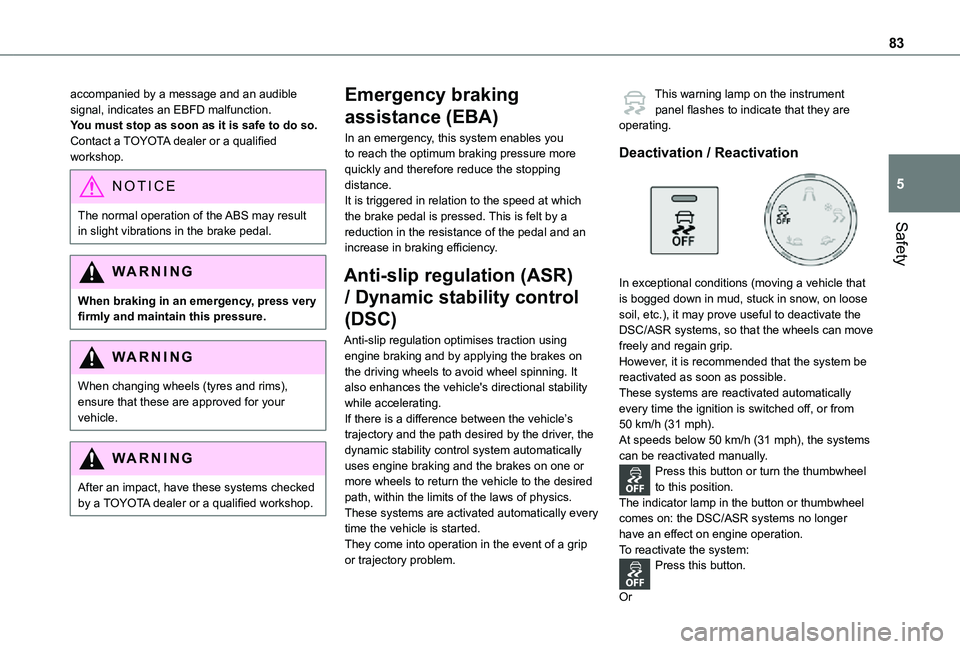
In exceptional conditions (moving a vehicle that is bogged down in mud, stuck in snow, on loose soil, etc.), it may prove useful to deactivate the DSC/ASR systems, so that the wheels can move freely and regain grip.However, it is recommended that the system be reactivated as soon as possible.These systems are reactivated automatically every time the ignition is switched off, or from 50 km/h (31 mph).At speeds below 50 km/h (31 mph), the systems can be reactivated manually.Press this button or turn the thumbwheel to this position.The indicator lamp in the button or thumbwheel comes on: the DSC/ASR systems no longer have an effect on engine operation.To reactivate the system:Press this button.
Or
Page 104 of 272
104
Key left in the ignition
NOTIC E
When opening the driver's door, an alert message is displayed, accompanied by an audible signal, to remind you that the key is still in the ignition switch at position 1 (Stop).If the key has been left in the ignition switch at position 2 (Ignition on), the ignition will be
switched off automatically after one hour.To switch the ignition back on, turn the key to position 1 (Stop), then back to position 2 (Ignition on).
With Keyless Entry and Starting
► With the remote control in the recognition zone, press the "START/STOP" button.With a manual gearbox, the engine switches off and the steering column locks.With the EAT8 automatic gearbox, the engine switches off.
NOTIC E
If the vehicle is not immobilised, the engine will not stop.
Switching on the ignition
with Keyless Entry and
Starting
With the Keyless Entry and Starting system’s electronic key inside the vehicle, pressing the "START/STOP" button, with no action on the pedals, allows the ignition to be switched on.► Pressing this button again switches off the ignition and allows the vehicle to be locked.
Back-up starting with
Keyless Entry and Starting
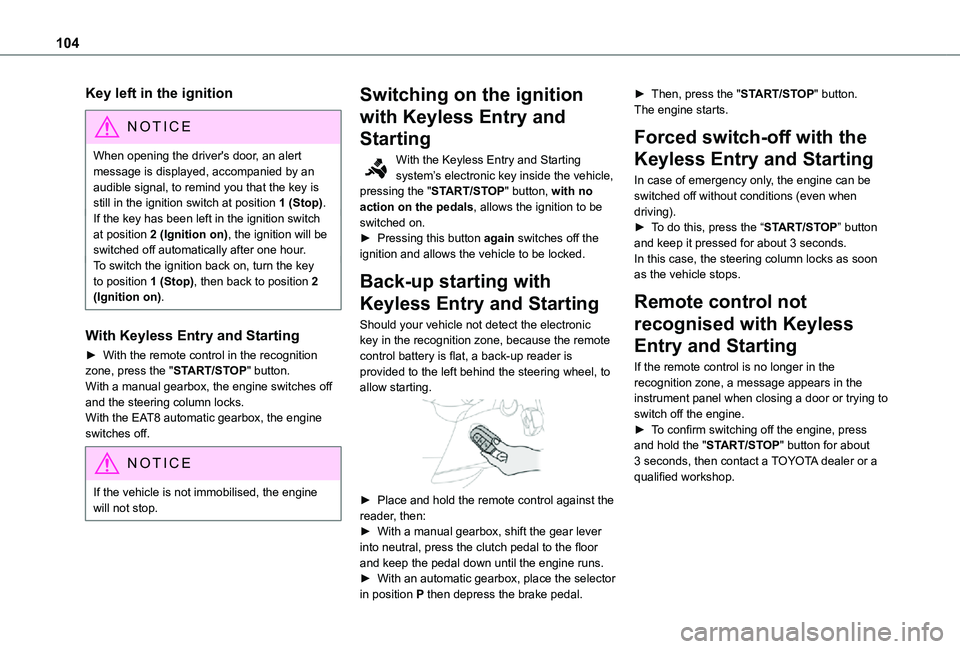
Should your vehicle not detect the electronic key in the recognition zone, because the remote control battery is flat, a back-up reader is provided to the left behind the steering wheel, to allow starting.
► Place and hold the remote control against the reader, then:► With a manual gearbox, shift the gear lever into neutral, press the clutch pedal to the floor and keep the pedal down until the engine runs.► With an automatic gearbox, place the selector in position P then depress the brake pedal.
► Then, press the "START/STOP" button.The engine starts.
Forced switch-off with the
Keyless Entry and Starting
In case of emergency only, the engine can be switched off without conditions (even when driving).► To do this, press the “START/STOP” button and keep it pressed for about 3 seconds.In this case, the steering column locks as soon as the vehicle stops.
Remote control not
recognised with Keyless
Entry and Starting
If the remote control is no longer in the recognition zone, a message appears in the instrument panel when closing a door or trying to switch off the engine.► To confirm switching off the engine, press
and hold the "START/STOP" button for about 3 seconds, then contact a TOYOTA dealer or a qualified workshop.
Page 108 of 272
108
► Pull the control lever in the application direction for 2 seconds.Deactivation of the automatic functions is confirmed by illumination of this indicator lamp in the instrument panel.► Release the control lever and the brake pedal.From now on, the parking brake can only be applied and released manually using the control lever.Repeat this procedure to reactivate automatic operation (confirmed by the indicator lamp in the instrument panel going off).
Emergency braking
In the event of a fault with the brake pedal or in an exceptional situation (e.g. driver taken ill, driver under instruction), a continuous pull on the electric parking brake control lever will brake the vehicle. Braking takes place while the control lever is being pulled; it is interrupted when the control lever is released.The ABS and DSC systems ensure stability of
the vehicle during emergency braking.If the emergency braking malfunctions, the message "Parking brake control faulty" will be displayed in the instrument panel.
If the ABS and DSC systems malfunction, signalled by the illumination of one or both
warning lamps in the instrument panel, then stability of the vehicle is no longer guaranteed.In this event, stability must be assured by the driver by repeating alternate "pull-release" actions on the control lever until the vehicle is immobilised.
Hill start assist
This system keeps your vehicle briefly stationary (for approximately 2 seconds) when making a hill start, while you transfer your foot from the brake pedal to the accelerator pedal.This system is only active when:– the vehicle is completely stationary, with your foot on the brake pedal,– certain slope conditions are met,– the driver’s door is closed.
WARNI NG
Do not leave the vehicle while it is being held temporarily by hill start assist.If someone needs to get out of the vehicle with the engine running, apply the parking brake manually. After that, ensure that the parking brake indicator lamp and the indicator lamp P in the electric parking brake control lever are on fixed.
WARNI NG
The hill start assist function cannot be deactivated. However, use of the parking brake to immobilise the vehicle interrupts its operation.
Operation
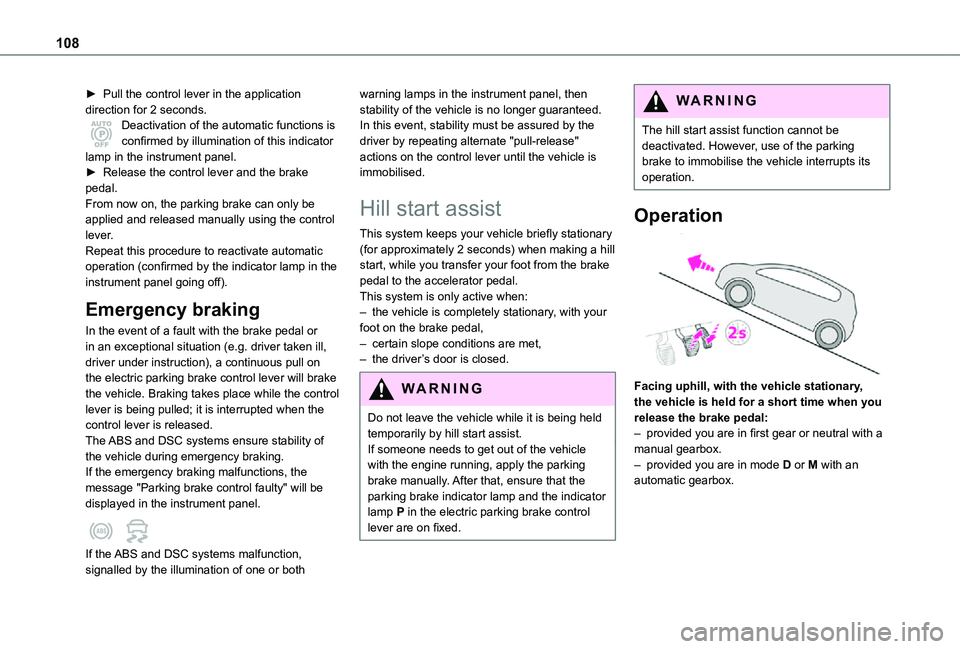
Facing uphill, with the vehicle stationary, the vehicle is held for a short time when you release the brake pedal:– provided you are in first gear or neutral with a manual gearbox.– provided you are in mode D or M with an automatic gearbox.
Page 118 of 272
11 8
Head-up display
This system projects various information onto a smoked projection blade situated in the driver's field of vision, enabling them to drive without taking their eyes off the road.
Information displayed
during operation
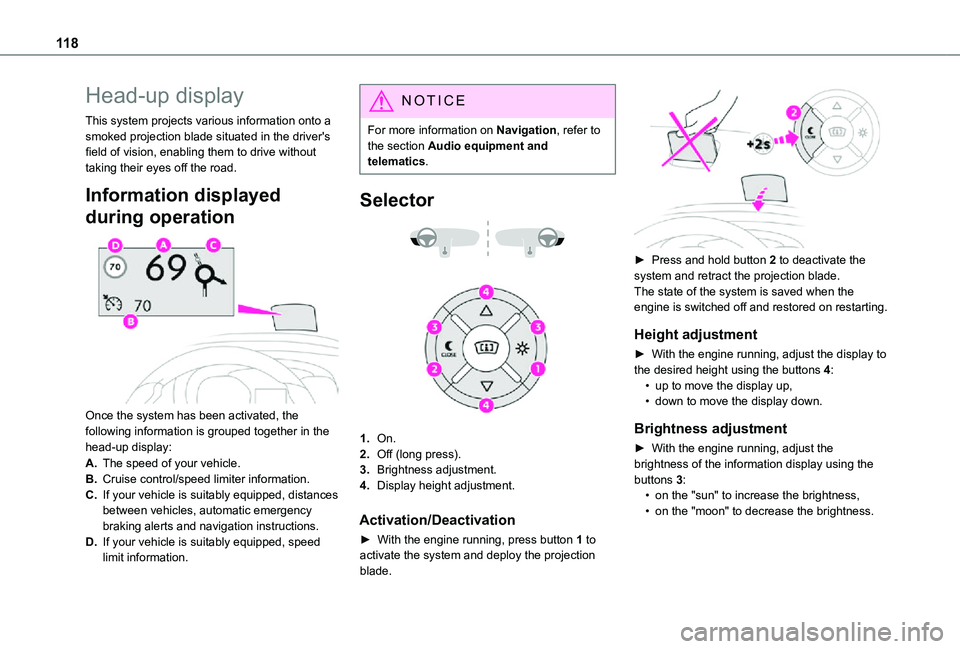
Once the system has been activated, the following information is grouped together in the
head-up display:
A.The speed of your vehicle.
B.Cruise control/speed limiter information.
C.If your vehicle is suitably equipped, distances between vehicles, automatic emergency braking alerts and navigation instructions.
D.If your vehicle is suitably equipped, speed limit information.
NOTIC E
For more information on Navigation, refer to the section Audio equipment and telematics.
Selector
1.On.
2.Off (long press).
3.Brightness adjustment.
4.Display height adjustment.
Activation/Deactivation
► With the engine running, press button 1 to activate the system and deploy the projection blade.
► Press and hold button 2 to deactivate the system and retract the projection blade.The state of the system is saved when the engine is switched off and restored on restarting.
Height adjustment
► With the engine running, adjust the display to the desired height using the buttons 4:• up to move the display up,• down to move the display down.
Brightness adjustment
► With the engine running, adjust the brightness of the information display using the buttons 3:• on the "sun" to increase the brightness,• on the "moon" to decrease the brightness.