Page 195 of 482

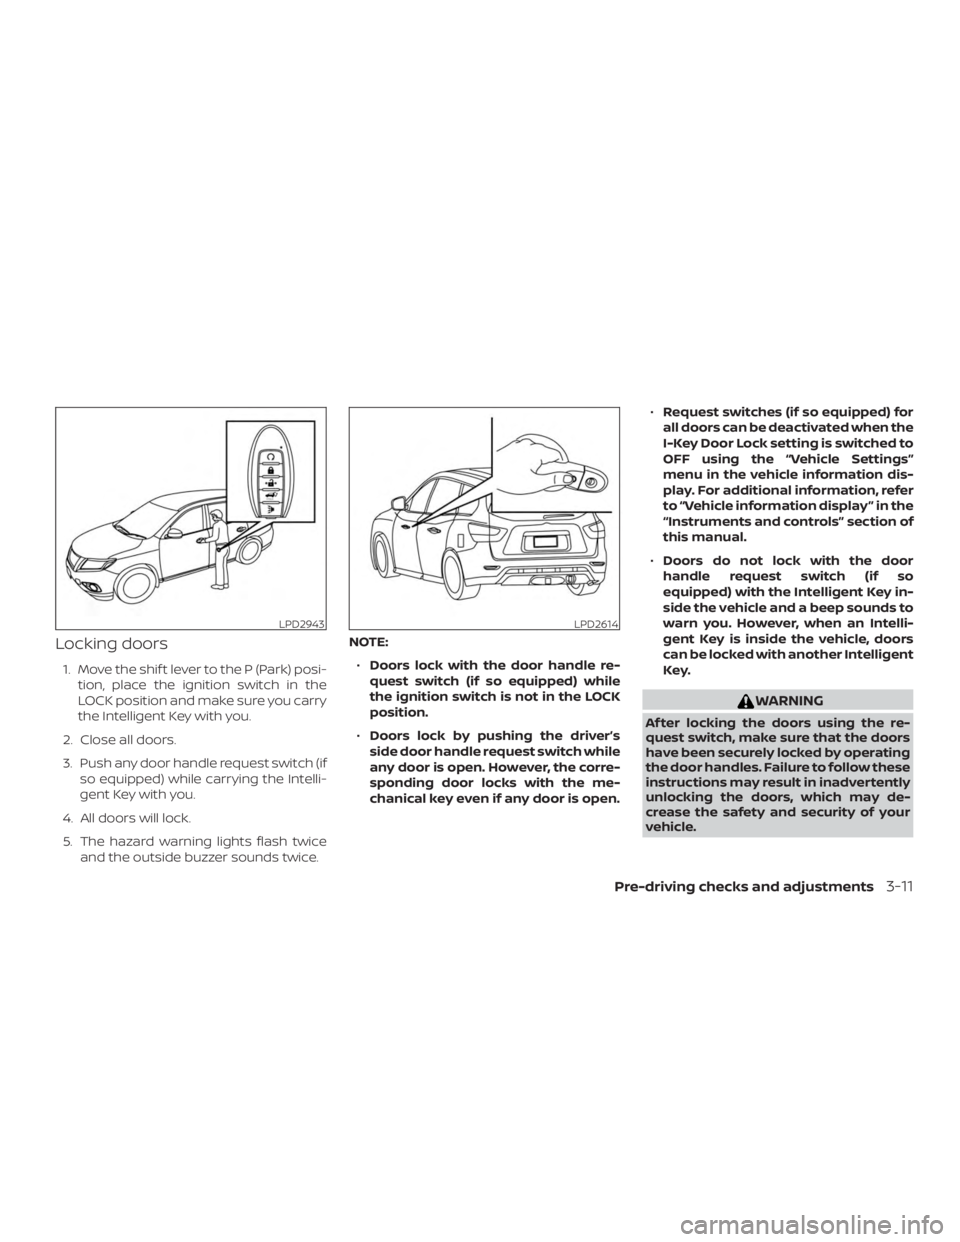
Locking doors
1. Move the shif t lever to the P (Park) posi-tion, place the ignition switch in the
LOCK position and make sure you carry
the Intelligent Key with you.
2. Close all doors.
3. Push any door handle request switch (if so equipped) while carrying the Intelli-
gent Key with you.
4. All doors will lock.
5. The hazard warning lights flash twice and the outside buzzer sounds twice. NOTE:
∙ Doors lock with the door handle re-
quest switch (if so equipped) while
the ignition switch is not in the LOCK
position.
∙ Doors lock by pushing the driver’s
side door handle request switch while
any door is open. However, the corre-
sponding door locks with the me-
chanical key even if any door is open. ∙
Request switches (if so equipped) for
all doors can be deactivated when the
I-Key Door Lock setting is switched to
OFF using the “Vehicle Settings”
menu in the vehicle information dis-
play. For additional information, refer
to “Vehicle information display ” in the
“Instruments and controls” section of
this manual.
∙ Doors do not lock with the door
handle request switch (if so
equipped) with the Intelligent Key in-
side the vehicle and a beep sounds to
warn you. However, when an Intelli-
gent Key is inside the vehicle, doors
can be locked with another Intelligent
Key.
Page 196 of 482
CAUTION
∙ When locking the doors using the re-quest switch (if so equipped), make
sure to have the Intelligent Key in your
possession before operating the re-
quest switch (if so equipped) to pre-
vent the Intelligent Key from being
lef t in the vehicle.
∙ The request switch (if so equipped) is operational only when the Intelligent
Key has been detected by the Intelli-
gent Key system.
Lockout protection
To prevent the Intelligent Key from being
accidentally locked in the vehicle, lockout
protection is equipped with the Intelligent
Key.
When the driver’s side door is open, the
doors are locked, and then the Intelligent
Key is put inside the vehicle and all the
doors are closed; the lock will automati-
cally unlock and a beep will sound to warn
you. NOTE:
The doors may not lock when the Intelli-
gent Key is in the same hand that is op-
erating the request switch (if so
equipped) to lock the door. Put the Intel-
ligent Key in a purse, pocket or your
other hand.
Page 198 of 482
CAUTION
When locking the doors using the Intel-
ligent Key, be sure not to leave the key in
the vehicle.
TYPE A (if so equipped)
1.
Page 210 of 482

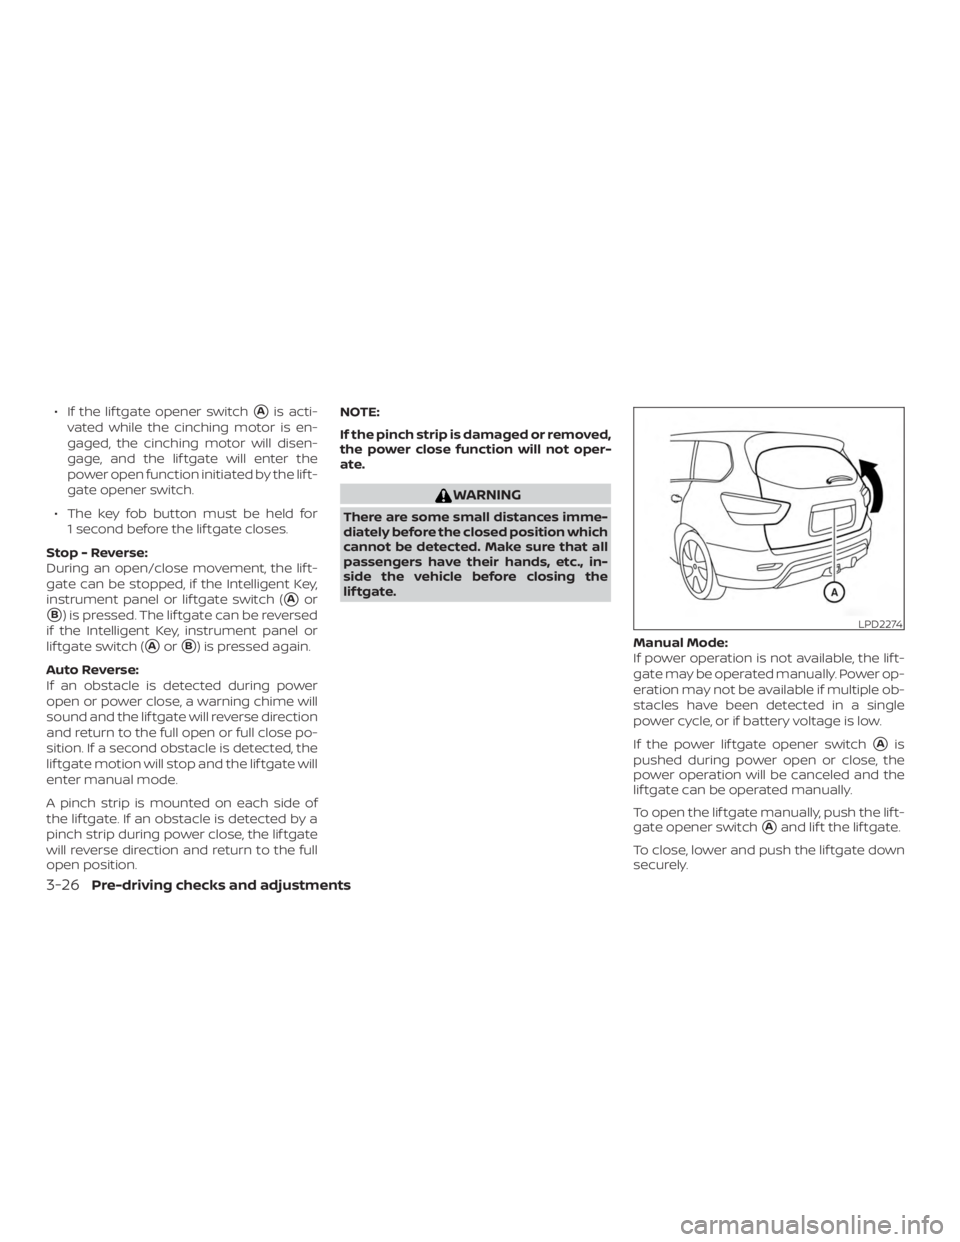
∙ If the lif tgate opener switch�Ais acti-
vated while the cinching motor is en-
gaged, the cinching motor will disen-
gage, and the lif tgate will enter the
power open function initiated by the lif t-
gate opener switch.
∙ The key fob button must be held for 1 second before the lif tgate closes.
Stop - Reverse:
During an open/close movement, the lif t-
gate can be stopped, if the Intelligent Key,
instrument panel or lif tgate switch (
�Aor
�B) is pressed. The lif tgate can be reversed
if the Intelligent Key, instrument panel or
lif tgate switch (
�Aor�B) is pressed again.
Auto Reverse:
If an obstacle is detected during power
open or power close, a warning chime will
sound and the lif tgate will reverse direction
and return to the full open or full close po-
sition. If a second obstacle is detected, the
lif tgate motion will stop and the lif tgate will
enter manual mode.
A pinch strip is mounted on each side of
the lif tgate. If an obstacle is detected by a
pinch strip during power close, the lif tgate
will reverse direction and return to the full
open position. NOTE:
If the pinch strip is damaged or removed,
the power close function will not oper-
ate.
Page 211 of 482
MOTION-ACTIVATED LIFTGATE (if
so equipped)
The lif tgate can be operated using a quick
kicking motion under the center of the rear
bumper.
To operate, the Intelligent Key must be
within 31.5 in (80 cm) of the lif tgate.
Proper operation technique
∙ While at the rear of the vehicle, beginmaking a quick forward kicking motion.
∙ Raise your foot straight under the cen- ter of the rear bumper then immedi-
ately return your foot to the ground in a
continuous motion.
∙ The kicking motion should be straight, smooth and consistent.
∙ Af ter your kick motion is complete, step back and allow the lif tgate to
open/close. ∙ Three beeps will sound and the lif tgate
will begin moving within two seconds
af ter the kick.
Page 212 of 482
WARNING
Prevent unintentional lif tgate
opening/closing. There may be condi-
tions when opening/closing the lif tgate
is not desired. Keep the Intelligent Key
out of range of the lif tgate, (31.5 in or
80 cm), when washing or working
around the back of the vehicle.
Page 235 of 482
ADJUSTING THE SCREEN
To adjust the Display ON/OFF, Brightness,
Contrast, Black Level, Tint, and Color of the
RearView Monitor, press the SETTING but-
ton with the RearView Monitor on. Select
one of the items and change the value by
touching the “+” or “-” key or by turning the
multi-function controller.
NOTE:
Do not adjust the Brightness, Contrast,
Black Level, Tint, and Color of the RearView
Monitor while the vehicle is moving. Make
sure the parking brake is firmly applied.
HOW TO TURN ON AND OFF
PREDICTED COURSE LINES
To toggle on and off the predicted course
lines while in the P (Park) position:1. Press the SETTING button.
2. Touch the “Camera” or “Camera/Sonar” key.
3. Touch the “Camera” key.
4. Touch the “Predicted Course Lines” key to turn the feature on or off.
REARVIEW MONITOR SYSTEM
LIMITATIONS
Page 251 of 482

∙ When the ignition switch is placed in the“OFF” position and turned back to the
“ON” position again. To prevent the so-
nar system from activating altogether,
use the “Camera” menu. For additional
information, refer to “Sonar function
settings” in this section.
Sonar function settings
To set up the sonar function to your pre-
ferred settings, press the SETTING button,
select the “Camera/Sonar” key and then
select the “Sonar” key on the center display.
Designs and items displayed on the
screen may vary depending on the mod-
els.
Sonar: When this item is turned on, the rear
sonar is activated. When this item is turned
off (indicator turns off ), the rear sonar is
deactivated. The amber markers are dis-
played at the corners of the vehicle icon.
The next time the ignition switch is placed
in the ON position, “sonar is OFF” is dis-
played briefly.
Sonar Sensitivity: Adjust the sensitivity
level of the sonar higher (right) or lower
(lef t).
Sonar Volume: Adjust the volume of the
buzzer. Towing mode (if so equipped):
When this
item is turned on, only the rear sonar is off.
The amber markers are displayed at the
rear corners of the vehicle icon.
Show Camera when Sonar Activate (if so
equipped): When this item is turned on, the
camera view is automatically shown on the
display in the case that the distance to the
objects measured by the sonar is becom-
ing short.
SONAR SYSTEM LIMITATIONS