2021 NISSAN NV200 heater
[x] Cancel search: heaterPage 134 of 300
fan speed
control dial to the desired position and
press the
button to turn on the air
conditioner. To turn off the air conditioner,
press the
button again.
The air conditioner cooling function op-
erates only when the engine is running.
Rear window and/or outside
mirror defroster switch (if so
equipped)
For additional information, see “Rear win-
dow and/or outside mirror defroster
switch (if so equipped)” (P. 2-21).
HEATER OPERATION
Heating
This mode is used to direct heated air to
the foot outlets. Some air also flows from
the defrost outlets.
1. Move the air intake lever to the
position for normal heating.
2. Turn the air flow control dial to the
position. 3. Turn the
fan speed control dial to
the desired position.
4. Turn the temperature control dial to the desired position between the middle
and the hot position.
Ventilation
This mode directs outside air to the side
and center vents.
1. Move the air intake lever to the
position.
2. Turn the air flow control dial to the
position.
3. Turn the
fan speed control dial to
the desired position.
4. Turn the temperature control dial to the desired position.
Defrosting or defogging
This mode directs the air to the defrost
outlets to defrost/defog the windows.
1. Move the air intake lever to the
position.
2. Turn the air flow control dial to the
position. 3. Turn the
fan speed control dial to
the desired position.
4. Turn the temperature control dial to the desired position between the middle
and the hot position.
• To quickly remove ice or fog from the win- dows, turn the
fan speed control dial
to the maximum position and the tem-
perature control dial to the full hot
position.
When the
orposition is se-
lected, the air conditioner automatically
turns on (however, the indicator light will
not illuminate). In this position, the air con-
ditioner cannot be turned off. When the air
flow control is turned to any position other
than
or(the air conditioner will
continue operating). and can be turned off
using the air conditioner button. This dehu-
midifies the air, which helps defog the
windshield.
Bi-level heating
This mode directs cooler air from the side
and center vents and warmer air from the
floor outlets. When the temperature con-
trol dial is moved to the full hot or full cool
position, the air between the vents and the
floor outlets is the same temperature.
4-12Monitor, climate, audio, phone and voice recognition systems
Page 135 of 300
position.
2. Turn the air flow control dial to the
position.
3. Turn the
fan speed control dial to
the desired position.
4. Turn the temperature control dial to the desired position.
Heating and defogging
This mode heats the interior and defogs
the windshield.
1. Move the air intake lever to the
position.
2. Turn the air flow control dial to the
position.
3. Turn the
fan speed control dial to
the desired position.
4. Turn the temperature control dial to the desired position between the middle
and the hot position.
When the
orposition is se-
lected, the air conditioner automatically
turns on (however, the indicator light will
not illuminate). In this position, the air con-
ditioner cannot be turned off. When the air
flow control is turned to any position other than
or(the air conditioner will
continue operating) and can be turned off
using the air conditioner button. This dehu-
midifies the air, which helps defog the
windshield.
Operating tips
Clear snow and ice from the wiper blades
and air inlet in front of the windshield.
This improves heater operation.
AIR CONDITIONER OPERATION
Start the engine, turn thefan speed
control dial to the desired position, and
press the
button to activate the air
conditioner. When the air conditioner is on,
cooling and dehumidif ying functions are
added to the heater operation.
The air conditioner cooling function op-
erates only when the engine is running.
Cooling
This mode is used to cool and dehumidif y
the air.
1. Move the air intake lever to the
position.
2. Turn the air flow control dial to the
position. 3. Turn the
fan speed control dial to
the desired position.
4. Press the
button. The indicator
light comes on.
5. Turn the temperature control dial to the desired position.
• For quick cooling when the outside tem- perature is high, move the air intake lever
to the
position. Be sure to return to
theposition for normal cooling.
Dehumidified heating
This mode is used to heat and dehumidif y
the air.
1. Move the air intake lever to the
position.
2. Turn the air flow control dial to the
position.
3. Turn the
fan speed control dial to
the desired position.
4. Press the
button. The indicator
light comes on.
5. Turn the temperature control dial to the desired position.
Monitor, climate, audio, phone and voice recognition systems4-13
Page 176 of 300
ENGINE BLOCK HEATER (if so
equipped)
Engine block heaters are used to assist
with cold temperature starting.
The engine block heater should be used
when the outside temperature is 20°F (-7°C)
or lower.
Page 187 of 300
WARNING
Always follow the instructions below.
Failure to do so could result in damage
to the charging system and cause per-
sonal injury.
1. If the booster battery is in another ve- hicle, position the two vehicles to bring
their batteries near each other.
Do not allow the two vehicles to touch.
2. Apply the parking brake. Move the shif t lever to P (Park). Switch off all unneces-
sary electrical systems (lights, heater, air
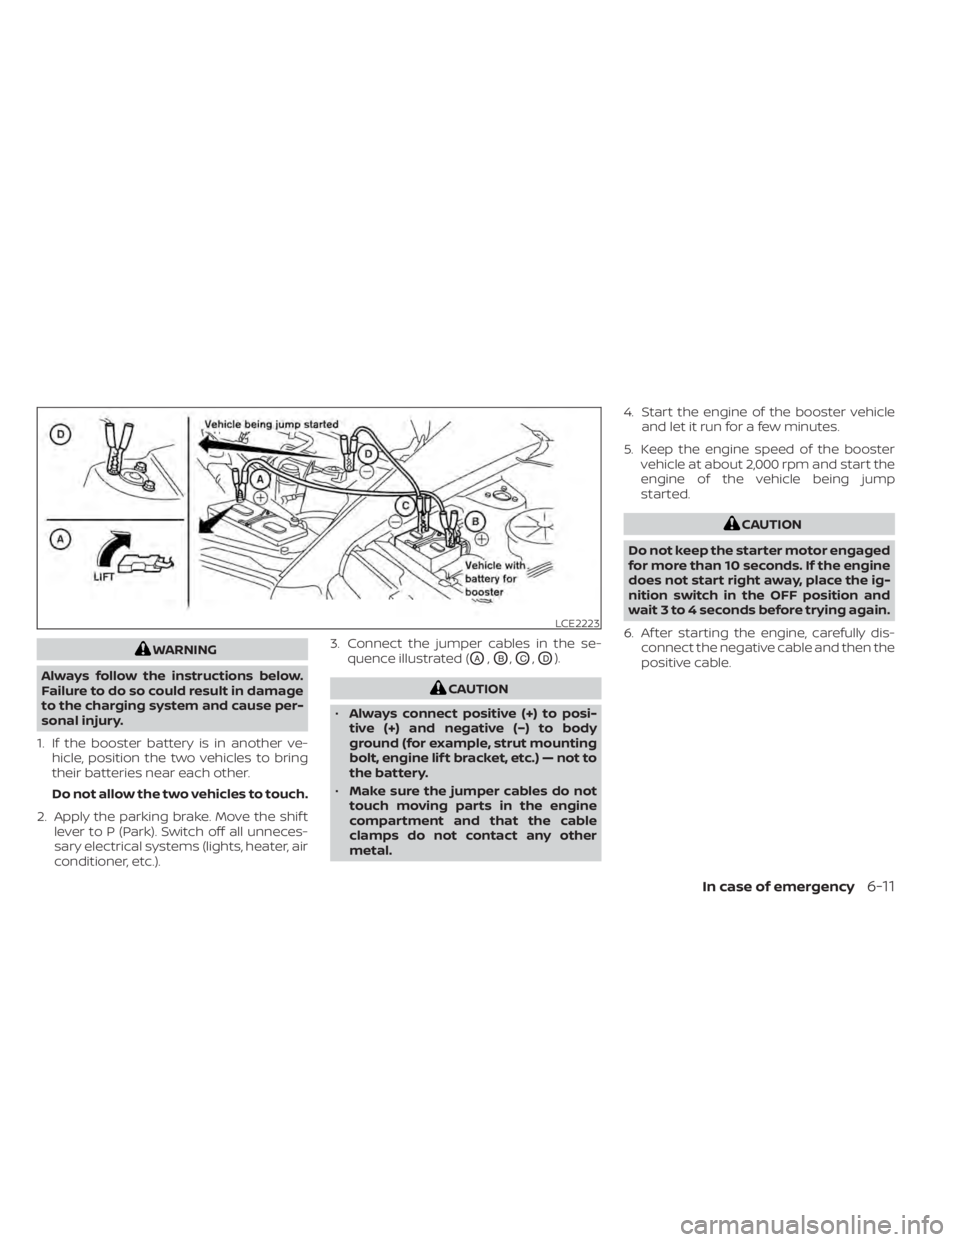
conditioner, etc.). 3. Connect the jumper cables in the se-
quence illustrated (OA,OB,OC,OD).
LCE2223
Page 188 of 300
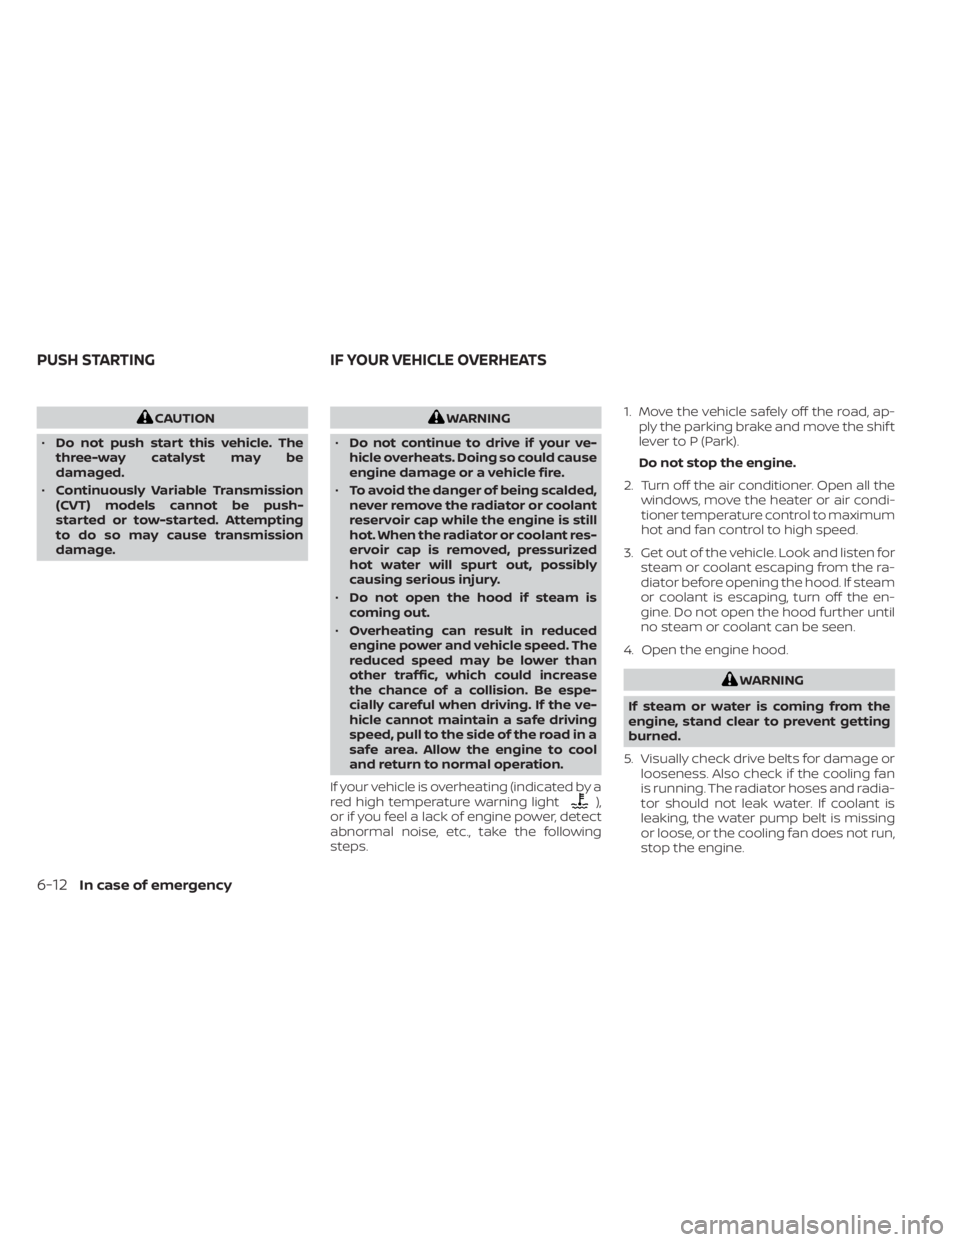
CAUTION
• Do not push start this vehicle. The
three-way catalyst may be
damaged.
• Continuously Variable Transmission
(CVT) models cannot be push-
started or tow-started. Attempting
to do so may cause transmission
damage.WARNING
• Do not continue to drive if your ve-
hicle overheats. Doing so could cause
engine damage or a vehicle fire.
• To avoid the danger of being scalded,
never remove the radiator or coolant
reservoir cap while the engine is still
hot. When the radiator or coolant res-
ervoir cap is removed, pressurized
hot water will spurt out, possibly
causing serious injury.
• Do not open the hood if steam is
coming out.
• Overheating can result in reduced
engine power and vehicle speed. The
reduced speed may be lower than
other traffic, which could increase
the chance of a collision. Be espe-
cially careful when driving. If the ve-
hicle cannot maintain a safe driving
speed, pull to the side of the road in a
safe area. Allow the engine to cool
and return to normal operation.
If your vehicle is overheating (indicated by a
red high temperature warning light
),
or if you feel a lack of engine power, detect
abnormal noise, etc., take the following
steps. 1. Move the vehicle safely off the road, ap-
ply the parking brake and move the shif t
lever to P (Park).
Do not stop the engine.
2. Turn off the air conditioner. Open all the windows, move the heater or air condi-
tioner temperature control to maximum
hot and fan control to high speed.
3. Get out of the vehicle. Look and listen for steam or coolant escaping from the ra-
diator before opening the hood. If steam
or coolant is escaping, turn off the en-
gine. Do not open the hood further until
no steam or coolant can be seen.
4. Open the engine hood.
Page 206 of 300
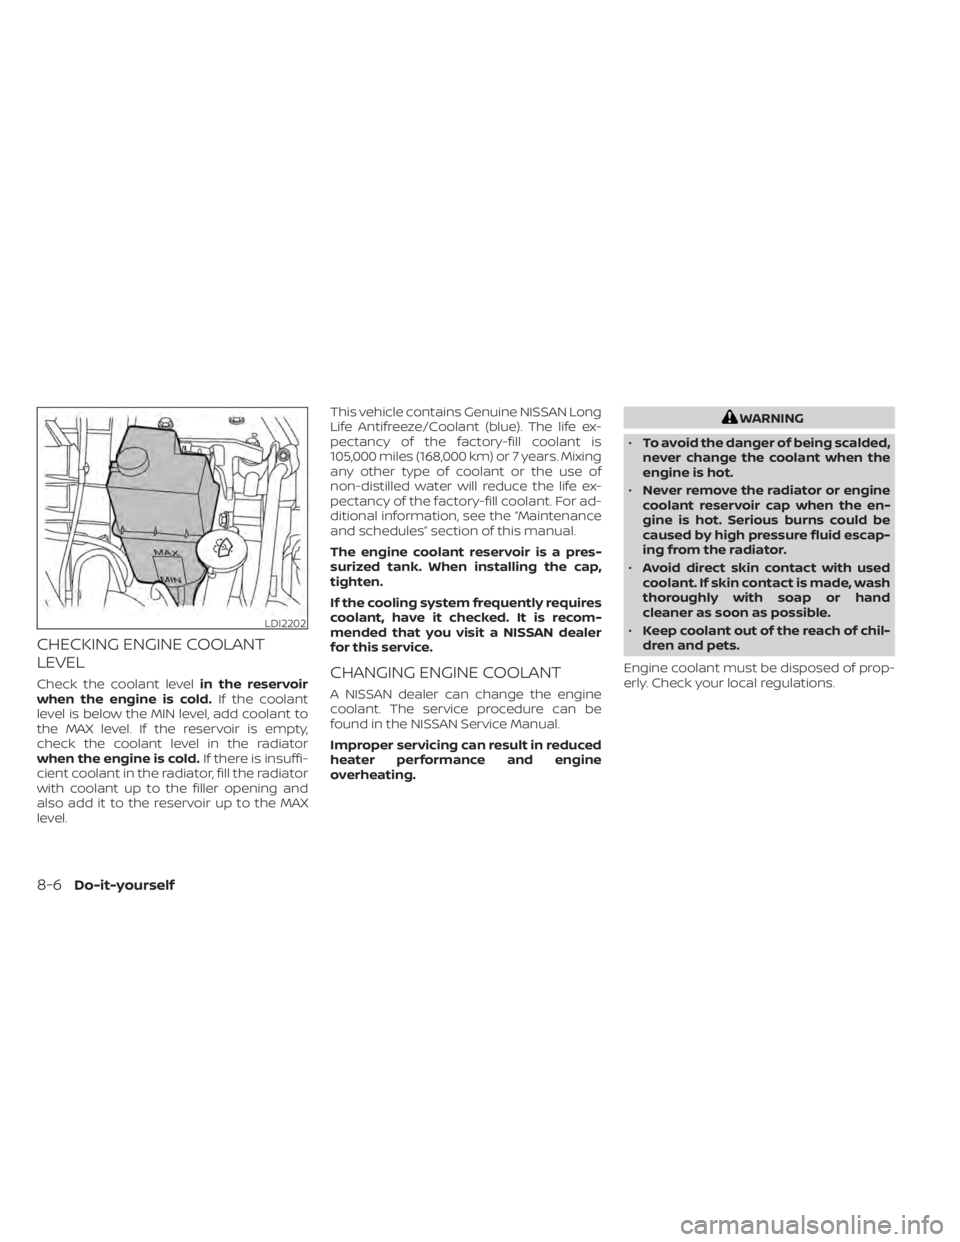
CHECKING ENGINE COOLANT
LEVEL
Check the coolant levelin the reservoir
when the engine is cold. If the coolant
level is below the MIN level, add coolant to
the MAX level. If the reservoir is empty,
check the coolant level in the radiator
when the engine is cold. If there is insuffi-
cient coolant in the radiator, fill the radiator
with coolant up to the filler opening and
also add it to the reservoir up to the MAX
level. This vehicle contains Genuine NISSAN Long
Life Antifreeze/Coolant (blue). The life ex-
pectancy of the factory-fill coolant is
105,000 miles (168,000 km) or 7 years. Mixing
any other type of coolant or the use of
non-distilled water will reduce the life ex-
pectancy of the factory-fill coolant. For ad-
ditional information, see the “Maintenance
and schedules” section of this manual.
The engine coolant reservoir is a pres-
surized tank. When installing the cap,
tighten.
If the cooling system frequently requires
coolant, have it checked. It is recom-
mended that you visit a NISSAN dealer
for this service.CHANGING ENGINE COOLANT
A NISSAN dealer can change the engine
coolant. The service procedure can be
found in the NISSAN Service Manual.
Improper servicing can result in reduced
heater performance and engine
overheating.
WARNING
• To avoid the danger of being scalded,
never change the coolant when the
engine is hot.
• Never remove the radiator or engine
coolant reservoir cap when the en-
gine is hot. Serious burns could be
caused by high pressure fluid escap-
ing from the radiator.
• Avoid direct skin contact with used
coolant. If skin contact is made, wash
thoroughly with soap or hand
cleaner as soon as possible.
• Keep coolant out of the reach of chil-
dren and pets.
Engine coolant must be disposed of prop-
erly. Check your local regulations.
LDI2202
8-6Do-it-yourself
Page 292 of 300
Cruise control..................5-17Cup holders..................2-28
D
D-ring..................2-28,10-17Daytime light system.............2-22Defroster switchRear window and outside mirror defroster
switch
.....................2-21Dimensions and weights..........10-9Dimmer switch for instrument panel. . .2-23Door locks................ .3-3, 3-4Door open warning light...........2-10Drive belt....................8-14Driving
Cold weather driving...........5-32Driving with Continuously Variable
Transmission (CVT)..........5-8, 5-12Precautions when starting and
driving.....................5-2Driving the vehicle...............5-11
E
Economy - fuel................5-20Emission control information label. . . .10-11Emission control system warranty. . . .10-21EngineBefore starting the engine........5-9Capacities and recommended
fuel/lubricants...............10-2Changing engine coolant.........8-6
Changing engine oil.............8-7Changing engine oil filter.........8-7Checking engine coolant level......8-6Checking engine oil level..........8-7Engine cooling system...........8-5Engine oil...................8-7Engine oil and oil filter
recommendation.............10-6Engine oil pressure warning light. . . .2-10Engine oil viscosity.............10-6Engine serial number..........10-10Engine specifications...........10-8Starting the engine............5-10Engine Block Heater.............5-34Event Data recorders............10-23Exhaust gas (Carbon monoxide)......5-2Explanation of maintenance items.....9-2Explanation of scheduled maintenance
items...................... .9-5Extended storage switch..........8-20
F
F.M.V.S.S. certification label.........10-11Flashers (See hazard warning flasher
switch)......................6-2Flat tire...................6-2,6-3Floor mat positioning aid...........7-5Fluid
Brake fluid..................8-10Capacities and recommended
fuel/lubricants...............10-2
Continuously Variable Transmission (CVT)
fluid......................8-10Engine coolant................8-5Engine oil...................8-7Windshield-washer fluid..........8-11Front air bag system (See supplemental
restraint system)...............1-38Front seats....................1-2Front-door pocket...............2-27FuelCapacities and recommended
fuel/lubricants
...............10-2Fuel economy...............5-20Fuel gauge................. .2-6Fuel octane rating.............10-5Fuel recommendation..........10-3Fuel-filler door and cap..........3-14Fuel-filler door lock opener lever. . . .3-14Loose fuel cap warning..........2-5Fuel efficient driving tips...........5-19Fuel gauge................... .2-6Fuel-filler door.................3-14Fuses.......................8-18Fusible links...................8-19
G
Gas cap.....................3-14Gauge
Fuel gauge................. .2-6Speedometer..............2-3, 2-4Tachometer.................2-6Trip computer................2-7
11-2
Page 293 of 300
Trip odometer.............2-3, 2-4General maintenance.............9-2Glove box....................2-27
H
Hazard warning flasher switch........6-2Head restraints.................1-7Headlight and turn signal switch......2-21Headlight control switch...........2-21Headlights...................8-22HeaterHeater and air conditioner controls. .4-10Heater operation..............4-12Hill start assist system............5-28Hood.......................3-13Horn.......................2-24
I
Ignition switch................. .5-8Immobilizer system........2-18,3-2,5-9Important vehicle information label. . .10-11Increasing fuel economy..........5-20Indicator lights and audible reminders
(See warning/indicator lights and audible
reminders)
................... .2-8Instrument brightness control.......2-23Instrument panel.............0-6, 2-2Instrument panel dimmer switch.....2-23Interior light...............2-32, 2-33
J
Jump starting..............6-10,8-13
K
Key.........................3-2Key fob battery replacement........8-21Keyless entry
Without Intelligent Key system
(See remote keyless
entry system)
.............3-10,3-11KeysNISSAN Vehicle Immobilizer System
keys
......................3-2
L
LabelTire warning................10-12LabelsAir conditioner specification label. . .10-12C.M.V.S.S. certification label.......10-11Emission control information label. .10-11Engine serial number..........10-10F.M.V.S.S. certification label........10-11Tire and Loading Information label. .10-11Vehicle identification number (VIN). .10-10Vehicle identification number (VIN)
plate.................... .10-10Warning labels (for SRS)..........1-48
License plate
Installing the license plate........10-14LightAir bag warning light........1-49, 2-11Brake light (See stop light)........8-27Bulb check/instrument panel......2-9Bulb replacement.............8-27Charge warning light...........2-10Headlight and turn signal switch. . . .2-21Headlight control switch.........2-21Headlights..................8-22Interior light.............2-32, 2-33Light bulbs.................8-22Low tire pressure warning light.....2-12Low windshield-washer fluid warning
light......................2-14Passenger air bag and status light. . .1-40Security indicator light...........2-11Warning/indicator lights and audible
reminders.................. .2-8Lights......................8-22Map lights..................2-33Lock
Door locks................3-3, 3-4Fuel-filler door lock opener lever. . . .3-14Power door locks..............3-6Low fuel warning light............2-12Low tire pressure warning light.......2-12Low windshield-washer fluid warning
light........................2-14Luggage (See vehicle loading
information)................. .10-14
11-3