Page 18 of 300
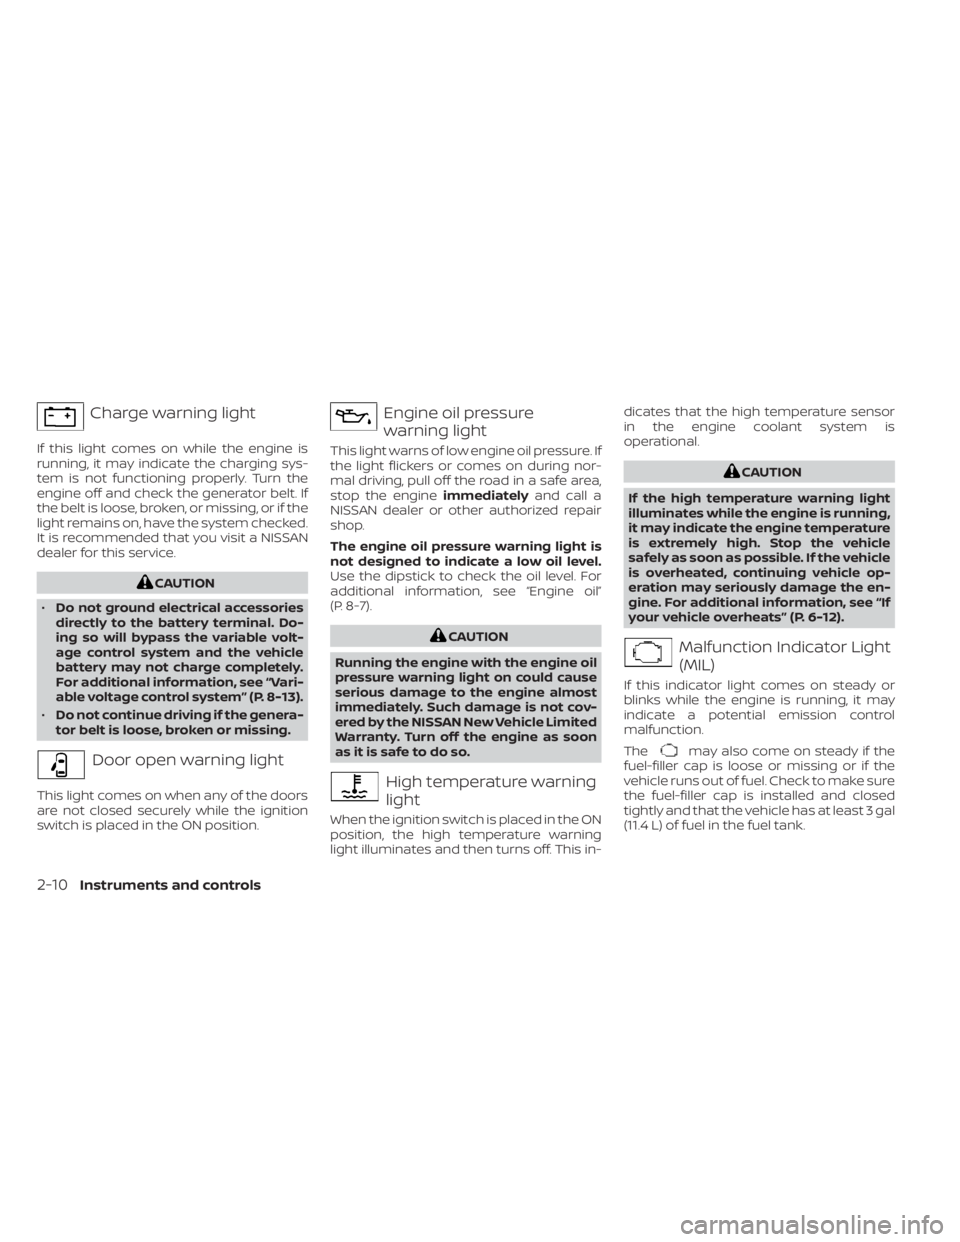
Brake warning
light2-9
Charge warning
light2-10
Door open warn-
ing light2-10
Engine oil pres-
sure warning light2-10
High temperature
warning light (red)2-10
Seat belt warning
light and chime 2-11
Security indicator
light2-11
Supplemental air
bag warning light2-11
Anti-lock Braking
System (ABS)
warning light2-12
Continuously Vari-
able Transmission
(CVT) position in-
dicator light2-12
Front passenger
air bag status
light
2-12
Low fuel warning
light
2-12
Low tire pressure
warning light2-12
WARNING AND INDICATOR LIGHTS
0-8Illustrated table of contents
Page 78 of 300
Brake warning lightorAnti-lock Braking System (ABS)
warning lightCRUISE indicator light (green) (if so
equipped)
Charge warning lightContinuously Variable Transmission (CVT)
position indicator lightHigh beam indicator light (blue)
Door open warning lightFront passenger air bag status lightTurn signal/hazard indicator lights (green)
Engine oil pressure warning lightLow fuel warning light
High temperature warning lightLow tire pressure warning light
Malfunction Indicator Light (MIL)Low windshield-washer fluid warning light
(if so equipped)
Seat belt warning light and chimeMalfunction Indicator Light (MIL)
Security indicator lightOverdrive OFF indicator light
Supplemental air bag warning lightPower steering warning light
Slip indicator light
Vehicle Dynamic Control (VDC) OFF indica-
tor light
WARNING LIGHTS, INDICATOR LIGHTS
AND AUDIBLE REMINDERS
2-8Instruments and controls
Page 80 of 300

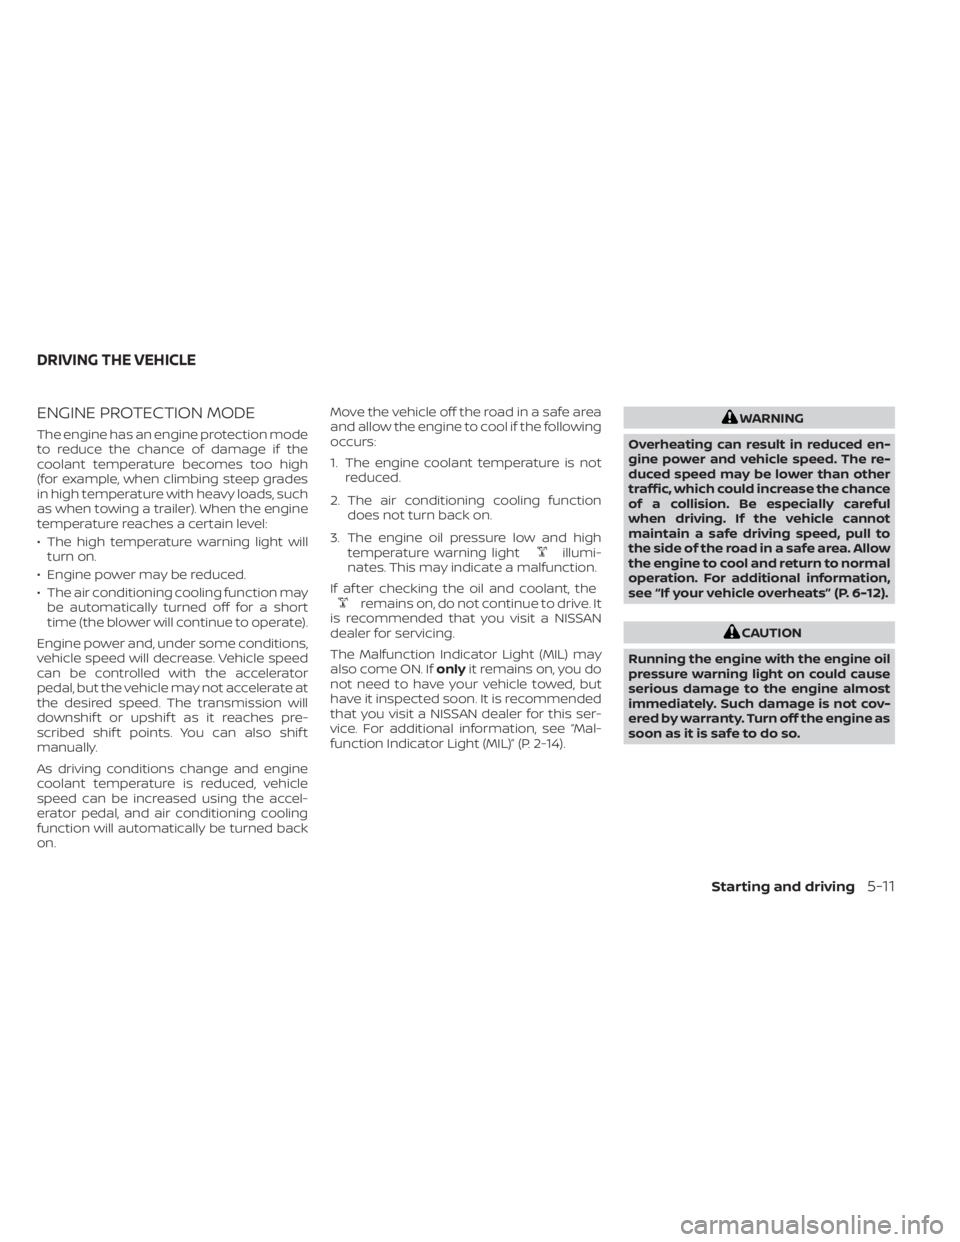
Charge warning light
If this light comes on while the engine is
running, it may indicate the charging sys-
tem is not functioning properly. Turn the
engine off and check the generator belt. If
the belt is loose, broken, or missing, or if the
light remains on, have the system checked.
It is recommended that you visit a NISSAN
dealer for this service.
Engine oil pressure
warning light
This light warns of low engine oil pressure. If
the light flickers or comes on during nor-
mal driving, pull off the road in a safe area,
stop the engineimmediatelyand call a
NISSAN dealer or other authorized repair
shop.
The engine oil pressure warning light is
not designed to indicate a low oil level.
Use the dipstick to check the oil level. For
additional information, see “Engine oil”
(P. 8-7).
may also come on steady if the
fuel-filler cap is loose or missing or if the
vehicle runs out of fuel. Check to make sure
the fuel-filler cap is installed and closed
tightly and that the vehicle has at least 3 gal
(11.4 L) of fuel in the fuel tank.
2-10Instruments and controls
Page 153 of 300

ENGINE PROTECTION MODE
The engine has an engine protection mode
to reduce the chance of damage if the
coolant temperature becomes too high
(for example, when climbing steep grades
in high temperature with heavy loads, such
as when towing a trailer). When the engine
temperature reaches a certain level:
• The high temperature warning light willturn on.
• Engine power may be reduced.
• The air conditioning cooling function may be automatically turned off for a short
time (the blower will continue to operate).
Engine power and, under some conditions,
vehicle speed will decrease. Vehicle speed
can be controlled with the accelerator
pedal, but the vehicle may not accelerate at
the desired speed. The transmission will
downshif t or upshif t as it reaches pre-
scribed shif t points. You can also shif t
manually.
As driving conditions change and engine
coolant temperature is reduced, vehicle
speed can be increased using the accel-
erator pedal, and air conditioning cooling
function will automatically be turned back
on. Move the vehicle off the road in a safe area
and allow the engine to cool if the following
occurs:
1. The engine coolant temperature is not
reduced.
2. The air conditioning cooling function does not turn back on.
3. The engine oil pressure low and high temperature warning light
illumi-
nates. This may indicate a malfunction.
If af ter checking the oil and coolant, the
remains on, do not continue to drive. It
is recommended that you visit a NISSAN
dealer for servicing.
The Malfunction Indicator Light (MIL) may
also come ON. If onlyit remains on, you do
not need to have your vehicle towed, but
have it inspected soon. It is recommended
that you visit a NISSAN dealer for this ser-
vice. For additional information, see “Mal-
function Indicator Light (MIL)” (P. 2-14).
CAUTION
Running the engine with the engine oil
pressure warning light on could cause
serious damage to the engine almost
immediately. Such damage is not cov-
ered by warranty. Turn off the engine as
soon as it is safe to do so.
DRIVING THE VEHICLE
Starting and driving5-11
Page 202 of 300

When performing any inspection or main-
tenance work on your vehicle, always take
care to prevent serious accidental injury to
yourself or damage to the vehicle. The fol-
lowing are general precautions which
should be closely observed.CAUTION
• Do not work under the hood while
the engine is hot. Turn the engine off
and wait until it cools down.
• Avoid contact with used engine oil
and coolant. Improperly disposed
engine oil, engine coolant and/or
other vehicle fluids can damage the
environment. Always conform to lo-
cal regulations for disposal of vehicle
fluid.
• Never leave the engine or the Con-
tinuously Variable Transmission
(CVT) related component harness
connector disconnected while the ig-
nition switch is in the ON position.
• Never connect or disconnect the bat-
tery or any transistorized compo-
nent while the ignition switch is in
the ON position.
• DO NOT power wash any interior por-
tion of this vehicle to help minimize
liquid intrusion and potential elec-
tronic component damage.
This “Do-it-yourself ” section gives instruc-
tions regarding only those items which are
relatively easy for an owner to perform.
MAINTENANCE PRECAUTIONS
8-2Do-it-yourself
Page 207 of 300

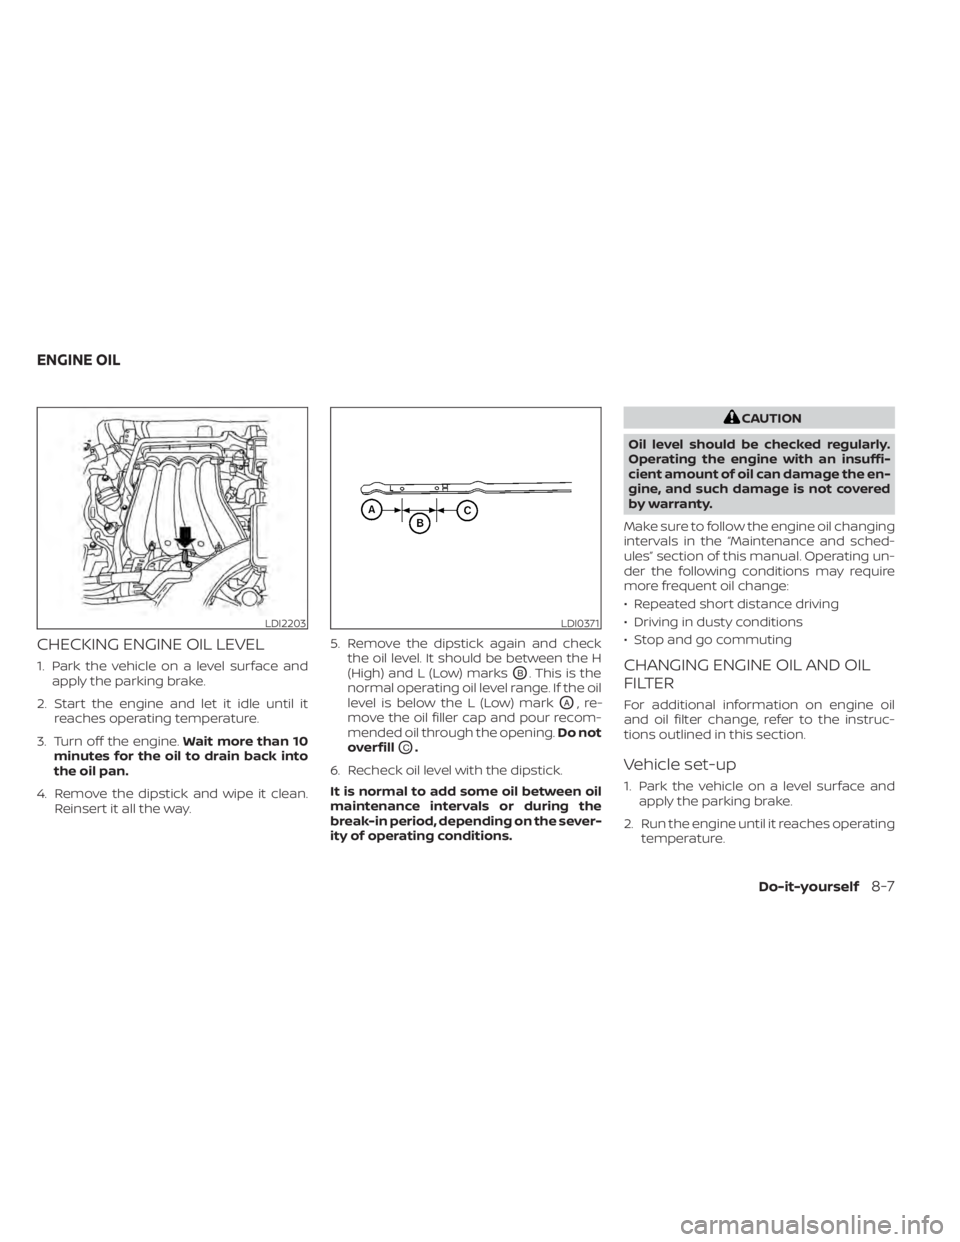
CHECKING ENGINE OIL LEVEL
1. Park the vehicle on a level surface andapply the parking brake.
2. Start the engine and let it idle until it reaches operating temperature.
3. Turn off the engine. Wait more than 10
minutes for the oil to drain back into
the oil pan.
4. Remove the dipstick and wipe it clean. Reinsert it all the way. 5. Remove the dipstick again and check
the oil level. It should be between the H
(High) and L (Low) marksOB. This is the
normal operating oil level range. If the oil
level is below the L (Low) mark
OA,re-
move the oil filler cap and pour recom-
mended oil through the opening. Do not
overfill
OC.
6. Recheck oil level with the dipstick.
It is normal to add some oil between oil
maintenance intervals or during the
break-in period, depending on the sever-
ity of operating conditions.
CAUTION
Oil level should be checked regularly.
Operating the engine with an insuffi-
cient amount of oil can damage the en-
gine, and such damage is not covered
by warranty.
Make sure to follow the engine oil changing
intervals in the “Maintenance and sched-
ules” section of this manual. Operating un-
der the following conditions may require
more frequent oil change:
• Repeated short distance driving
• Driving in dusty conditions
• Stop and go commuting
CHANGING ENGINE OIL AND OIL
FILTER
For additional information on engine oil
and oil filter change, refer to the instruc-
tions outlined in this section.
Vehicle set-up
1. Park the vehicle on a level surface and apply the parking brake.
2. Run the engine until it reaches operating temperature.
LDI2203LDI0371
ENGINE OIL
Do-it-yourself8-7
Page 208 of 300
3. Turn the engine off and wait for 15minutes.
4. Raise and support the vehicle using a suitable floor jack and safety jack
stands.
• Place the safety jack stands under the vehicle jack-up points.
• A suitable adapter should be attached to the jack stand saddle.
WARNING
• Prolonged and repeated contact
with used engine oil may cause skin
cancer.
• Try to avoid direct skin contact with
used oil. If skin contact is made, wash
thoroughly with soap or hand
cleaner as soon as possible.
• Keep used engine oil out of reach of
children.
Page 209 of 300
4. Loosen the oil filter with an oil filterwrench by turning it counterclockwise.
Remove the oil filter by turning it by
hand.
5. Wipe the engine oil filter mounting sur- face with a clean rag.
LDI3451
O3Oil filter
Do-it-yourself8-9