Page 110 of 508

2.— go back or forward
through the vehicle information menu
items or to change from one display
screen to the next (i.e. trip, TPMS, fuel
economy).
The OK and
buttons also
control audio and control panel functions
in some conditions. Most screens and
menus offer instruction prompts of the
steering switch buttons to indicate how to
control the vehicle information display. An
orange cursor is shown to indicate where
you are in the available menu items. A scroll
bar with up and down arrows will appear if
there is more than one page of menu
items. For additional information, refer to
the separate NissanConnect® Owner’s
Manual.
STARTUP DISPLAY
When the vehicle in placed in the ON or ACC
position the screens that display in the ve-
hicle information display include:
• Home
• Audio
• Navigation (if so equipped)
• Drive computer
• Fuel economy
• Driving aids (if so equipped)
• Speed Limit Sign (if so equipped)
• Tire pressure information
• Warning review
• Settings
The warnings review title screen will show
how many active warnings exist, or “No
items to review” in the event that no warn-
ings are active. For additional information
on warnings and indicators, see “Vehicle
information display warnings and indica-
tors” (P. 2-24).
To control what items display in the vehicle
information display, see “Customize Dis-
play ” (P. 2-20).
SETTINGS
The setting mode allows you to change the
information displayed in the vehicle infor-
mation display:
• Driver Assistance
• Customize Display
• Vehicle Settings
• Maintenance
• Clock
• TPMS Settings
• Unit / Language
• Key-Linked Settings
• Factory Reset
2-18Instruments and controls
Page 116 of 508

VEHICLE INFORMATION DISPLAY
WARNINGS AND INDICATORS
The following messages may appear in
your vehicle information display.
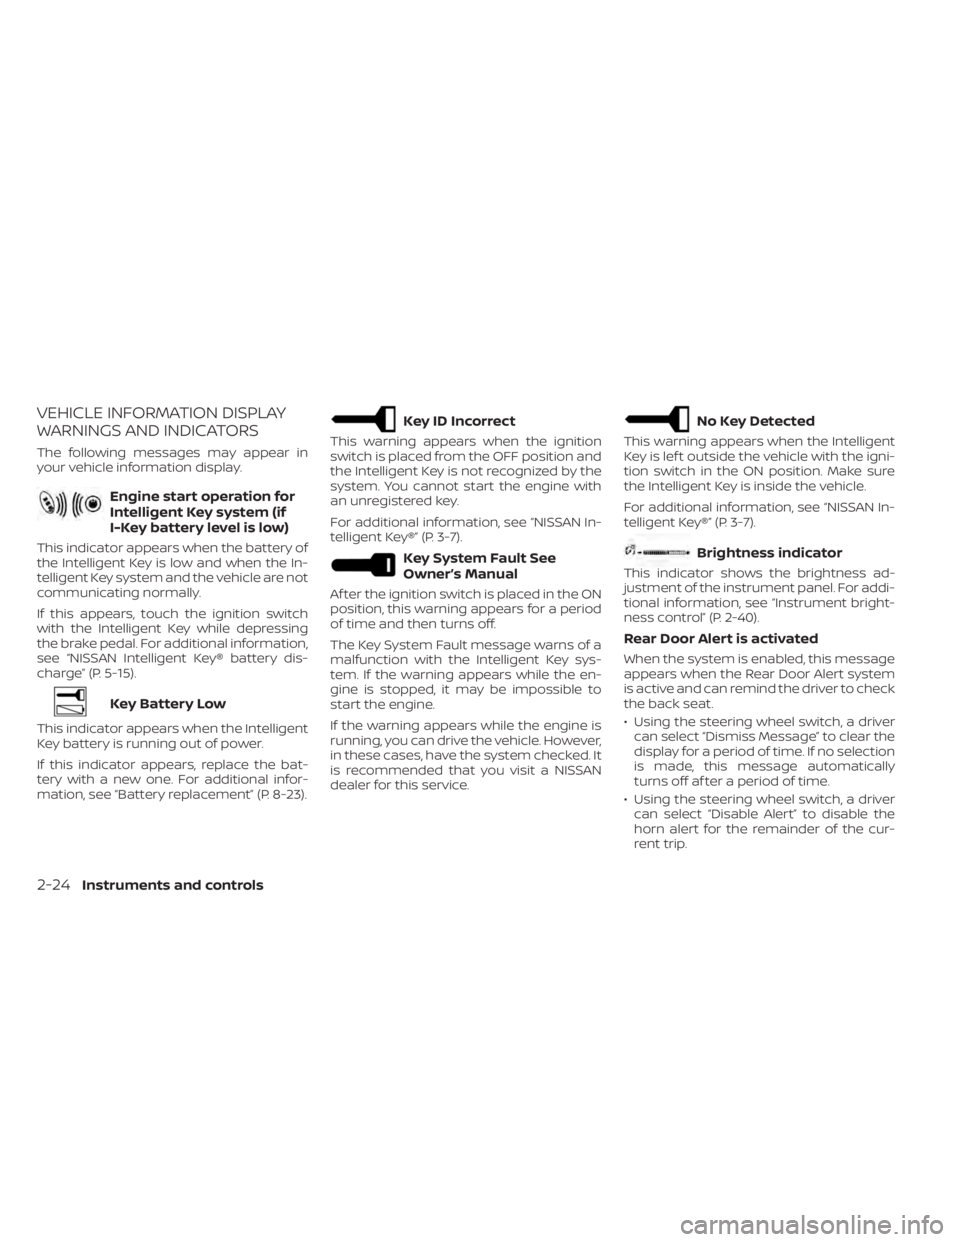
Engine start operation for
Intelligent Key system (if
I-Key battery level is low)
This indicator appears when the battery of
the Intelligent Key is low and when the In-
telligent Key system and the vehicle are not
communicating normally.
If this appears, touch the ignition switch
with the Intelligent Key while depressing
the brake pedal. For additional information,
see “NISSAN Intelligent Key® battery dis-
charge” (P. 5-15).
Key Battery Low
This indicator appears when the Intelligent
Key battery is running out of power.
If this indicator appears, replace the bat-
tery with a new one. For additional infor-
mation, see “Battery replacement” (P. 8-23).
Key ID Incorrect
This warning appears when the ignition
switch is placed from the OFF position and
the Intelligent Key is not recognized by the
system. You cannot start the engine with
an unregistered key.
For additional information, see “NISSAN In-
telligent Key®” (P. 3-7).
Key System Fault See
Owner’s Manual
Af ter the ignition switch is placed in the ON
position, this warning appears for a period
of time and then turns off.
The Key System Fault message warns of a
malfunction with the Intelligent Key sys-
tem. If the warning appears while the en-
gine is stopped, it may be impossible to
start the engine.
If the warning appears while the engine is
running, you can drive the vehicle. However,
in these cases, have the system checked. It
is recommended that you visit a NISSAN
dealer for this service.
No Key Detected
This warning appears when the Intelligent
Key is lef t outside the vehicle with the igni-
tion switch in the ON position. Make sure
the Intelligent Key is inside the vehicle.
For additional information, see “NISSAN In-
telligent Key®” (P. 3-7).
Brightness indicator
This indicator shows the brightness ad-
justment of the instrument panel. For addi-
tional information, see “Instrument bright-
ness control” (P. 2-40).
Rear Door Alert is activated
When the system is enabled, this message
appears when the Rear Door Alert system
is active and can remind the driver to check
the back seat.
• Using the steering wheel switch, a drivercan select “Dismiss Message” to clear the
display for a period of time. If no selection
is made, this message automatically
turns off af ter a period of time.
• Using the steering wheel switch, a driver can select “Disable Alert” to disable the
horn alert for the remainder of the cur-
rent trip.
2-24Instruments and controls
Page 127 of 508
NOTE:
The top and bottom few rows of wires on
the rear window are not part of the rear
window defroster system. These wires
make up the antenna for the audio
system.
HEADLIGHT CONTROL SWITCH
Lighting
�1Rotate the switch to theposition,
and the front parking, tail, license plate,
and instrument panel lights will come
on.
�2Rotate the switch to theposition,
and the headlights will come on and all
the other lights remain on.
CAUTION
Use the headlights with the engine run-
ning to avoid discharging the vehicle
battery.
LIC3240
Type A (if so equipped)
LIC3241
Type B (if so equipped)
HEADLIGHT AND TURN SIGNAL
SWITCH
Instruments and controls2-35
Page 128 of 508
Autolight system
The autolight system allows the headlights
to turn on and off automatically. The auto-
light system can:
• Turn on the headlights, front parking, tail,license plate and instrument panel lights
automatically when it is dark.
• Turn off all the lights (except daylight run- ning lights) when it is light.
• Keep all the lights on for a period of time af ter you place the ignition switch in the
OFF position and all doors are closed.
LIC4564
Type C (if so equipped)
LIC4597
Type D (if so equipped)
LIC3474
2-36Instruments and controls
Page 129 of 508

NOTE:
Autolight activation sensitivity and
the time delay for autolight shutoff
can be adjusted. For additional infor-
mation, see “Vehicle information dis-
play ” (P. 2-17).
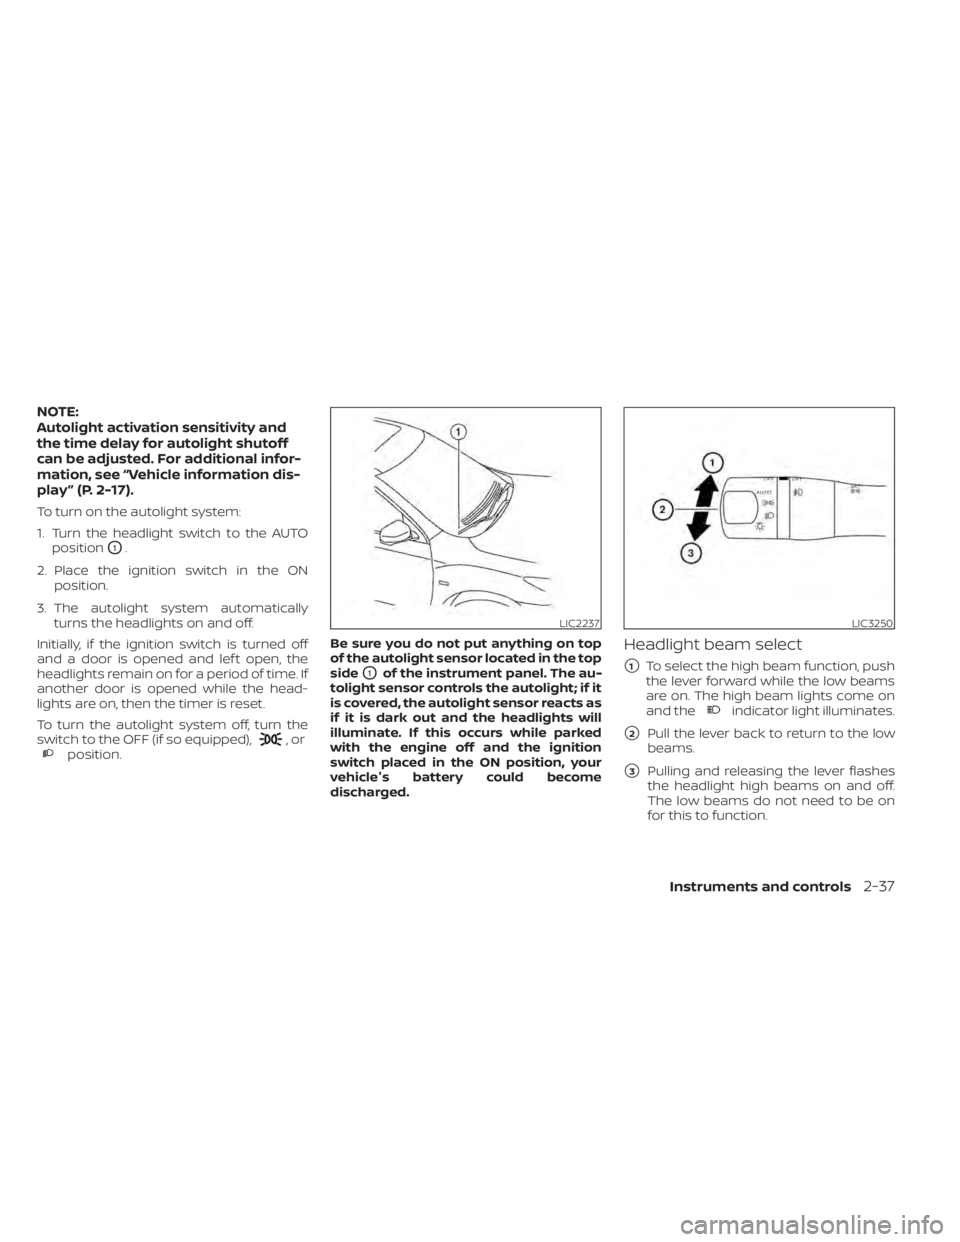
To turn on the autolight system:
1. Turn the headlight switch to the AUTOposition
O1.
2. Place the ignition switch in the ON position.
3. The autolight system automatically turns the headlights on and off.
Initially, if the ignition switch is turned off
and a door is opened and lef t open, the
headlights remain on for a period of time. If
another door is opened while the head-
lights are on, then the timer is reset.
To turn the autolight system off, turn the
switch to the OFF (if so equipped),
,orposition. Be sure you do not put anything on top
of the autolight sensor located in the top
side
O1of the instrument panel. The au-
tolight sensor controls the autolight; if it
is covered, the autolight sensor reacts as
if it is dark out and the headlights will
illuminate. If this occurs while parked
with the engine off and the ignition
switch placed in the ON position, your
vehicle's battery could become
discharged.
Headlight beam select
�1To select the high beam function, push
the lever forward while the low beams
are on. The high beam lights come on
and the
indicator light illuminates.
�2Pull the lever back to return to the low
beams.
�3Pulling and releasing the lever flashes
the headlight high beams on and off.
The low beams do not need to be on
for this to function.
LIC2237LIC3250
Instruments and controls2-37
Page 132 of 508

If the ambient image sensor is damaged
due to an accident, it is recommended that
you visit a NISSAN dealer.
Battery saver system
The battery saver system automatically
turns off the following lights af ter a period
of time when the ignition switch is placed in
the OFF position and the doors are closed:
• Headlights, when the headlight switch isin the
orposition
• Interior lights, when lef t in the ON position
Af ter the headlights automatically turn off
with the headlight switch in the
orposition, the headlights will illuminate
again if the headlight switch is moved to
the OFF position and then turned to the
orposition.
CAUTION
Even though the battery saver feature
automatically turns off the headlights
af ter a period of time, you should turn
the headlight switch to the OFF posi-
tion when the engine is not running to
avoid discharging the vehicle battery.
LED DAYTIME RUNNING LIGHTS
(DRL) SYSTEM
The LED portion of the headlights auto-
matically illuminate at 100% intensity when
the engine is started with the parking
brake released. The LED DRL operate with
the headlight switch in the OFF position or
in the
position. Turn the headlight
switch to theposition for full illumina-
tion when driving at night.
If the parking brake is applied before the
engine is started, the LED DRL do not illumi-
nate. The LED DRL illuminate when the
parking brake is released. The LED DRL will
remain on until the ignition switch is placed
in the OFF position.
WARNING
When the LED DRL system is active, tail
lights on your vehicle are not on. It is
necessary at dusk to turn on your
headlights. Failure to do so could cause
an accident injuring yourself and
others.
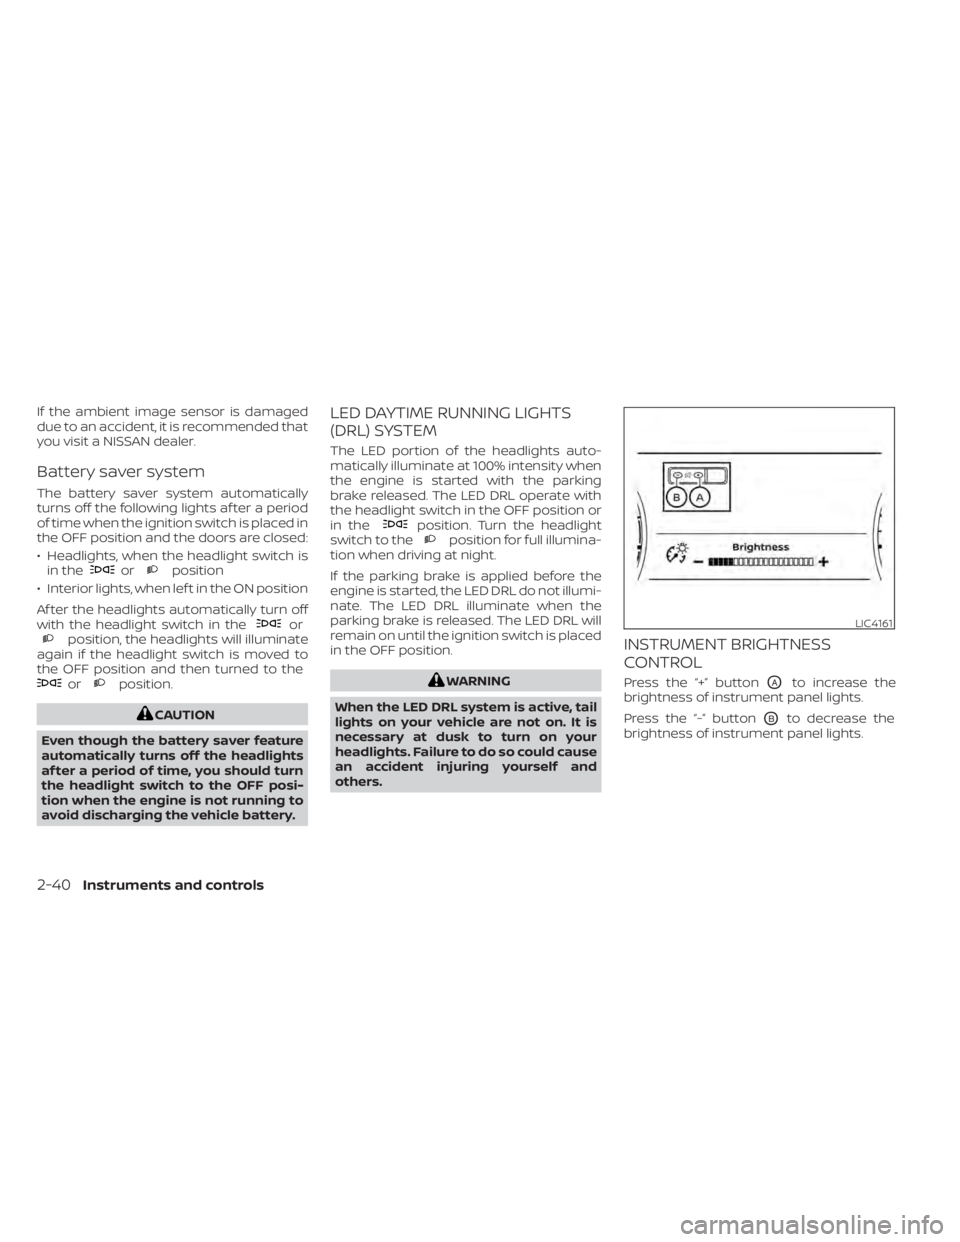
INSTRUMENT BRIGHTNESS
CONTROL
Press the “+” buttonOAto increase the
brightness of instrument panel lights.
Press the “-” button
OBto decrease the
brightness of instrument panel lights.
LIC4161
2-40Instruments and controls
Page 142 of 508
12V OUTLETS
The power outlets are for powering electri-
cal accessories such as cellular tele-
phones. They are rated at 12 volt, 120W (10A)
maximum.
The vehicle’s power outlets are powered
only when the ignition switch is in the ACC
or ON position.
Open the cap to use a power outlet.CAUTION
• The outlet and plug may be hot dur-
ing or immediately af ter use.
• Only certain power outlets are de-
signed for use with a cigarette lighter
unit. Do not use any other power out-
let for an accessory lighter. It is rec-
ommended that you visit a NISSAN
dealer for additional information.
• Do not use with accessories that ex-
ceed a 12 volt, 120W (10A) power draw.
LIC4598
Instrument Panel
LIC3705
Center Console
LIC3199
Cargo Area
POWER OUTLETS
2-50Instruments and controls
Page 143 of 508
•Do not use double adapters or more
than one electrical accessory.
• Use power outlets with the engine
running to avoid discharging the ve-
hicle battery.
• Avoid using power outlets when the
air conditioner, headlights or rear
window defroster is on.
• Before inserting or disconnecting a
plug, be sure the electrical accessory
being used is turned off.
• Push the plug in as far as it will go. If
good contact is not made, the plug
may overheat or the internal tem-
perature fuse may open.
• When not in use, be sure to close the
cap. Do not allow water or any other
liquid to contact the outlet. The extended storage switch is pulled out
when in transit from the factory to the re-
tailer. It is located in the fuse panel to the
lef t of the steering wheel on the instrument
panel. If any electrical equipment does not
operate, ensure the extended storage
switch is pushed fully in place, as shown.
LIC4599LIC3266
Pulled position
EXTENDED STORAGE SWITCH
Instruments and controls2-51