Page 132 of 508
If the ambient image sensor is damaged
due to an accident, it is recommended that
you visit a NISSAN dealer.
Battery saver system
The battery saver system automatically
turns off the following lights af ter a period
of time when the ignition switch is placed in
the OFF position and the doors are closed:
• Headlights, when the headlight switch isin the
orposition
• Interior lights, when lef t in the ON position
Af ter the headlights automatically turn off
with the headlight switch in the
orposition, the headlights will illuminate
again if the headlight switch is moved to
the OFF position and then turned to the
orposition.
CAUTION
Even though the battery saver feature
automatically turns off the headlights
af ter a period of time, you should turn
the headlight switch to the OFF posi-
tion when the engine is not running to
avoid discharging the vehicle battery.
LED DAYTIME RUNNING LIGHTS
(DRL) SYSTEM
The LED portion of the headlights auto-
matically illuminate at 100% intensity when
the engine is started with the parking
brake released. The LED DRL operate with
the headlight switch in the OFF position or
in the
position. Turn the headlight
switch to theposition for full illumina-
tion when driving at night.
If the parking brake is applied before the
engine is started, the LED DRL do not illumi-
nate. The LED DRL illuminate when the
parking brake is released. The LED DRL will
remain on until the ignition switch is placed
in the OFF position.
WARNING
When the LED DRL system is active, tail
lights on your vehicle are not on. It is
necessary at dusk to turn on your
headlights. Failure to do so could cause
an accident injuring yourself and
others.
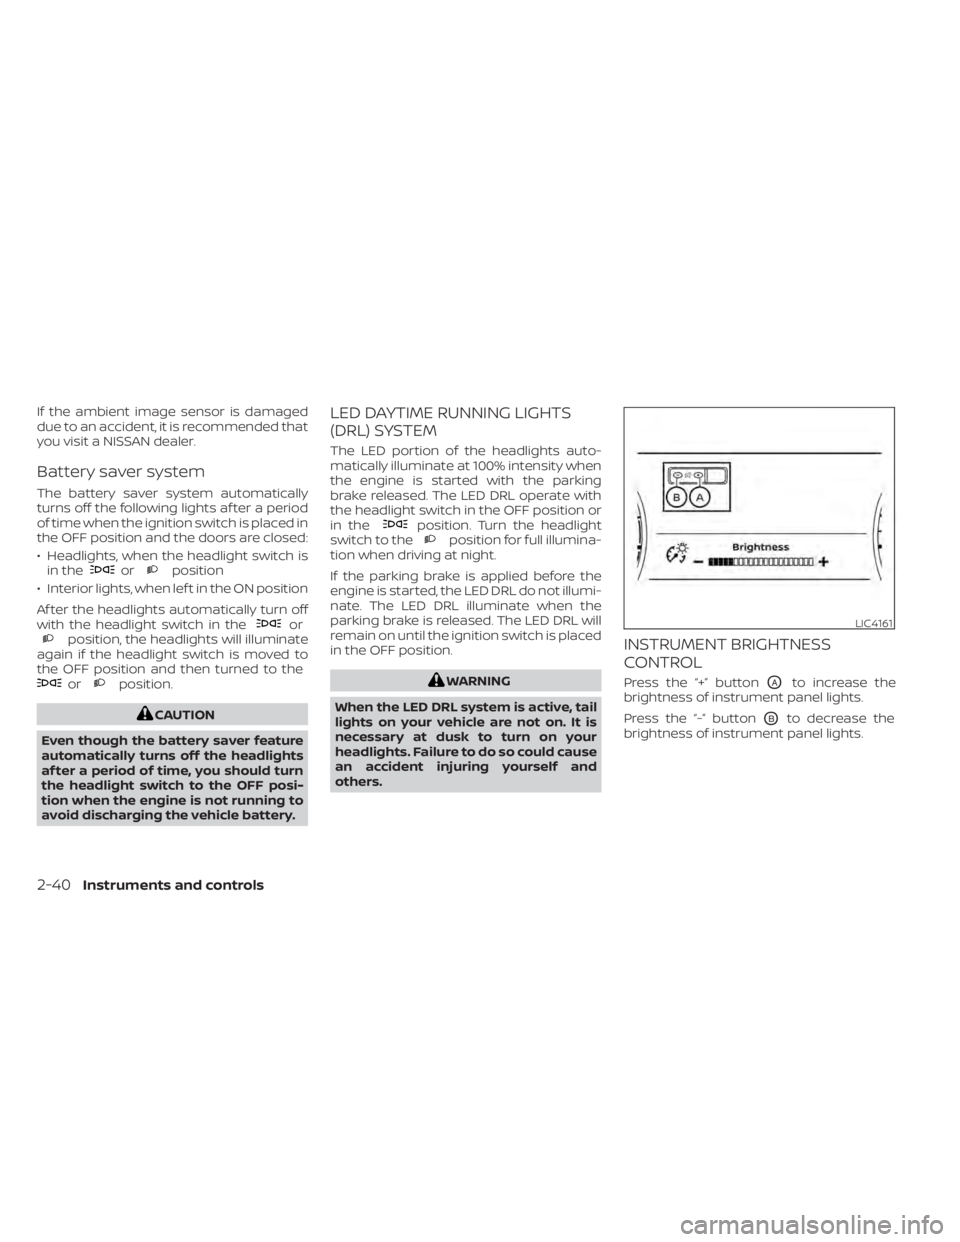
INSTRUMENT BRIGHTNESS
CONTROL
Press the “+” buttonOAto increase the
brightness of instrument panel lights.
Press the “-” button
OBto decrease the
brightness of instrument panel lights.
LIC4161
2-40Instruments and controls
Page 133 of 508
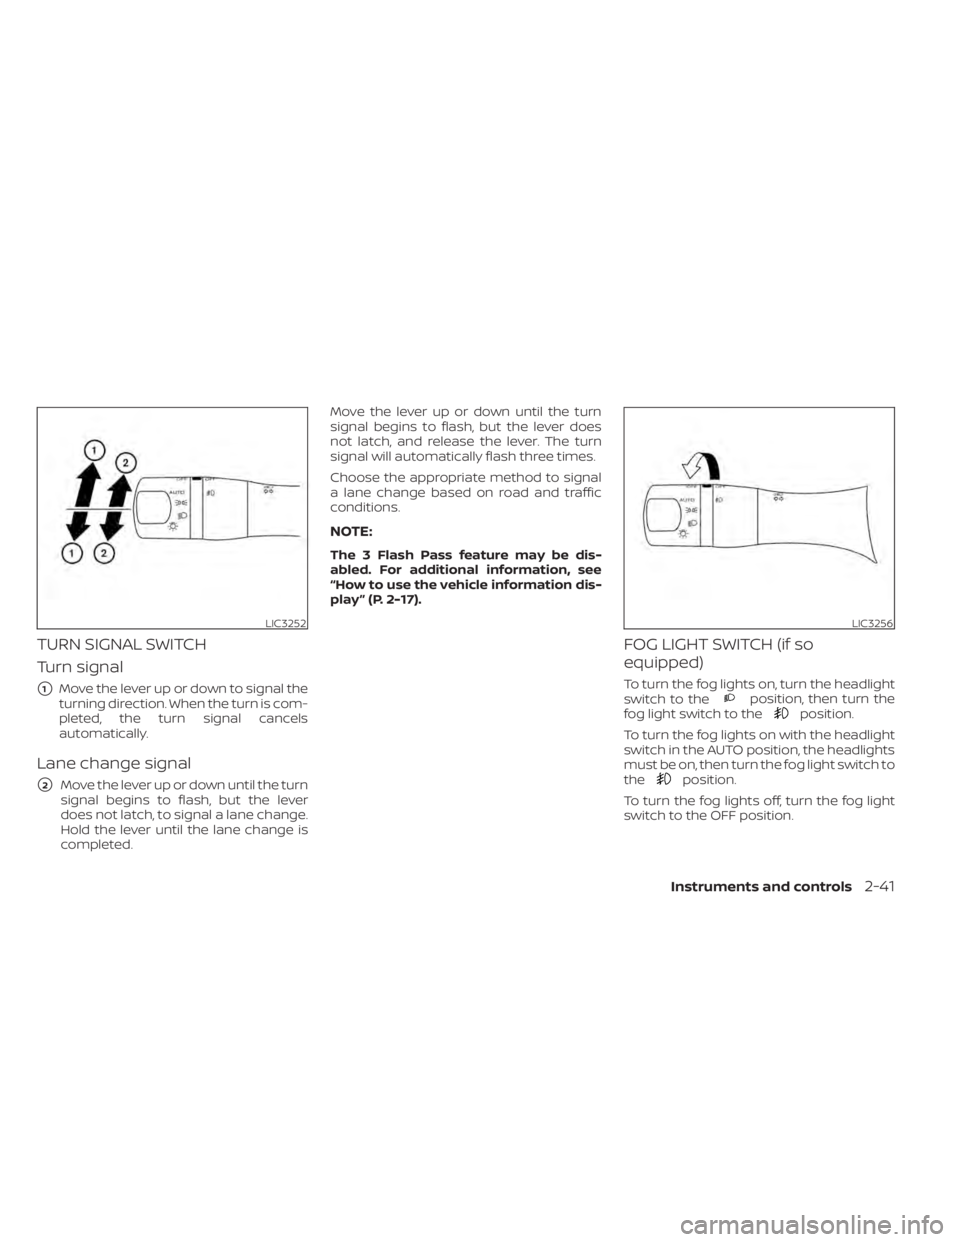
TURN SIGNAL SWITCH
Turn signal
�1Move the lever up or down to signal the
turning direction. When the turn is com-
pleted, the turn signal cancels
automatically.
Lane change signal
�2Move the lever up or down until the turn
signal begins to flash, but the lever
does not latch, to signal a lane change.
Hold the lever until the lane change is
completed. Move the lever up or down until the turn
signal begins to flash, but the lever does
not latch, and release the lever. The turn
signal will automatically flash three times.
Choose the appropriate method to signal
a lane change based on road and traffic
conditions.
NOTE:
The 3 Flash Pass feature may be dis-
abled. For additional information, see
“How to use the vehicle information dis-
play ” (P. 2-17).
FOG LIGHT SWITCH (if so
equipped)
To turn the fog lights on, turn the headlight
switch to theposition, then turn the
fog light switch to theposition.
To turn the fog lights on with the headlight
switch in the AUTO position, the headlights
must be on, then turn the fog light switch to
the
position.
To turn the fog lights off, turn the fog light
switch to the OFF position.
LIC3252LIC3256
Instruments and controls2-41
Page 134 of 508
The headlights must be on and the low
beams selected for the fog lights to oper-
ate. The fog lights automatically turn off
when the high beam headlights are
selected.To sound the horn, push near the horn icon
on the steering wheel.
WARNING
Do not disassemble the horn. Doing so
could affect proper operation of the
supplemental front air bag system.
Tampering with the supplemental
front air bag system may result in seri-
ous personal injury. The climate controlled seat warms up or
cools down the front seat by blowing warm
or cool air from under the surface of the
seat. The climate control switch is located
on the center console.
The climate controlled seat can be oper-
ated as follows:
1. Place the ignition switch in the ON
position.
2. Turn the control knob
OAto the heat side
O1or the cool sideO2. The indicator light
OBon the control knob will illuminate.
LIC2227SIC4334
HORN CLIMATE CONTROLLED SEAT
SWITCHES (if so equipped)
2-42Instruments and controls
Page 143 of 508
•Do not use double adapters or more
than one electrical accessory.
• Use power outlets with the engine
running to avoid discharging the ve-
hicle battery.
• Avoid using power outlets when the
air conditioner, headlights or rear
window defroster is on.
• Before inserting or disconnecting a
plug, be sure the electrical accessory
being used is turned off.
• Push the plug in as far as it will go. If
good contact is not made, the plug
may overheat or the internal tem-
perature fuse may open.
• When not in use, be sure to close the
cap. Do not allow water or any other
liquid to contact the outlet. The extended storage switch is pulled out
when in transit from the factory to the re-
tailer. It is located in the fuse panel to the
lef t of the steering wheel on the instrument
panel. If any electrical equipment does not
operate, ensure the extended storage
switch is pushed fully in place, as shown.
LIC4599LIC3266
Pulled position
EXTENDED STORAGE SWITCH
Instruments and controls2-51
Page 157 of 508
When the OFF switchO2is pushed, the in-
terior lights will illuminate when pushed.
When the DOOR/OFF switch is pushed and
the ON switch is pushed, all of the lights will
come on.
NOTE:
The footwell lights (if so equipped) and
step lights (if so equipped) illuminate
when the driver and passenger doors
are open regardless of the interior light
switch position. These lights will turn off
automatically af ter a period of time
while doors are open to prevent the bat-
tery from becoming discharged.
CAUTION
Do not use for extended periods of time
with the engine stopped. This could re-
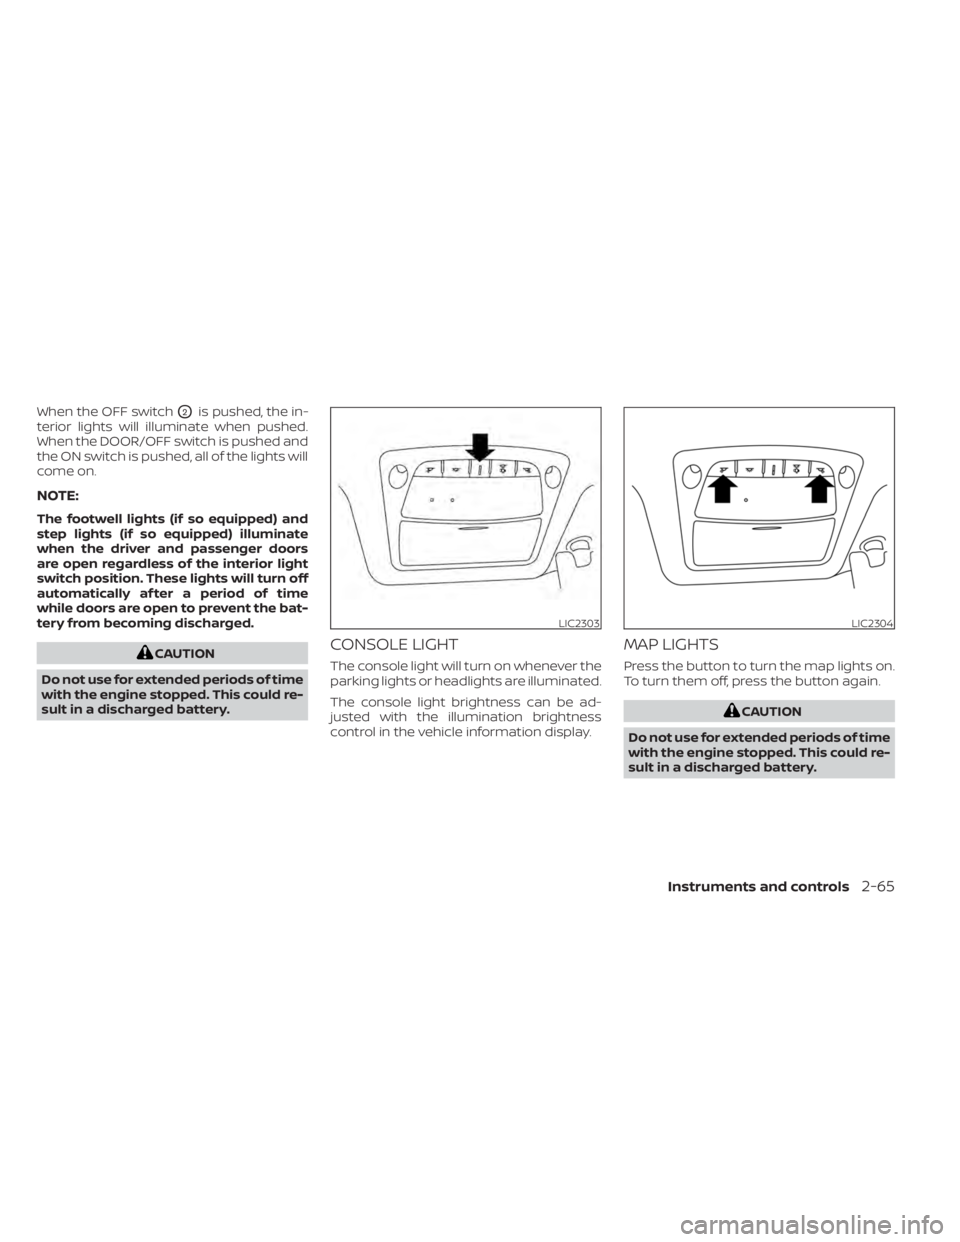
sult in a discharged battery.CONSOLE LIGHT
The console light will turn on whenever the
parking lights or headlights are illuminated.
The console light brightness can be ad-
justed with the illumination brightness
control in the vehicle information display.
MAP LIGHTS
Press the button to turn the map lights on.
To turn them off, press the button again.
CAUTION
Do not use for extended periods of time
with the engine stopped. This could re-
sult in a discharged battery.
LIC2303LIC2304
Instruments and controls2-65
Page 179 of 508
Using the panic alarm
If you are near your vehicle and feel threat-
ened, you may activate the panic alarm to
call attention by pressing and holding the
button on the Intelligent Key forlon-
ger than 0.5 seconds.
The panic alarm and headlights will stay on
for a period of time.
The panic alarm stops when:
• It has run for a period of time.
• Any button is pressed on the Intelligent Key.
• The request switch on the driver or pas- senger door is pushed and the Intelligent
Key is in range of the door handle.
Answer back horn feature
If desired, the answer back horn feature
can be deactivated using the Intelligent
Key. When it is deactivated and the
button is pressed, the hazard indicator
lights flash twice. When thebutton is
pressed, neither the hazard indicator lights
nor the horn operates.
NOTE:
If you change the Answer Back Horn
feature with the Intelligent Key, the
vehicle information display screen
will show the current mode af ter the
ignition switch has been cycled from
the OFF to the ON position. The ve-
hicle information display screen can
also be used to change the answer
back horn mode.
For additional information, see “Ve-
hicle settings” (P. 2-17).
To deactivate:
Press and hold theandbut-
tons for at least 2 seconds. The hazard
indicator lights will flash three times to con-
firm that the answer back horn feature has
been deactivated.
To activate:
Press and hold the
andbut-
tons for at least 2 seconds once more.
The hazard indicator lights will flash once
and the horn will sound once to confirm
that the horn beep feature has been
reactivated.
Deactivating the horn beep feature does
not silence the horn if the alarm is
triggered.
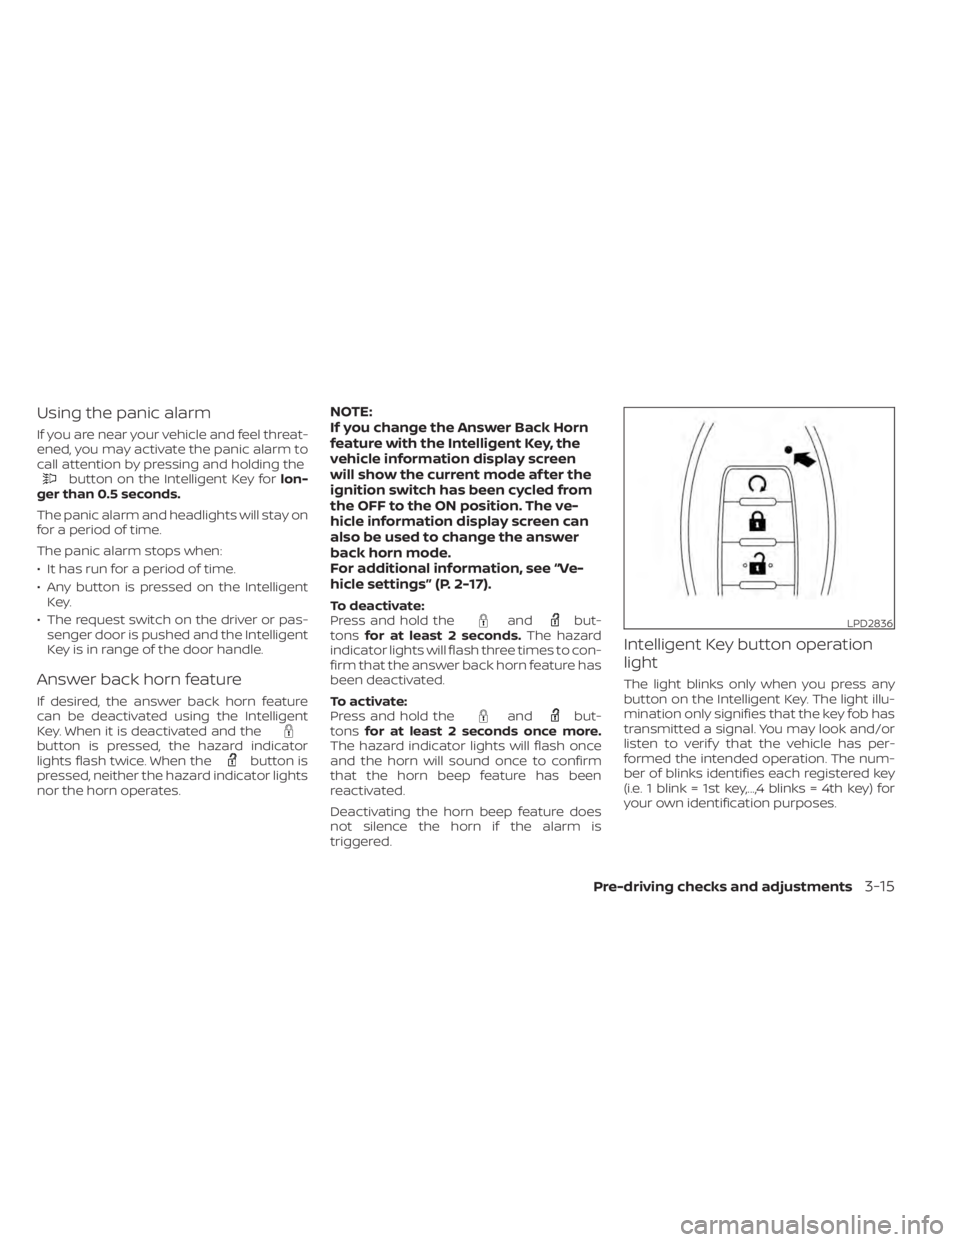
Intelligent Key button operation
light
The light blinks only when you press any
button on the Intelligent Key. The light illu-
mination only signifies that the key fob has
transmitted a signal. You may look and/or
listen to verif y that the vehicle has per-
formed the intended operation. The num-
ber of blinks identifies each registered key
(i.e. 1 blink = 1st key,...,4 blinks = 4th key) for
your own identification purposes.
LPD2836
Pre-driving checks and adjustments3-15
Page 198 of 508
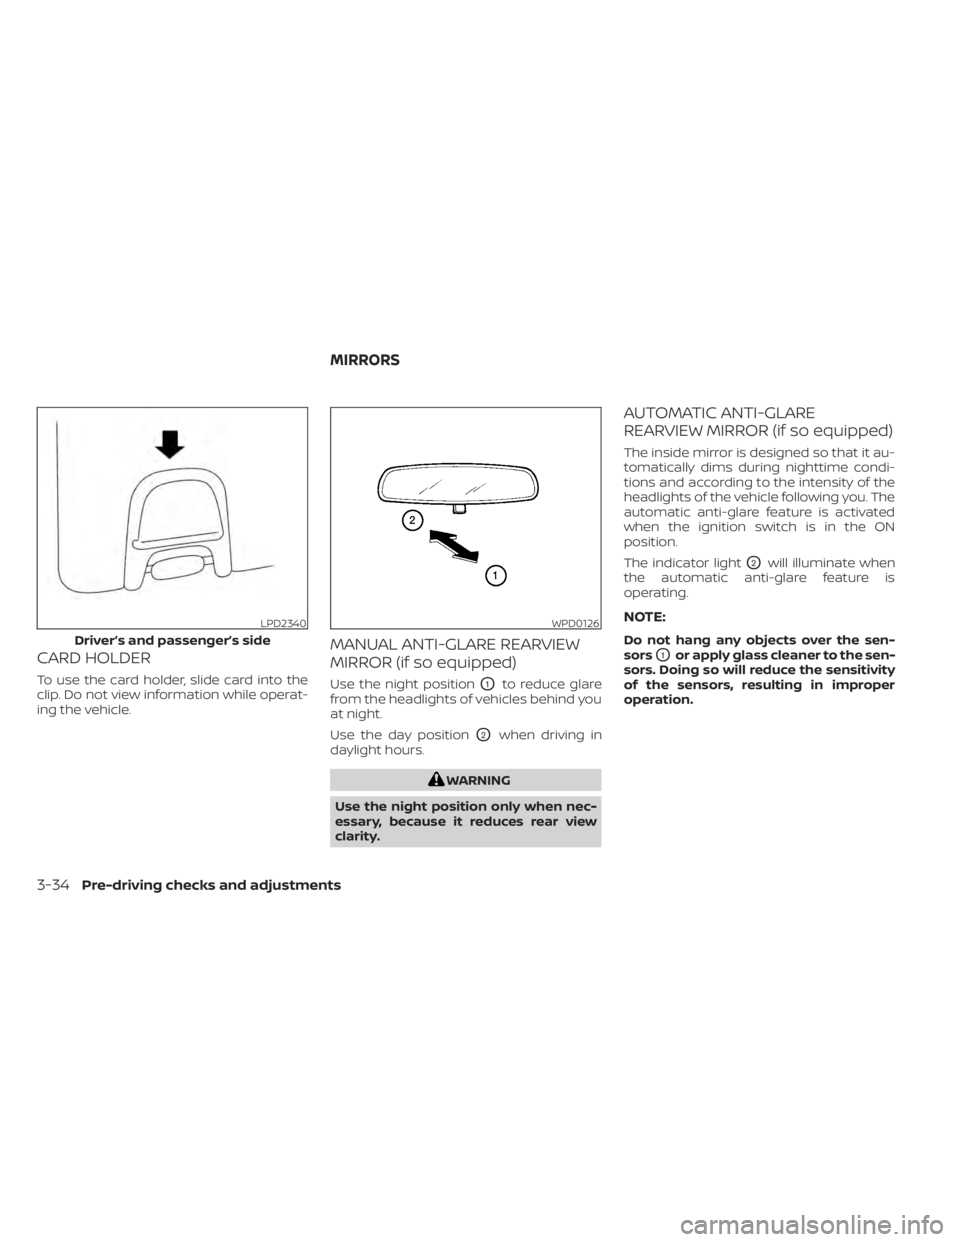
CARD HOLDER
To use the card holder, slide card into the
clip. Do not view information while operat-
ing the vehicle.
MANUAL ANTI-GLARE REARVIEW
MIRROR (if so equipped)
Use the night positionO1to reduce glare
from the headlights of vehicles behind you
at night.
Use the day position
O2when driving in
daylight hours.
WARNING
Use the night position only when nec-
essary, because it reduces rear view
clarity.
AUTOMATIC ANTI-GLARE
REARVIEW MIRROR (if so equipped)
The inside mirror is designed so that it au-
tomatically dims during nighttime condi-
tions and according to the intensity of the
headlights of the vehicle following you. The
automatic anti-glare feature is activated
when the ignition switch is in the ON
position.
The indicator light
O2will illuminate when
the automatic anti-glare feature is
operating.
NOTE:
Do not hang any objects over the sen-
sors
O1or apply glass cleaner to the sen-
sors. Doing so will reduce the sensitivity
of the sensors, resulting in improper
operation.
LPD2340
Driver’s and passenger’s side
WPD0126
MIRRORS
3-34Pre-driving checks and adjustments
Page 199 of 508
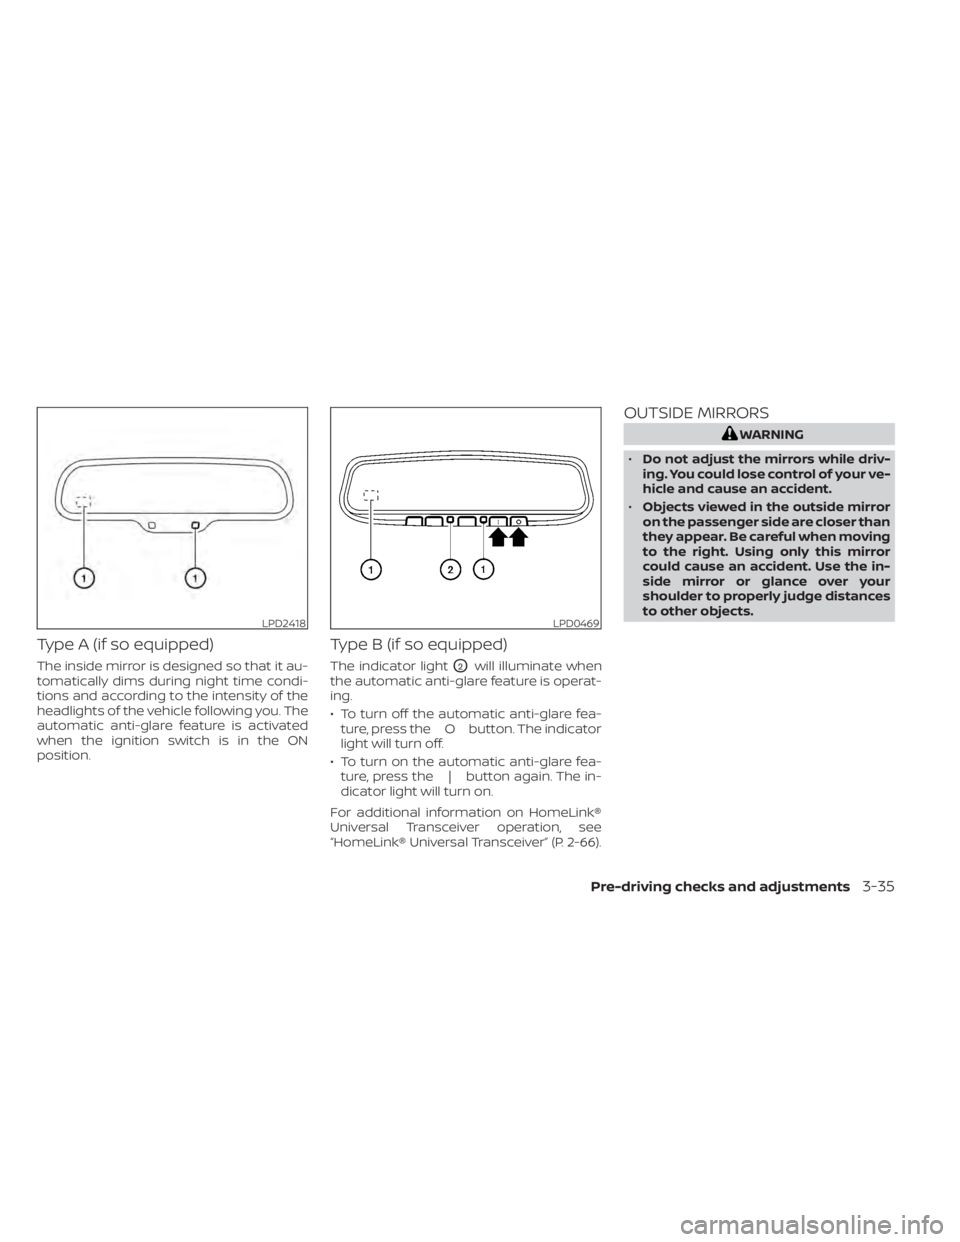
Type A (if so equipped)
The inside mirror is designed so that it au-
tomatically dims during night time condi-
tions and according to the intensity of the
headlights of the vehicle following you. The
automatic anti-glare feature is activated
when the ignition switch is in the ON
position.
Type B (if so equipped)
The indicator lightO2will illuminate when
the automatic anti-glare feature is operat-
ing.
• To turn off the automatic anti-glare fea- ture, press the O button. The indicator
light will turn off.
• To turn on the automatic anti-glare fea- ture, press the | button again. The in-
dicator light will turn on.
For additional information on HomeLink®
Universal Transceiver operation, see
“HomeLink® Universal Transceiver” (P. 2-66).
OUTSIDE MIRRORS
WARNING
• Do not adjust the mirrors while driv-
ing. You could lose control of your ve-
hicle and cause an accident.
• Objects viewed in the outside mirror
on the passenger side are closer than
they appear. Be careful when moving
to the right. Using only this mirror
could cause an accident. Use the in-
side mirror or glance over your
shoulder to properly judge distances
to other objects.
LPD2418LPD0469
Pre-driving checks and adjustments3-35