Page 86 of 346
Changing the display
Press the change/reset button
�1to
change the display as follows:
Odo →Trip A →Trip B →Ins fuel consump-
tion →Average fuel consumption →Cruis-
ing range or (DTE) →Odo
For trip computer information, refer to “Trip
computer” in this section.
Resetting the trip odometer
Press the change/reset button
�1for more
than 1 second to reset the currently dis-
played trip odometer to zero.
Loose fuel cap warning message
Press the change/reset button�Afor more
than 1 second to reset the LOOSE FUEL CAP
warning message af ter the fuel cap has
been tightened. For additional information,
refer to “Fuel-filler cap” in the “Pre-driving
checks and adjustments” section of this
manual.
TACHOMETER
The tachometer indicates engine speed in
revolutions per minute (rpm). Do not rev
the engine into the red zone
�1.
Page 87 of 346
FUEL GAUGE
The gauge�Aindicates theapproximate
fuel level in the tank when the ignition
switch is placed in the ON position.
When one segment remains on the digital
fuel gauge, only one segment will blink.
When no segments remain on the digital
fuel gauge, the fuel gauge symbol and the
scale will blink. This indicates that the fuel
level is low.
Refill the fuel tank before the gauge reg-
isters 0 (Empty). The
Page 122 of 346
OPENER OPERATION
The fuel-filler door release is located below
the instrument panel. To open the fuel-filler
door, pull the release. To lock, close the fuel-
filler door securely.
FUEL-FILLER CAP
The fuel-filler cap is a detachable type. Turn
the cap counterclockwise
�1to remove. To
tighten, turn the cap clockwise
�2until a
single click is heard.
Put the fuel-filler cap on the cap holder
while refueling.
Page 123 of 346
∙ Do not fill a portable fuel container inthe vehicle or trailer. Static electricity
can cause an explosion of flammable
liquid, vapor or gas in any vehicle or
trailer. To reduce the risk of serious
injury or death when filling portable
fuel containers:
– Always place the container on the ground when filling.
– Do not use electronic devices when filling.
– Keep the pump nozzle in contact with the container while you are
filling it.
– Use only approved portable fuel containers for flammable liquid.
Page 124 of 346
LOOSE FUEL CAP warning
message
The LOOSE FUEL CAP warning message
displays in the odometer when the fuel-
filler cap is not tightened correctly af ter the
vehicle has been refueled. It may take a few
driving trips for the message to be dis-
played. To turn off the warning message,
do the following:1. Remove and install the fuel-filler cap as previously described as soon as pos-
sible.
2. Tighten the fuel-filler cap until a single click is heard. 3. Press the loose fuel cap warning reset
button
�Ain the meter for about 1 sec-
ond to turn off the LOOSE FUEL CAP
warning message af ter tightening the
fuel-filler cap.
TILT OPERATION
Pull the lock lever down�1and adjust the
steering wheel up or down
�2to the de-
sired position.
Push the lock lever up
�1to lock the steer-
ing wheel in place.
Page 141 of 346

∙ Use the displayed lines as a reference.The lines are highly affected by the
number of occupants, fuel level, ve-
hicle position, road conditions and
road grade.
∙ Make sure that the rear hatch is se- curely closed when backing up.
∙ Do not put anything on the rearview camera. The rearview camera is in-
stalled above the license plate.
∙ When washing the vehicle with high pressure water, be sure not to spray it
around the camera. Otherwise, water
may enter the camera unit causing
water condensation on the lens, a
malfunction, fire or an electric shock.
∙ Do not strike the camera. It is a preci- sion instrument. Otherwise, it may
malfunction or cause damage result-
ing in a fire or an electric shock.
The following are operating limitations and
do not represent a system malfunction: ∙ When the temperature is extremely high or low, the screen may not clearly
display objects. ∙ When strong light directly shines on the
camera, objects may not be displayed
clearly.
∙ Vertical lines may be seen in objects on the screen. This is due to strong re-
flected light from the bumper.
∙ The screen may flicker under fluores- cent light.
∙ The colors of objects on the RearView Monitor may differ somewhat from the
actual color of objects.
∙ Objects on the monitor may not be clear in a dark environment.
∙ There may be a delay when switching between views.
∙ If dirt, rain or snow accumulate on the camera, RearView Monitor may not dis-
play objects clearly. Clean the camera.
∙ Do not use wax on the camera lens. Wipe off any wax with a clean cloth
dampened with a diluted mild cleaning
agent, then wipe with a dry cloth.
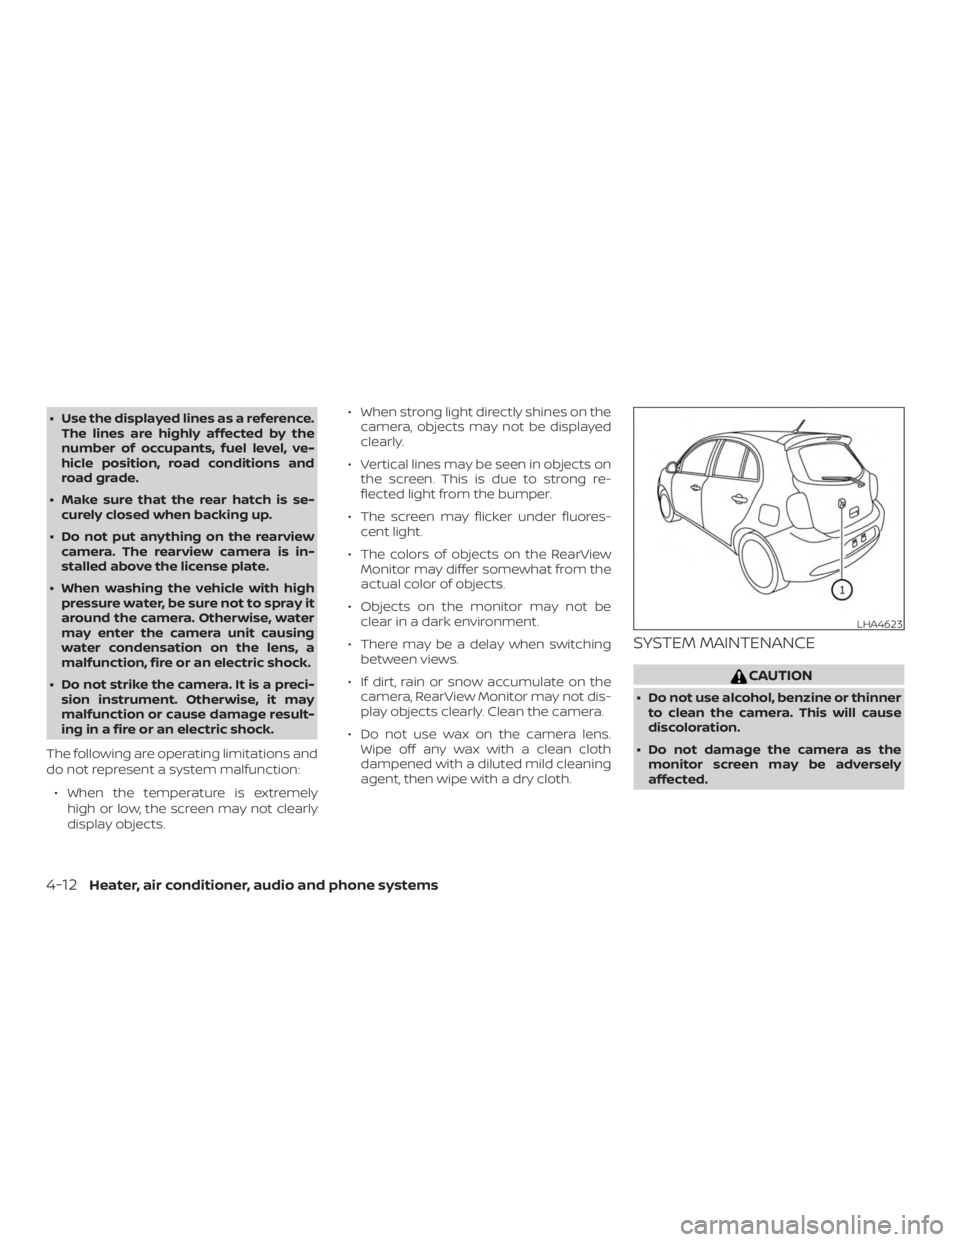
SYSTEM MAINTENANCE
Page 207 of 346

∙ Make sure the area around the vehicle isclear.
∙ Check fluid levels such as engine oil, coolant, brake and clutch fluid (if so
equipped), and windshield-washer fluid
as frequently as possible, or at least
whenever you refuel.
∙ Check that all windows and lights are clean.
∙ Visually inspect tires for their appear- ance and condition. Also check tires for
proper inflation.
∙ Lock all doors.
∙ Position seat and adjust head re- straints.
∙ Adjust inside and outside mirrors.
∙ Fasten seat belts and ask all passen- gers to do likewise.
∙ Check the operation of warning lights when the key is turned to the ON posi-
tion. For additional information, refer to
“Warning lights, indicator lights and au-
dible reminders” in the “Instruments
and controls” section of this manual. 1. Apply the parking brake.
2.
Automatic transmission:
Move the shif t lever to P (Park) or N
(Neutral). P (Park) is recommended.
The shif t lever cannot be moved out
of the P (Park) position and into any
of the other gear positions if the ig-
nition switch is placed in the OFF po-
sition or if the key is removed from
the ignition switch.
The starter is designed not to oper-
ate if the shif t lever is in any of the
driving positions.
Manual transmission:
Move the shif t lever to N (Neutral). De-
press the clutch pedal to the floor
while cranking the engine.
3. Crank the engine with your foot off
the accelerator pedal by placing the
ignition switch in the START position.
Release the key when the engine
starts. If the engine starts, but fails to
run, repeat the above procedure.
∙ If the engine is very hard to start in extremely cold weather or when re-
starting, depress the accelerator
pedal a little (approximately 1/3 to the floor) and hold it and then crank the
engine. Release the key and the ac-
celerator pedal when the engine
starts.
∙ If the engine is very hard to start be- cause it is flooded, depress the accel-
erator pedal all the way to the floor
and hold it. Crank the engine for
5-6 seconds. Af ter cranking the en-
gine, release the accelerator pedal.
Crank the engine with your foot off
the accelerator pedal by placing the
ignition in the START position. Re-
lease the key when the engine starts.
If the engine starts, but fails to run,
repeat the above procedure.
Page 255 of 346
CAUTION
∙ NEVER remove dirt, sand or other de-bris from the passenger compart-
ment by washing it out with a hose.
Remove dirt with a vacuum cleaner or
broom.
∙ Never allow water or other liquids to come in contact with electronic com-
ponents inside the vehicle as this may
damage them.
Chemicals used for road surface de-icing
are extremely corrosive. They accelerate
corrosion and deterioration of underbody
components such as the exhaust system,
fuel and brake lines, brake cables, floor pan
and fenders.
In winter, the underbody must be
cleaned periodically.
For additional protection against rust and
corrosion, which may be required in some
areas, it is recommended that you consult
a NISSAN dealer.
7-8Appearance and care