2021 NISSAN KICKS warning lights
[x] Cancel search: warning lightsPage 96 of 500
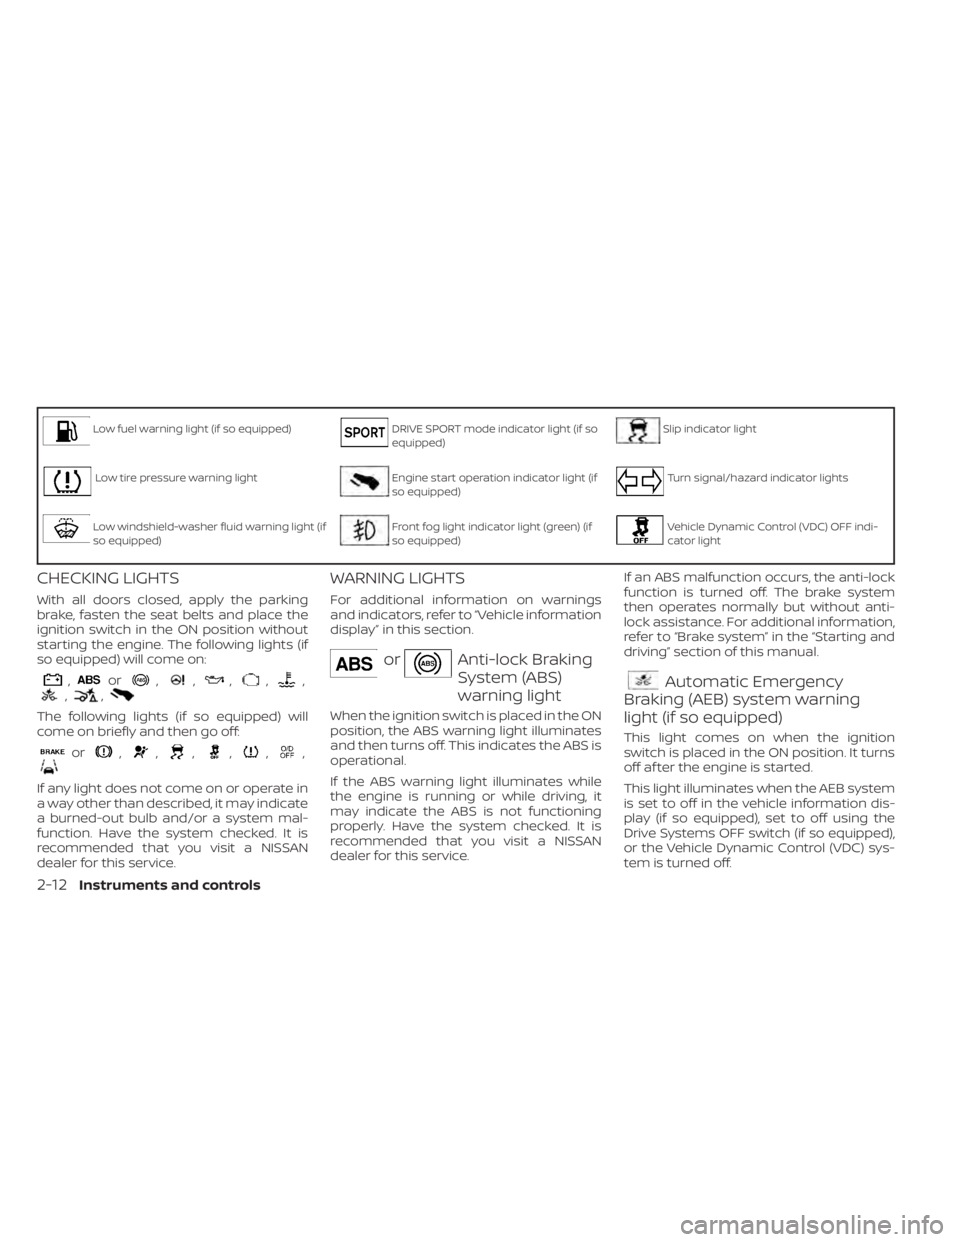
Low fuel warning light (if so equipped)DRIVE SPORT mode indicator light (if so
equipped)Slip indicator light
Low tire pressure warning lightEngine start operation indicator light (if
so equipped)Turn signal/hazard indicator lights
Low windshield-washer fluid warning light (if
so equipped)Front fog light indicator light (green) (if
so equipped)Vehicle Dynamic Control (VDC) OFF indi-
cator light
CHECKING LIGHTS
With all doors closed, apply the parking
brake, fasten the seat belts and place the
ignition switch in the ON position without
starting the engine. The following lights (if
so equipped) will come on:
,or,,,,,,,
The following lights (if so equipped) will
come on briefly and then go off:
or,,,,,,
If any light does not come on or operate in
a way other than described, it may indicate
a burned-out bulb and/or a system mal-
function. Have the system checked. It is
recommended that you visit a NISSAN
dealer for this service.
WARNING LIGHTS
For additional information on warnings
and indicators, refer to “Vehicle information
display” in this section.
orAnti-lock Braking
System (ABS)
warning light
When the ignition switch is placed in the ON
position, the ABS warning light illuminates
and then turns off. This indicates the ABS is
operational.
If the ABS warning light illuminates while
the engine is running or while driving, it
may indicate the ABS is not functioning
properly. Have the system checked. It is
recommended that you visit a NISSAN
dealer for this service.If an ABS malfunction occurs, the anti-lock
function is turned off. The brake system
then operates normally but without anti-
lock assistance. For additional information,
refer to “Brake system” in the “Starting and
driving” section of this manual.
Automatic Emergency
Braking (AEB) system warning
light (if so equipped)
This light comes on when the ignition
switch is placed in the ON position. It turns
off af ter the engine is started.
This light illuminates when the AEB system
is set to off in the vehicle information dis-
play (if so equipped), set to off using the
Drive Systems OFF switch (if so equipped),
or the Vehicle Dynamic Control (VDC) sys-
tem is turned off.
2-12Instruments and controls
Page 103 of 500
WARNING
If the supplemental air bag warning
light is on, it could mean that the front
air bag, side air bag, curtain air bag
and/or pretensioner systems will not
operate in an accident. To help avoid
injury to yourself or others, have your
vehicle checked as soon as possible. It
is recommended that you visit a
NISSAN dealer for this service.
INDICATOR LIGHTS
For additional information, refer to “Vehicle
information display” in this section.
Blind Spot Warning (BSW)
indicator light (if so equipped)
This indicator light will illuminate when the
BSW system is operating. If the light illumi-
nates yellow while the system is on, it may
indicate a malfunction. Have the system
checked. It is recommended that you visit a
NISSAN dealer for this service.
For additional information, refer to “Blind
Spot Warning (BSW)” and “Rear Cross Traffic
Alert (RCTA)” in the “Starting and driving”
section of this manual.
CRUISE indicator light (if so
equipped)
The light comes on when the cruise control
switch is pushed. The light goes out when
the switch is pushed again. When the
cruise indicator light comes on, the cruise
control system is operational. For addi-
tional information, refer to “Cruise control”
in the “Starting and driving” section of this
manual.
DRIVE SPORT mode
indicator light (if so equipped)
This light illuminates and then turns off
when the ignition switch is placed in the ON
position, and when the DRIVE SPORT mode
is selected.
For additional information, refer to “Con-
tinuously Variable Transmission (CVT)” in
the “Starting and driving” section of this
manual.
Engine start operation
indicator light (if so equipped)
For vehicles equipped with push-button ig-
nition this indicator illuminates when the
ignition switch is in the LOCK, OFF or ON
position with the shif t lever in the P (Park)
position. This indicator means that the engine will
start by pushing the push-button ignition
switch with the brake pedal depressed.
Front fog light indicator
light (green) (if so
equipped)
The front fog light indicator light illumi-
nates when the front fog lights are on. For
additional information, refer to “Fog light
switch” in this section.
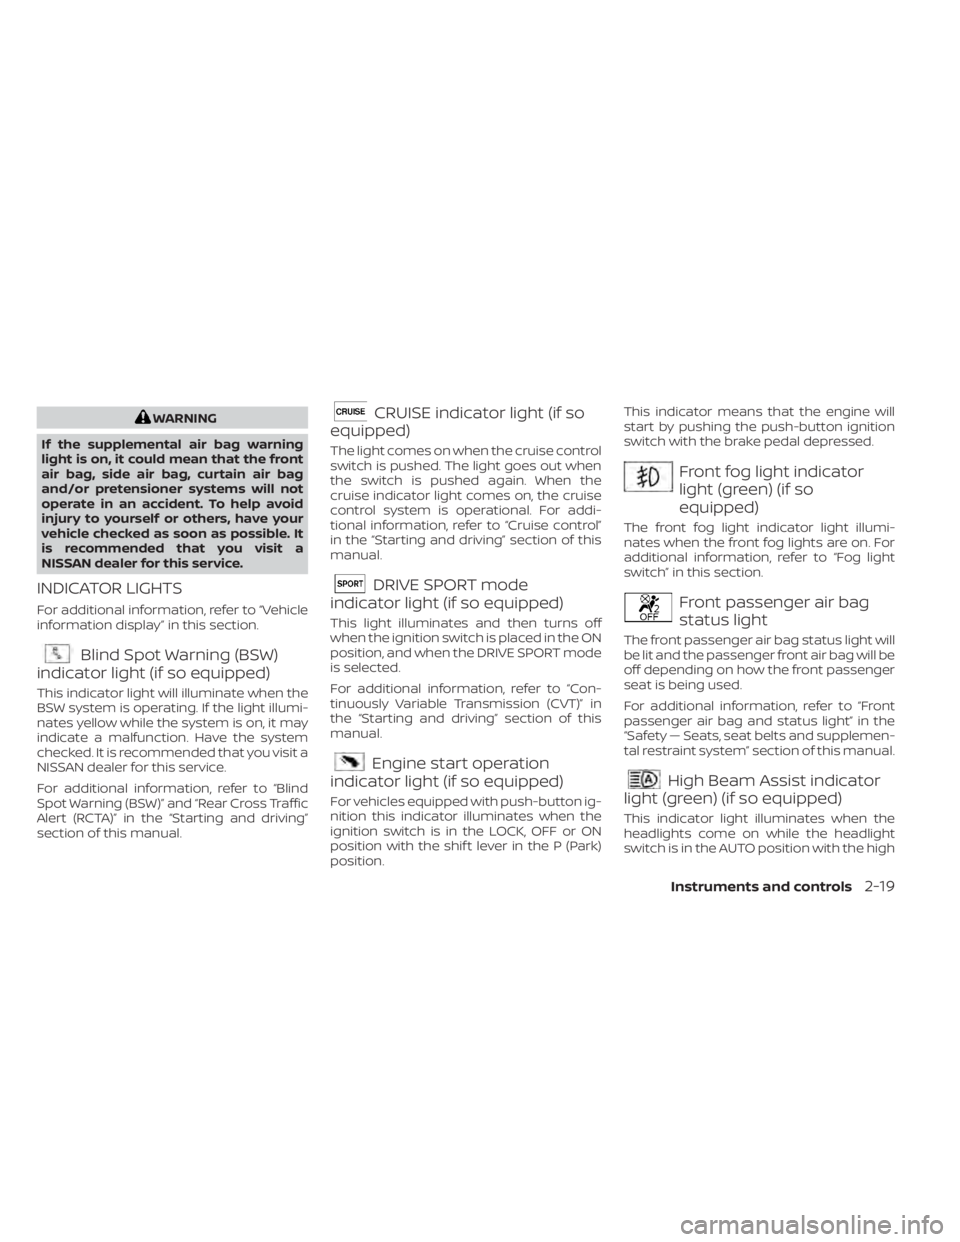
Front passenger air bag
status light
The front passenger air bag status light will
be lit and the passenger front air bag will be
off depending on how the front passenger
seat is being used.
For additional information, refer to “Front
passenger air bag and status light” in the
“Safety — Seats, seat belts and supplemen-
tal restraint system” section of this manual.
High Beam Assist indicator
light (green) (if so equipped)
This indicator light illuminates when the
headlights come on while the headlight
switch is in the AUTO position with the high
Instruments and controls2-19
Page 116 of 500
1. No Key Detected
2. Key Battery Low
3. I-Key System Error: See Owner's Manual
4. Shif t to Park
5. Push brake and start switch to drive
6. Engine start operation for Intelligent Keysystem (if I-Key battery level is low)
7. Release Parking Brake
8. Low Fuel
9. Door/lif tgate Open
10. Tire Pressure Low — Add Air
11. TPMS Error: See Owner’s Manual
12. Alarm - Time for a break? (if so equipped)
13. Power will turn off to save the battery
14. Power turned off to save the battery
15. Reminder: Turn OFF Headlights
16. Headlight System Error: See Owner’s Manual (if so equipped)
17. Cruise control indicator
18. Blind Spot Warning (BSW) indicator (if so equipped) 19. Malfunction (if so equipped)
20. Shipping Mode On Push Storage Fuse
21. CVT Error: See Owner's Manual
22. Steering lock release malfunction indi-
cator (if so equipped)
23. Illumination indicator
24. Transmission Shif t Position indicator (if so equipped)
25. High Coolant Temp: See Owner’s Manual
26. Outside Temperature Display
27. Low Outside Temperature
28. Oil and Filter
29. Tire
30. Other
31. Front Radar Obstruction (if so equipped)
32. Side Radar Obstruction (if so equipped)
33. Drive Sport mode indicator (if so equipped)
34. Rear Door Alert is activated (if so equipped) 35. Check Back Seat for All Articles (if so
equipped)
36. Driver Attention Alert System Fault (if so equipped)
37. Driver Attention Alert — Take a Break? (if so equipped)
38. Automatic Emergency Braking (AEB) emergency warning indicator (if so
equipped)
39. Lane Departure Warning (LDW) indica- tor (if so equipped)
40. Rear Automatic Braking (RAB) indicator (if so equipped)
41. Vehicle ahead detection indicator (if so equipped)
42. System Fault (if so equipped)
43. Parking Sensor (if so equipped)
44. Unavailable High Cabin Temperature (if so equipped)
45. Parking Sensor Error: See Owner’s Manual (if so equipped)
2-32Instruments and controls
Page 118 of 500
Door/lif tgate Open
This warning illuminates when a door or
the lif tgate has been opened.
Tire Pressure Low - Add Air
This warning appears when the low tire
pressure warning light in the meter illumi-
nates and low tire pressure is detected. The
warning appears each time the ignition
switch is placed in the ON position as long
as the low tire pressure warning light re-
mains illuminated. If this warning appears,
stop the vehicle and adjust the tire pres-
sures of all four tires to the recommended
COLD tire pressure shown on the Tire and
Loading Information label. For additional
information, refer to “Low tire pressure
warning light” in this section and “Tire Pres-
sure Monitoring System (TPMS)” in the
“Starting and driving” section of this
manual.
TPMS Error: See Owner’s Manual
This warning appears when there is an er-
ror with your TPMS. If this warning comes
on, have the system checked. It is recom-
mended that you visit a NISSAN dealer for
this service.
Alarm - Time for a break? (if so
equipped)
This indicator appears when the driver en-
ables the Timer Alert function within the
Driving Assistance settings and the se-
lected set time is expired. The time is based
on ignition on time and can be set up to six
hours.
Power will turn off to save the battery
This message appears in the vehicle infor-
mation display af ter a period of time if the
ignition switch is in the ON position and if
the vehicle is in P (Park). For additional infor-
mation, refer to “Push-button ignition
switch positions” in the “Starting and driv-
ing” section of this manual.
Power turned off to save the battery
This message appears af ter the ignition
switch is automatically turned off. For addi-
tional information, refer to “Push-button ig-
nition switch positions” in the “Starting and
driving” section of this manual.
Reminder: Turn OFF Headlights
This warning appears when the headlights
are lef t in the ON position when exiting the
vehicle. Place the headlight switch in the
OFF or AUTO position. For additional infor-mation, refer to “Headlight and turn signal
switch” in this section.
Headlight System Error: See Owner’s
Manual (if so equipped)
This warning illuminates when there is an
error with the system. For additional infor-
mation, refer to “Headlight and turn signal
switch” in this section.
Cruise control indicator
This indicator shows the cruise control sys-
tem status.
For additional information, refer to “Cruise
control” in the “Starting and Driving” section
of this manual.
Blind Spot Warning (BSW) indicator (if
so equipped)
This indicator shows when the BSW system
is engaged.
For additional information, refer to “Blind
Spot Warning (BSW)” in the “Starting and
driving” section of this manual.
Malfunction (if so equipped)
This warning appears when one or more of
the following systems (if so equipped) is
not functioning properly:
• Automatic Emergency Braking (AEB)
2-34Instruments and controls
Page 141 of 500
WARNING
• If the driver selects “Disable Alert”, no
audible alert will be provided regard-
less of rear door open/close status.
• There may be times when there is an
object or passenger in the rear
seat(s) but the audible alert does not
sound. For example, if rear seat pas-
sengers enter or exit the vehicle dur-
ing a trip.
• The system does not directly detect
objects or passengers in the rear
seat(s). Instead, it can detect when a
rear door is opened and closed, indi-
cating that there may be something
in the rear seat(s).
NOTE:
There may be times when the horn
sounds but there are no objects or pas-
sengers in the rear seat(s).
For additional information, refer to “Rear
Door Alert is activated” in this section.
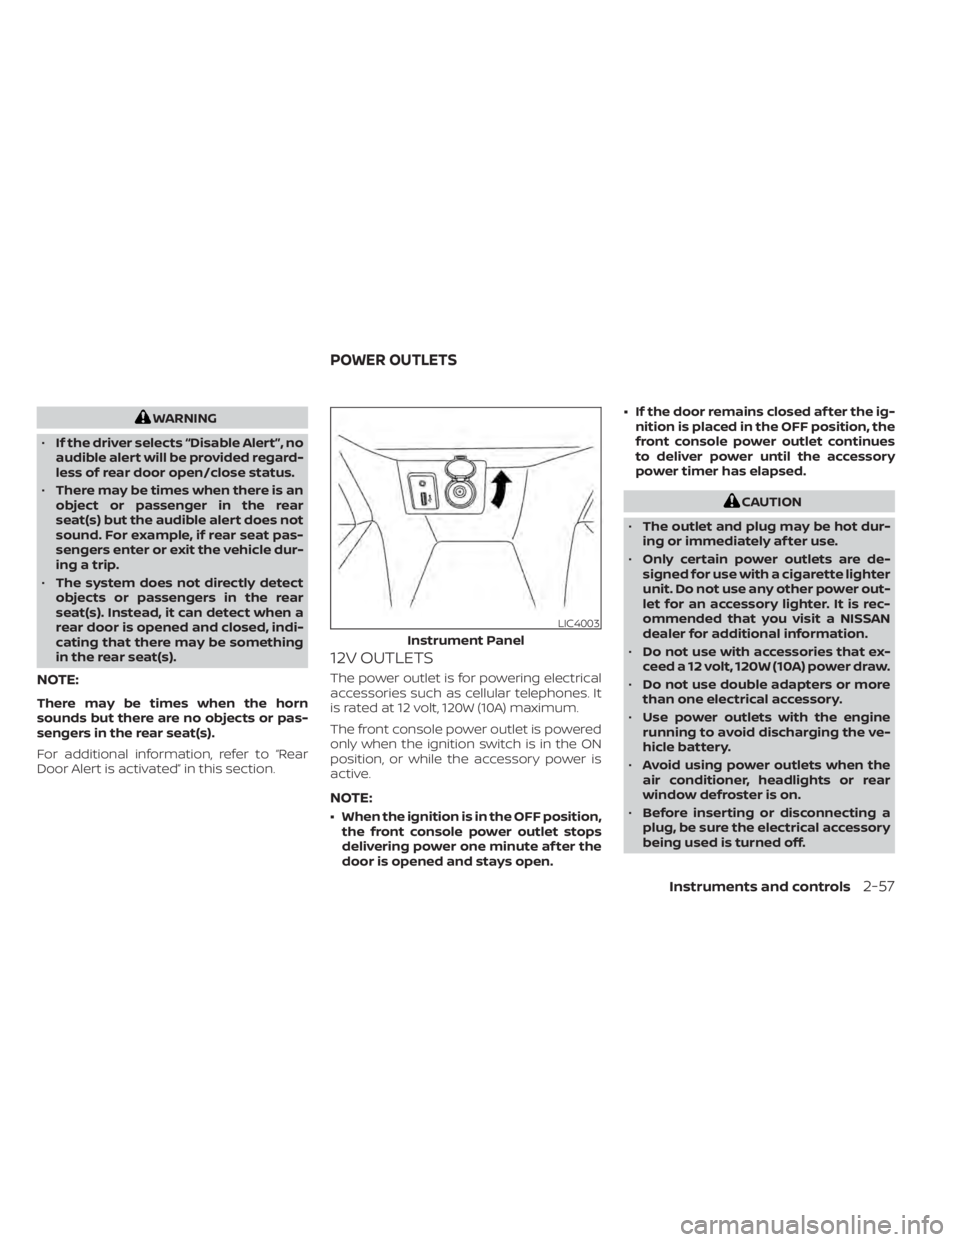
12V OUTLETS
The power outlet is for powering electrical
accessories such as cellular telephones. It
is rated at 12 volt, 120W (10A) maximum.
The front console power outlet is powered
only when the ignition switch is in the ON
position, or while the accessory power is
active.
NOTE:
• When the ignition is in the OFF position, the front console power outlet stops
delivering power one minute af ter the
door is opened and stays open. • If the door remains closed af ter the ig-
nition is placed in the OFF position, the
front console power outlet continues
to deliver power until the accessory
power timer has elapsed.
CAUTION
• The outlet and plug may be hot dur-
ing or immediately af ter use.
• Only certain power outlets are de-
signed for use with a cigarette lighter
unit. Do not use any other power out-
let for an accessory lighter. It is rec-
ommended that you visit a NISSAN
dealer for additional information.
• Do not use with accessories that ex-
ceed a 12 volt, 120W (10A) power draw.
• Do not use double adapters or more
than one electrical accessory.
• Use power outlets with the engine
running to avoid discharging the ve-
hicle battery.
• Avoid using power outlets when the
air conditioner, headlights or rear
window defroster is on.
• Before inserting or disconnecting a
plug, be sure the electrical accessory
being used is turned off.
Instruments and controls2-57
Page 168 of 500
1. Place the ignition switch to the LOCKposition.
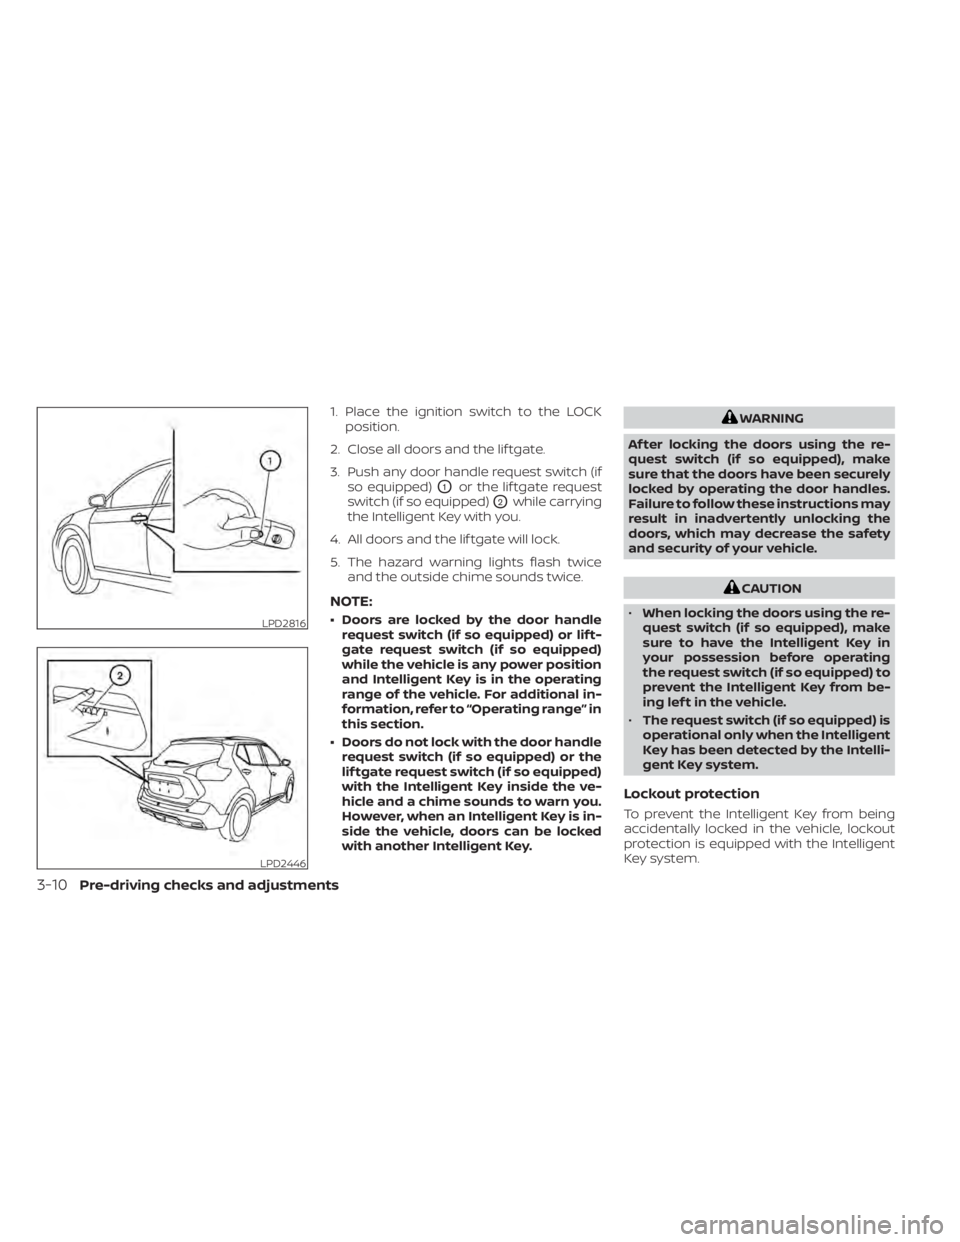
2. Close all doors and the lif tgate.
3. Push any door handle request switch (if so equipped)
O1or the lif tgate request
switch (if so equipped)
O2while carrying
the Intelligent Key with you.
4. All doors and the lif tgate will lock.
5. The hazard warning lights flash twice and the outside chime sounds twice.
NOTE:
• Doors are locked by the door handlerequest switch (if so equipped) or lif t-
gate request switch (if so equipped)
while the vehicle is any power position
and Intelligent Key is in the operating
range of the vehicle. For additional in-
formation, refer to “Operating range” in
this section.
• Doors do not lock with the door handle request switch (if so equipped) or the
lif tgate request switch (if so equipped)
with the Intelligent Key inside the ve-
hicle and a chime sounds to warn you.
However, when an Intelligent Key is in-
side the vehicle, doors can be locked
with another Intelligent Key.
WARNING
Af ter locking the doors using the re-
quest switch (if so equipped), make
sure that the doors have been securely
locked by operating the door handles.
Failure to follow these instructions may
result in inadvertently unlocking the
doors, which may decrease the safety
and security of your vehicle.
CAUTION
• When locking the doors using the re-
quest switch (if so equipped), make
sure to have the Intelligent Key in
your possession before operating
the request switch (if so equipped) to
prevent the Intelligent Key from be-
ing lef t in the vehicle.
• The request switch (if so equipped) is
operational only when the Intelligent
Key has been detected by the Intelli-
gent Key system.
Lockout protection
To prevent the Intelligent Key from being
accidentally locked in the vehicle, lockout
protection is equipped with the Intelligent
Key system.
LPD2816
LPD2446
3-10Pre-driving checks and adjustments
Page 169 of 500
When any door is open, the doors are
locked, and then the Intelligent Key is put
inside the vehicle and all the doors are
closed, a chime will sound and the lock will
automatically unlock.
NOTE:
The doors may not lock when the Intelli-
gent Key is in the same hand that is op-
erating the request switch (if so
equipped) to lock the door. Put the Intel-
ligent Key in a purse, pocket or your
other hand.
CAUTION
The lockout protection may not func-
tion under the following conditions:
• When the Intelligent Key is placed on
top of the instrument panel.
• When the Intelligent Key is placed in-
side the glove box or a storage bin.
• When the Intelligent Key is placed in-
side the door pockets.
• When the Intelligent Key is placed in-
side or near metallic materials.
Unlocking doors
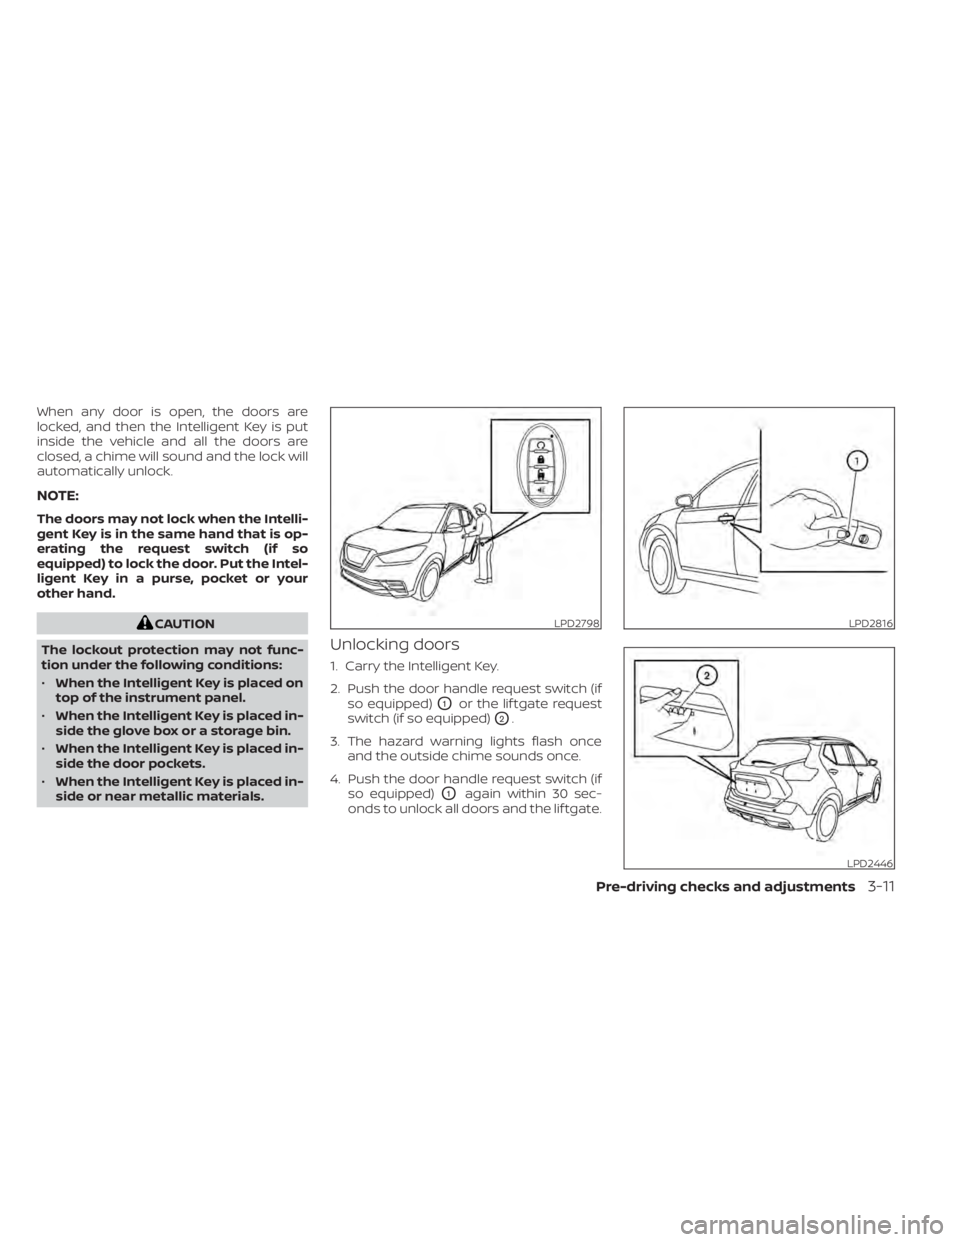
1. Carry the Intelligent Key.
2. Push the door handle request switch (if so equipped)
O1or the lif tgate request
switch (if so equipped)
O2.
3. The hazard warning lights flash once and the outside chime sounds once.
4. Push the door handle request switch (if so equipped)
O1again within 30 sec-
onds to unlock all doors and the lif tgate.
LPD2798LPD2816
LPD2446
Page 172 of 500
Unlocking doors
1. Press thebutton on the Intelligent
Key.
2. The hazard warning lights flash once.
3. Press the
button again within 30
seconds to unlock all doors and the
lif tgate.
NOTE:
If Selective Unlock is turned off in “Ve-
hicle Settings” of the vehicle informa-
tion display (if so equipped), all doors
will unlock upon the first
press of
the key fob. For additional informa-
tion, refer to "Vehicle information dis-
play" in the "Instruments and con-
trols" section of this manual.
All doors and the lif tgate will be locked au-
tomatically unless one of the following op-
erations is performed within 30 seconds
af ter pressing the
button.
• Opening any doors or the lif tgate.
• Engaging the ignition switch from the lock position.
The interior light illuminates for a period of
time when a door is unlocked and the
room light switch is in the DOOR position. The light can be turned off without waiting
by performing one of the following opera-
tions.
• Placing the ignition switch in the ON po-
sition.
• Locking the doors with the remote con- trol.
• Switching the room light switch in the OFF position.
Using the panic alarm
If you are near your vehicle and feel threat-
ened, you may activate the panic alarm to
call attention by pressing and holding the
button on the Intelligent Key for lon-
ger than 0.5 seconds.
The panic alarm and headlights will stay on
for a period of time.
The panic alarm stops when:
• It has run for a period of time, or
• Any button is pressed on the Intelligent Key.
• The request switch on the driver or pas- senger door is pushed and the Intelligent
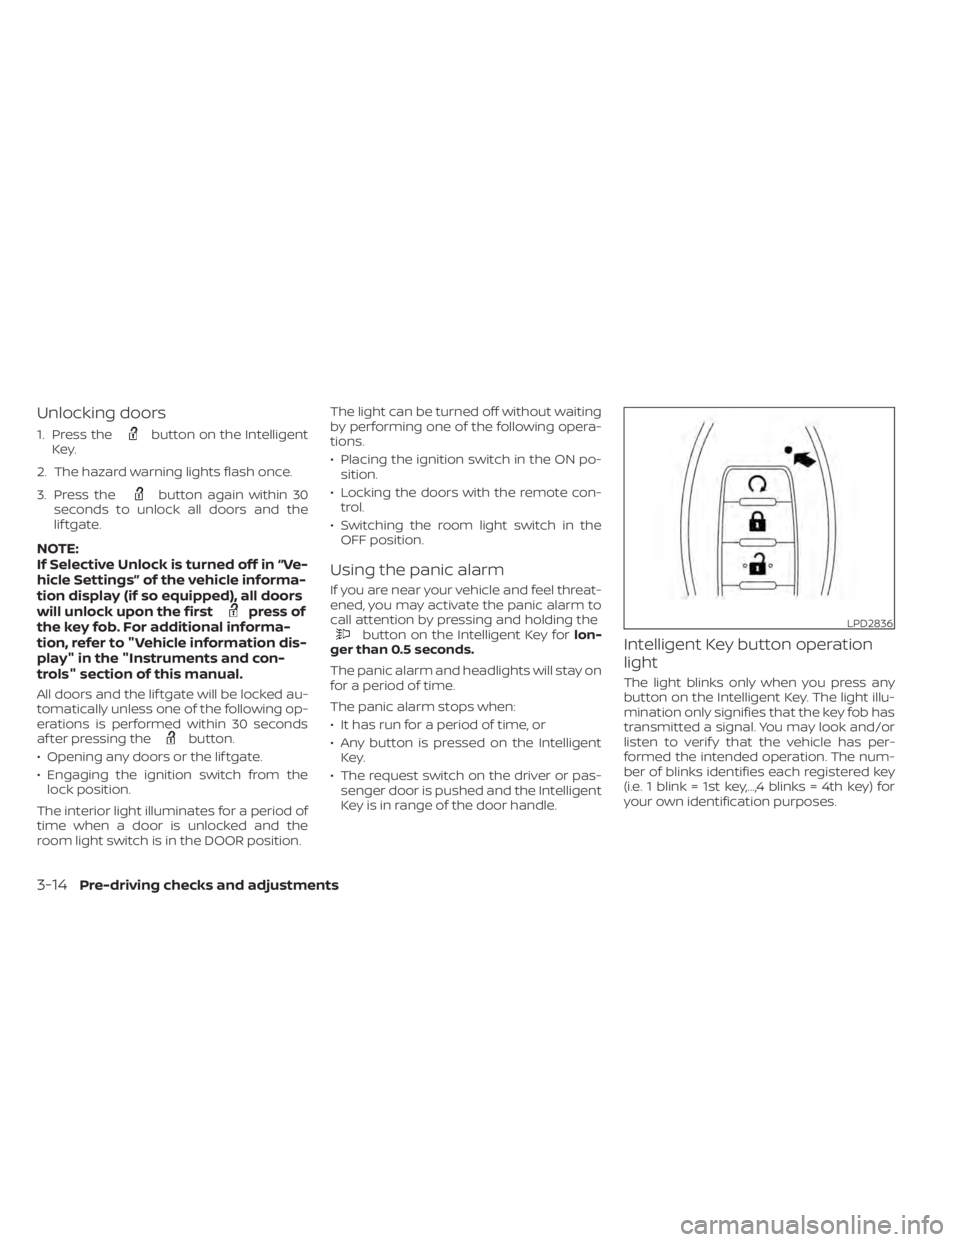
Key is in range of the door handle.Intelligent Key button operation
light
The light blinks only when you press any
button on the Intelligent Key. The light illu-
mination only signifies that the key fob has
transmitted a signal. You may look and/or
listen to verif y that the vehicle has per-
formed the intended operation. The num-
ber of blinks identifies each registered key
(i.e. 1 blink = 1st key,...,4 blinks = 4th key) for
your own identification purposes.
LPD2836
3-14Pre-driving checks and adjustments