Page 161 of 500

•Wetting may damage the Intelligent
Key. If the Intelligent Key gets wet,
immediately wipe until it is com-
pletely dry.
• Do not place the Intelligent Key for an
extended period in a place where
temperatures exceed 140°F (60°C).
• Do not attach the Intelligent Key with
a key holder that contains a magnet.
• Do not place the Intelligent Key near
equipment that produces a magnetic
field, such as a TV, audio equipment
and personal computers.
If an Intelligent Key is lost or stolen, NISSAN
recommends erasing the ID code of that
Intelligent Key from the vehicle. This may
prevent the unauthorized use of the Intelli-
gent Key to operate the vehicle. For infor-
mation regarding the erasing procedure, it
is recommended that you visit a NISSAN
dealer.
Mechanical key
The Intelligent Key contains the mechani-
cal key.
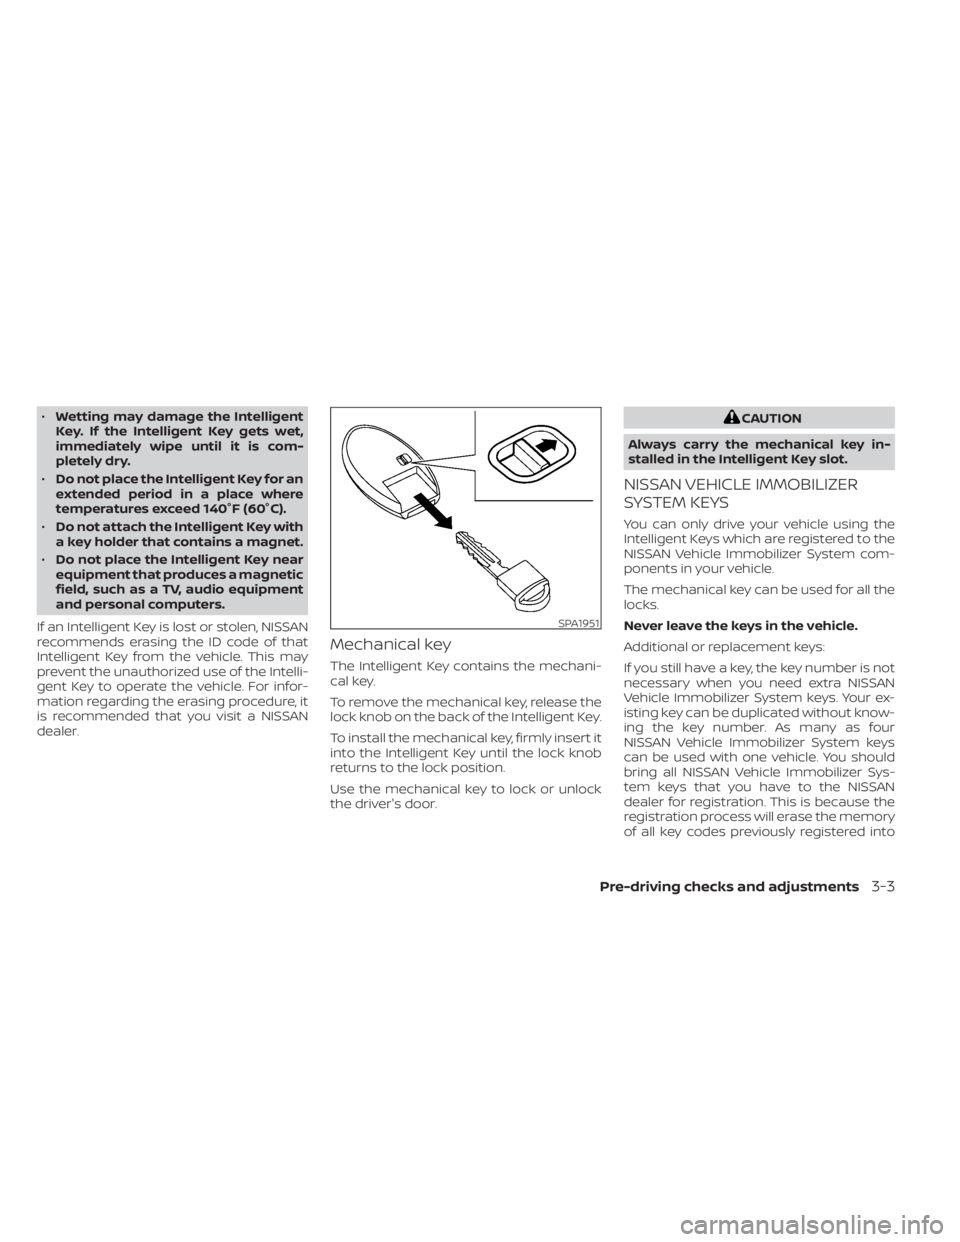
To remove the mechanical key, release the
lock knob on the back of the Intelligent Key.
To install the mechanical key, firmly insert it
into the Intelligent Key until the lock knob
returns to the lock position.
Use the mechanical key to lock or unlock
the driver's door.
SPA1951
Page 176 of 500

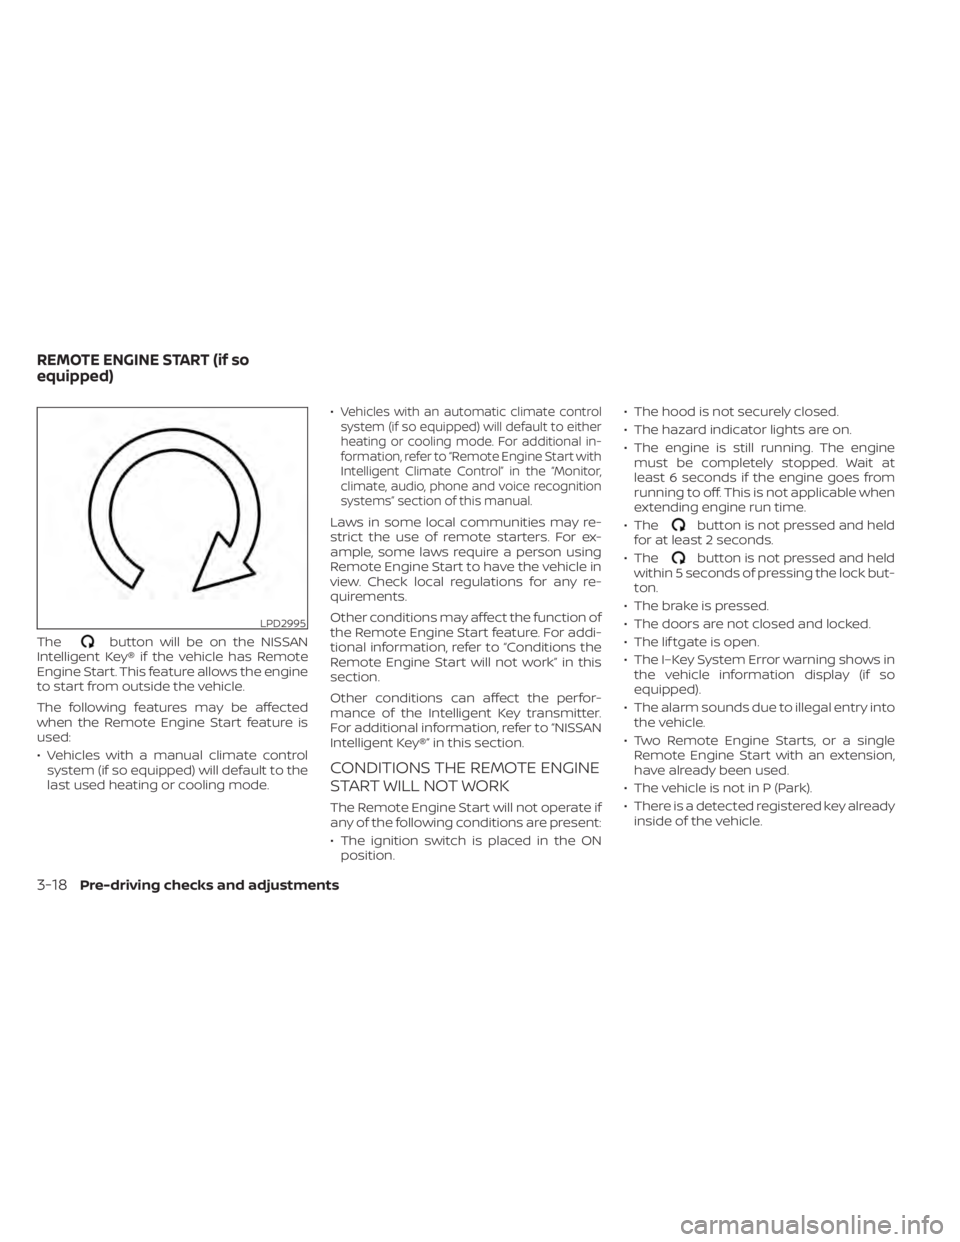
Thebutton will be on the NISSAN
Intelligent Key® if the vehicle has Remote
Engine Start. This feature allows the engine
to start from outside the vehicle.
The following features may be affected
when the Remote Engine Start feature is
used:
• Vehicles with a manual climate control system (if so equipped) will default to the
last used heating or cooling mode. •
Vehicles with an automatic climate control
system (if so equipped) will default to either
heating or cooling mode. For additional in-
formation, refer to “Remote Engine Start with
Intelligent Climate Control” in the “Monitor,
climate, audio, phone and voice recognition
systems” section of this manual.
Laws in some local communities may re-
strict the use of remote starters. For ex-
ample, some laws require a person using
Remote Engine Start to have the vehicle in
view. Check local regulations for any re-
quirements.
Other conditions may affect the function of
the Remote Engine Start feature. For addi-
tional information, refer to “Conditions the
Remote Engine Start will not work” in this
section.
Other conditions can affect the perfor-
mance of the Intelligent Key transmitter.
For additional information, refer to “NISSAN
Intelligent Key®” in this section.
CONDITIONS THE REMOTE ENGINE
START WILL NOT WORK
The Remote Engine Start will not operate if
any of the following conditions are present:
• The ignition switch is placed in the ON position. • The hood is not securely closed.
• The hazard indicator lights are on.
• The engine is still running. The engine
must be completely stopped. Wait at
least 6 seconds if the engine goes from
running to off. This is not applicable when
extending engine run time.
• The
button is not pressed and held
for at least 2 seconds.
• The
button is not pressed and held
within 5 seconds of pressing the lock but-
ton.
• The brake is pressed.
• The doors are not closed and locked.
• The lif tgate is open.
• The I–Key System Error warning shows in the vehicle information display (if so
equipped).
• The alarm sounds due to illegal entry into the vehicle.
• Two Remote Engine Starts, or a single Remote Engine Start with an extension,
have already been used.
• The vehicle is not in P (Park).
• There is a detected registered key already inside of the vehicle.
LPD2995
REMOTE ENGINE START (if so
equipped)
Page 188 of 500

4 Monitor, climate, audio, phone and
voice recognition systems
NissanConnect® Owner’s Manual
(if so equipped)..................................4-2
Control panel buttons ...........................4-3
How to use the touch-screen ................4-4
How to use the
MENU button ...........4-6(brightness control) button .............4-8
How to use the VOL (volume) knob /
PUSH
(power)button....................4-8
Selecting menu from launch bar .............4-8
RearView Monitor (if so equipped) ...............4-9
RearView Monitor system operation .........4-10
How to read the displayed lines ..............4-11
Difference between predicted and
actual distances ............................. 4-11
How to park with predicted course
lines ......................................... 4-13
Adjusting the screen ........................ 4-14
How to turn on and off predicted
course lines ................................. 4-15
RearView Monitor system limitations ........4-15
System maintenance ....................... 4-16
Intelligent Around View Monitor
(if so equipped) ................................. 4-17
Intelligent Around View Monitor system
operation ................................... 4-18
Difference between predicted and
actual distances ............................ 4-21How to park with predicted course
lines
......................................... 4-23
How to switch the display ...................4-24
Adjusting the screen ........................ 4-24
Intelligent Around View Monitor system
limitations .................................. 4-25
System maintenance .......................4-27
Moving Object Detection (MOD)
(if so equipped) ................................. 4-28
MOD system operation ......................4-29
Turning MOD on and off (if so equipped) .....4-31
MOD system limitations .....................4-31
System maintenance .......................4-32
Vents .......................................... 4-32
Heater and air conditioner (manual)
(if so equipped) ................................. 4-33
Controls ..................................... 4-34
Heater operation ............................ 4-35
Air conditioner operation ....................4-36
Air flow charts ............................... 4-37
Heater and air conditioner (automatic)
(if so equipped) ................................. 4-41
Automatic operation ........................ 4-42
Manual operation ........................... 4-42
Operating tips ............................... 4-43
Ser
vicing air conditioner ........................ 4-44
Page 190 of 500
Refer to the NissanConnect® Owner’s
Manual that includes the following infor-
mation.
• Audio system
• Apple CarPlay®
• Android Auto
TM
• Bluetooth® Hands-Free Phone system
• Viewing information
• Other settings
• Voice Recognition (if so equipped)
• General system information
Page 191 of 500
1.MENU button
2. Display screen
3. DISP button
4.
BACK button 5. TUNE•SCROLL knob / PUSH SOUND
button
6. VOL (volume) knob / PUSH
(power)
button
7.
(brightness control) button
8.
button* * For additional information, refer to
“Bluetooth® Hands-Free Phone System” in
this section regarding the Bluetooth®
Hands-Free Phone System control button.
When you use this system, make sure the
engine is running.
If you use the system with the engine not
running for a long time, it will discharge
the battery, and the engine will not start.
Reference symbols:
“Example” — Words marked in quotes refer
to a key shown only on the display. These
keys can be selected by touching the
screen.
LHA4703
CONTROL PANEL BUTTONS
Monitor, climate, audio, phone and voice recognition systems4-3
Page 192 of 500
HOW TO USE THE TOUCH-SCREEN
LHA5318
4-4Monitor, climate, audio, phone and voice recognition systems
Page 193 of 500
Menu ItemResult
Selecting the item Touch an item to select. To select the “Phone” key, touch the “Phone” key on the screen. Touch the “
”keyto
return to the previous screen.
Adjusting the item Touch the “+” key or the “−” key to adjust the settings of an item. Touch the up arrow to scroll up the page one
item at a time. Touch the down arrow to scroll down the page one item at a time.
Inputting characters Touch the number key. There are some options available when inputting characters.
123 Touch to manually enter numbers.
OK Completes the character input.
Monitor, climate, audio, phone and voice recognition systems4-5
Page 194 of 500
Touch-screen maintenance
If you clean the display screen, use a dry,
sof t cloth. If additional cleaning is neces-
sary, use a small amount of neutral deter-
gent with a sof t cloth. Never spray the
screen with water or detergent. Dampen
the cloth first and then wipe the screen.
HOW TO USE THEMENU
BUTTON
To select and/or adjust several functions,
features and modes that are available for
your vehicle:
1. Press the
MENU button.
2. Touch the “Settings” key.
3. Touch the desired item.
LHA5319LHA5318
4-6Monitor, climate, audio, phone and voice recognition systems