Page 3 of 559

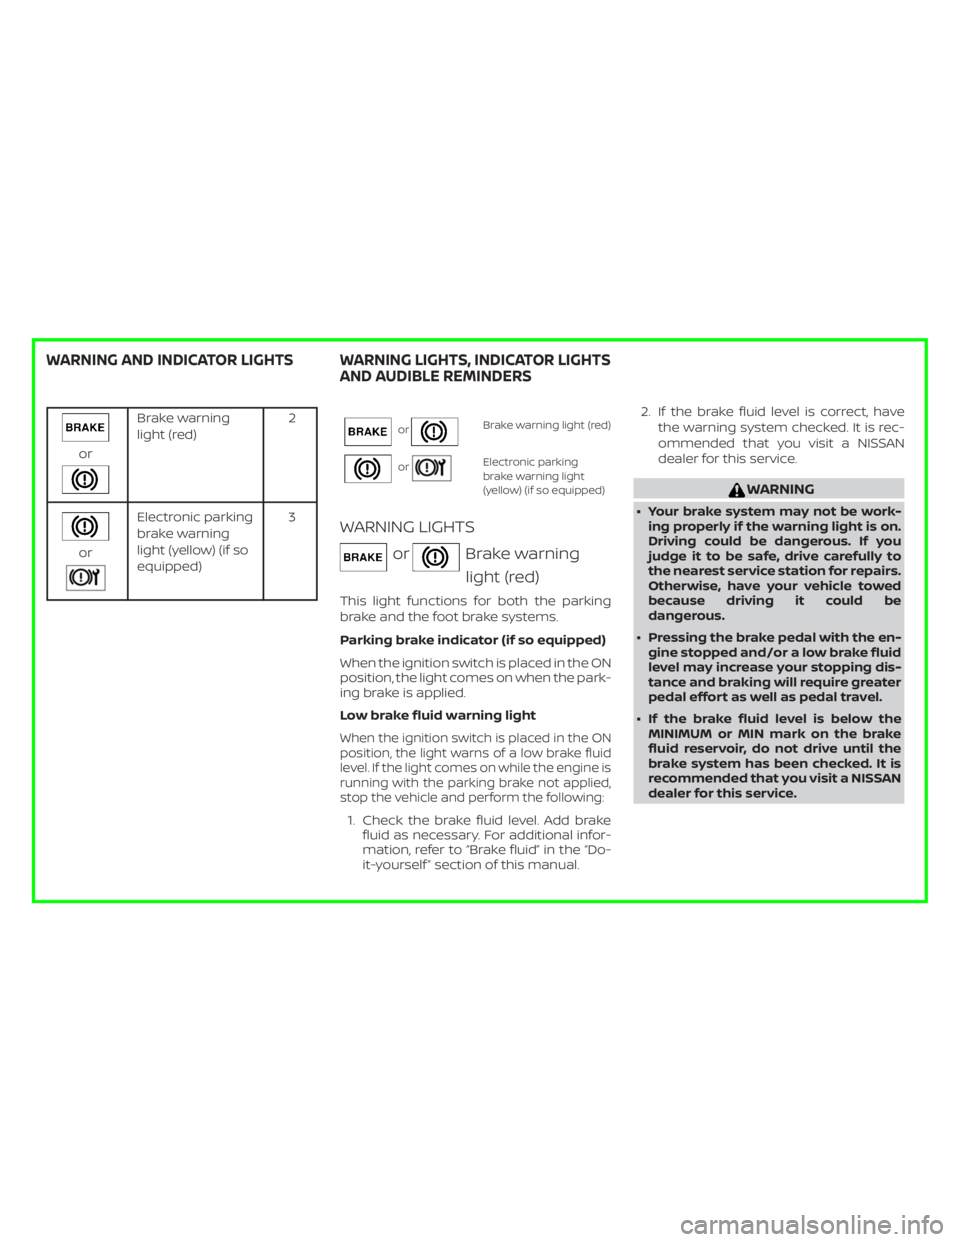
Brake warning
light (red)2
or
Electronic parking
brake warning
light (yellow) (if so
equipped)3
orBrake warning light (red)
orElectronic parking
brake warning light
(yellow) (if so equipped)
WARNING LIGHTS
orBrake warning
light (red)
This light functions for both the parking
brake and the foot brake systems.
Parking brake indicator (if so equipped)
When the ignition switch is placed in the ON
position, the light comes on when the park-
ing brake is applied.
Low brake fluid warning light
When the ignition switch is placed in the ON
position, the light warns of a low brake fluid
level. If the light comes on while the engine is
running with the parking brake not applied,
stop the vehicle and perform the following:
1. Check the brake fluid level. Add brake
fluid as necessary. For additional infor-
mation, refer to “Brake fluid” in the “Do-
it-yourself ” section of this manual.2. If the brake fluid level is correct, have
the warning system checked. It is rec-
ommended that you visit a NISSAN
dealer for this service.
Page 4 of 559
Electronic parking
brake warning
light (yellow) (if so
equipped)
The electronic parking brake system warn-
ing light functions for the electronic park-
ing brake system. If the warning light illumi-
nates, it may indicate the electronic
parking brake system is not functioning
properly. Have the system checked. It is
recommended that you visit a NISSAN
dealer for this service.
For additional information, refer to
Page 145 of 559
LED DAYTIME RUNNING LIGHTS
(DRL) SYSTEM (if so equipped)
The LED DRL automatically illuminate at
100% intensity when the engine is started
and the parking brake released. The LED
Daytime Running Lights (DRL) operate with
the headlight switch in the OFF position.
When you turn the headlight switch to
the
Page 264 of 559

∙ Make sure the area around the vehicle isclear.
∙ Check fluid levels such as engine oil, coolant, brake fluid, and windshield-
washer fluid as frequently as possible,
or at least whenever you refuel.
∙ Check that all windows and lights are clean.
∙ Visually inspect tires for their appear- ance and condition. Also check tires for
proper inflation.
∙ Lock all doors.
∙ Position seat and adjust headrests/head restraints.
∙ Adjust inside and outside mirrors.
∙ Fasten seat belts and ask all passen- gers to do likewise.
∙ Check the operation of warning lights when the ignition switch is pushed to
the ON position. For additional informa-
tion, refer to “Warning lights, indicator
lights and audible reminders” in the “In-
struments and controls” section of this
manual. 1. Apply the parking brake.
2. Move the shif t lever to P (Park) or N
(Neutral). P (Park) is recommended.
The starter is designed not to oper-
ate if the shif t lever is in any of the
driving positions.
3. Push the ignition switch to the ON po- sition. Depress the brake pedal and
push the ignition switch to start the
engine.
To start the engine immediately, push
and release the ignition switch while
depressing the brake pedal with the
ignition switch in any position.
∙ If the engine is very hard to start in extremely cold weather or when re-
starting, depress the accelerator
pedal a little (approximately 1/3 to the
floor) and while holding, crank the en-
gine. Release the accelerator pedal
when the engine starts.
∙ If the engine is very hard to start be- cause it is flooded, depress the accel-
erator pedal all the way to the floor
and hold it. Push the ignition switch
to the ON position to start cranking
the engine. Af ter 5 or 6 seconds, stop
cranking by pushing the ignition switch to the LOCK position. Af ter
cranking the engine, release the ac-
celerator pedal. Crank the engine
with your foot off the accelerator
pedal by depressing the brake pedal
and pushing the ignition switch to
start the engine. If the engine starts,
but fails to run, repeat the above pro-
cedure.
Page 271 of 559

WARNING
If the shif t lever cannot be moved from
the P (Park) position while the engine is
running and the brake pedal is de-
pressed, the stop lights may not work.
Malfunctioning stop lights could cause
an accident injuring yourself and
others.
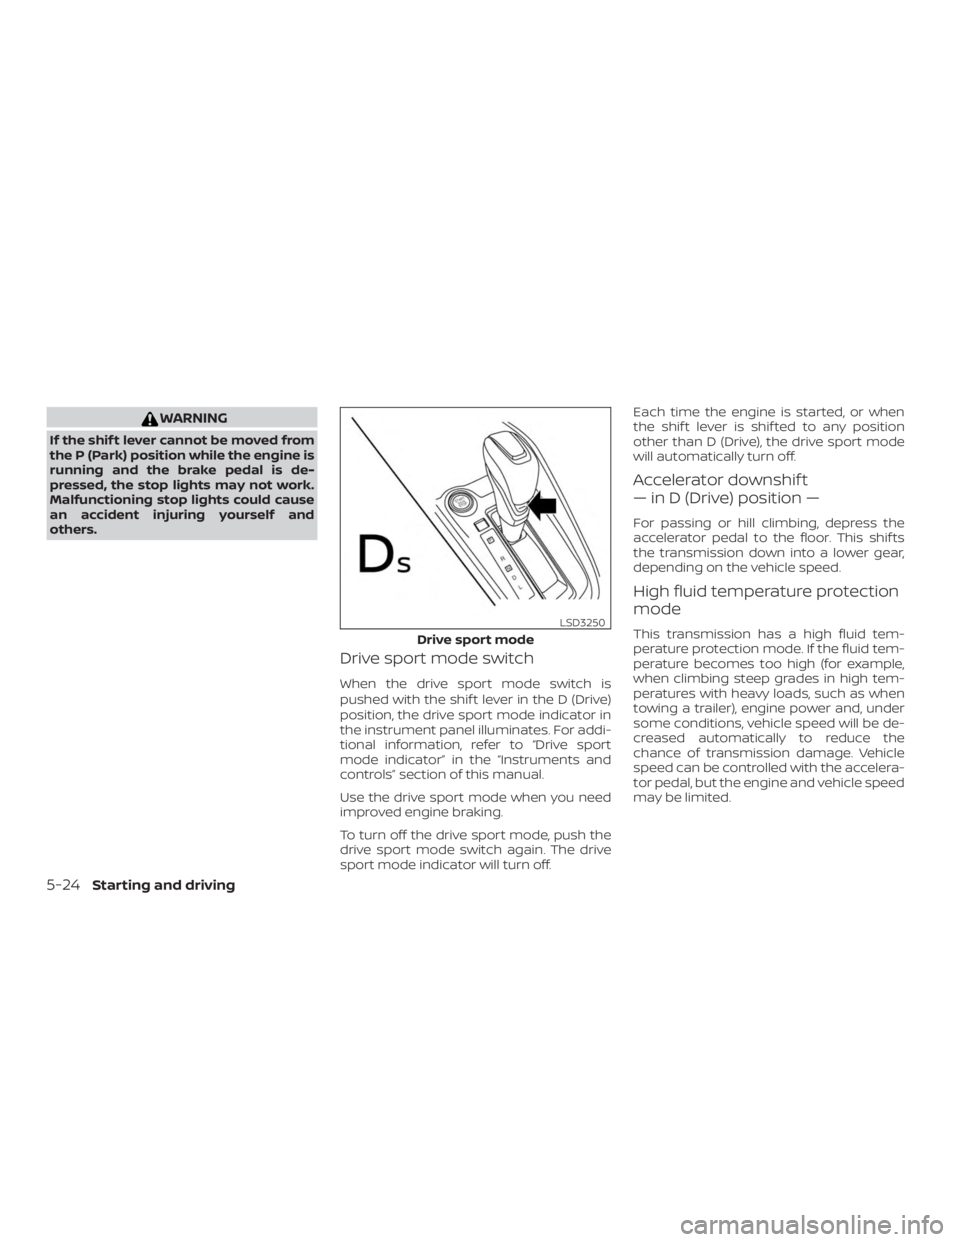
Drive sport mode switch
When the drive sport mode switch is
pushed with the shif t lever in the D (Drive)
position, the drive sport mode indicator in
the instrument panel illuminates. For addi-
tional information, refer to “Drive sport
mode indicator” in the “Instruments and
controls” section of this manual.
Use the drive sport mode when you need
improved engine braking.
To turn off the drive sport mode, push the
drive sport mode switch again. The drive
sport mode indicator will turn off.Each time the engine is started, or when
the shif t lever is shif ted to any position
other than D (Drive), the drive sport mode
will automatically turn off.
Accelerator downshif t
— in D (Drive) position —
For passing or hill climbing, depress the
accelerator pedal to the floor. This shif ts
the transmission down into a lower gear,
depending on the vehicle speed.
High fluid temperature protection
mode
This transmission has a high fluid tem-
perature protection mode. If the fluid tem-
perature becomes too high (for example,
when climbing steep grades in high tem-
peratures with heavy loads, such as when
towing a trailer), engine power and, under
some conditions, vehicle speed will be de-
creased automatically to reduce the
chance of transmission damage. Vehicle
speed can be controlled with the accelera-
tor pedal, but the engine and vehicle speed
may be limited.
Page 273 of 559
PEDAL TYPE
To engage:Firmly depress the parking
brake.
To release:
1. Firmly apply the foot brake.
2. Move the shif t lever to the P (Park) po- sition.
3. Firmly depress the parking brake pedal and it will release.
4. Before driving, be sure the brake warn- ing light goes out.
SWITCH TYPE (models with
electronic parking brake system)
The electronic parking brake can be ap-
plied or released automatically or by oper-
ating the parking brake switch.
Automatic operation
The electronic parking brake will apply au-
tomatically if the ignition switch is placed in
the OFF position when the brake force is
maintained by the automatic brake hold
function. The electronic parking brake is automati-
cally released as soon as the vehicle starts
and the accelerator pedal is depressed
with the driver’s seat belt fastened.
Page 275 of 559

∙While pulling up the electronic park-
ing brake switch during driving, the
parking brake is applied and a chime
sounds. The electronic parking brake
indicator light in the meter and in the
parking brake switch illuminates.
This does not indicate a malfunction.
The electronic parking brake indica-
tor light in the meter and in the park-
ing brake switch turns off when the
parking brake is released.
∙ When pulling the electronic parking
brake switch up with the ignition
switch in the OFF or AUTO ACC posi-
tion, the parking brake switch indica-
tor light will continue to illuminate for
a short period of time. The automatic brake hold function main-
tains the braking force without the driver
having to depress the brake pedal when
the vehicle is stopped at a traffic light or
intersection. As soon as the driver de-
presses the accelerator pedal again, the
automatic brake hold function is deacti-
vated and the braking force is released. The
operating status of the automatic brake
hold can be displayed on the vehicle infor-
mation display.
Page 276 of 559

∙ The automatic brake hold functionwill not be activated if the Vehicle Dy-
namic Control (VDC) OFF indicator
light, electronic parking brake warn-
ing light or master warning light illu-
minate and the chassis control sys-
tem fault message appears in the
vehicle information display.
∙ To maintain the braking force to keep the vehicle to a standstill, a noise may
be heard. This is not a malfunction.
HOW TO ACTIVATE/DEACTIVATE
THE AUTOMATIC BRAKE HOLD
FUNCTION
For additional information on activating
and deactivating the automatic brake hold
function, refer to the instructions outlined
in this section.
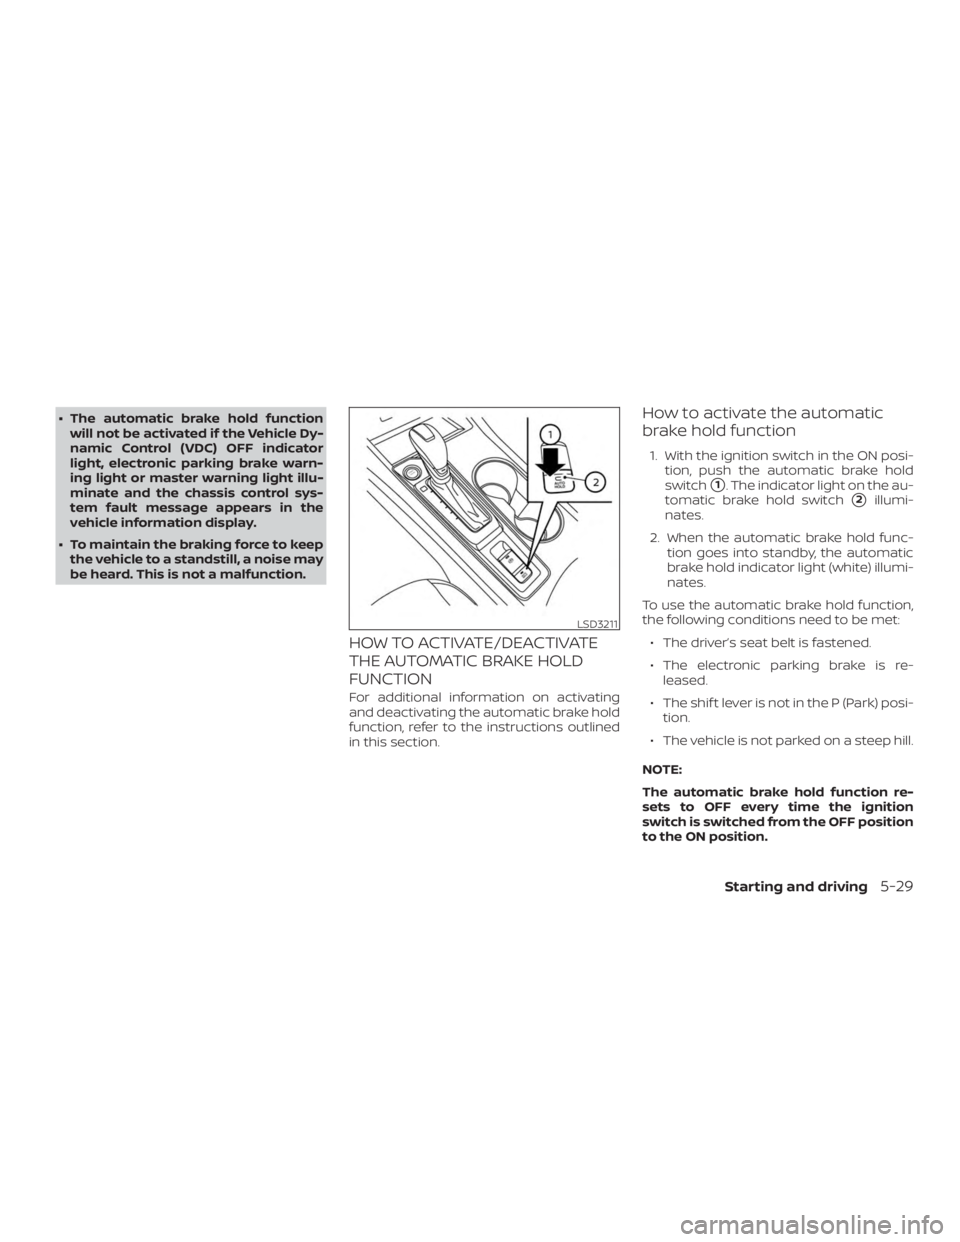
How to activate the automatic
brake hold function
1. With the ignition switch in the ON posi- tion, push the automatic brake hold
switch
�1. The indicator light on the au-
tomatic brake hold switch
�2illumi-
nates.
2. When the automatic brake hold func- tion goes into standby, the automatic
brake hold indicator light (white) illumi-
nates.
To use the automatic brake hold function,
the following conditions need to be met: ∙ The driver’s seat belt is fastened.
∙ The electronic parking brake is re- leased.
∙ The shif t lever is not in the P (Park) posi- tion.
∙ The vehicle is not parked on a steep hill.
NOTE:
The automatic brake hold function re-
sets to OFF every time the ignition
switch is switched from the OFF position
to the ON position.