Page 308 of 410

3067-1. Essential information
7-1.Essential information
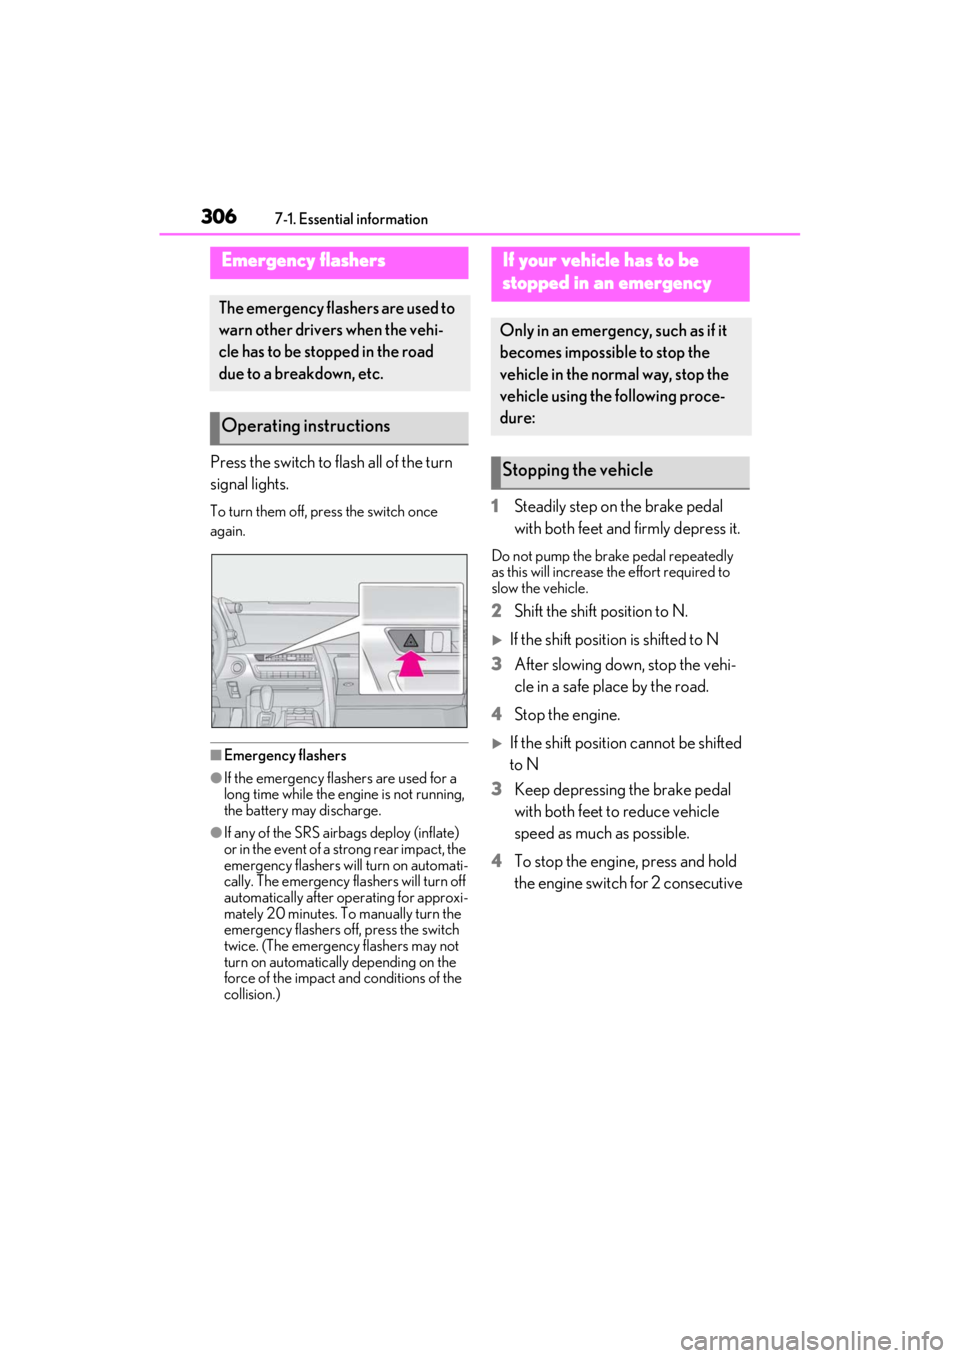
Press the switch to flash all of the turn
signal lights.
To turn them off, press the switch once
again.
■Emergency flashers
●If the emergency flashers are used for a
long time while the engine is not running,
the battery may discharge.
●If any of the SRS airbags deploy (inflate)
or in the event of a strong rear impact, the
emergency flashers will turn on automati-
cally. The emergency flashers will turn off
automatically after operating for approxi-
mately 20 minutes. To manually turn the
emergency flashers off, press the switch
twice. (The emergency flashers may not
turn on automatically depending on the
force of the impact and conditions of the
collision.)
1Steadily step on the brake pedal
with both feet and firmly depress it.
Do not pump the brake pedal repeatedly
as this will increase the effort required to
slow the vehicle.
2Shift the shift position to N.
If the shift position is shifted to N
3 After slowing down, stop the vehi-
cle in a safe place by the road.
4 Stop the engine.
If the shift position cannot be shifted
to N
3 Keep depressing the brake pedal
with both feet to reduce vehicle
speed as much as possible.
4 To stop the engine, press and hold
the engine switch for 2 consecutive
Emergency flashers
The emergency flashers are used to
warn other drivers when the vehi-
cle has to be stopped in the road
due to a breakdown, etc.
Operating instructions
If your vehicle has to be
stopped in an emergency
Only in an emergency, such as if it
becomes impossible to stop the
vehicle in the normal way, stop the
vehicle using the following proce-
dure:
Stopping the vehicle
Page 314 of 410

3127-2. Steps to take in an emergency
7Shift the shift position to N and
release the parking brake.
Turn automatic mode off. ( P.158)
■While towing
If the engine is not running, the power assist
for the brakes and steering will not function,
making steering and braking more difficult.
■Wheel nut wrench
Wheel nut wrench can be purchased at
your Lexus dealer.
Fluid leaks under the vehicle.
(Water dripping from the air condi-
tioning after use is normal.)
Flat-looking tires or uneven tire
wear
Engine coolant temperature gauge
continually points higher than nor-
mal.
Changes in exhaust sound
Excessive tire squeal when corner-
ing
Strange noises related to the sus-
pension system
Pinging or other noises related to
the engine
Engine missing, stumbling or run-
ning roughly
Appreciable loss of power
Vehicle pulls heavily to one side
when braking
If you think something is
wrong
If you notice any of the following
symptoms, your vehicle probably
needs adjustment or repair. Con-
tact your Lexus dealer as soon as
possible.
Visible symptoms
Audible symptoms
Operational symptoms
Page 329 of 410

3277-2. Steps to take in an emergency
7
When trouble arises
Take your vehicle to the nearest Lexus
dealer or authorized tire dealer as
soon as possible if any tire goes flat.
The vehicle can be driven for a maximum
of 100 miles (160 km) at a speed below 50
mph (80 km/h) after the tire pressure
warning light comes on. ( P.319)
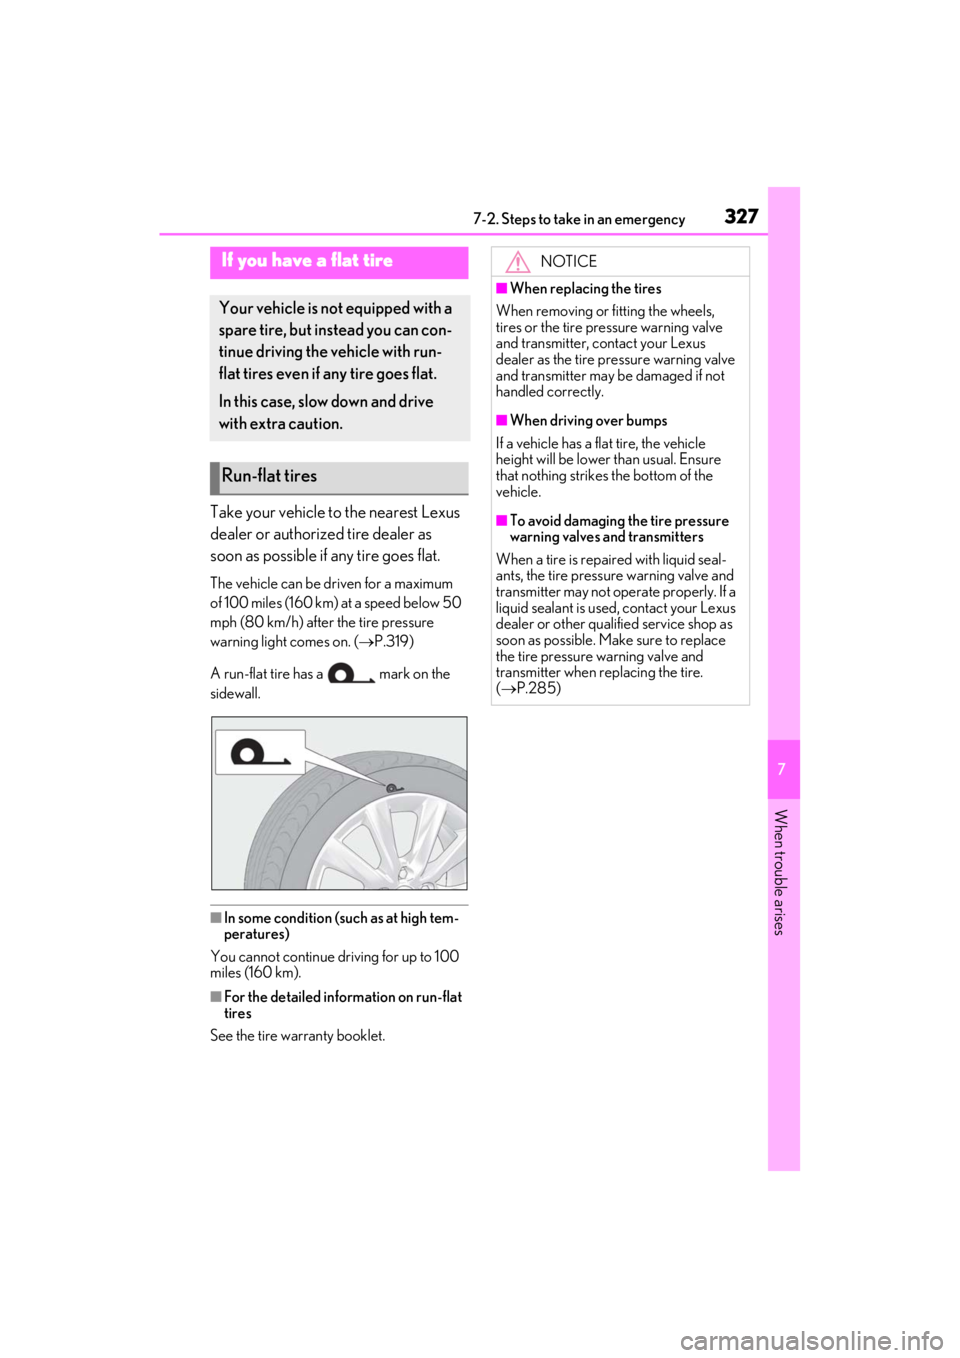
A run-flat tire has a mark on the
sidewall.
■In some condition (such as at high tem-
peratures)
You cannot continue driving for up to 100
miles (160 km).
■For the detailed information on run-flat
tires
See the tire warranty booklet.
If you have a flat tire
Your vehicle is not equipped with a
spare tire, but instead you can con-
tinue driving the vehicle with run-
flat tires even if any tire goes flat.
In this case, slow down and drive
with extra caution.
Run-flat tires
NOTICE
■When replacing the tires
When removing or fitting the wheels,
tires or the tire pr essure warning valve
and transmitter, contact your Lexus
dealer as the tire pressure warning valve
and transmitter may be damaged if not
handled correctly.
■When driving over bumps
If a vehicle has a flat tire, the vehicle
height will be lower than usual. Ensure
that nothing strikes the bottom of the
vehicle.
■To avoid damaging the tire pressure
warning valves and transmitters
When a tire is repaired with liquid seal-
ants, the tire pressure warning valve and
transmitter may not operate properly. If a
liquid sealant is used , contact your Lexus
dealer or other qualified service shop as
soon as possible. Make sure to replace
the tire pressure warning valve and
transmitter when replacing the tire.
( P.285)
Page 335 of 410

3337-2. Steps to take in an emergency
7
When trouble arises
remove the cover in the center of
the rear seat.
3
Insert the mechanical key into the
cylinder and turn it clockwise to
open. The glove box can be opened by per-
forming the following operations after
unlocking the doors.
If the glove box is locked, unlock it with the
mechanical key. (
P.246)
1Remove the cover using a flathead
screwdriver.
To prevent damage to the cover, cover the
tip of the screwdriver with a rag.
2Push the flathead screwdriver into
the part shown in the illustration to
open the glove box.
■After opening the glove box
The glove box can be opened normally by
closing the glove box after restarting the
engine.
If you have a set of jumper (or booster)
cables and a second vehicle with a bat-
WARNING
■After unlocking the trunk
Make sure to put back the cover to the
center of the rear seat. Failure to do so
may cause an accident.
NOTICE
■When installing the cover in the cen-
ter of the rear seat
Make sure that the seat belts are not
caught in the cover. Failure to do so may
cause damage to the cover installation
clip and make it impossible to install the
cover.
Opening the glove box
Restarting the engine
Page 341 of 410
3397-2. Steps to take in an emergency
7
When trouble arises
When touching a place where a
hand can not easily reach, wear
gloves to protect your hands.
Turn the engine switch off.
The tool for manually closing the
soft top roof is stored in the glove
box. ( P.246)
Tool bag
Tool
Groove
1 Press the All window control switch
to fully open the side windows and
rear quarter windows. ( P.122) If
the switch does not operate, con-
tact your Lexus dealer. 2
Remove the cover behind the rear
left seat.
1 Remove the claw on the left side
using the flathead screwdriver.
The flathead screwdriver is installed in the
trunk.
2Remove the claw on the right side.
Tool
Closing the soft top roof
A
B
C
Page 361 of 410

3598-1. Specifications
8
Vehicle specifications
Tire size (P.360)
Run-flat tire (RFT) or standard tire ( P.327)
This vehicle can be equipped with either run-flat tires (RFT) or standard tires. A
mark is molded on the sidewall of the run-flat tire.
DOT and Tire Identification Number (TIN) ( P.360)
Location of treadwear indicators ( P.281)
Tire ply composition and materials
Plies are layers of rubber-coated parallel cords. Cords are the strands which form the plies
in a tire.
Radial tires or bias-ply tires
A radial tire has “RADIAL” on the sidewall. A tire not marked “RADIAL” is a bias-ply tire.
TUBELESS or TUBE TYPE
A tubeless tire does not have a tube and air is directly put into the tire. A tube type tire has a
tube inside the tire and the tube maintains the air pressure.
Load limit at maximum cold tire inflation pressure ( P.362)
Maximum cold tire inflation pressure ( P.362)
This means the pressure to which a tire may be inflated.
Uniform tire quality grading
For details, see “Uniform Tire Quality Grading” that follows.
Tire information
Typical tire symbols
A
B
C
D
E
F
G
H
I
J
Page 363 of 410

3618-1. Specifications
8
Vehicle specifications
Tire use (P = Passenger car, T =
Temporary use)
Section width (millimeters)
Aspect ratio (tire height to section
width)
Tire construction code (R = Radial,
D = Diagonal)
Run-flat tire code
Wheel diameter (inches)
Load index (2 digits or 3 digits)
Speed symbol (alphabet with one
letter)
■Tire dimensionsSection width
Tire height
Wheel diameter Bead
Sidewall
Shoulder
Tread
Belt
Inner liner
Reinforcing rubber
Carcass
Rim lines
Bead wires
Chafer
This information has been prepared in
accordance with regulations issued by
the National Highway Traffic Safety
Administration of the U.S. Department
of Transportation.
It provides the purchasers and/or pro-
spective purchasers of Lexus vehicles
with information on uniform tire quality
grading.
Your Lexus dealer will help answer any
questions you may have as you read this
information.
■DOT quality grades
All passenger vehicle tires must con-
form to Federal Safety Requirements
in addition to these grades. Quality
grades can be found where applicable
on the tire sidewall between tread
shoulder and maximum section width.
For example: Treadwear 200 Traction AA
Temperature A
Tire section names
A
B
C
D
E
F
G
H
A
B
C
Uniform Tire Quality Grading
A
B
C
D
E
F
G
H
I
J
K
Page 368 of 410

3668-1. Specifications
*:Table 1 Occupant loading and distribution for vehicle normal load for various desig-
nated seating capacities
Section width
The linear distance between the exteriors of the sidewalls of an
inflated tire, excluding elevations due to labeling, decoration, or pro-
tective bands
SidewallThat portion of a tire between the tread and bead
Sidewall separationThe parting of the rubber compound from the cord material in the
sidewall
Snow tire
A tire that attains a traction index equal to or greater than 110, com-
pared to the ASTM E-1136 Standa rd Reference Test Tire, when
using the snow traction test as de scribed in ASTM F-1805-00, Stan-
dard Test Method for Single Whee l Driving Traction in a Straight
Line on Snow-and Ice-Covered Surf aces, and which is marked with
an Alpine Symbol ( ) on at least one sidewall
Test rimThe rim on which a tire is fitted fo r testing, and may be any rim listed
as appropriate for use with that tire
TreadThat portion of a tire that comes into contact with the road
Tread ribA tread section running circumferentially around a tire
Tread separationPulling away of the tread from the tire carcass
Treadwear indica-
tors (TWI)The projections within th e principal grooves designed to give a visual
indication of the degree s of wear of the tread
Wheel-holding fix-
tureThe fixture used to hold the wheel and tire assembly securely during
testing
Designated seating capacity,
Number of occupantsVehicle normal load, Num- ber of occupantsOccupant distribution in a normally loaded vehicle
2 through 422 in front
5 through 1032 in front, 1 in second seat
11 through 1552 in front, 1 in second seat, 1 in
third seat, 1 in fourth seat
16 through 2072 in front, 2 in second seat, 2 in third seat, 1 in fourth seat
Tire related termMeaning