Page 268 of 436
2685-4. Using the storage features
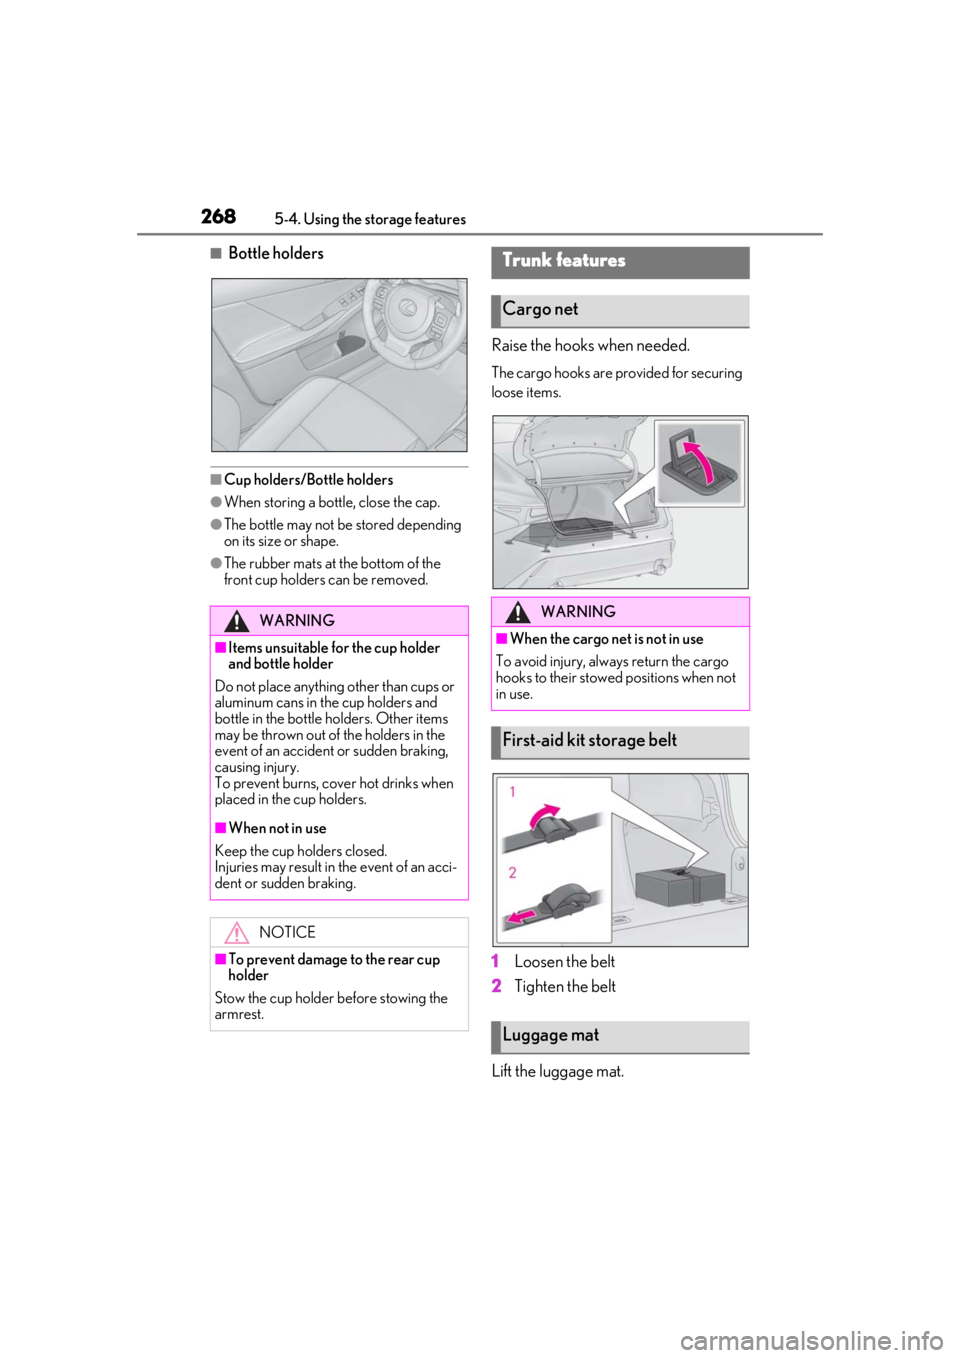
■Bottle holders
■Cup holders/Bottle holders
●When storing a bottle, close the cap.
●The bottle may not be stored depending
on its size or shape.
●The rubber mats at the bottom of the
front cup holders can be removed.
Raise the hooks when needed.
The cargo hooks are provided for securing
loose items.
1Loosen the belt
2 Tighten the belt
Lift the luggage mat.
WARNING
■Items unsuitable for the cup holder
and bottle holder
Do not place anything other than cups or
aluminum cans in the cup holders and
bottle in the bottle holders. Other items
may be thrown out of the holders in the
event of an accident or sudden braking,
causing injury.
To prevent burns, cover hot drinks when
placed in the cup holders.
■When not in use
Keep the cup holders closed.
Injuries may result in the event of an acci-
dent or sudden braking.
NOTICE
■To prevent damage to the rear cup
holder
Stow the cup holder before stowing the
armrest.
Trunk features
Cargo net
WARNING
■When the cargo net is not in use
To avoid injury, always return the cargo
hooks to their stowed positions when not
in use.
First-aid kit storage belt
Luggage mat
Page 273 of 436
2735-5. Using the other interior features
5
Interior features
*:If equipped
The HomeLink® wireless control sys-
tem in your vehicle has 3 buttons which
can be programmed to operate 3 dif-
ferent devices. Refer to the program-
ming methods on the following pages
to determine the method which is
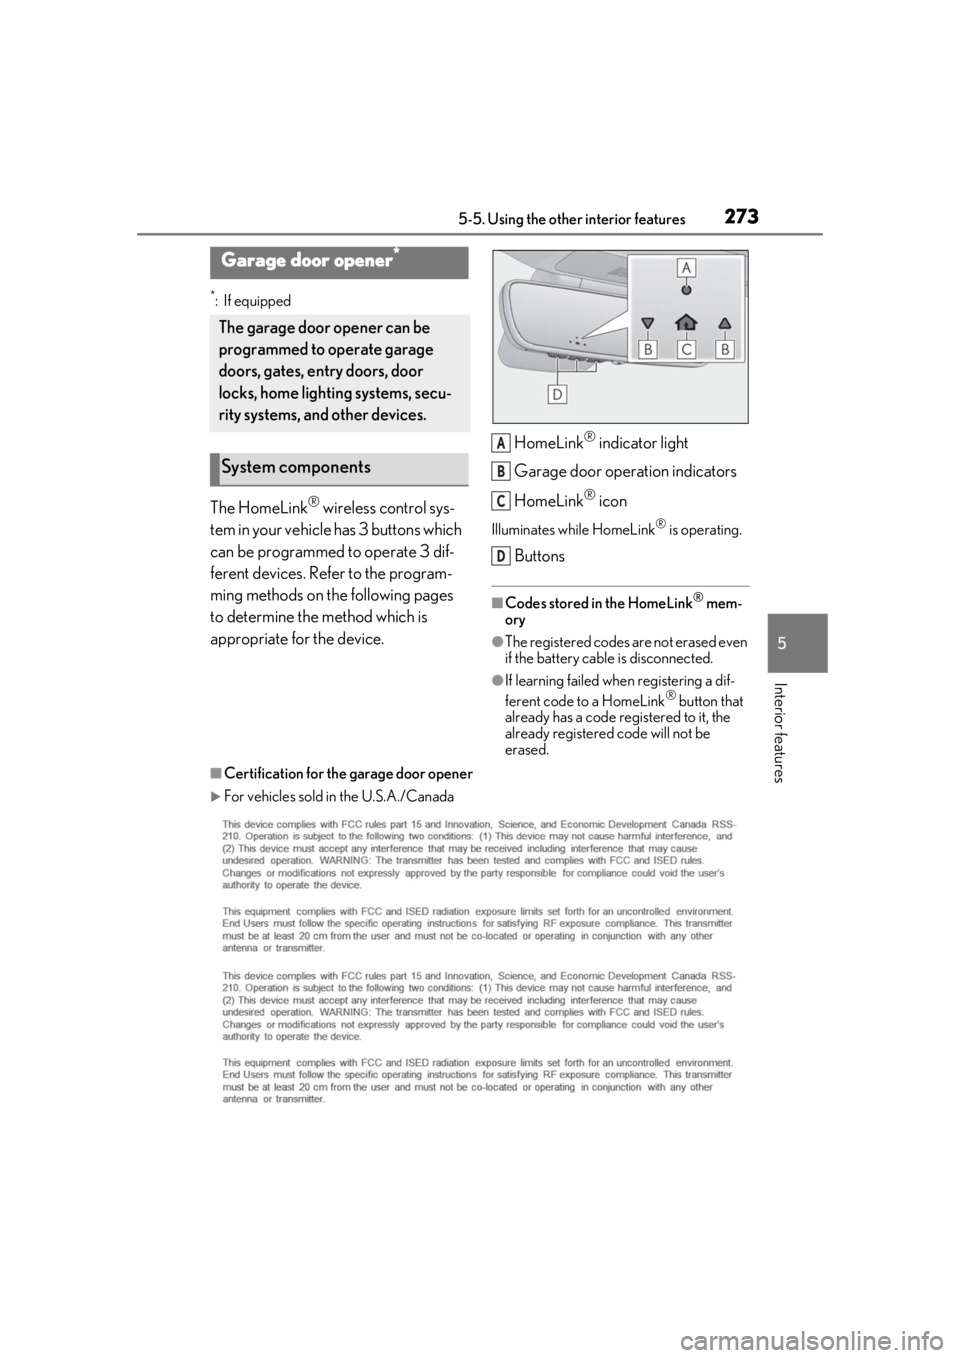
appropriate for the device. HomeLink
® indicator light
Garage door operation indicators
HomeLink
® icon
Illuminates while HomeLink® is operating.
Buttons
■Codes stored in the HomeLink® mem-
ory
●The registered codes are not erased even
if the battery cable is disconnected.
●If learning failed when registering a dif-
ferent code to a HomeLink® button that
already has a code registered to it, the
already registered code will not be
erased.
■Certification for the garage door opener
For vehicles sold in the U.S.A./Canada
Garage door opener*
The garage door opener can be
programmed to operate garage
doors, gates, entry doors, door
locks, home lighting systems, secu-
rity systems, and other devices.
System components
A
B
C
D
Page 288 of 436
2886-2. Maintenance
Radiator, con-
denser and inter-
cooler radiatorThe radiator and con-
denser should be free
from foreign objects.
( P.300)
Washer fluid
Is there sufficient
washer fluid?
( P.302)
Vehicle interior
ItemsCheck points
Accelerator
pedal
• The accelerator
pedal should move
smoothly (without
uneven pedal effort
or catching).
Automatic trans-
mission “Park”
mechanism
•When parked on a slope and the shift
lever is in P, is the
vehicle securely
stopped?
Brake pedal
• Does the brake pedal move
smoothly?
• Does the brake pedal have appro-
priate clearance
from the floor?
• Does the brake pedal have the cor-
rect amount of free
play?
ItemsCheck points
Brakes
• The vehicle should not pull to one side
when the brakes are
applied.
•The brakes should work effectively.
• The brake pedal should not feel
spongy.
• The brake pedal should not get too
close to the floor
when the brakes are
applied.
Head restraints
•Do the head restraints move
smoothly and lock
securely?
Indicators/buzz-
ers•Do the indicators and buzzers function
properly?
Lights• Do all the lights come on?
Parking brake
• Does the parking brake operate nor-
mally?
• When parked on a slope and the park-
ing brake is on, is the
vehicle securely
stopped?
Seat belts
• Do the seat belts operate smoothly?
• The seat belts should not be damaged.
ItemsCheck points
Page 325 of 436
3256-3. Do-it-yourself maintenance
6
Maintenance and care
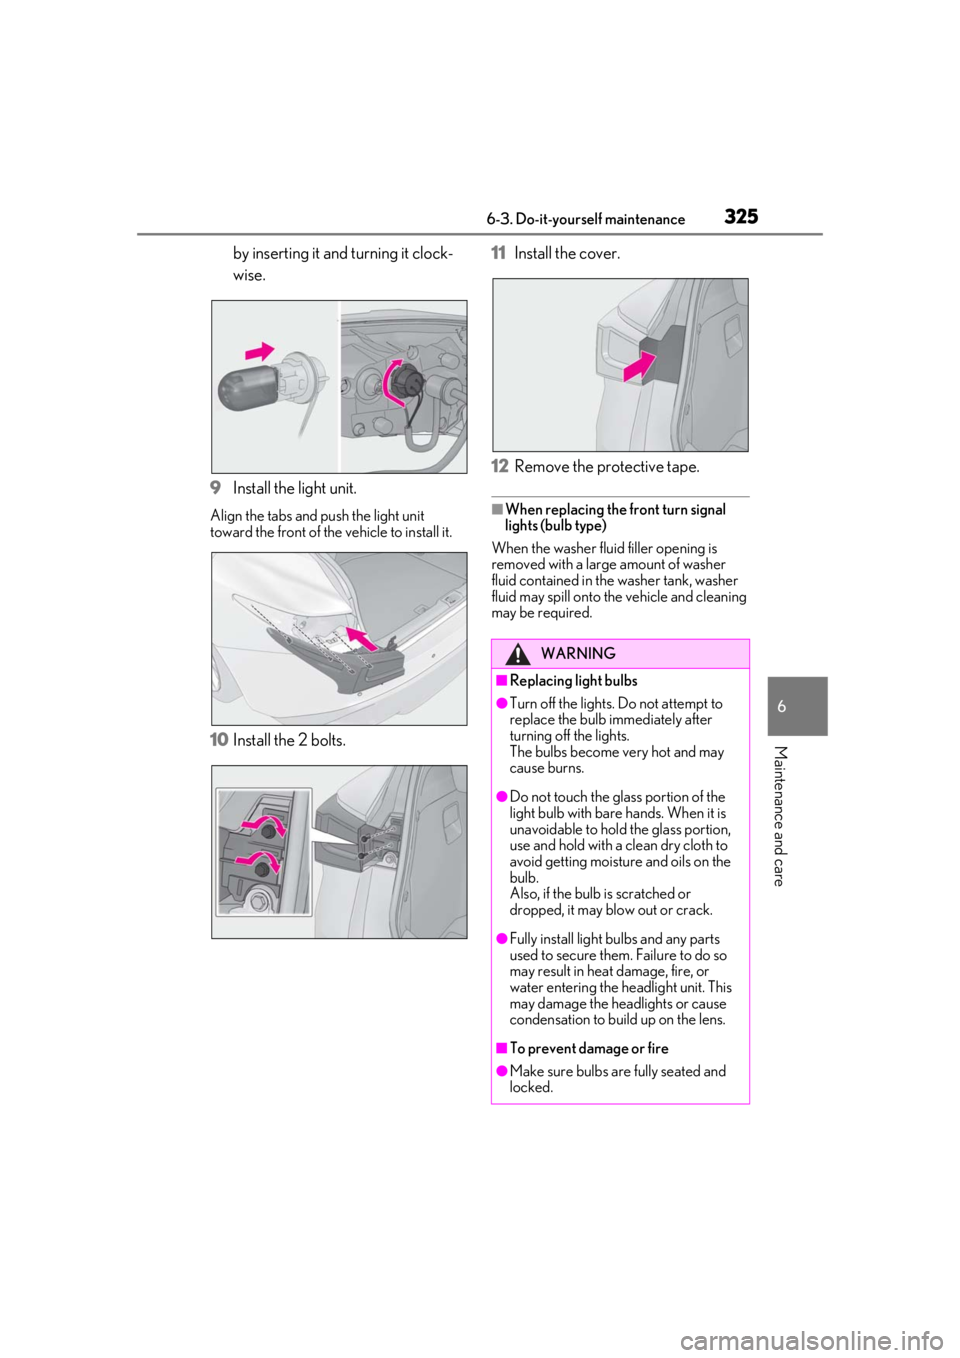
by inserting it and turning it clock-
wise.
9 Install the light unit.
Align the tabs and push the light unit
toward the front of the vehicle to install it.
10Install the 2 bolts. 11
Install the cover.
12 Remove the protective tape.
■When replacing the front turn signal
lights (bulb type)
When the washer fluid filler opening is
removed with a large amount of washer
fluid contained in the washer tank, washer
fluid may spill onto the vehicle and cleaning
may be required.
WARNING
■Replacing light bulbs
●Turn off the lights. Do not attempt to
replace the bulb immediately after
turning off the lights.
The bulbs become very hot and may
cause burns.
●Do not touch the glass portion of the
light bulb with bare hands. When it is
unavoidable to hold the glass portion,
use and hold with a clean dry cloth to
avoid getting moisture and oils on the
bulb.
Also, if the bulb is scratched or
dropped, it may blow out or crack.
●Fully install light bulbs and any parts
used to secure them. Failure to do so
may result in heat damage, fire, or
water entering the he adlight unit. This
may damage the headlights or cause
condensation to build up on the lens.
■To prevent damage or fire
●Make sure bulbs are fully seated and
locked.
Page 328 of 436
3287-1. Essential information
7-1.Essential information
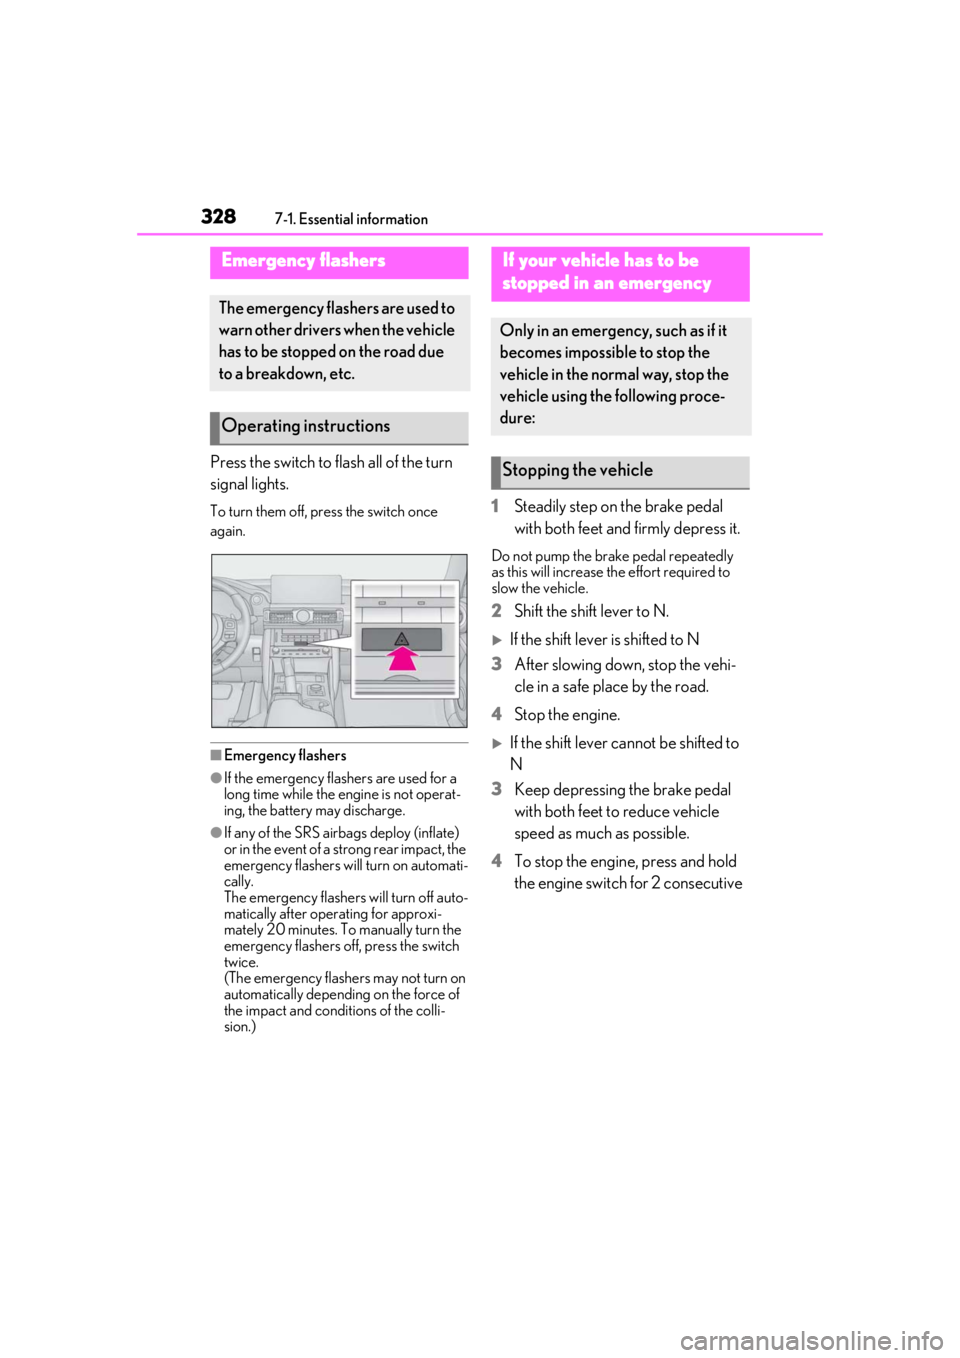
Press the switch to flash all of the turn
signal lights.
To turn them off, press the switch once
again.
■Emergency flashers
●If the emergency flashers are used for a
long time while the engine is not operat-
ing, the battery may discharge.
●If any of the SRS airbags deploy (inflate)
or in the event of a strong rear impact, the
emergency flashers will turn on automati-
cally.
The emergency flashers will turn off auto-
matically after operating for approxi-
mately 20 minutes. To manually turn the
emergency flashers off, press the switch
twice.
(The emergency flashers may not turn on
automatically depending on the force of
the impact and conditions of the colli-
sion.)
1 Steadily step on the brake pedal
with both feet and firmly depress it.
Do not pump the brake pedal repeatedly
as this will increase the effort required to
slow the vehicle.
2Shift the shift lever to N.
If the shift lever is shifted to N
3 After slowing down, stop the vehi-
cle in a safe place by the road.
4 Stop the engine.
If the shift lever cannot be shifted to
N
3 Keep depressing the brake pedal
with both feet to reduce vehicle
speed as much as possible.
4 To stop the engine, press and hold
the engine switch for 2 consecutive
Emergency flashers
The emergency flashers are used to
warn other drivers when the vehicle
has to be stopped on the road due
to a breakdown, etc.
Operating instructions
If your vehicle has to be
stopped in an emergency
Only in an emergency, such as if it
becomes impossible to stop the
vehicle in the normal way, stop the
vehicle using the following proce-
dure:
Stopping the vehicle
Page 332 of 436
3327-2. Steps to take in an emergency
The following may indicate a problem
with the drivetrain. Contact your Lexus
dealer or commercial towing service
before towing.
The engine is running but the vehi-
cle does not move.
The vehicle makes an abnormal
sound.
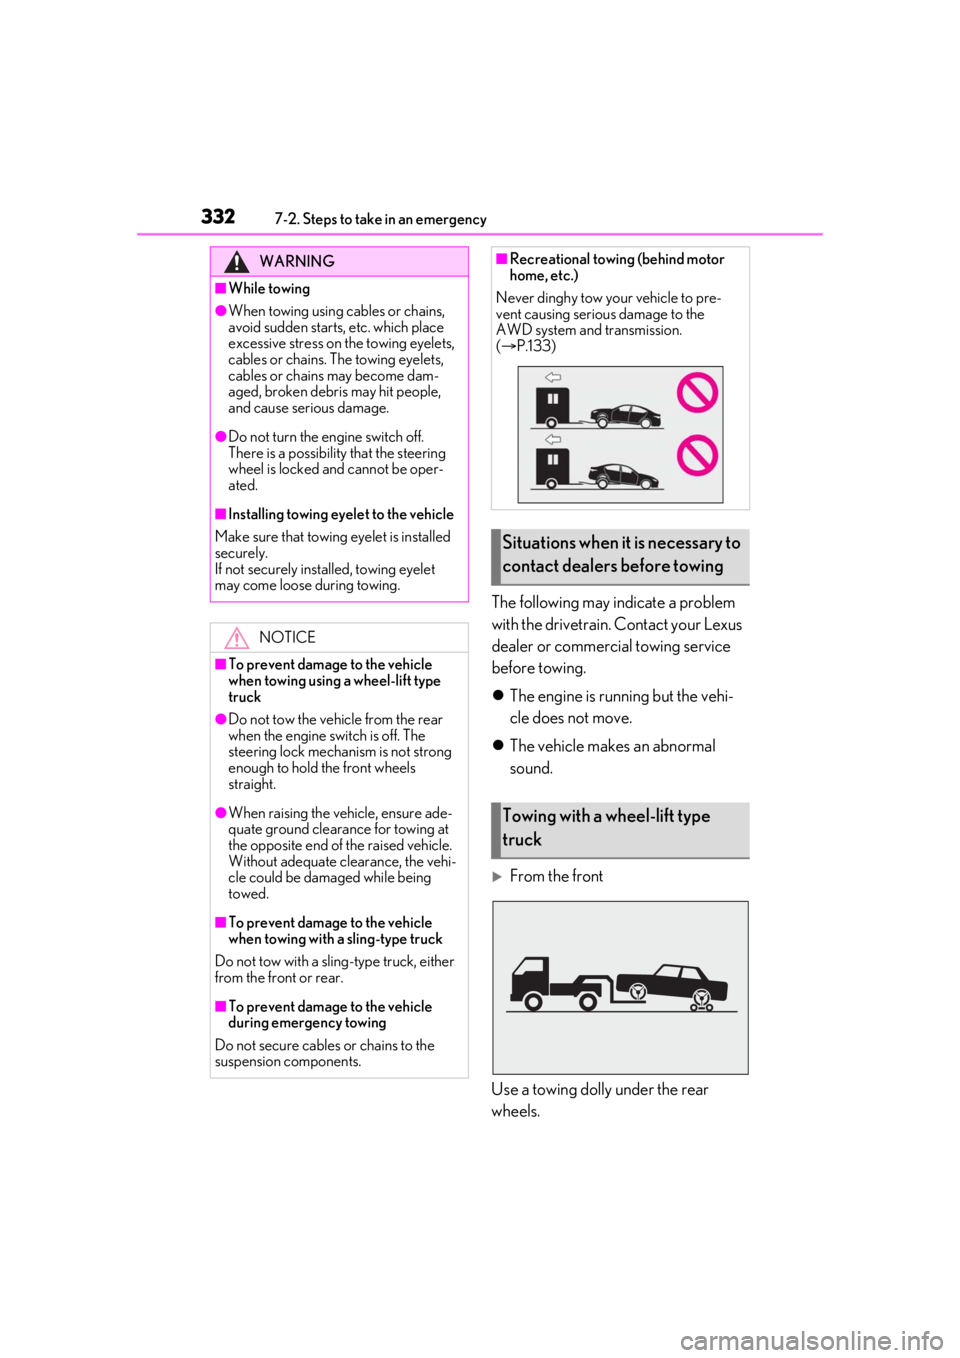
From the front
Use a towing dolly under the rear
wheels.
WARNING
■While towing
●When towing using cables or chains,
avoid sudden starts, etc. which place
excessive stress on the towing eyelets,
cables or chains. The towing eyelets,
cables or chains may become dam-
aged, broken debris may hit people,
and cause serious damage.
●Do not turn the engine switch off.
There is a possibility that the steering
wheel is locked and cannot be oper-
ated.
■Installing towing eyelet to the vehicle
Make sure that towing eyelet is installed
securely.
If not securely installed, towing eyelet
may come loose during towing.
NOTICE
■To prevent damage to the vehicle
when towing using a wheel-lift type
truck
●Do not tow the vehicle from the rear
when the engine switch is off. The
steering lock mechanism is not strong
enough to hold the front wheels
straight.
●When raising the vehicle, ensure ade-
quate ground clearance for towing at
the opposite end of the raised vehicle.
Without adequate clearance, the vehi-
cle could be damaged while being
towed.
■To prevent damage to the vehicle
when towing with a sling-type truck
Do not tow with a sling-type truck, either
from the front or rear.
■To prevent damage to the vehicle
during emergency towing
Do not secure cables or chains to the
suspension components.
■Recreational towing (behind motor
home, etc.)
Never dinghy tow your vehicle to pre-
vent causing serious damage to the
AWD system and transmission.
( P.133)
Situations when it is necessary to
contact dealers before towing
Towing with a wheel-lift type
truck
Page 333 of 436
3337-2. Steps to take in an emergency
7
When trouble arises
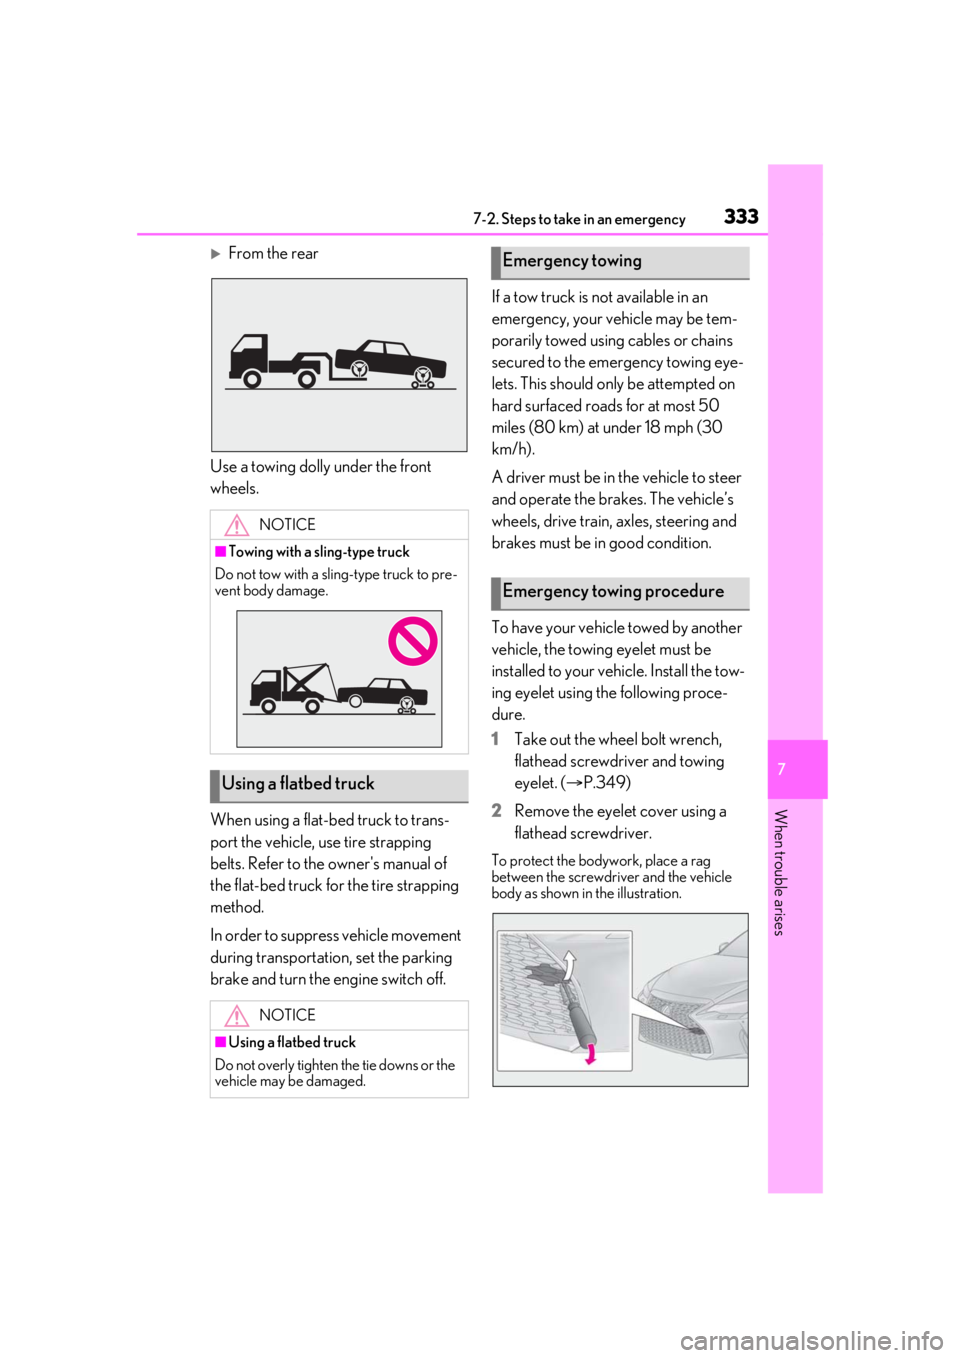
From the rear
Use a towing dolly under the front
wheels.
When using a flat-bed truck to trans-
port the vehicle, use tire strapping
belts. Refer to the owner's manual of
the flat-bed truck for the tire strapping
method.
In order to suppress vehicle movement
during transportati on, set the parking
brake and turn the engine switch off. If a tow truck is not available in an
emergency, your vehicle may be tem-
porarily towed using cables or chains
secured to the emergency towing eye-
lets. This should only be attempted on
hard surfaced roads for at most 50
miles (80 km) at under 18 mph (30
km/h).
A driver must be in the vehicle to steer
and operate the brakes. The vehicle’s
wheels, drive train, axles, steering and
brakes must be in good condition.
To have your vehicle towed by another
vehicle, the towing eyelet must be
installed to your vehicle. Install the tow-
ing eyelet using the following proce-
dure.
1
Take out the wheel bolt wrench,
flathead screwdriver and towing
eyelet. ( P.349)
2 Remove the eyelet cover using a
flathead screwdriver.
To protect the bodywork, place a rag
between the screwdriver and the vehicle
body as shown in the illustration.
NOTICE
■Towing with a sling-type truck
Do not tow with a sling-type truck to pre-
vent body damage.
Using a flatbed truck
NOTICE
■Using a flatbed truck
Do not overly tighten the tie downs or the
vehicle may be damaged.
Emergency towing
Emergency towing procedure
Page 334 of 436
3347-2. Steps to take in an emergency
3Insert the towing eyelet into the
hole and tighten partially by hand.
4 Tighten down the towing eyelet
securely using a wheel bolt wrench
or hard metal bar.
5 Securely attach cables or chains to
the towing eyelet.
Take care not to damage the vehicle body.
6Enter the vehicle being towed and
start the engine.
If the engine does not start, turn the engine
switch to IGNITION ON mode.
7Shift the shift lever to N and release
the parking brake.
Turn automatic mode off. ( P.144)
When the shift lever cannot be shifted:
P.139
■While towing
If the engine is not running, the power assist
for the brakes and steering will not function,
making steering and braking more difficult.
■Wheel bolt wrench
Wheel bolt wrench is in stalled in the trunk.
( P.349)