2021 Lexus IS350 belt
[x] Cancel search: beltPage 200 of 436

2004-5. Using the driving support systems
●VSC is activated.
●TRAC is activated for a period of time.
●When the VSC or TRAC system is
turned off.
●The sensor cannot detect correctly
because it is covered in some way.
●When the brake control or output restric-
tion control of a driving support system
operates.
(For example: Pre-Collision System,
Drive-Start Control)
●The parking brake is operated.
●The vehicle is stopped by system control
on a steep incline.
●The following are detected when the
vehicle has been stopped by system con-
trol:
• The driver is not wearing a seat belt.
• The driver’s door is opened.
• The vehicle has been stopped for about 3 minutes.
If vehicle-to-vehicle distance control mode
is automatically canceled for any reasons
other than the above, there may be a mal-
function in the system . Contact your Lexus
dealer.
■Automatic cancelation of constant
speed control mode
Constant speed control mode is automati-
cally canceled in the following situations:
●Actual vehicle speed is more than
approximately 10 mph (16 km/h) below
the set vehicle speed.
●Actual vehicle speed falls below approxi-
mately 20 mph (30 km/h).
●VSC is activated.
●TRAC is activated for a period of time.
●When the VSC or TRAC system is
turned off.
●When the brake control or output restric-
tion control of a driving support system
operates.
(For example: Pre-Collision System,
Drive-Start Control)
●The parking brake is operated.
If constant speed cont rol mode is automati-
cally canceled for any reasons other than the above, there may be a malfunction in the
system. Contact your Lexus dealer.
■Situations in which the curve speed
reduction function may not operate
In situations such as the following, the curve
speed reduction function may not operate:
●When the vehicle is being driven around
a gentle curve
●When the accelerato r pedal is being
depressed
●When the vehicle is being driven around
an extremely short curve
■Brake operation
A brake operation sound may be heard and
the brake pedal response may change, but
these are not malfunctions.
■Warning messages and buzzers for
dynamic radar cruise control with
full-speed range
Warning messages and buzzers are used to
indicate a system malfunction or to inform
the driver of the need for caution while driv-
ing. If a warning messa ge is shown on the
multi-information displa y, read the message
and follow the instructions. ( P.168, 346)
■When the sensor may not be correctly
detecting the vehicle ahead
In the case of the fo llowing and depending
on the conditions, operate the brake pedal
when deceleration of the system is insuffi-
cient or operate the accelerator pedal
when acceleration is required.
As the sensor may not be able to correctly
detect these types of vehicles, the approach
warning ( P.197) may not be activated.
●Vehicles that cut in suddenly
●Vehicles traveling at low speeds
●Vehicles that are not moving in the same
lane
●Vehicles with small rear ends (trailers
with no load on board, etc.)
Page 268 of 436
2685-4. Using the storage features
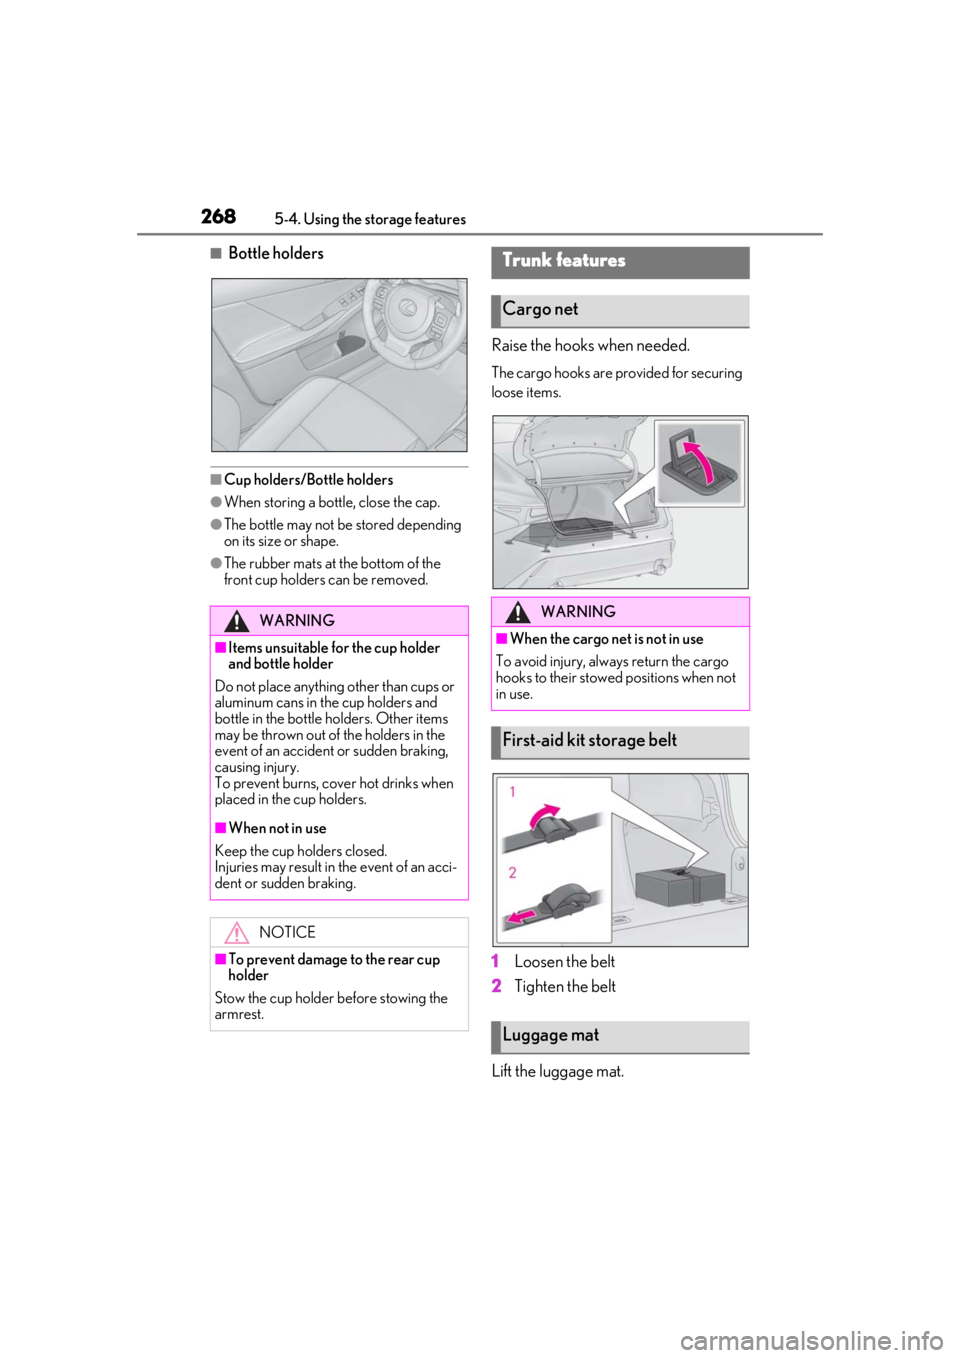
■Bottle holders
■Cup holders/Bottle holders
●When storing a bottle, close the cap.
●The bottle may not be stored depending
on its size or shape.
●The rubber mats at the bottom of the
front cup holders can be removed.
Raise the hooks when needed.
The cargo hooks are provided for securing
loose items.
1Loosen the belt
2 Tighten the belt
Lift the luggage mat.
WARNING
■Items unsuitable for the cup holder
and bottle holder
Do not place anything other than cups or
aluminum cans in the cup holders and
bottle in the bottle holders. Other items
may be thrown out of the holders in the
event of an accident or sudden braking,
causing injury.
To prevent burns, cover hot drinks when
placed in the cup holders.
■When not in use
Keep the cup holders closed.
Injuries may result in the event of an acci-
dent or sudden braking.
NOTICE
■To prevent damage to the rear cup
holder
Stow the cup holder before stowing the
armrest.
Trunk features
Cargo net
WARNING
■When the cargo net is not in use
To avoid injury, always return the cargo
hooks to their stowed positions when not
in use.
First-aid kit storage belt
Luggage mat
Page 283 of 436
2836-1. Maintenance and care
6
Maintenance and care
Remove dirt and dust using a vac-
uum cleaner. Wipe dirty surfaces
with a cloth dampened with luke-
warm water.
If dirt cannot be removed, wipe it off
with a soft cloth dampened with
neutral detergent diluted to approx-
imately 1%.
Wring out any excess water from
the cloth and thoroughly wipe off
remaining traces of detergent and
water.
■Shampooing the carpets
There are several commercial foaming-type
cleaners available. Use a sponge or brush
to apply the foam. Rub in overlapping cir-
cles. Do not use water. Wipe dirty surfaces
and let them dry. Excellent results are
obtained by keeping the carpet as dry as
possible.
■Handling the seat belts
Clean with mild soap and lukewarm water
using a cloth or sponge. Also check the
belts periodically for excessive wear, fraying
or cuts.
■When cleaning the carpeted portions of
the glove box, console box, etc.
If a strong adhesive ta pe is used, there is a
possibility that the su rface of the carpet
could be damaged.
NOTICE
• Brake parts
●Keep the cleaning nozzle at least 11.9
in. (30 cm) away from the vehicle
body. Otherwise resin section, such as
moldings and bumpers, may be
deformed and damaged.
Also, do not continuously hold the nozzle
in the same place.
●Do not spray the lower part of the
windshield continuously.
If water enters the air conditioning sys-
tem intake located near the lower part of
the windshield, the ai r conditioning sys-
tem may not operate correctly.
●Do not wash the underside of the vehi-
cle using a high pressure car washer.
Cleaning and protecting the
vehicle interior
The following procedures will help
protect your vehicle’s interior and
keep it in top condition:
Protecting the vehicle interior
Page 288 of 436
2886-2. Maintenance
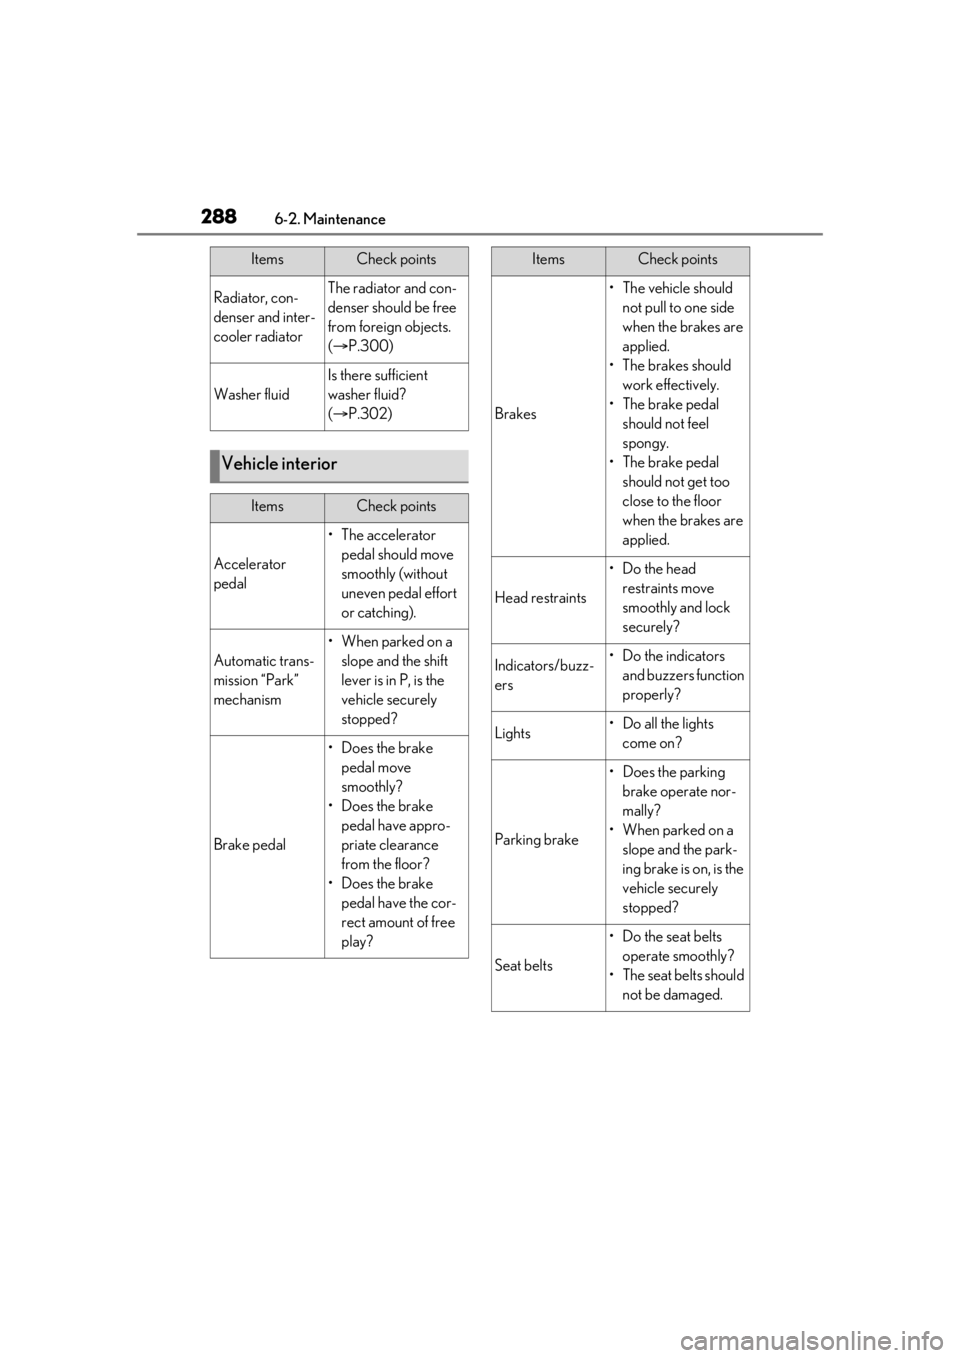
Radiator, con-
denser and inter-
cooler radiatorThe radiator and con-
denser should be free
from foreign objects.
( P.300)
Washer fluid
Is there sufficient
washer fluid?
( P.302)
Vehicle interior
ItemsCheck points
Accelerator
pedal
• The accelerator
pedal should move
smoothly (without
uneven pedal effort
or catching).
Automatic trans-
mission “Park”
mechanism
•When parked on a slope and the shift
lever is in P, is the
vehicle securely
stopped?
Brake pedal
• Does the brake pedal move
smoothly?
• Does the brake pedal have appro-
priate clearance
from the floor?
• Does the brake pedal have the cor-
rect amount of free
play?
ItemsCheck points
Brakes
• The vehicle should not pull to one side
when the brakes are
applied.
•The brakes should work effectively.
• The brake pedal should not feel
spongy.
• The brake pedal should not get too
close to the floor
when the brakes are
applied.
Head restraints
•Do the head restraints move
smoothly and lock
securely?
Indicators/buzz-
ers•Do the indicators and buzzers function
properly?
Lights• Do all the lights come on?
Parking brake
• Does the parking brake operate nor-
mally?
• When parked on a slope and the park-
ing brake is on, is the
vehicle securely
stopped?
Seat belts
• Do the seat belts operate smoothly?
• The seat belts should not be damaged.
ItemsCheck points
Page 292 of 436
2926-3. Do-it-yourself maintenance
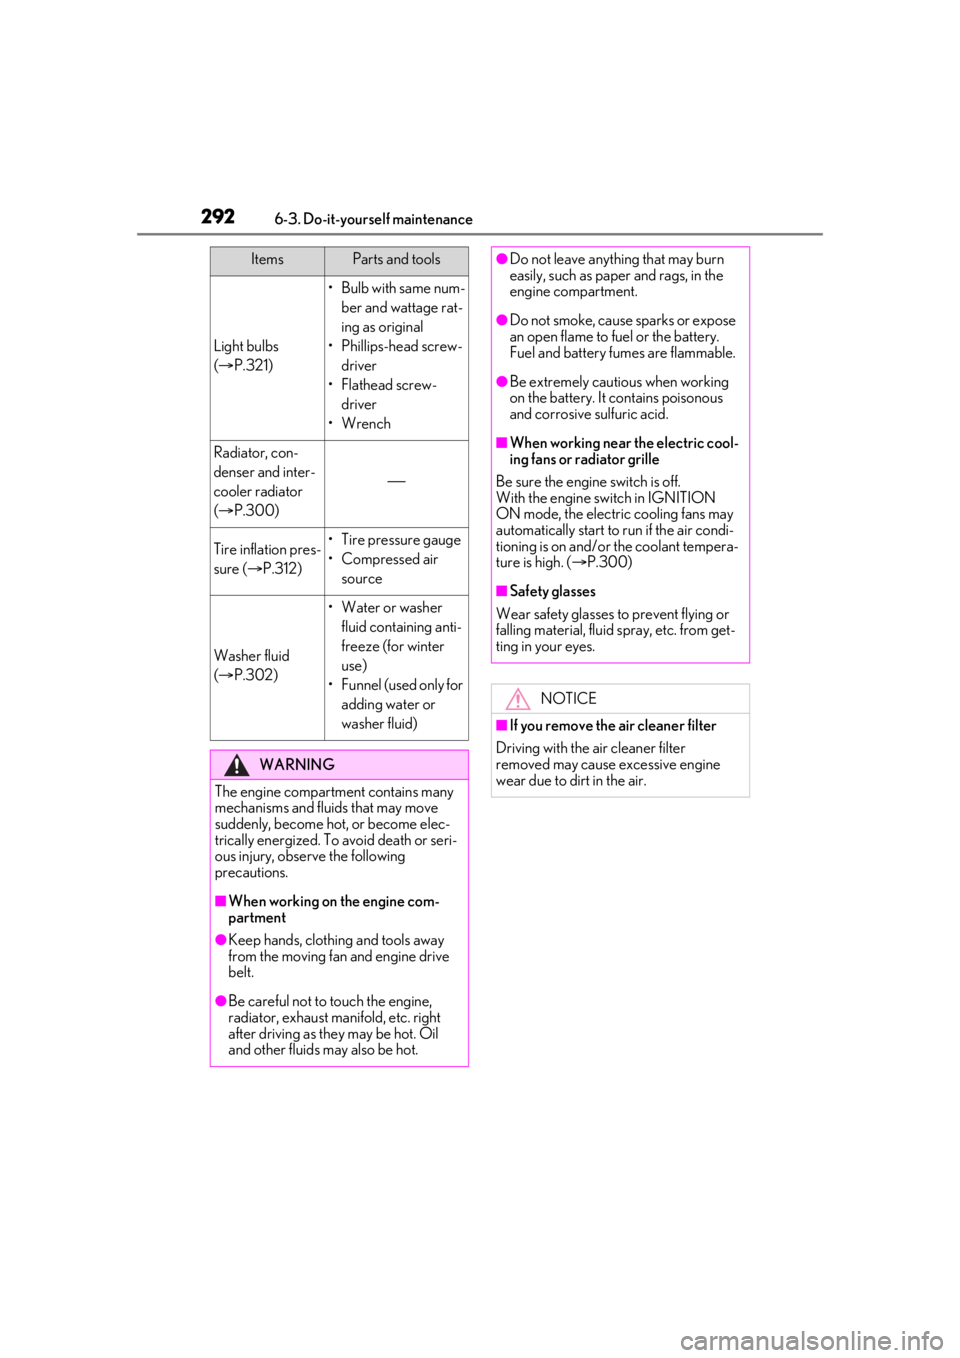
Light bulbs
( P.321)
•Bulb with same num-
ber and wattage rat-
ing as original
• Phillips-head screw- driver
•Flathead screw- driver
•Wrench
Radiator, con-
denser and inter-
cooler radiator
( P.300)
Tire inflation pres-
sure ( P.312)• Tire pressure gauge
•Compressed air
source
Washer fluid
( P.302)
• Water or washer
fluid containing anti-
freeze (for winter
use)
• Funnel (used only for adding water or
washer fluid)
WARNING
The engine compartment contains many
mechanisms and fluids that may move
suddenly, become hot, or become elec-
trically energized. To avoid death or seri-
ous injury, observe the following
precautions.
■When working on the engine com-
partment
●Keep hands, clothi ng and tools away
from the moving fan and engine drive
belt.
●Be careful not to touch the engine,
radiator, exhaust manifold, etc. right
after driving as they may be hot. Oil
and other fluids may also be hot.
ItemsParts and tools●Do not leave anything that may burn
easily, such as paper and rags, in the
engine compartment.
●Do not smoke, cause sparks or expose
an open flame to fuel or the battery.
Fuel and battery fumes are flammable.
●Be extremely cautious when working
on the battery. It contains poisonous
and corrosive sulfuric acid.
■When working near the electric cool-
ing fans or radiator grille
Be sure the engine switch is off.
With the engine switch in IGNITION
ON mode, the electric cooling fans may
automatically start to run if the air condi-
tioning is on and/or the coolant tempera-
ture is high. ( P.300)
■Safety glasses
Wear safety glasses to prevent flying or
falling material, fluid spray, etc. from get-
ting in your eyes.
NOTICE
■If you remove the air cleaner filter
Driving with the air cleaner filter
removed may cause excessive engine
wear due to dirt in the air.
Page 304 of 436

3046-3. Do-it-yourself maintenance
roads, the use of snow tires is recom-
mended. When installing snow tires, be
sure to replace all four tires.
●All season tires
All season tires are designed to provide
better traction in snow and to be adequate
for driving in most winter conditions as well
as for use year-round. All season tires,
however, do not have adequate traction
performance compared with snow tires in
heavy or loose snow. Also, all season tires
fall short in acceleration and handling per-
formance compared with summer tires in
highway driving.
●Snow tires
For driving on snow-covered roads or icy
roads, we recommend using snow tires. If
you need snow tires, select tires of the
same size, construction and load capacity
as the originally insta lled tires. Since your
vehicle has radial tires as original equip-
ment, make sure your snow tires also have
radial construction. Do not install studded
tires without first checking local regula-
tions for possible restrictions. Snow tires
should be installed on all wheels.
( P.243)
■Low profile tires
Generally, low profile tires will wear more
rapidly and tire grip performance will be
reduced on snowy and/or icy roads when
compared to standard ti res. Be sure to use
snow tires or tire chains* on snowy and/or
icy roads and drive carefully at a speed
appropriate for road and weather condi-
tions.
*: Vehicles with front and rear tires of dif-
fering sizes: Tire chains cannot be
mounted. Snow tires should be used
instead.
■If the tread on snow tires wears down
below 0.16 in. (4 mm)
The effectiveness of the tires as snow tires is
lost.
WARNING
■When inspecting or replacing tires
Observe the following precautions to
prevent accidents.
Failure to do so may cause damage to
parts of the drive train as well as danger-
ous handling characteristics, which may
lead to an accident resulting in death or
serious injury.
●Do not mix tires of different makes,
models or tread patterns.
Also, do not mix tires of remarkably
different treadwear.
●Do not use tire sizes other than those
recommended by Lexus.
●Do not mix differently constructed
tires (radial, bias-belted or bias-ply
tires).
●Do not mix summer, all season and
snow tires.
●Do not use tires that have been used
on another vehicle.
Do not use tires if you do not know
how they were used previously.
●Do not tow if your vehicle has a com-
pact spare tire installed.
NOTICE
■Driving on rough roads
Take particular care when driving on
roads with loose surfaces or potholes.
These conditions may cause losses in tire
inflation pressure, reducing the cushion-
ing ability of the tires. In addition, driving
on rough roads may cause damage to
the tires themselves, as well as the vehi-
cle’s wheels and body.
■Low profile tires
Low profile tires may cause greater dam-
age than usual to the tire wheel when
sustaining impact from the road surface.
Therefore, pay attention to the following:
Page 329 of 436
3297-1. Essential information
7
When trouble arises
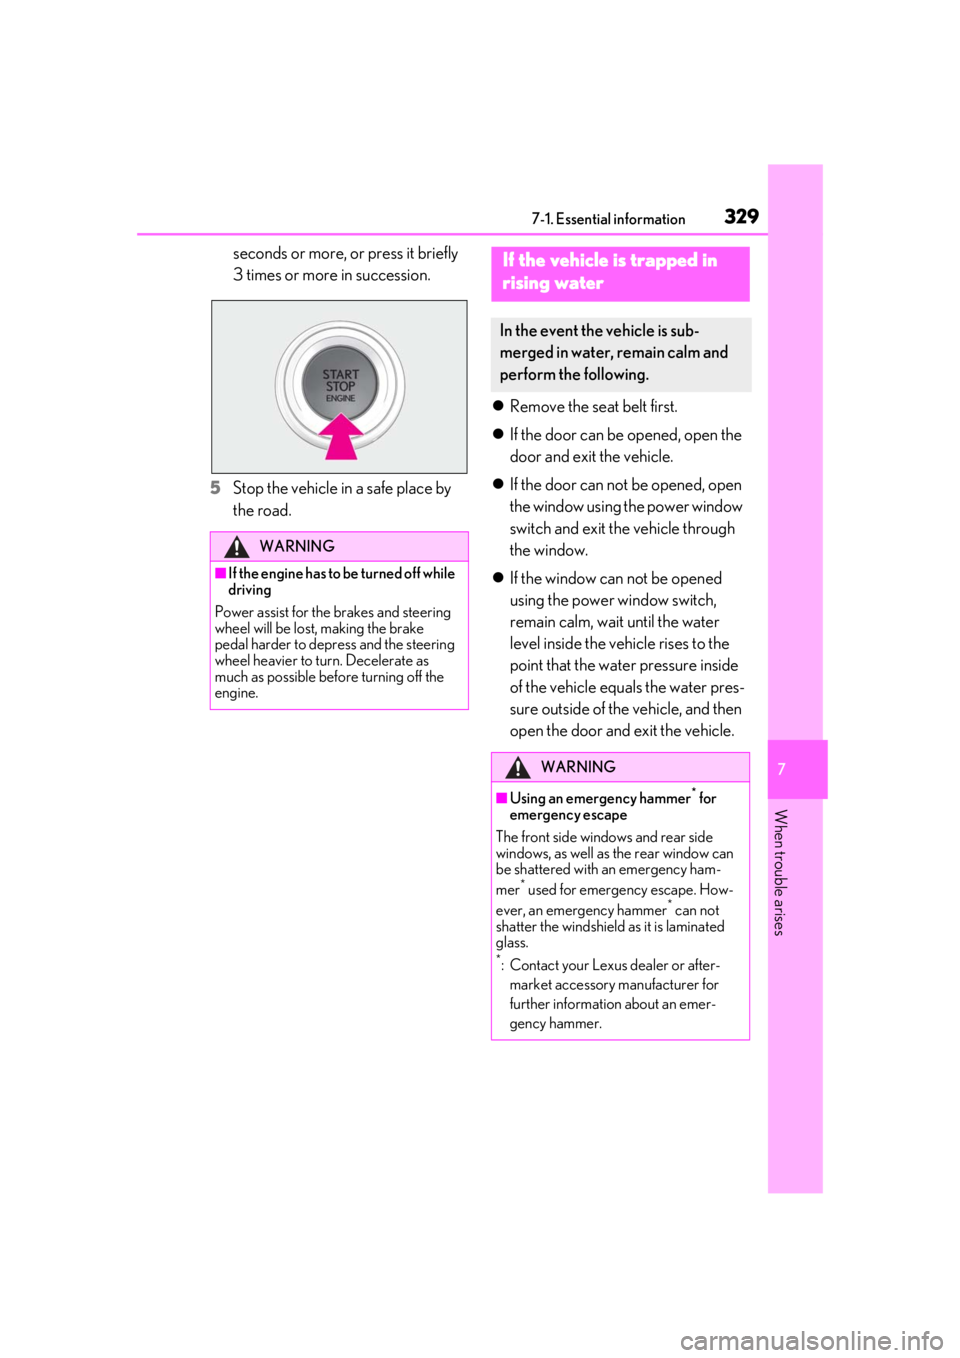
seconds or more, or press it briefly
3 times or more in succession.
5 Stop the vehicle in a safe place by
the road.
Remove the seat belt first.
If the door can be opened, open the
door and exit the vehicle.
If the door can not be opened, open
the window using the power window
switch and exit the vehicle through
the window.
If the window can not be opened
using the power window switch,
remain calm, wait until the water
level inside the vehicle rises to the
point that the water pressure inside
of the vehicle equals the water pres-
sure outside of the vehicle, and then
open the door and exit the vehicle.
WARNING
■If the engine has to be turned off while
driving
Power assist for the brakes and steering
wheel will be lost, making the brake
pedal harder to depress and the steering
wheel heavier to turn. Decelerate as
much as possible before turning off the
engine.
If the vehicle is trapped in
rising water
In the event the vehicle is sub-
merged in water, remain calm and
perform the following.
WARNING
■Using an emergency hammer* for
emergency escape
The front side wind ows and rear side
windows, as well as the rear window can
be shattered with an emergency ham-
mer
* used for emergency escape. How-
ever, an emergency hammer* can not
shatter the windshield as it is laminated
glass.
*: Contact your Lexus dealer or after-
market accessory manufacturer for
further information about an emer-
gency hammer.
Page 333 of 436
3337-2. Steps to take in an emergency
7
When trouble arises
From the rear
Use a towing dolly under the front
wheels.
When using a flat-bed truck to trans-
port the vehicle, use tire strapping
belts. Refer to the owner's manual of
the flat-bed truck for the tire strapping
method.
In order to suppress vehicle movement
during transportati on, set the parking
brake and turn the engine switch off. If a tow truck is not available in an
emergency, your vehicle may be tem-
porarily towed using cables or chains
secured to the emergency towing eye-
lets. This should only be attempted on
hard surfaced roads for at most 50
miles (80 km) at under 18 mph (30
km/h).
A driver must be in the vehicle to steer
and operate the brakes. The vehicle’s
wheels, drive train, axles, steering and
brakes must be in good condition.
To have your vehicle towed by another
vehicle, the towing eyelet must be
installed to your vehicle. Install the tow-
ing eyelet using the following proce-
dure.
1
Take out the wheel bolt wrench,
flathead screwdriver and towing
eyelet. ( P.349)
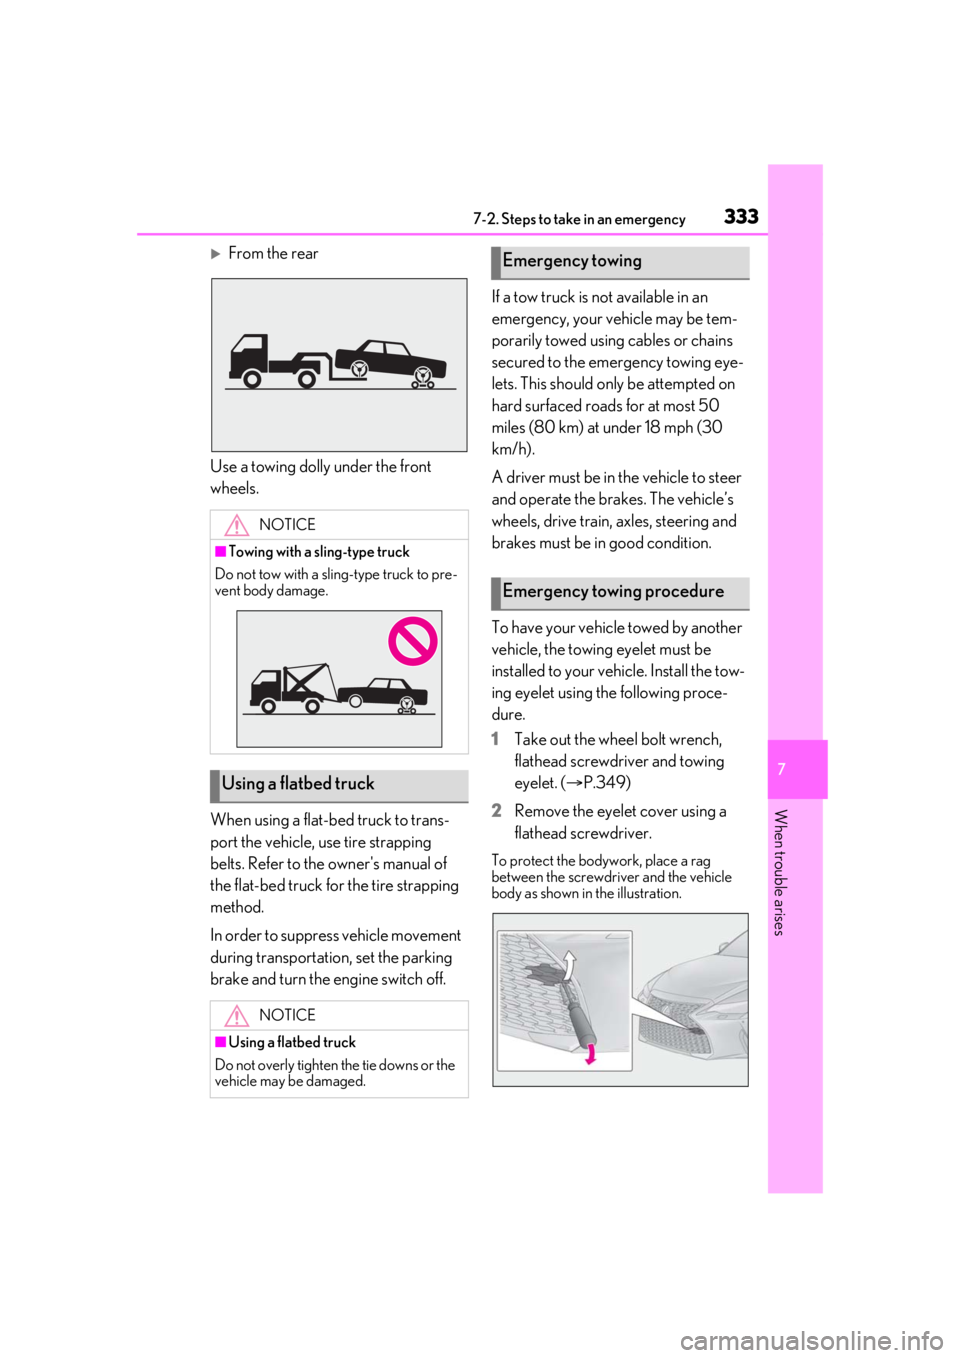
2 Remove the eyelet cover using a
flathead screwdriver.
To protect the bodywork, place a rag
between the screwdriver and the vehicle
body as shown in the illustration.
NOTICE
■Towing with a sling-type truck
Do not tow with a sling-type truck to pre-
vent body damage.
Using a flatbed truck
NOTICE
■Using a flatbed truck
Do not overly tighten the tie downs or the
vehicle may be damaged.
Emergency towing
Emergency towing procedure