Page 71 of 300
3-9
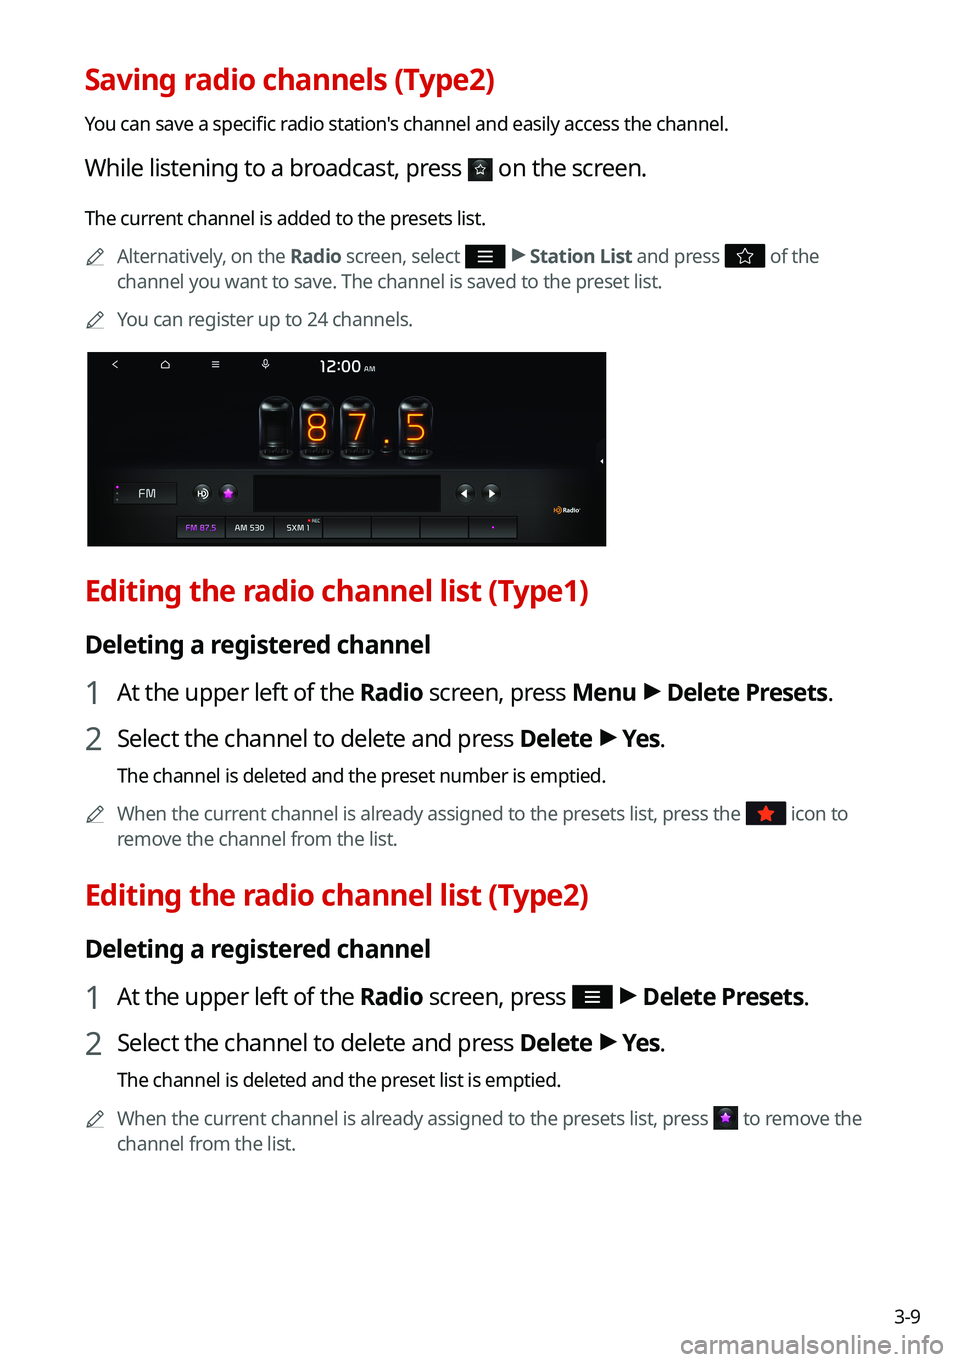
Saving radio channels (Type2)
You can save a specific radio station's channel and easily access the channel.
While listening to a broadcast, press on the screen.
The current channel is added to the presets list.0000
A
Alternatively, on the Radio screen, select
>
Station List and press of the
channel you want to save. The channel is saved to the preset list.
0000
A
You can register up to 24 channels.
Editing the radio channel list (Type1)
Deleting a registered channel
1 At the upper left of the Radio screen, press Menu >
Delete Presets.
2 Select the channel to delete and press Delete >
Yes .
The channel is deleted and the preset number is emptied.
0000
A
When the current channel is already assigned to the presets list, press the
icon to
remove the channel from the list.
Editing the radio channel list (Type2)
Deleting a registered channel
1 At the upper left of the Radio screen, press >
Delete Presets.
2 Select the channel to delete and press Delete >
Yes .
The channel is deleted and the preset list is emptied.
0000
A
When the current channel is already assigned to the presets list, press
to remove the
channel from the list.
Page 75 of 300
3-13
k k Can turn on or off the split screen mode.
l l Displays the options list.
\225Channel List: Can see the list of available SiriusXM channels.
\225What is on My Presets?: Displays the broadcast schedule.
\225Featured Favorites: Can listen to groups of channels provided by SiriusXM.
\225Delete Presets: Can delete a registered channel from the presets list.
\225Sound Settings: Displays the system sound settings screen.
\225User's Manual on Web (QR Code): Displays the QR code that provides access to the
online user manual for the system.
\225Split Screen: Can turn on or off the split screen mode.
0000
A
The
icon appears next to the first 10 SiriusXM channels saved. Once preset
channels have been saved, the broadcasts from them are buffered automatically for your
convenience each time you start the vehicle.
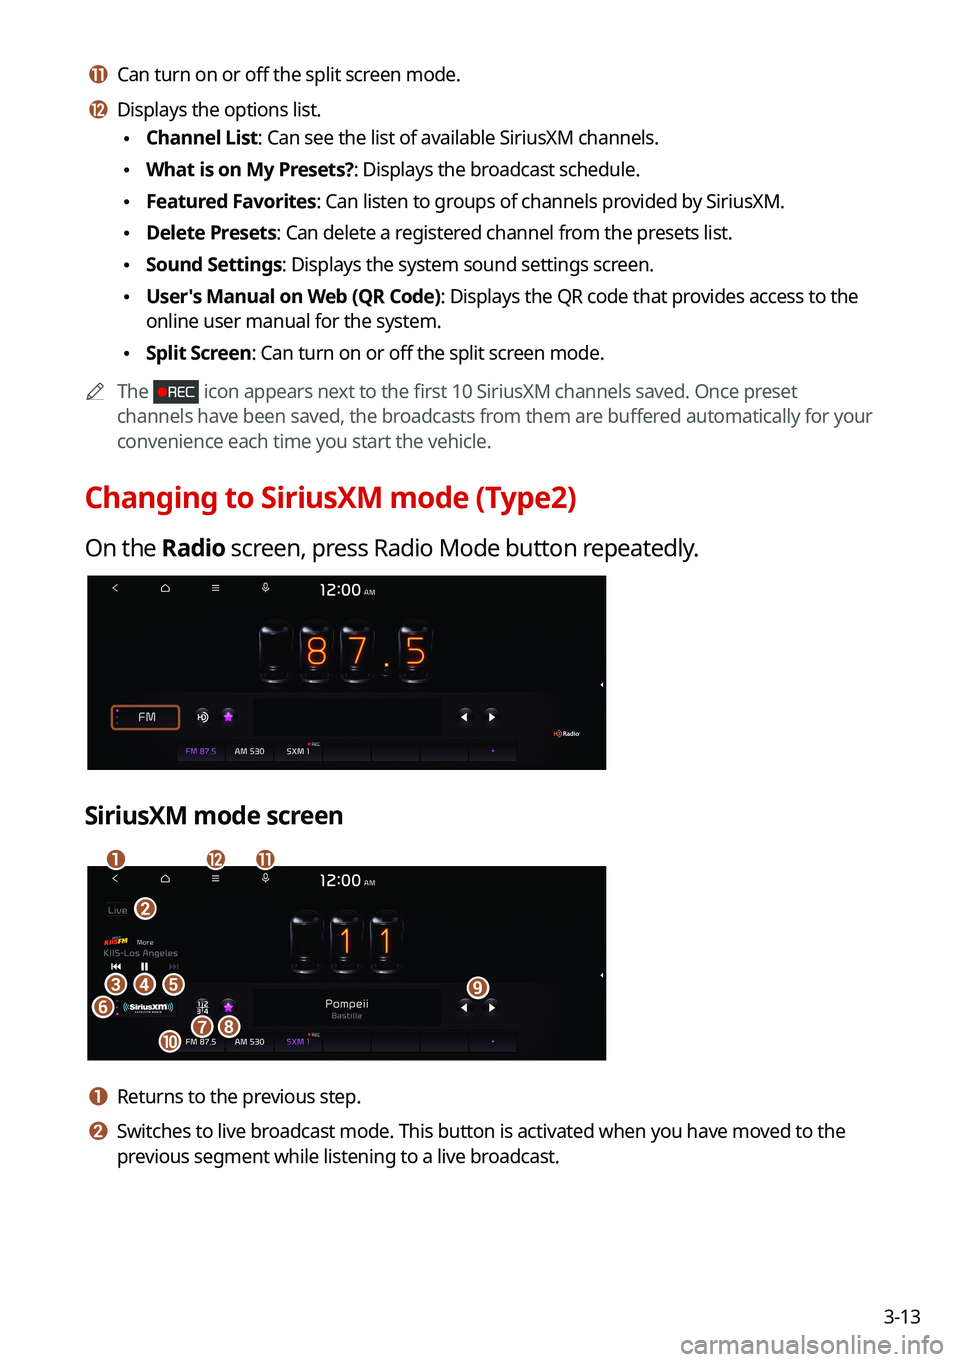
Changing to SiriusXM mode (Type2)
On the Radio screen, press Radio Mode button repeatedly.
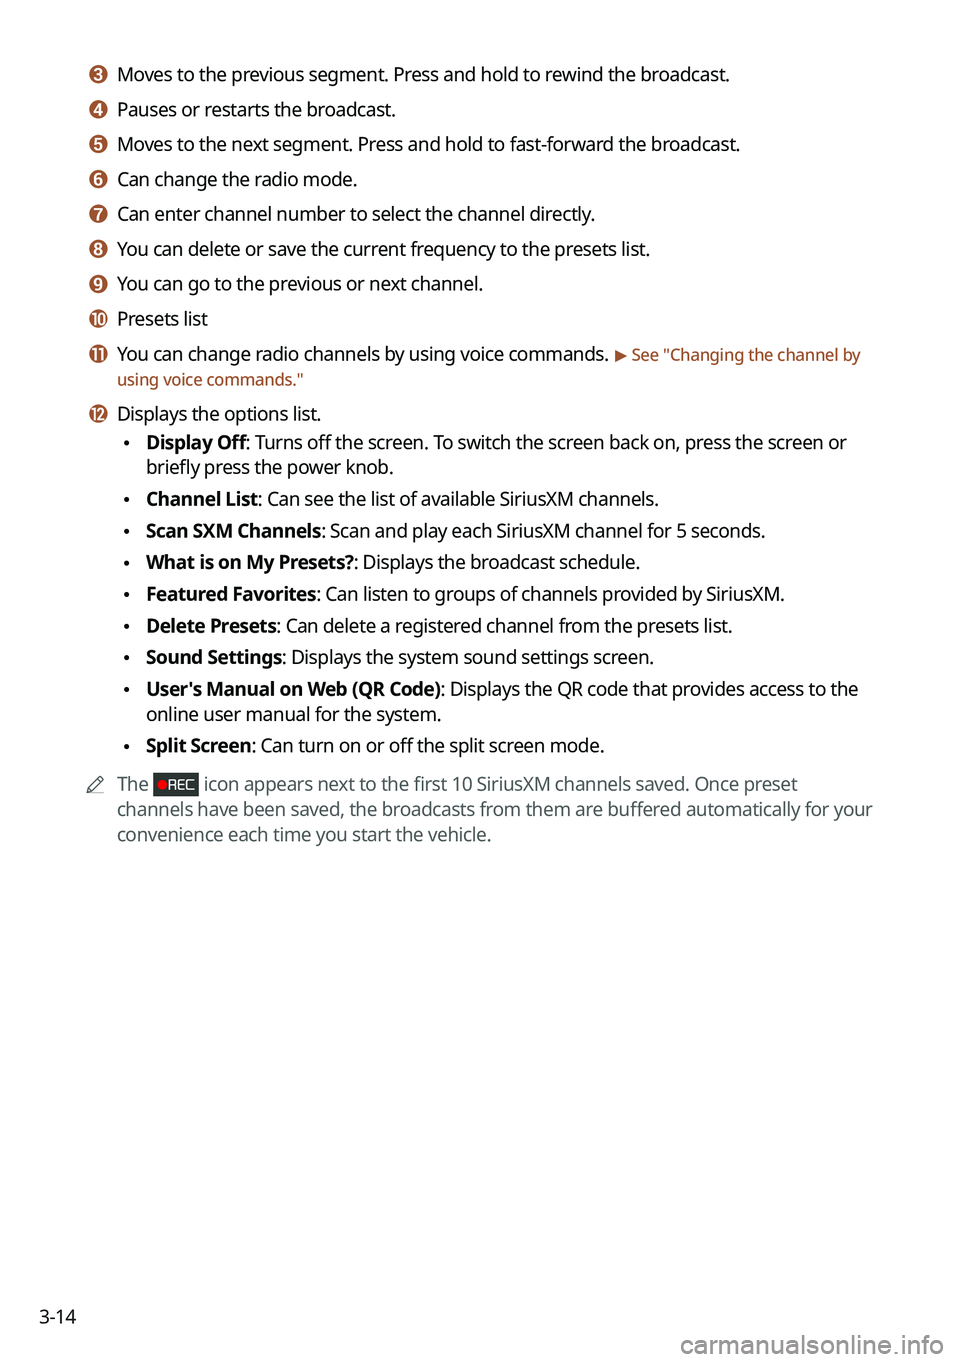
SiriusXM mode screen
\037
\036
\035
\034\033\032\031
\030
\027
\026
\025\024
a a Returns to the previous step.
b b Switches to live broadcast mode. This button is activated when you have moved to the
previous segment while listening to a live broadcast.
Page 76 of 300
3-14
c c Moves to the previous segment. Press and hold to rewind the broadcast.
d d Pauses or restarts the broadcast.
e e Moves to the next segment. Press and hold to fast-forward the broadcast.
f f Can change the radio mode.
g g Can enter channel number to select the channel directly.
h h You can delete or save the current frequency to the presets list.
i i You can go to the previous or next channel.
j j Presets list
k k You can change radio channels by using voice commands. > See "Changing the channel by
using voice commands."
l l Displays the options list.
\225 Display Off: Turns off the screen. To switch the screen back on, press the screen or
briefly press the power knob.
\225Channel List: Can see the list of available SiriusXM channels.
\225Scan SXM Channels: Scan and play each SiriusXM channel for 5 seconds.
\225What is on My Presets?: Displays the broadcast schedule.
\225Featured Favorites: Can listen to groups of channels provided by SiriusXM.
\225Delete Presets: Can delete a registered channel from the presets list.
\225Sound Settings: Displays the system sound settings screen.
\225User's Manual on Web (QR Code): Displays the QR code that provides access to the
online user manual for the system.
\225Split Screen: Can turn on or off the split screen mode.
0000
A
The
icon appears next to the first 10 SiriusXM channels saved. Once preset
channels have been saved, the broadcasts from them are buffered automatically for your
convenience each time you start the vehicle.
Page 77 of 300
3-15
Searching for SiriusXM radio channels (Type1)
You can select a channel from available SiriusXM channels.
1 On the Radio screen, press Band >
SiriusXM.
2 On the SiriusXM radio screen, press Menu >
Channel List.
3 Select a category and a channel.
0000
A
To skip a channel when scanning with the [ SEEK] and [TRACK ]buttons or
[ TUNE/FILE] knob, press Skip.
0000
A
The current channel is added to the presets list when pressing
.
Searching for SiriusXM radio channels (Type2)
You can select a channel from available SiriusXM channels.
1 On the Radio screen, press Radio Mode button repeatedly.
2 On the SiriusXM radio screen, press >
Channel List.
3 Select a category and a channel.
0000
A
To skip a channel when scanning with the [ SEEK] or [TRACK ] button, press Skip.
0000
A
If there is a [TUNE/FILE] knob on the control panel, you can also scan for channels by
turning the knob.
0000
A
The current channel is added to the presets list when pressing
.
Page 79 of 300
3-17
Seeing the program schedule (Type1)
You can see the program schedule and information for the channels saved in your preset list.
1 On the Radio screen, press Band >
SiriusXM.
2 On the SiriusXM radio screen, press Menu >
What is on My Presets?.
3 Set the date and time on the top line of the screen.
0000
A
To select a date, press the date display field at the top left of the preset list and select
the date and time zone.
0000
A
To select a time, press
or .
4 Select a channel and a program to see its detailed information.
0000
A
If any hidden information, an arrow appears next to the program. Press the arrow to
see the hidden information.
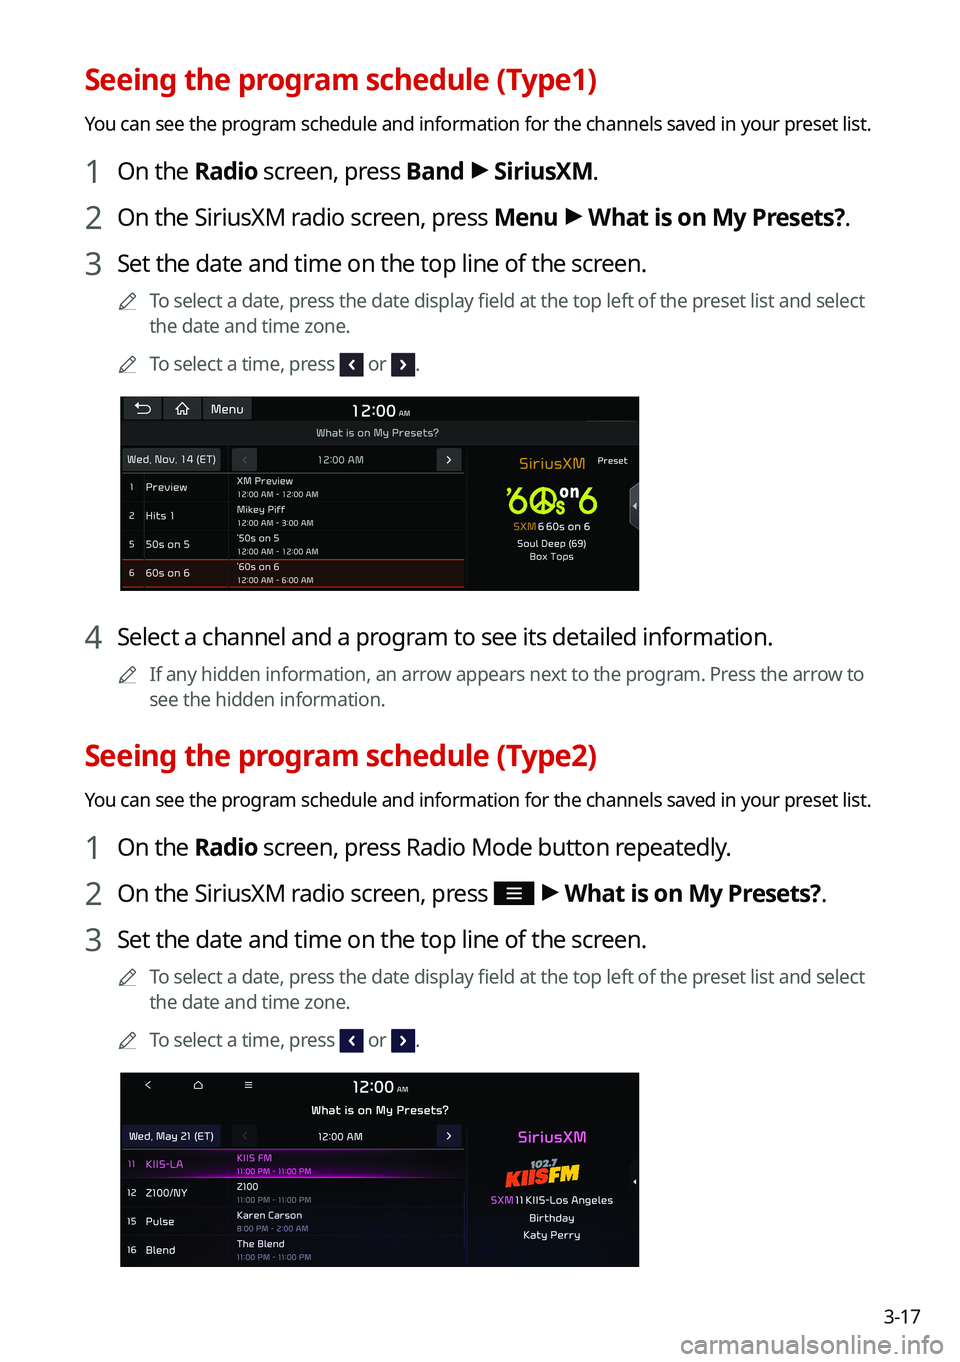
Seeing the program schedule (Type2)
You can see the program schedule and information for the channels saved in your preset list.
1 On the Radio screen, press Radio Mode button repeatedly.
2 On the SiriusXM radio screen, press >
What is on My Presets?.
3 Set the date and time on the top line of the screen.
0000
A
To select a date, press the date display field at the top left of the preset list and select
the date and time zone.
0000
A
To select a time, press
or .
Page 177 of 300
8-7
0000
A
A diagnosis result provided by this service is only an estimated result based on the signals
from your vehicle. Visit a Kia Motors dealership for a detailed diagnosis.\
0000
A
When a critical diagnostics issue is detected on your vehicle, an automa\
tic diagnosis
starts when a warning light illuminates on the instrument cluster. You are notified of the
diagnosis result.
0000
A
Your preferred dealership must be registered on Owners.kia.com for you to schedule a
maintenance service with it.
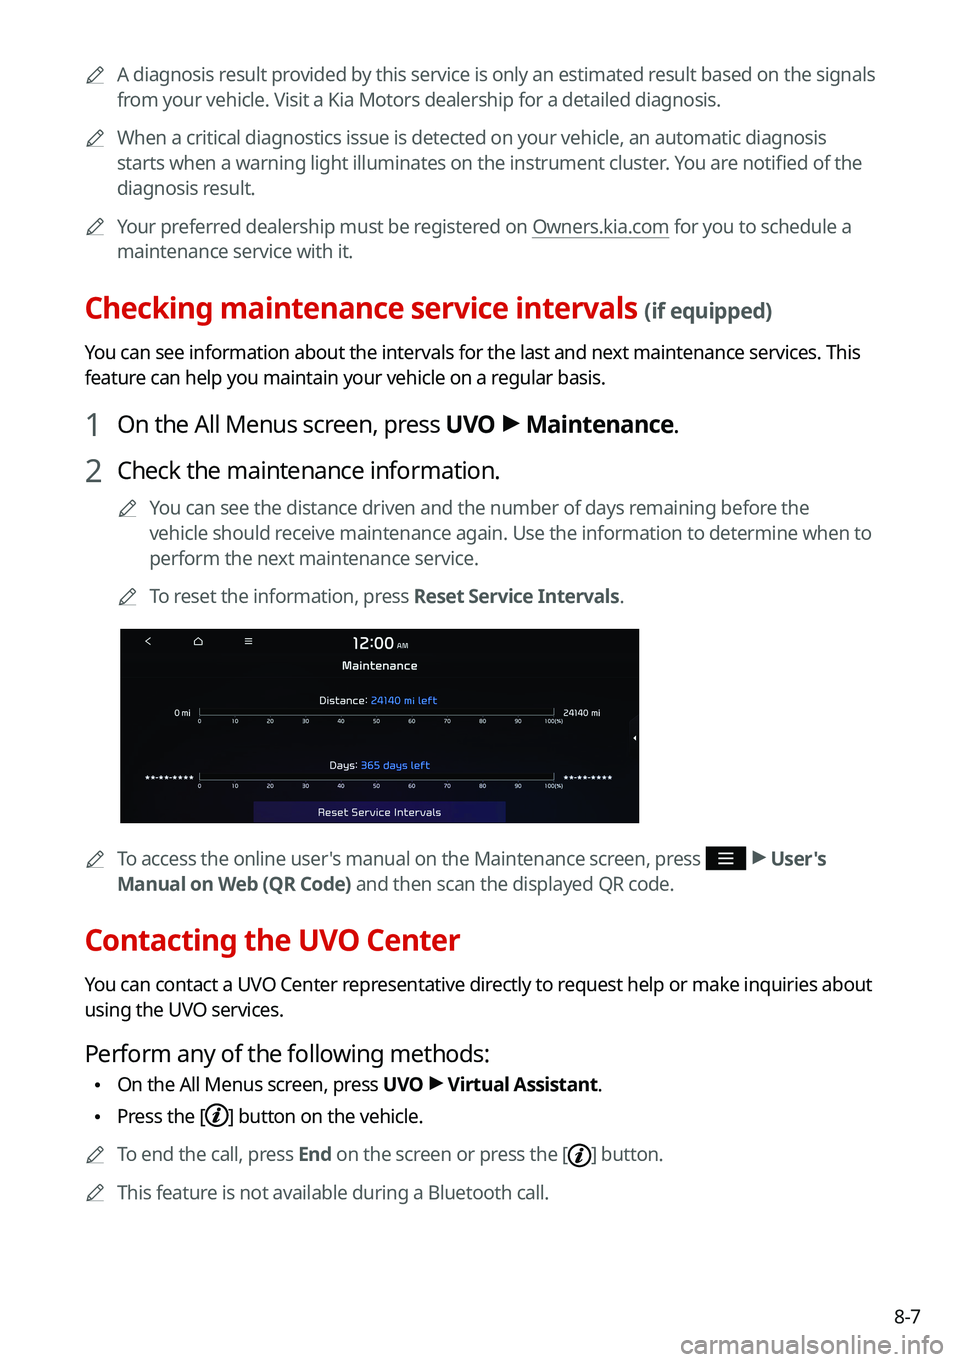
Checking maintenance service intervals (if equipped)
You can see information about the intervals for the last and next maintenance services. This
feature can help you maintain your vehicle on a regular basis.
1 On the All Menus screen, press UVO >
Maintenance.
2 Check the maintenance information.
0000
A
You can see the distance driven and the number of days remaining before the
vehicle should receive maintenance again. Use the information to determine when to
perform the next maintenance service.
0000
A
To reset the information, press Reset Service Intervals.
0000
A
To access the online user's manual on the Maintenance screen, press >
User's
Manual on Web (QR Code) and then scan the displayed QR code.
Contacting the UVO Center
You can contact a UVO Center representative directly to request help or make inquiries about
using the UVO services.
Perform any of the following methods:
\225 On the All Menus screen, press UVO
>
Virtual Assistant.
\225 Press the [] button on the vehicle.
0000
A
To end the call, press End on the screen or press the [
] button.
0000
A
This feature is not available during a Bluetooth call.
Page 189 of 300
9-9
SPORT (EV only)
This drive mode enables a more dynamic driving performance. You can change the climate
control mode and the active coast energy regeneration level.
Drive Mode Change Alert (if equipped)
You can set how to display the notification message when the drive mode is changed.
\225Detailed Alert: Displays a detailed notification message along with the vehicle image
when the drive mode is changed.
\225Simple Alert: Displays the notification at the top or on the split screen when the drive
mode is changed.
\225Off: When the drive mode changes, no notification is provided.
Reset ECO/NORMAL/SPORT (EV only)
You can reset the drive mode settings to the default values.
0000
A
The display may differ depending on the vehicle model and specifications.
0000
A
See how to improve ECO potential by pressing the Help button from an EV(Electric
Vehicle). In most cases, a vehicle can travel a longer distance when its ECO potential score
is higher (EV only).
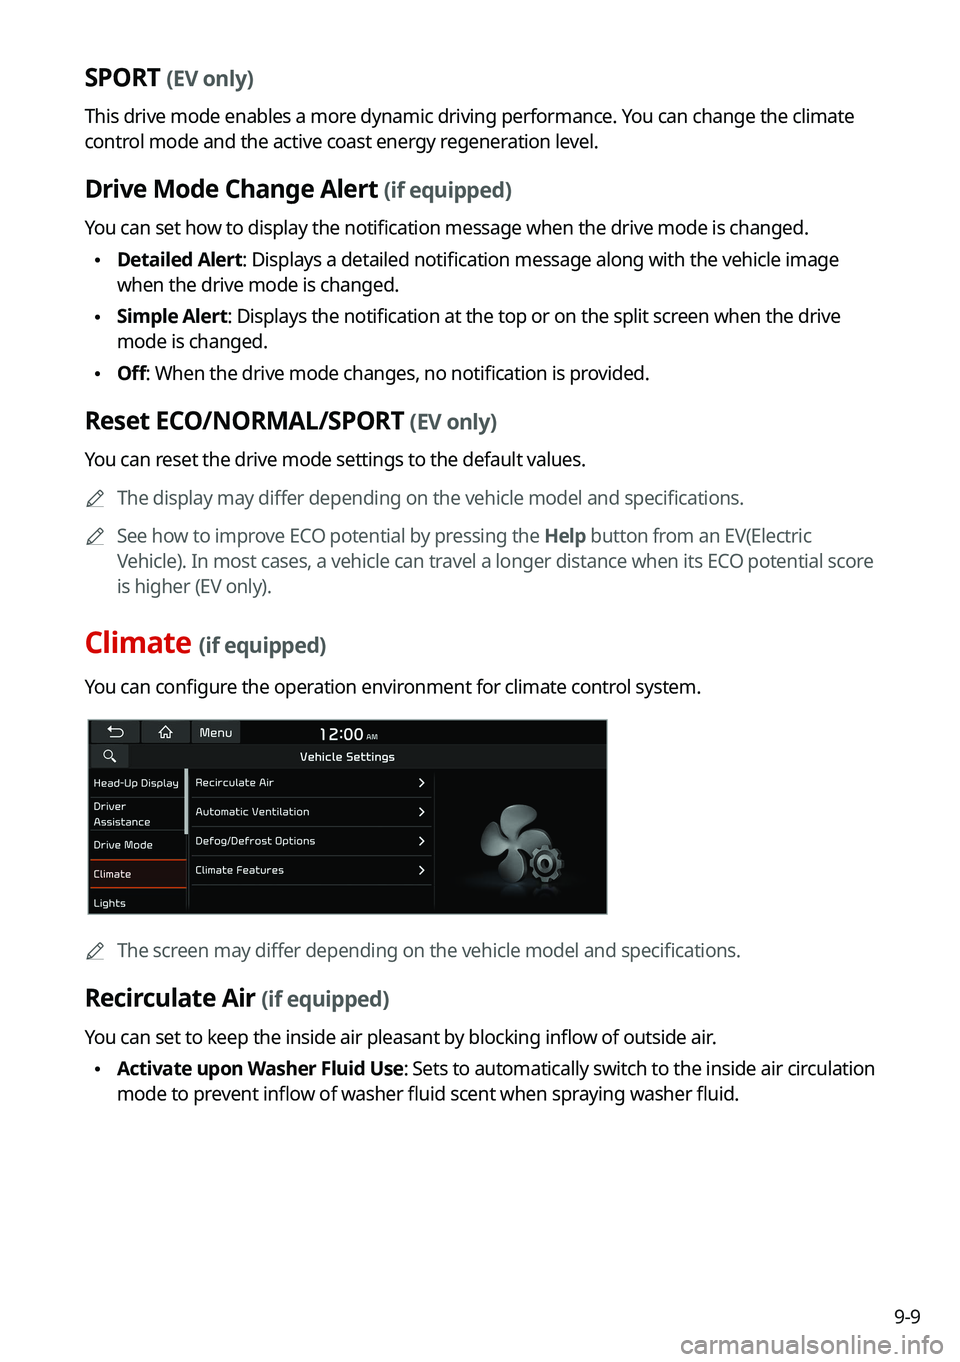
Climate (if equipped)
You can configure the operation environment for climate control system.
0000
A
The screen may differ depending on the vehicle model and specifications.
Recirculate Air (if equipped)
You can set to keep the inside air pleasant by blocking inflow of outside air.
\225Activate upon Washer Fluid Use
: Sets to automatically switch to the inside air circulation
mode to prevent inflow of washer fluid scent when spraying washer fluid.
Page 192 of 300
9-12
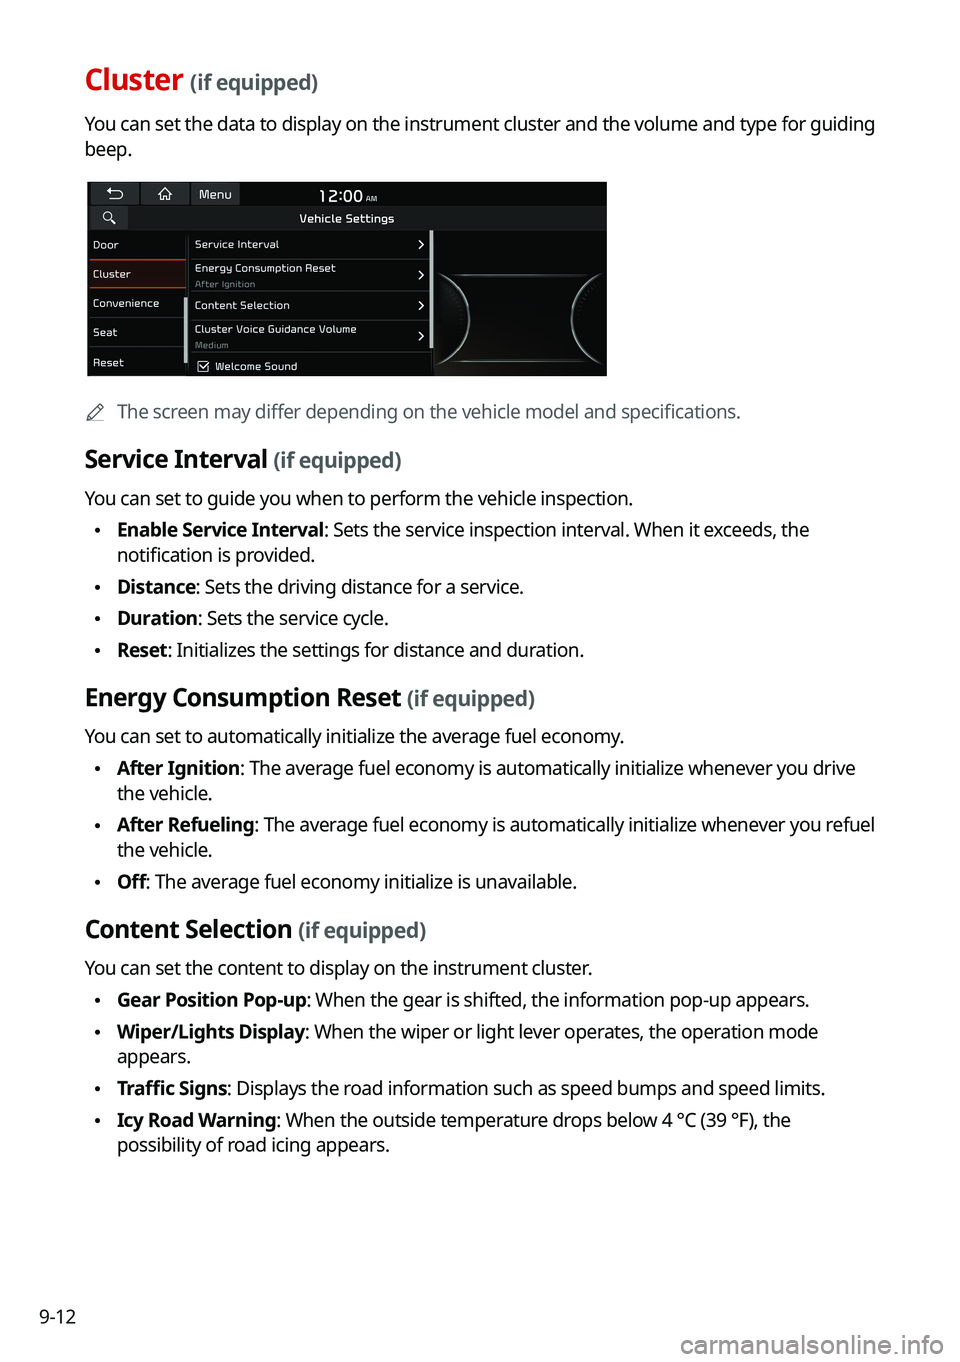
Cluster (if equipped)
You can set the data to display on the instrument cluster and the volume \
and type for guiding
beep.
0000AThe screen may differ depending on the vehicle model and specifications.
Service Interval (if equipped)
You can set to guide you when to perform the vehicle inspection.
\225Enable Service Interval: Sets the service inspection interval. When it exceeds, the
notification is provided.
\225Distance: Sets the driving distance for a service.
\225Duration: Sets the service cycle.
\225Reset: Initializes the settings for distance and duration.
Energy Consumption Reset (if equipped)
You can set to automatically initialize the average fuel economy.
\225After Ignition: The average fuel economy is automatically initialize whenever you drive
the vehicle.
\225After Refueling
: The average fuel economy is automatically initialize whenever you refuel
the vehicle.
\225 Off: The average fuel economy initialize is unavailable.
Content Selection (if equipped)
You can set the content to display on the instrument cluster.
\225Gear Position Pop-up: When the gear is shifted, the information pop-up appears.
\225Wiper/Lights Display: When the wiper or light lever operates, the operation mode
appears.
\225Traffic Signs: Displays the road information such as speed bumps and speed limits.
\225Icy Road Warning: When the outside temperature drops below 4 °C (39 °F), the
possibility of road icing appears.