Page 116 of 308
5-20
3 Select the search criteria and press Recalculate.
0000ATo access the online user's manual on the Route Options screen, press > User's
Manual on Web (QR Code) and then scan the displayed QR code.
0000AAvailable options may differ depending on the vehicle model and specifications.
Avoiding specific zones
You can resume routing after excluding the specified roads such as congested roads or roads
under construction.
1 On the Navigation Menu screen, press Route Overview.
2 Press Route Info. / Avoid.
0000AThe screen may differ depending on the vehicle model and specifications.
3 Select the roads to avoid and press Avoid the Selected Road.
4 Select the updated route and then press Start Guidance.
0000AWhen there is any zone under construction ahead on the way, you are prompted to
confirm whether or not to exclude the zone from the route. To avoid the zone, press Yes
to resume routing.
Page 184 of 308
8-8
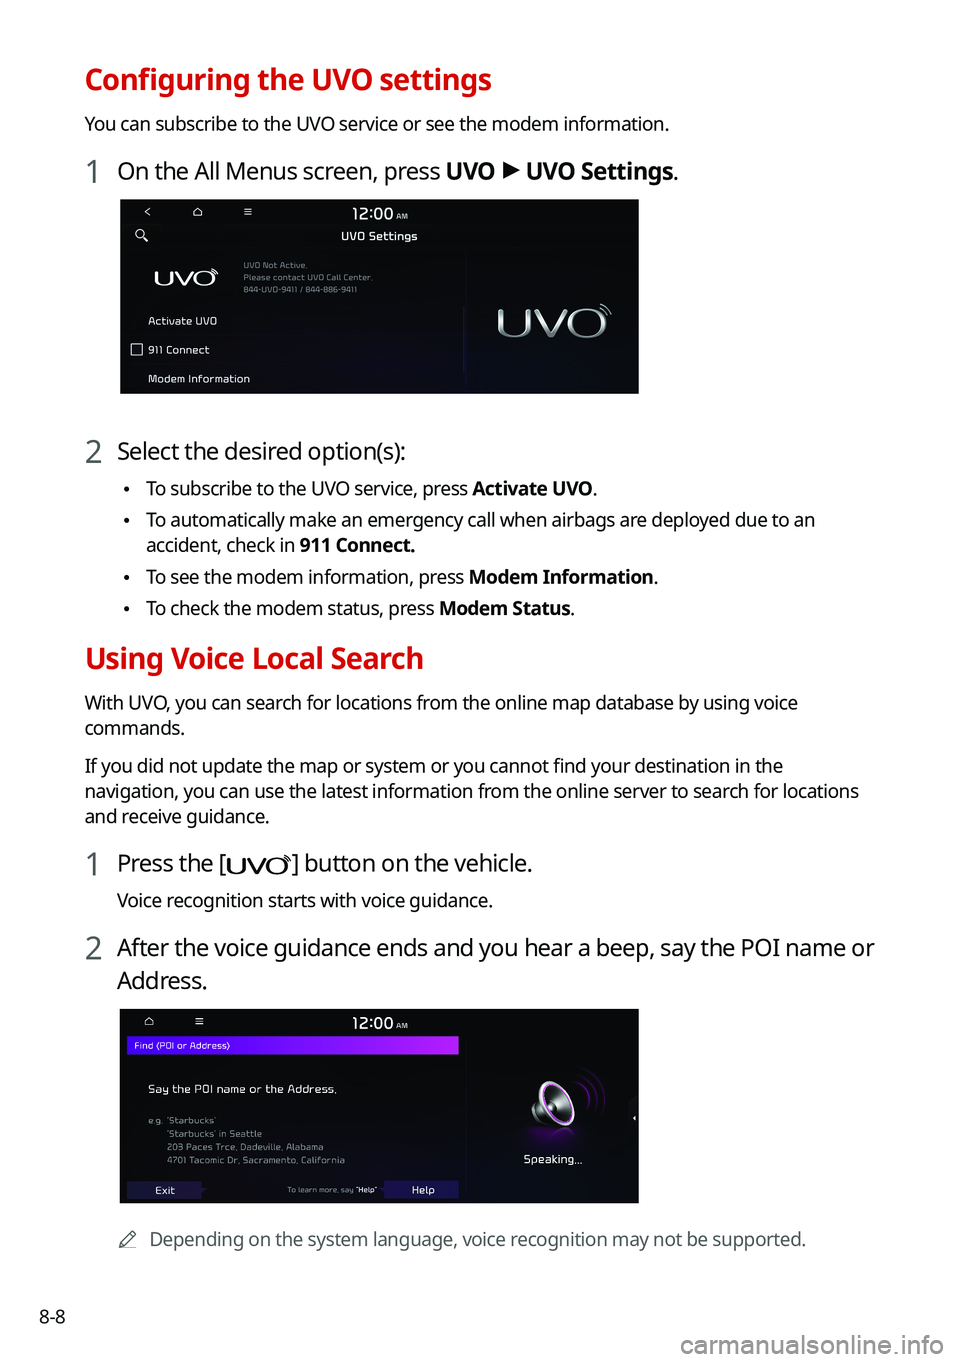
Configuring the UVO settings
You can subscribe to the UVO service or see the modem information.
1 On the All Menus screen, press UVO > UVO Settings.
2 Select the desired option(s):
\225To subscribe to the UVO service, press Activate UVO.
\225To automatically make an emergency call when airbags are deployed due to an
accident, check in 911 Connect.
\225To see the modem information, press Modem Information.
\225To check the modem status, press Modem Status.
Using Voice Local Search
With UVO, you can search for locations from the online map database by using voice
commands.
If you did not update the map or system or you cannot find your destination in the
navigation, you can use the latest information from the online server to search for locations
and receive guidance.
1 Press the [] button on the vehicle.
Voice recognition starts with voice guidance.
2 After the voice guidance ends and you hear a beep, say the POI name or
Address.
0000ADepending on the system language, voice recognition may not be supported.
Page 185 of 308
8-9
Route guidance service (if equipped)
Use a more convenient, accurate route guidance service through the UVO route guidance
service.
Finding the route to the destination by manual entry
You can enjoy fast and accurate route guidance based on real-time traffic data and
forecasting traffic information collected by the UVO Center.
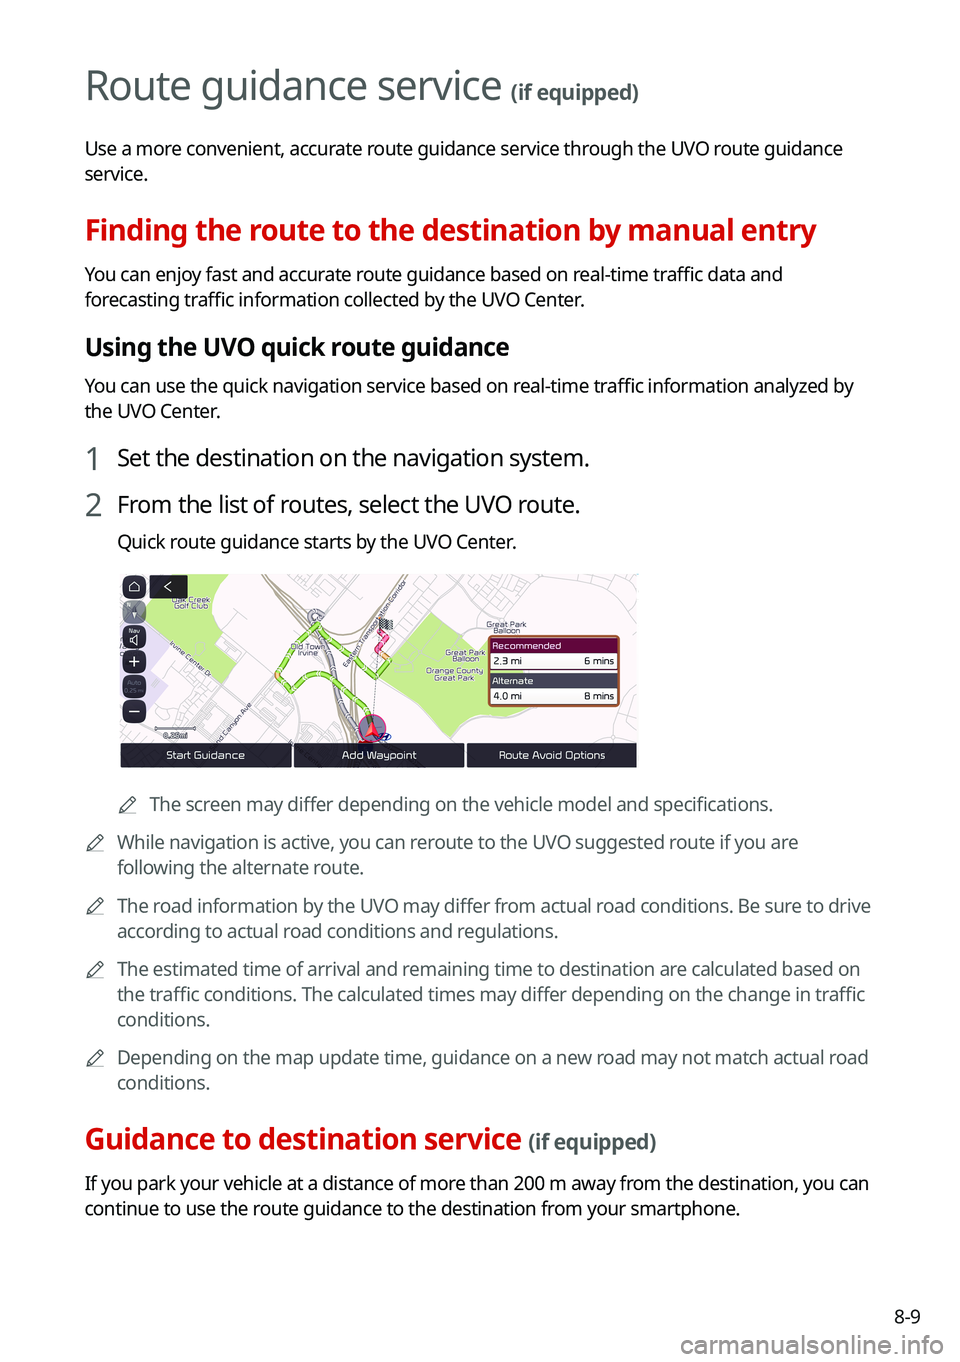
Using the UVO quick route guidance
You can use the quick navigation service based on real-time traffic information analyzed by
the UVO Center.
1 Set the destination on the navigation system.
2 From the list of routes, select the UVO route.
Quick route guidance starts by the UVO Center.
0000AThe screen may differ depending on the vehicle model and specifications.
0000AWhile navigation is active, you can reroute to the UVO suggested route if you are
following the alternate route.
0000AThe road information by the UVO may differ from actual road conditions. Be sure to drive
according to actual road conditions and regulations.
0000AThe estimated time of arrival and remaining time to destination are calculated based on
the traffic conditions. The calculated times may differ depending on the change in traffic
conditions.
0000ADepending on the map update time, guidance on a new road may not match actual road
conditions.
Guidance to destination service (if equipped)
If you park your vehicle at a distance of more than 200 m away from the destination, you can
continue to use the route guidance to the destination from your smartphone.
Page 187 of 308
Settings
Configuring system settings
Configuring the vehicle settings (Type1/Type2)
Configuring the device connections settings (Type1/Type2)
Configuring the advanced system settings (Type1)
Configuring the button settings (Type1/Type2)
Configuring the sound settings (Type1/Type2)
Configuring the voice recognition settings (Type1/Type2)
Configuring the navigation settings (Type1/Type2)
Configuring the UVO settings (Type1/Type2)
Configuring the user profile settings (Type1/Type2)
Configuring the general system settings (Type1/Type2)
Configuring the display settings (Type1/Type2)
Configuring the media settings (Type1)
How to Update the Map and Software for your
Infotainment System
09
Page 241 of 308
9-55
\335Warning
Be sure to check the road conditions while driving, because the camera information may get
changed occasionally after a map update to the latest version. Relying s\
olely on the driving
assist system may cause violation of traffic rules and regulations, resulting in an accident.
Camera Alert Distance
You can set when to receive alerts against and voice descriptions about traffic enforcement
cameras.
\225Camera Alerts with Navigation Muted: You can set traffic enforcement camera alerts
or warning sounds for safe driving when the navigation is muted.
000DNone: No guidance is provided when the navigation is muted.
000DUse Beeps Only: Guidance is provided only with warning sound.
000DUse Voice Prompts with Beeps: Guidance is provided with warning sound and voice.
\225Camera Alert Distance Depending on the Vehicle Speed: The time when to get alerts
for traffic enforcement cameras is automatically set depending on the driving speed.
000DCamera Alert Distance (Local Roads): It is activated when Camera Alert Distance
Depending on the Vehicle Speed is turned off. The time when to get guidance for
traffic enforcement cameras on general roads can be selected.
000DCamera Alert Distance (Highway): It is activated when Camera Alert Distance
Depending on the Vehicle Speed is turned off. The time when to get guidance for
traffic enforcement cameras on highways can be selected.
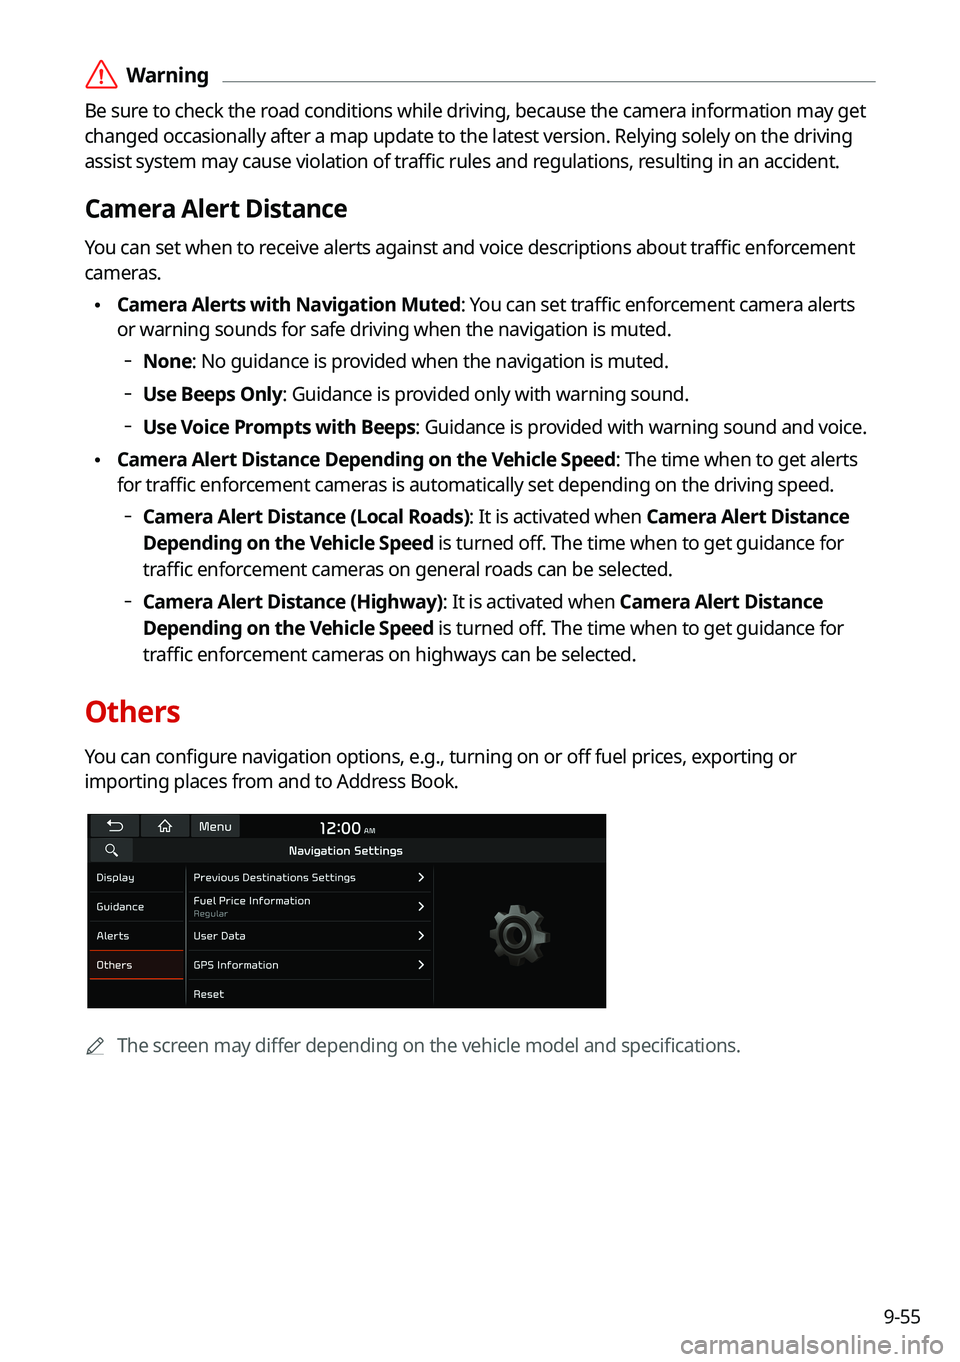
Others
You can configure navigation options, e.g., turning on or off fuel prices, exporting or
importing places from and to Address Book.
0000AThe screen may differ depending on the vehicle model and specifications.
Page 276 of 308
9-90
How to Update the Map and Software for
your Infotainment System
To ensure you are maximizing the full potential of your navigation system, we advise
updating the map and software annually. To update, visit the map update website and install
the Navigation Updater program onto your PC. Use the program to download and install the
latest map, points of interest, and software. Alternatively, you can visit your local dealership
to update.
\334\334Caution
\225It may take a while (tens of minutes) to finish the system update depending on the
amount of data.
\225Never turn off the system or remove the storage before finishing the system update.
When the system is turned off or the storage device is removed from the system while
updating, it may cause data or system damage.
0000AAfter update is completed, the system automatically restarts and the SW Info/Update
screen displays the updated version.
0000ADuring update, you cannot use the navigation system, UVO service, camera, and
infotainment system.
0000AFor assistance concerning the update, contact the Customer Center at 800\
-333-4
KIA(4542).
0000AChanges are not applied to the map after creation of all update files. For this reason, road
names, POI names, speed limits, or other map information displayed, may \
not be the
latest values due to the creation time of the update files.
Updating via a USB device
Install the Navigation Updater on your PC and then download the latest data to a USB device
for update to the navigation map and infotainment system.
Installing Navigation Updater
On your PC, visit the website at http://update.kia.com/us to download and
install the Navigation Updater software.
0000AFor system requirements for installing the program and details on how to install it, visit
the website.
Page 277 of 308
9-91
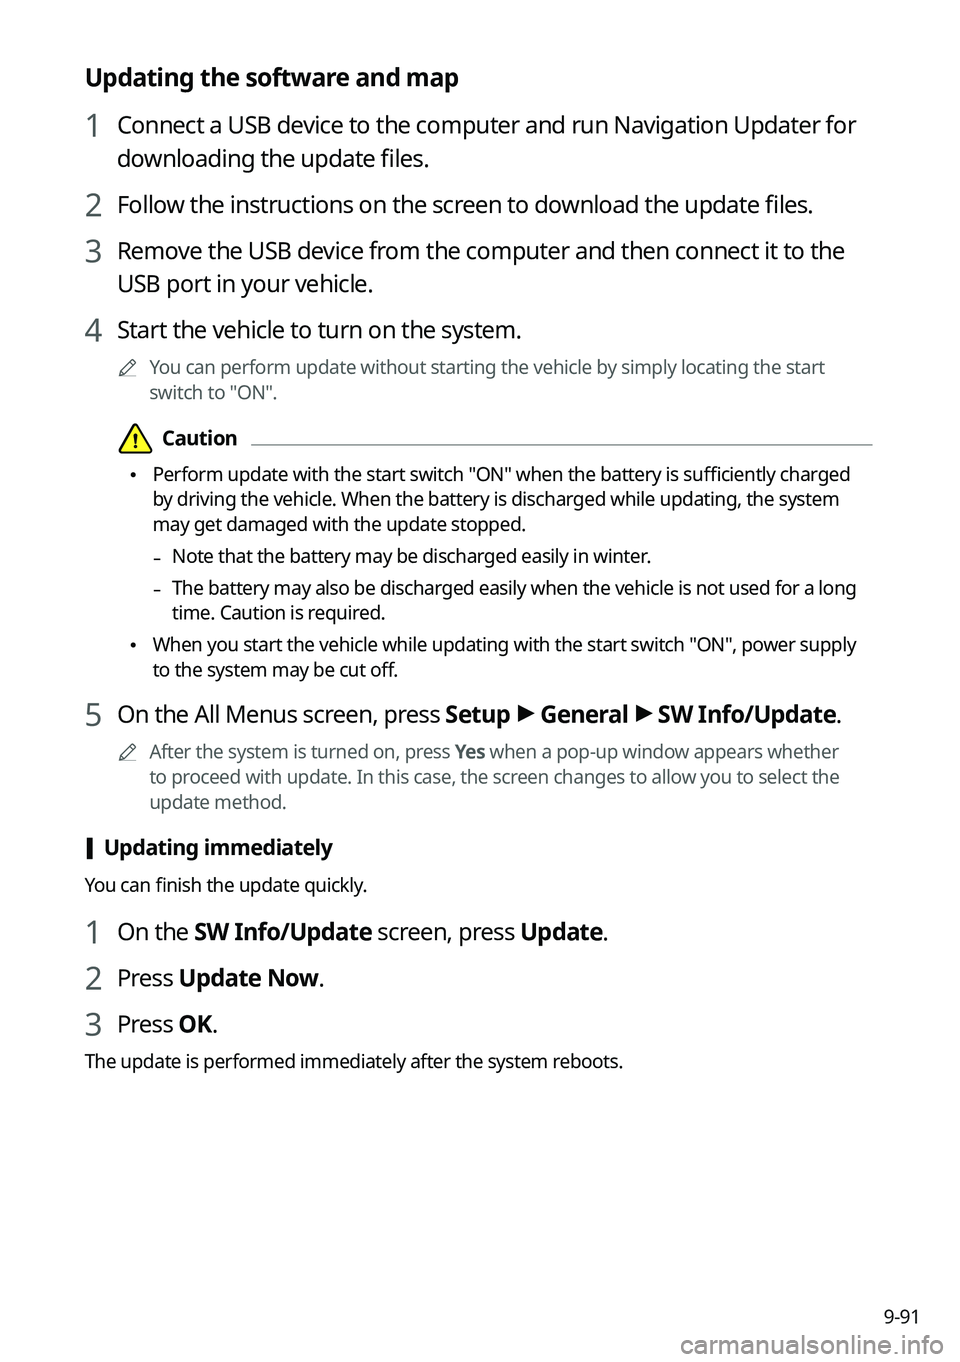
Updating the software and map
1 Connect a USB device to the computer and run Navigation Updater for
downloading the update files.
2 Follow the instructions on the screen to download the update files.
3 Remove the USB device from the computer and then connect it to the
USB port in your vehicle.
4 Start the vehicle to turn on the system.
0000AYou can perform update without starting the vehicle by simply locating the start
switch to "ON".
\334\334Caution
\225Perform update with the start switch "ON" when the battery is sufficiently charged
by driving the vehicle. When the battery is discharged while updating, the system
may get damaged with the update stopped.
-Note that the battery may be discharged easily in winter.
-The battery may also be discharged easily when the vehicle is not used for a long
time. Caution is required.
\225When you start the vehicle while updating with the start switch "ON", po\
wer supply
to the system may be cut off.
5 On the All Menus screen, press Setup > General > SW Info/Update.
0000AAfter the system is turned on, press Yes when a pop-up window appears whether
to proceed with update. In this case, the screen changes to allow you to select the
update method.
[Updating immediately
You can finish the update quickly.
1 On the SW Info/Update screen, press Update.
2 Press Update Now.
3 Press OK.
The update is performed immediately after the system reboots.
Page 278 of 308
9-92
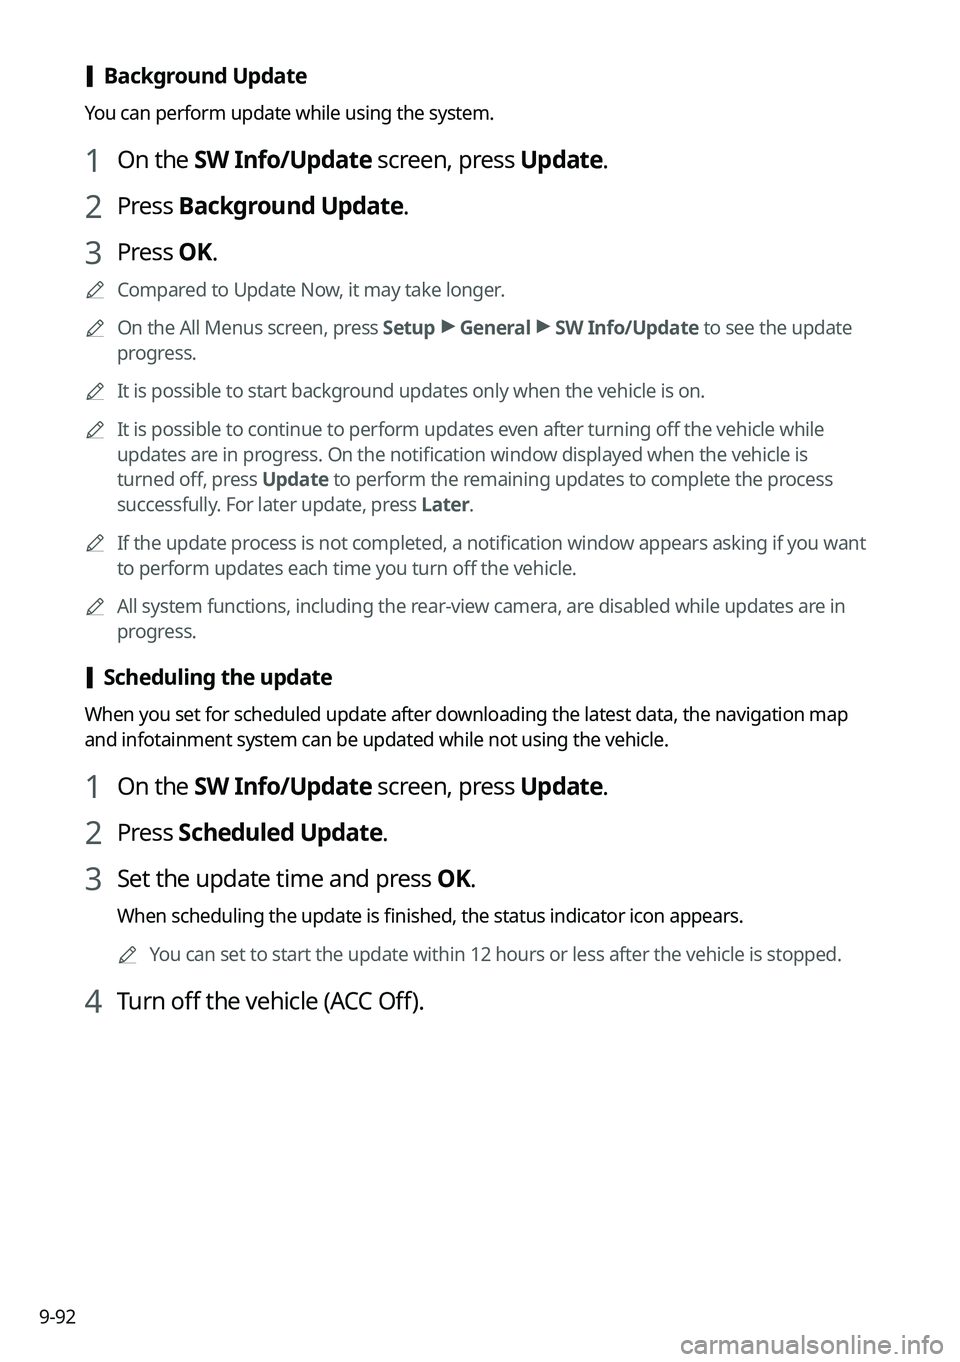
[Background Update
You can perform update while using the system.
1 On the SW Info/Update screen, press Update.
2 Press Background Update.
3 Press OK.
0000ACompared to Update Now, it may take longer.
0000AOn the All Menus screen, press Setup > General > SW Info/Update to see the update
progress.
0000AIt is possible to start background updates only when the vehicle is on.
0000AIt is possible to continue to perform updates even after turning off the vehicle while
updates are in progress. On the notification window displayed when the vehicle is
turned off, press Update to perform the remaining updates to complete the process
successfully. For later update, press Later.
0000AIf the update process is not completed, a notification window appears asking if you want
to perform updates each time you turn off the vehicle.
0000AAll system functions, including the rear-view camera, are disabled while updates are in
progress.
[Scheduling the update
When you set for scheduled update after downloading the latest data, the navigation map
and infotainment system can be updated while not using the vehicle.
1 On the SW Info/Update screen, press Update.
2 Press Scheduled Update.
3 Set the update time and press OK.
When scheduling the update is finished, the status indicator icon appears.
0000AYou can set to start the update within 12 hours or less after the vehicle\
is stopped.
4 Turn off the vehicle (ACC Off).