Page 253 of 667
4113
Features of your vehicle
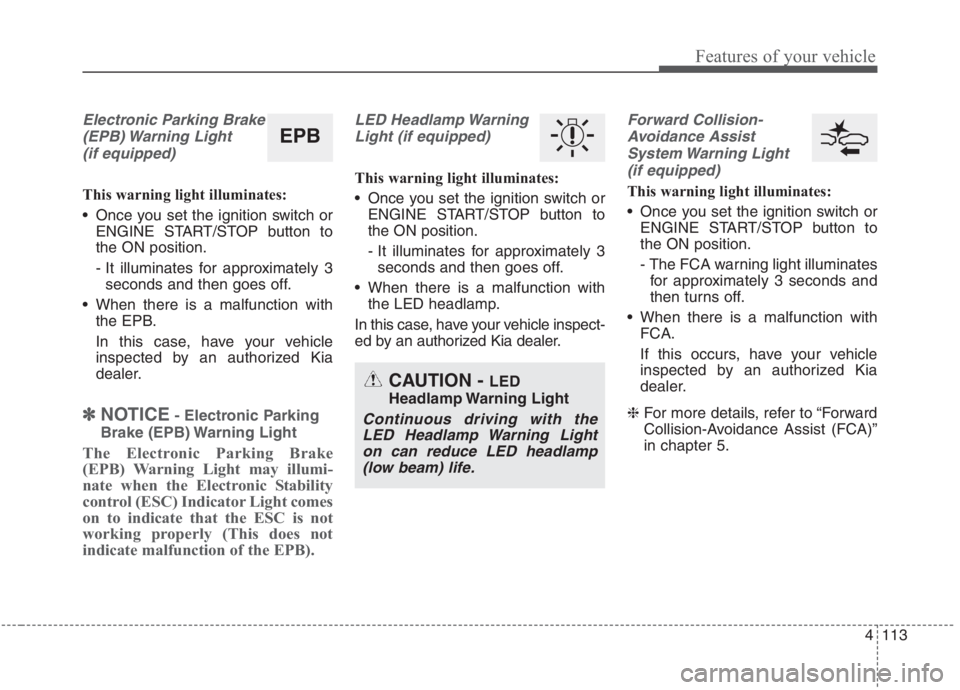
Electronic Parking Brake
(EPB) Warning Light
(if equipped)
This warning light illuminates:
Once you set the ignition switch or
ENGINE START/STOP button to
the ON position.
- It illuminates for approximately 3
seconds and then goes off.
When there is a malfunction with
the EPB.
In this case, have your vehicle
inspected by an authorized Kia
dealer.
✽ ✽
NOTICE- Electronic Parking
Brake (EPB) Warning Light
The Electronic Parking Brake
(EPB) Warning Light may illumi-
nate when the Electronic Stability
control (ESC) Indicator Light comes
on to indicate that the ESC is not
working properly (This does not
indicate malfunction of the EPB).
LED Headlamp Warning
Light (if equipped)
This warning light illuminates:
Once you set the ignition switch or
ENGINE START/STOP button to
the ON position.
- It illuminates for approximately 3
seconds and then goes off.
When there is a malfunction with
the LED headlamp.
In this case, have your vehicle inspect-
ed by an authorized Kia dealer.
Forward Collision-
Avoidance Assist
System Warning Light
(if equipped)
This warning light illuminates:
Once you set the ignition switch or
ENGINE START/STOP button to
the ON position.
- The FCA warning light illuminates
for approximately 3 seconds and
then turns off.
When there is a malfunction with
FCA.
If this occurs, have your vehicle
inspected by an authorized Kia
dealer.
❈For more details, refer to “Forward
Collision-Avoidance Assist (FCA)”
in chapter 5.
CAUTION - LED
Headlamp Warning Light
Continuous driving with the
LED Headlamp Warning Light
on can reduce LED headlamp
(low beam) life.
EPB
Page 254 of 667
Features of your vehicle
114 4
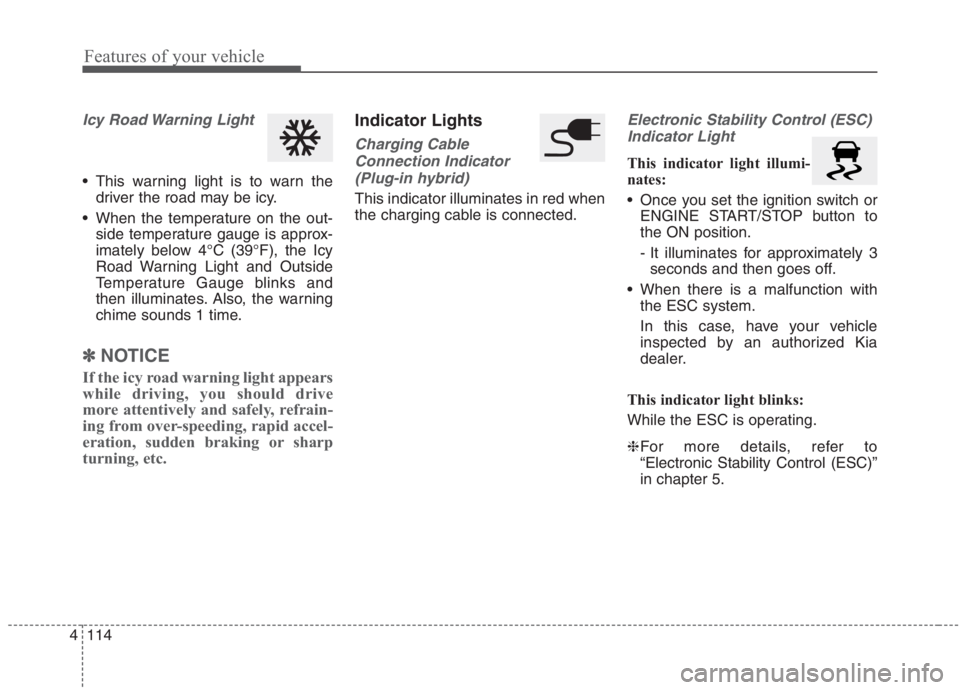
Icy Road Warning Light
This warning light is to warn the
driver the road may be icy.
When the temperature on the out-
side temperature gauge is approx-
imately below 4°C (39°F), the Icy
Road Warning Light and Outside
Temperature Gauge blinks and
then illuminates. Also, the warning
chime sounds 1 time.
✽ ✽
NOTICE
If the icy road warning light appears
while driving, you should drive
more attentively and safely, refrain-
ing from over-speeding, rapid accel-
eration, sudden braking or sharp
turning, etc.
Indicator Lights
Charging Cable
Connection Indicator
(Plug-in hybrid)
This indicator illuminates in red when
the charging cable is connected.
Electronic Stability Control (ESC)
Indicator Light
This indicator light illumi-
nates:
Once you set the ignition switch or
ENGINE START/STOP button to
the ON position.
- It illuminates for approximately 3
seconds and then goes off.
When there is a malfunction with
the ESC system.
In this case, have your vehicle
inspected by an authorized Kia
dealer.
This indicator light blinks:
While the ESC is operating.
❈For more details, refer to
“Electronic Stability Control (ESC)”
in chapter 5.
Page 255 of 667
4115
Features of your vehicle
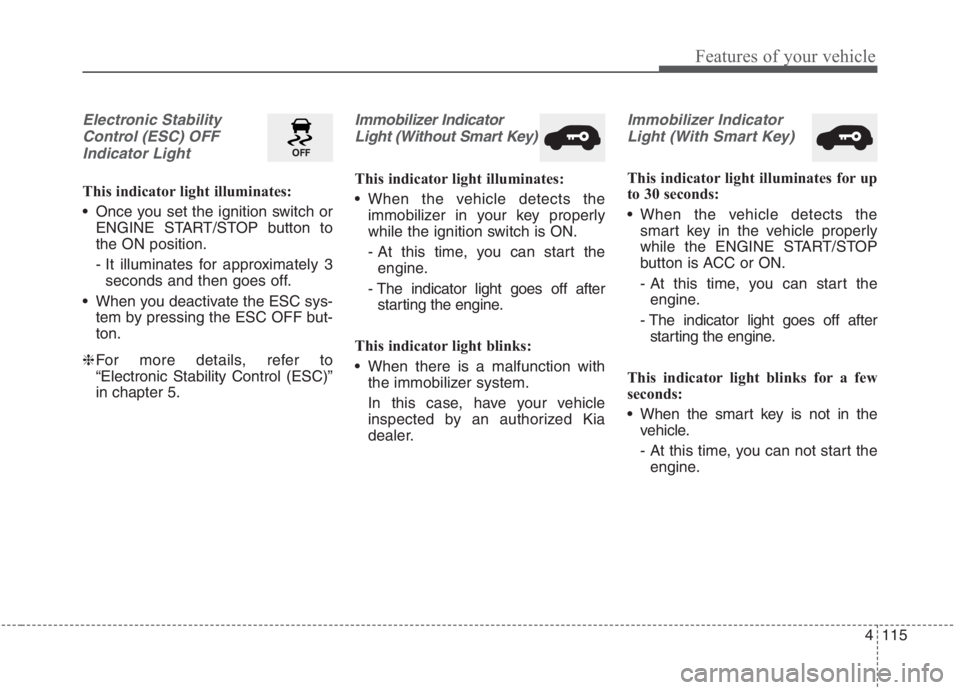
Electronic Stability
Control (ESC) OFF
Indicator Light
This indicator light illuminates:
Once you set the ignition switch or
ENGINE START/STOP button to
the ON position.
- It illuminates for approximately 3
seconds and then goes off.
When you deactivate the ESC sys-
tem by pressing the ESC OFF but-
ton.
❈For more details, refer to
“Electronic Stability Control (ESC)”
in chapter 5.
Immobilizer Indicator
Light (Without Smart Key)
This indicator light illuminates:
When the vehicle detects the
immobilizer in your key properly
while the ignition switch is ON.
- At this time, you can start the
engine.
- The indicator light goes off after
starting the engine.
This indicator light blinks:
When there is a malfunction with
the immobilizer system.
In this case, have your vehicle
inspected by an authorized Kia
dealer.
Immobilizer Indicator
Light (With Smart Key)
This indicator light illuminates for up
to 30 seconds:
When the vehicle detects the
smart key in the vehicle properly
while the ENGINE START/STOP
button is ACC or ON.
- At this time, you can start the
engine.
- The indicator light goes off after
starting the engine.
This indicator light blinks for a few
seconds:
When the smart key is not in the
vehicle.
- At this time, you can not start the
engine.
Page 260 of 667
Features of your vehicle
120 4
Rear View Monitor system will acti-
vate with the ignition switch ON and
the shift lever in the R (Reverse) posi-
tion. This system is a supplemental sys-
tem only. It is the responsibility of
the driver to always check the
inside/outside rearview mirrors and
the area behind the vehicle before
and while backing up because
there is a dead zone that can't be
seen by the camera.
Always keep the camera lens
clean. If lens is covered with for-
eign matter, the camera may not
operate normally.
REAR VIEW MONITOR (RVM)
WARNING - Backing &
using camera
Never rely solely on the rear view
camera when backing up. You
must always look over both
shoulders and continuously
check all three rear view mirrors.
Due to the difficulty of ensuring
that the area behind you remains
clear, always back up slowly and
stop immediately if you even
suspect that a person, and espe-
cially a child, might be behind
you.
ODEP049403
ODEP049404L
Page 262 of 667
Features of your vehicle
122 4
This system will activate when
backing up with the ignition switch
or ENGINE START/STOP button to
the ON position.
If the vehicle is moving at a speed
over 5 km/h (3 mph), the system
may not be activated correctly.
The sensing distance while the
back-up warning system is in oper-
ation is approximately 120 cm (48
in) at the rear bumper center area,
60 cm (24 in) at the rear bumper
both side area.
When more than two objects are
sensed at the same time, the clos-
est one will be recognized first.
Types of warning sound
When an object is 60 cm to 120 cm
(24 in to 48 in) from the rear
bumper: Buzzer beeps intermit-
tently.
When an object is 30 cm to 60 cm
(12 in to 24 in) from the rear
bumper: Buzzer beeps more fre-
quently.
When an object is within 30 cm (12
in) of the rear bumper:
Buzzer sounds continuously.
Non-operational conditions of
Reverse Parking Distance
Warning system
Reverse Parking Distance
Warning system may not operate
properly when:
1. Moisture is frozen to the sensor. (It
will operate normally once the
moisture clears.
2. The sensor is covered with foreign
matter, such as snow or water, or
the sensor cover is blocked. (It will
operate normally when the materi-
al is removed or the sensor is no
longer blocked.)
3. Driving on uneven road surfaces
(unpaved roads, gravel, bumps,
gradient).
4. Objects generating excessive
noise (vehicle horns, loud motor-
cycle engines, or truck air brakes)
are within range of the sensor.
5. Heavy rain or water spray exists.
6. Wireless transmitters or mobile
phones are within range of the
sensor.
7. The sensor is covered with snow.
8. Trailer towingThe detecting range may decrease
when:
1. The sensor is covered with foreign
matter such as snow or water.
(The sensing range will return to
normal when removed.)
2. Outside air temperature is
extremely hot or cold.
The following objects may not be
recognized by the sensor:
1. Sharp or slim objects such as
ropes, chains or small poles.
2. Objects which tend to absorb the
sensor frequency such as clothes,
sound absorbent material or snow.
3. Undetectable objects smaller than
100 cm (4 in) in height and nar-
rower than 14 cm (6 in) in diame-
ter.
Page 265 of 667
4125
Features of your vehicle
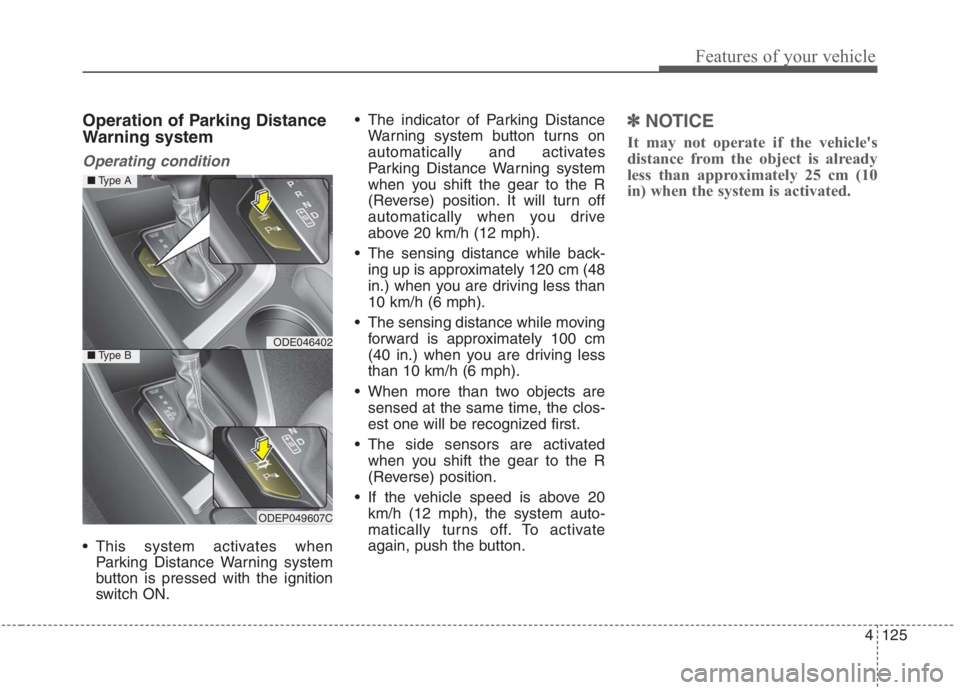
Operation of Parking Distance
Warning system
Operating condition
This system activates when
Parking Distance Warning system
button is pressed with the ignition
switch ON. The indicator of Parking Distance
Warning system button turns on
automatically and activates
Parking Distance Warning system
when you shift the gear to the R
(Reverse) position. It will turn off
automatically when you drive
above 20 km/h (12 mph).
The sensing distance while back-
ing up is approximately 120 cm (48
in.) when you are driving less than
10 km/h (6 mph).
The sensing distance while moving
forward is approximately 100 cm
(40 in.) when you are driving less
than 10 km/h (6 mph).
When more than two objects are
sensed at the same time, the clos-
est one will be recognized first.
The side sensors are activated
when you shift the gear to the R
(Reverse) position.
If the vehicle speed is above 20
km/h (12 mph), the system auto-
matically turns off. To activate
again, push the button.
✽ ✽
NOTICE
It may not operate if the vehicle's
distance from the object is already
less than approximately 25 cm (10
in) when the system is activated.
ODE046402
ODEP049607C
■Type A
■Type B
Page 269 of 667
4129
Features of your vehicle
Battery saver function
The purpose of this feature is to
prevent the battery from being dis-
charged if the lights are left in the
ON position. The system automati-
cally shuts off the parking lights 30
seconds after the ignition key is
removed and the driver’s door is
opened and closed.
With this feature, the parking lights
will turn off automatically if the driver
parks on the side of the road at night
and opens the driver’s side door.
If necessary, to keep the parking
lights on when the ignition key is
removed, perform the following:
1) Open the driver-side door.
2) Turn the parking lights OFF and
ON again using the light switch
on the steering column.
Headlight escort function
(if equipped)
If you turn the ignition switch to the
ACC or OFF position with the head-
lights ON, the headlights remain on
for about 5 minutes. However, if the
driver's door is opened and closed,
the headlights are turned off after 15
seconds.
The headlights can be turned off by
pressing the lock button on the trans-
mitter (or smart key) one more or
turning the light switch to the OFF
position.
Daytime running light (DRL)
The Daytime Running Lights (DRL)
can make it easier for others to see the
front of your vehicle during the day.
DRL can be helpful in many different
driving conditions, and it is especially
helpful after dawn and before sunset.
The DRL system will turn the dedi-
cated lamp OFF when:
1. The headlight switch is on
2. The engine is off
3. The front fog light is on.
4. Engaging the Parking Brake
LIGHTING
Page 270 of 667
Features of your vehicle
130 4
Lighting control
The light switch has a Headlight and
a Parking light position.
To operate the lights, turn the knob at
the end of the control lever to one of
the following positions:
(1) OFF position
(2) Auto light position
(3) Parking & Tail light
(4) Headlight position
Parking & Tail light ( )
When the light switch is in the park-
ing light position, the tail, license and
instrument panel lights will turn ON.
Headlight position ( )
When the light switch is in the head-
light position, the head, tail, license
lights will turn ON.
✽ ✽
NOTICE
The ignition switch must be in the ON
position to turn on the headlights.
OUM044055 OUMA046056 OUMA046054