Page 15 of 546
1-4
Your vehicle at a glance
I IN
NT
TE
ER
RI
IO
OR
R
O
OV
VE
ER
RV
VI
IE
EW
W
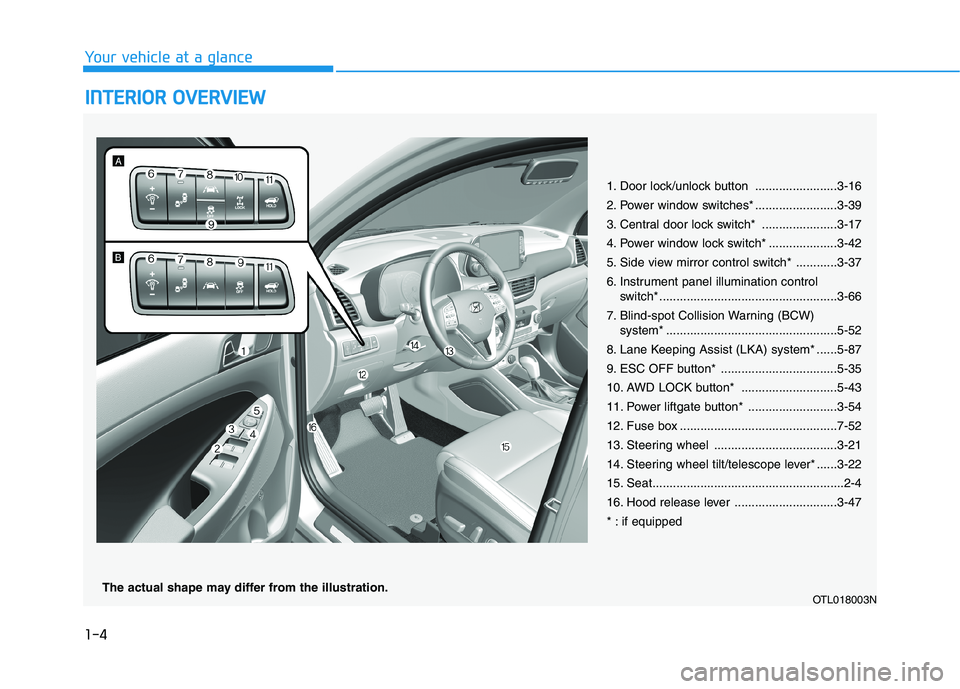
1. Door lock/unlock button ........................3-16
2. Power window switches* ........................3-39
3. Central door lock switch* ......................3-17
4. Power window lock switch* ....................3-42
5. Side view mirror control switch* ............3-37
6. Instrument panel illumination control
switch* ....................................................3-66
7. Blind-spot Collision Warning (BCW)
system* ..................................................5-52
8. Lane Keeping Assist (LKA) system* ......5-87
9. ESC OFF button* ..................................5-35
10. AWD LOCK button* ............................5-43
11. Power liftgate button* ..........................3-54
12. Fuse box ..............................................7-52
13. Steering wheel ....................................3-21
14. Steering wheel tilt/telescope lever* ......3-22
15. Seat........................................................2-4
16. Hood release lever ..............................3-47
* : if equipped
OTL018003NThe actual shape may differ from the illustration.
Page 17 of 546
1-6
E EN
NG
GI
IN
NE
E
C
CO
OM
MP
PA
AR
RT
TM
ME
EN
NT
T
Your vehicle at a glance
OTLA075001 ■ ■
2.0 GDI
1. Engine coolant reservoir/
Radiator cap .....................................7-19
2. Brake fluid reservoir ..........................7-23
3. Air cleaner.........................................7-25
4. Engine oil dipstick .............................7-17
5. Engine oil filler cap ...........................7-18
6. Windshield washer fluid reservoir .....7-24
7. Fuse box ...........................................7-53
8. Battery terminal [+] ...........................7-33
9. Battery terminal [-] ............................7-33
The actual engine compartment in the vehicle may differ from the illustration.
Page 18 of 546
1-7
Your vehicle at a glance
1
OTLE075104
■ ■2.4 GDI
1. Engine coolant reservoir/
Radiator cap .....................................7-19
2. Brake fluid reservoir ..........................7-23
3. Air cleaner.........................................7-25
4. Engine oil dipstick .............................7-17
5. Engine oil filler cap ...........................7-18
6. Windshield washer fluid reservoir .....7-24
7. Fuse box ...........................................7-53
8. Battery terminal [+] ...........................7-33
9. Battery terminal [-] ............................7-33
The actual engine compartment in the vehicle may differ from the illustration.
Page 133 of 546
3-42
Convenient features of your vehicle
Information
The automatic reverse feature is only
active when the "Auto Up" feature is
used by fully pulling up the switch to
the second detent.
Do not install any accessories on
the windows. The automatic
reverse feature may not operate.
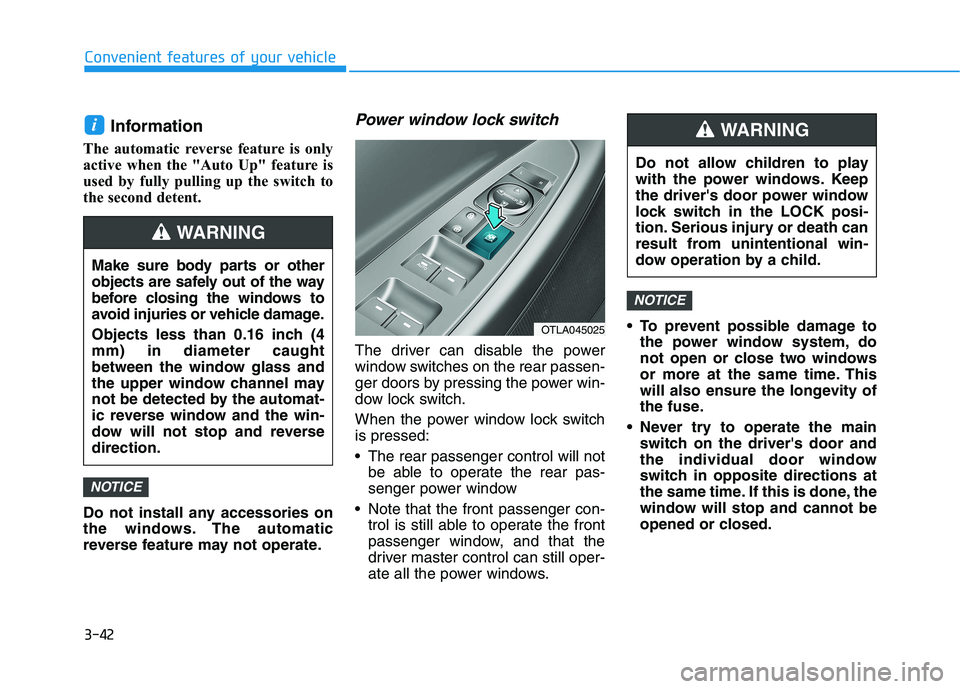
Power window lock switch
The driver can disable the power
window switches on the rear passen-
ger doors by pressing the power win-
dow lock switch.
When the power window lock switch
is pressed:
The rear passenger control will not
be able to operate the rear pas-
senger power window
Note that the front passenger con-
trol is still able to operate the front
passenger window, and that the
driver master control can still oper-
ate all the power windows. To prevent possible damage to
the power window system, do
not open or close two windows
or more at the same time. This
will also ensure the longevity of
the fuse.
Never try to operate the main
switch on the driver's door and
the individual door window
switch in opposite directions at
the same time. If this is done, the
window will stop and cannot be
opened or closed.
NOTICE
NOTICE
i
Make sure body parts or other
objects are safely out of the way
before closing the windows to
avoid injuries or vehicle damage.
Objects less than 0.16 inch (4
mm) in diameter caught
between the window glass and
the upper window channel may
not be detected by the automat-
ic reverse window and the win-
dow will not stop and reverse
direction.
WARNING
OTLA045025
Do not allow children to play
with the power windows. Keep
the driver's door power window
lock switch in the LOCK posi-
tion. Serious injury or death can
result from unintentional win-
dow operation by a child.
WARNING
Page 137 of 546
3-46
Convenient features of your vehicle
Periodically remove any dirt that
may accumulate on the sunroof
guide rail or between the sun-
roof and roof panel which can
make a noise.
Do not try to open the sunroof
when the temperature is below
freezing or when the sunroof is
covered with snow or ice, other-
wise the motor could be dam-
aged. In cold and wet climates,
the sunroof may not work prop-
erly.
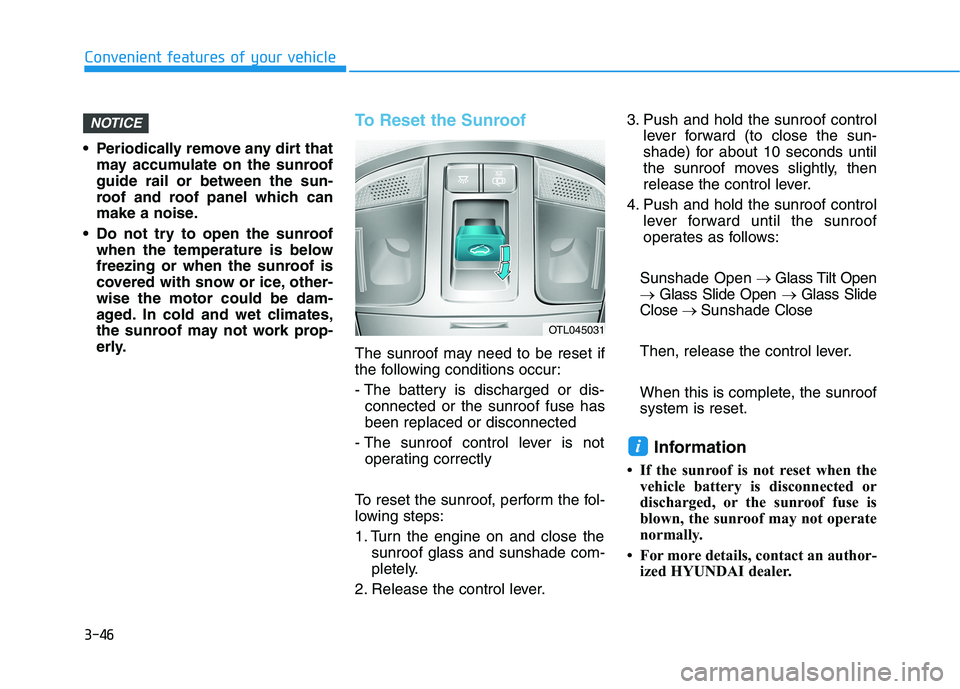
To Reset the Sunroof
The sunroof may need to be reset if
the following conditions occur:
- The battery is discharged or dis-
connected or the sunroof fuse has
been replaced or disconnected
- The sunroof control lever is not
operating correctly
To reset the sunroof, perform the fol-
lowing steps:
1. Turn the engine on and close the
sunroof glass and sunshade com-
pletely.
2. Release the control lever.3. Push and hold the sunroof control
lever forward (to close the sun-
shade) for about 10 seconds until
the sunroof moves slightly, then
release the control lever.
4. Push and hold the sunroof control
lever forward until the sunroof
operates as follows:
Sunshade Open→ Glass Tilt Open
→ Glass Slide Open → Glass Slide
Close → Sunshade Close
Then, release the control lever.
When this is complete, the sunroof
system is reset.
Information
• If the sunroof is not reset when the
vehicle battery is disconnected or
discharged, or the sunroof fuse is
blown, the sunroof may not operate
normally.
• For more details, contact an author-
ized HYUNDAI dealer.
i
NOTICE
OTL045031
Page 150 of 546
3-59
Convenient features of your vehicle
3
How to reset the power liftgate
If the battery has been discharged or
disconnected, or if the power liftgate
fuse has been replaced or removed,
reset the power liftgate by performing
the following procedure:
1. Put the shift lever in park (P).
2. Press the power liftgate inner but-
ton and the power liftgate outer
handle button simultaneously for
more than 3 seconds. The chime
will sound.
3. Close the liftgate manually.
If the power liftgate does not work
properly after the above procedure,
have the system checked by an
authorized HYUNDAI dealer.
When operating the power liftgate,
the gear shift lever must be in the
(P) park position in order to oper-
ate normally.
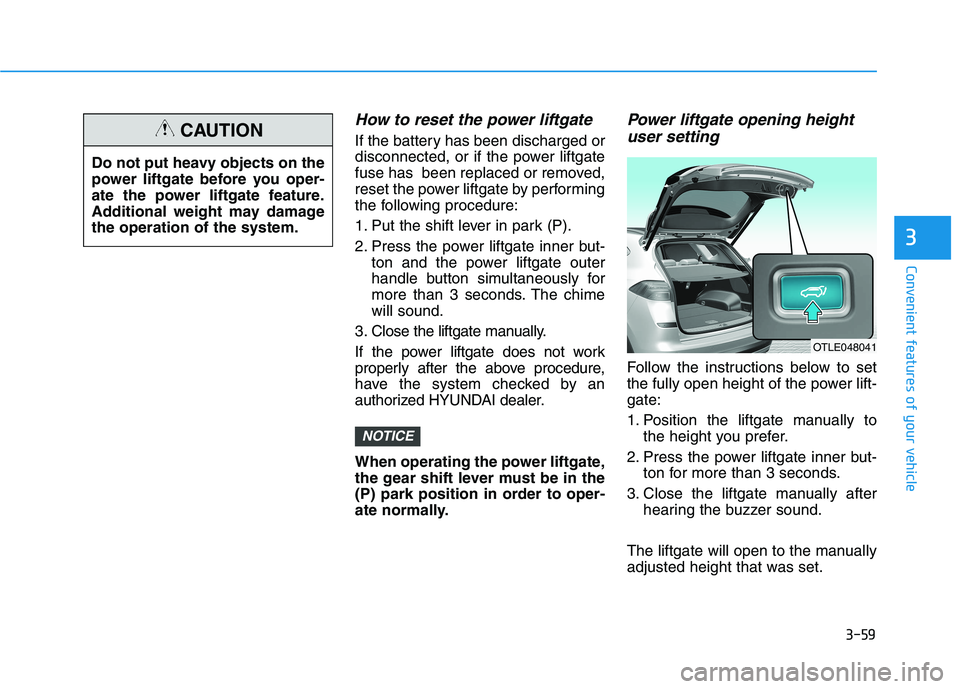
Power liftgate opening height
user setting
Follow the instructions below to set
the fully open height of the power lift-
gate:
1. Position the liftgate manually to
the height you prefer.
2. Press the power liftgate inner but-
ton for more than 3 seconds.
3. Close the liftgate manually after
hearing the buzzer sound.
The liftgate will open to the manually
adjusted height that was set.
NOTICE
Do not put heavy objects on the
power liftgate before you oper-
ate the power liftgate feature.
Additional weight may damage
the operation of the system.
CAUTION
OTLE048041
Page 178 of 546
3-87
Convenient features of your vehicle
3
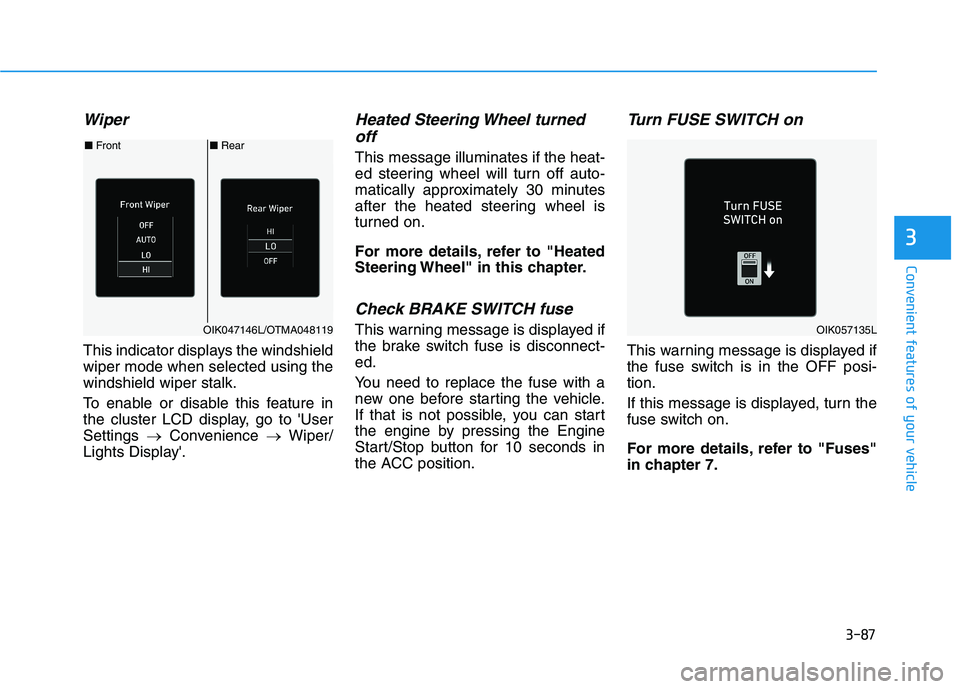
Wiper
This indicator displays the windshield
wiper mode when selected using the
windshield wiper stalk.
To enable or disable this feature in
the cluster LCD display, go to 'User
Settings →Convenience →Wiper/
Lights Display'.
Heated Steering Wheel turned
off
This message illuminates if the heat-
ed steering wheel will turn off auto-
matically approximately 30 minutes
after the heated steering wheel is
turned on.
For more details, refer to "Heated
Steering Wheel" in this chapter.
Check BRAKE SWITCH fuse
This warning message is displayed if
the brake switch fuse is disconnect-
ed.
You need to replace the fuse with a
new one before starting the vehicle.
If that is not possible, you can start
the engine by pressing the Engine
Start/Stop button for 10 seconds in
the ACC position.
Turn FUSE SWITCH on
This warning message is displayed if
the fuse switch is in the OFF posi-
tion.
If this message is displayed, turn the
fuse switch on.
For more details, refer to "Fuses"
in chapter 7.
■Rear ■Front
OIK047146L/OTMA048119OIK057135L
Page 192 of 546
3-101
Convenient features of your vehicle
3
6. Service interval
Information
To use the service interval menu, consult an authorized HYUNDAI dealer.
If the service interval is activated and the time and distance is adjusted, messages are displayed in the following
situations each time the vehicle is turned on.
- Service in: Displayed to inform the driver the remaining mileage and days to service.
- Service required: Displayed when the mileage and days to service has been reached or passed.
Information
If any of the following conditions occur, the mileage and number of days to service may be incorrect.
- The battery cable is disconnected.
- The fuse switch is turned off.
- The battery is discharged.
i
i
ItemsExplanation
Service IntervalTo activate or deactivate the service interval function.
Adjust IntervalIf the service interval menu is activated, you may adjust the time and distance.