2021 HYUNDAI TUCSON HYBRID Climate
[x] Cancel search: ClimatePage 272 of 630
05
5-115
Recirculating air when washer
fluid is used
Recirculation mode automatically
activates to reduce any objectionable
scent of the washer fluid from entering
the cabin when the windshield washer is
used.
When it is shifted to the recirculation
mode, the unpleasant scent may flow
into the vehicle.
However, In cold whether to prevent
the windshield from fogging up, the
recirculation mode may not be selected.
Turning Activate upon Washer Fluid
Use ON or OFF
Climate control system
To turn the Activate upon Washer Fluid
Use feature on or off, select Floor level
(
) mode, and then press the air
intake control () button four times
within two seconds while pressing the
A/C icon.
When Activate upon Washer Fluid Use
ON is turned on, the air intake control
button indicator will blink 6 times. When
turned off, the indicator will blink 3
times.
Infotainment system
Activate upon Washer Fluid Use can be
turned
on and o
ff
b
y
selecting ‘Se
tup
→ Vehicle Se
ttings
→ Clima
te
→ R
ecirculate
Air → A
ctivate
upon W
asher
Fluid U
se
(or In
terlocking washer fluid)’ from the
infotainment system screen.
For detailed information, refer to the
separately supplied infotainment
system manual.
Sunroof inside air recirculation
(if equipped)
When the sunroof is opened, fresh
mode will be automatically selected.
At this time, if you press the air intake
control button, recirculation mode will
be selected but will change back to fresh
mode after 3 minutes. When the sunroof
is closed, the air intake position will
return to the original position that was
selected.
Automatic Controls for the
Driver Based on Climate Control
System Settings
The temperature of the driver’s seat
warmer, air ventilated seat and heated
steering wheel is automatically
controlled depending on the inside and
outside temperature of the vehicle when
the engine is running.
To use these features, it must be
enabled from the Settings menu in the
infotainment system screen. Select:
- Setup → V
ehicle
Se
ttings
→ Sea
t
→ Hea
ted/Ventilated
F
eatures
→ H
eated/
Ventilated
F
eatures
→ A
uto.
Con
trols
That U
se Climate Control Settings
For more details on Auto Comfort
Control, refer to “Seat Warmers” and
“Air ventilation seats” section in chapter
3 and “Heated Steering Wheel” section
in chapter 5.
Page 309 of 630
Driving your vehicle
6-22
Disc brakes wear indicator
When your brake pads are worn and new
pads are required, you will hear a high
pitched warning sound from your front
or rear brakes. You may hear this sound
come and go or it may occur whenever
you depress the brake pedal.
Note that some driving conditions or
climates may cause a brake squeal
when you first apply (or lightly apply)
the brakes. This is normal and does not
indicate a problem with your brakes.
NOTICE
To avoid costly brake repairs, do not
continue to drive with worn brake pads.
Information
Always replace brake pads as complete
front or rear axle sets.
Electronic Parking Brake (EPB)
Applying the parking brake
ONX4060006
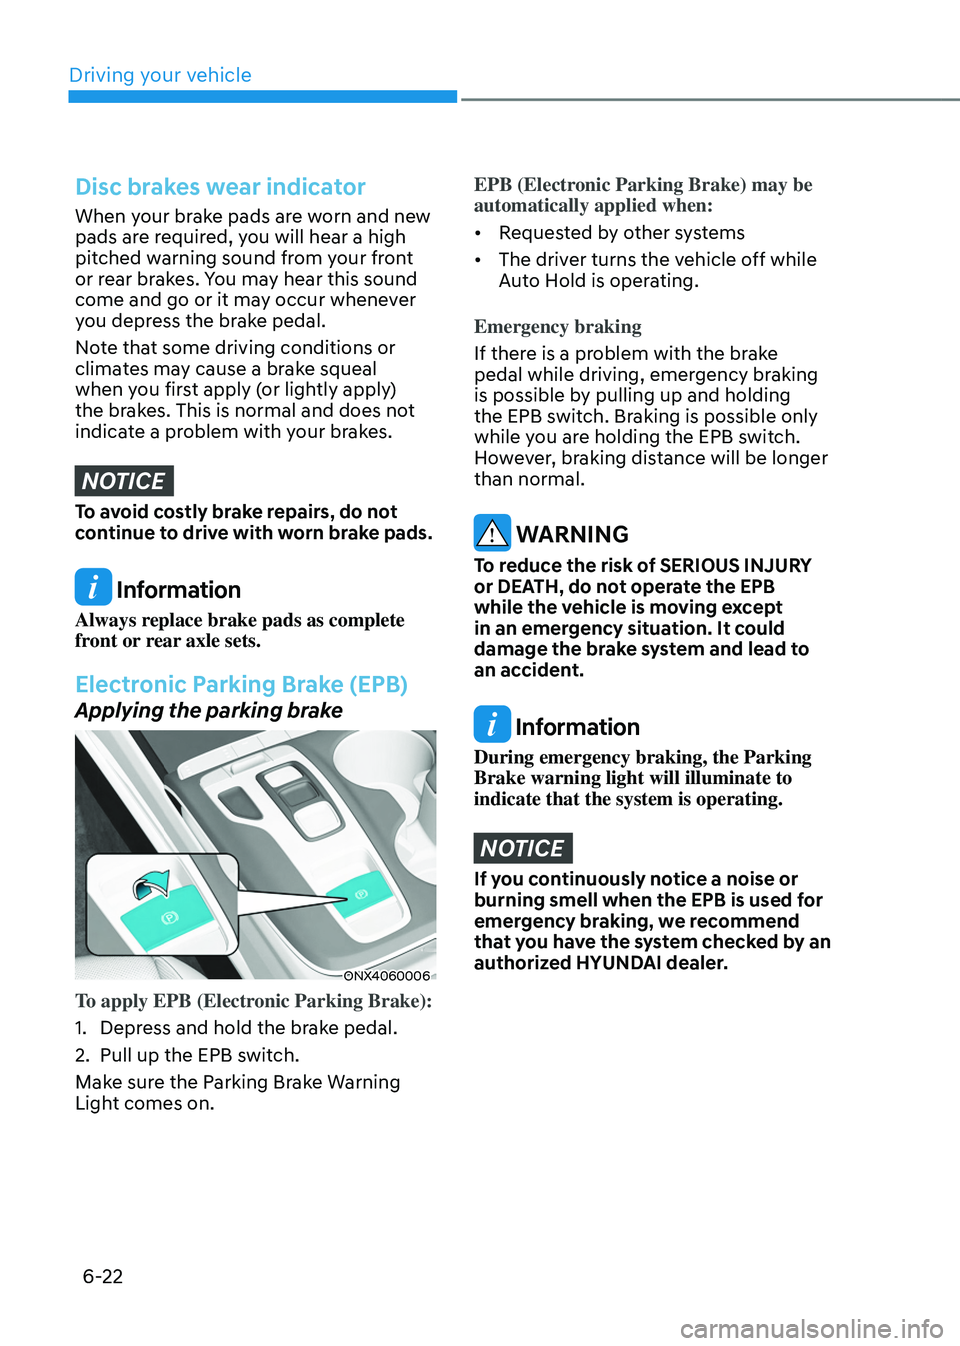
To apply EPB (Electronic Parking Brake):
1.
Depress and hold the br
ake pedal.
2.
Pull up the EPB swit
ch.
Make sure the Parking Brake Warning
Light comes on.
EPB (Electronic Parking Brake) may be
automatically applied when:
• Requested by other systems
• The driver turns the vehicle off while
Auto Hold is operating.
Emergency braking
If there is a problem with the brake
pedal while driving, emergency braking
is possible by pulling up and holding
the EPB switch. Braking is possible only
while you are holding the EPB switch.
However, braking distance will be longer
than normal.
WARNING
To reduce the risk of SERIOUS INJURY
or DEATH, do not operate the EPB
while the vehicle is moving except
in an emergency situation. It could
damage the brake system and lead to
an accident.
Information
During emergency braking, the Parking
Brake warning light will illuminate to
indicate that the system is operating.
NOTICE
If you continuously notice a noise or
burning smell when the EPB is used for
emergency braking, we recommend
that you have the system checked by an
authorized HYUNDAI dealer.
Page 525 of 630
08
8-5
if tHe 12 volt Battery is discHar ged
Before Jump Starting
This vehicle does not have a regular 12V
battery that needs periodic replacement.
It is lithium ion polymer type integrated
into the HEV high voltage battery. The
vehicle has a 12V battery protection
system that cuts 12V battery from vehicle
draw to prevent full discharge.
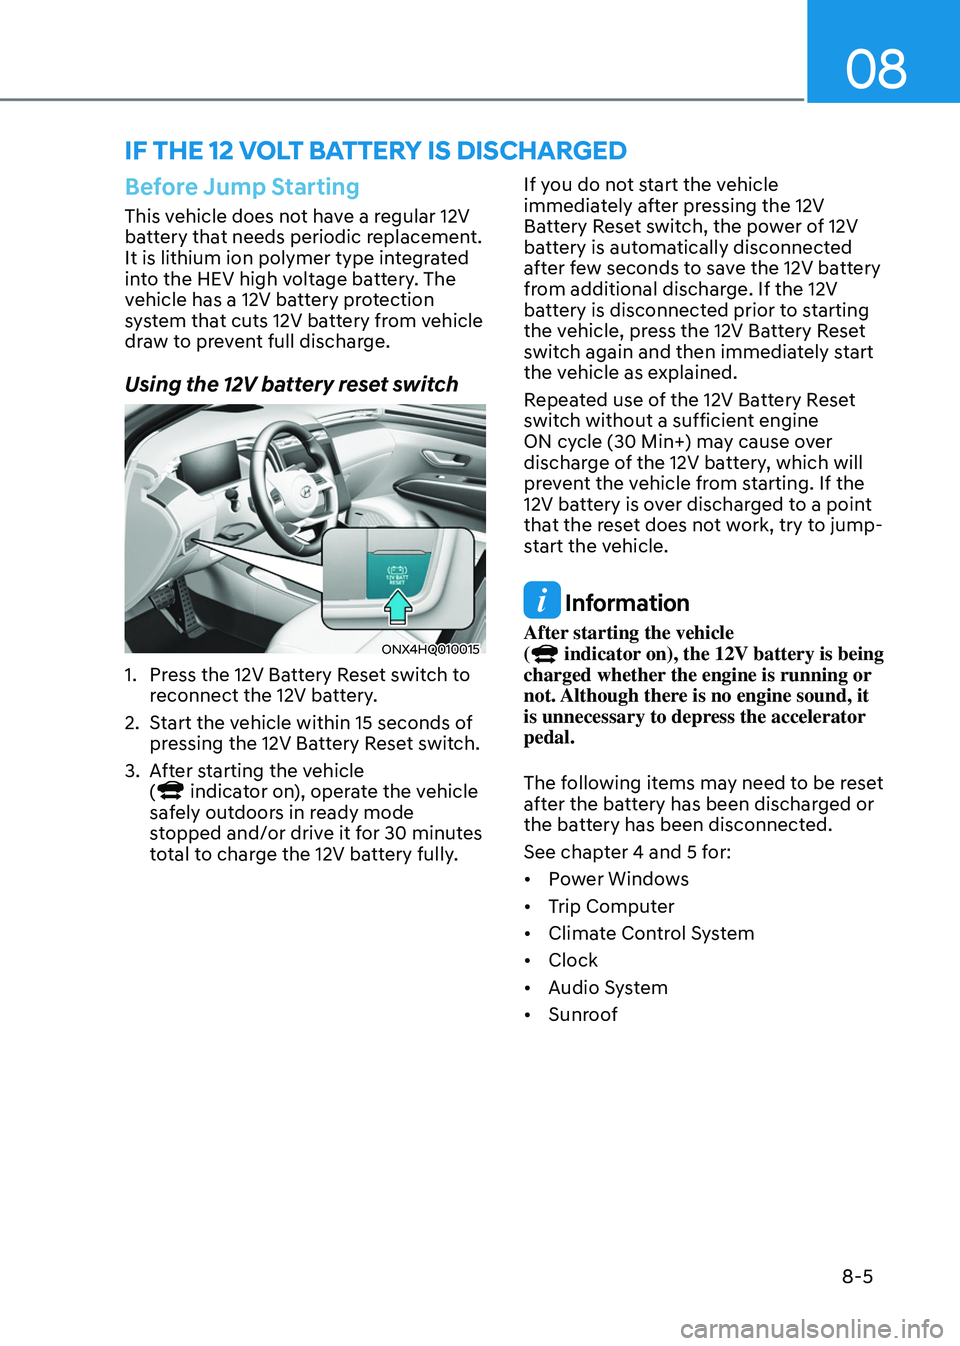
Using the 12V battery reset switch
ONX4HQ010015
1. Press the 12V Battery Reset switch to
r
econnect the 12V battery.
2.
Start the v
ehicle within 15 seconds of
pressing the 12V Battery Reset switch.
3.
Aft
er starting the vehicle
(
indicator on), operate the vehicle
safely outdoors in ready mode
stopped and/or drive it for 30 minutes
total to charge the 12V battery fully. If you do not start the vehicle
immediately after pressing the 12V
Battery Reset switch, the power of 12V
battery is automatically disconnected
after few seconds to save the 12V battery
from additional discharge. If the 12V
battery is disconnected prior to starting
the vehicle, press the 12V Battery Reset
switch again and then immediately start
the vehicle as explained.
Repeated use of the 12V Battery Reset
switch without a sufficient engine
ON cycle (30 Min+) may cause over
discharge of the 12V battery, which will
prevent the vehicle from starting. If the
12V battery is over discharged to a point
that the reset does not work, try to jump-
start the vehicle.
Information
After starting the vehicle
( indicator on), the 12V battery is being
charged whether the engine is running or
not. Although there is no engine sound, it
is unnecessary to depress the accelerator
pedal.
The following items may need to be reset
after the battery has been discharged or
the battery has been disconnected.
See chapter 4 and 5 for:
• Power Windows
• Trip Computer
• Climate Control System
• Clock
• Audio System
• Sunroof
Page 555 of 630

Maintenance
9-8
The following maintenance services must be performed to ensure good emission control and performance.
Keep receipts for all vehicle emission services to protect your warranty. Where both mileage and time are shown, the frequency of
service is determined by whichever occurs first.
MAINTENANCE INTERVALS
MAINTENANCE
ITEM Number of months or driving distance, whichever comes first
Months 12 24 36 48 60 72 84 96 108 120 132 144 156 168 180 Milesx1,000 8 16 24 32 40 48 56 64 72 80 88 96 104 112 120Kmx1,000 13 26 39 52 65 78 91 104 117 130 143 156 169 182 195
HSG belts
*1
Inspect every 8,000 miles (13,000 km) or 12 months,
and replace every 56,000 miles(90,000 km) or 84 months
Engine oil and engine oil filter
*2 *3
R R R R R R R R R R R R R R R
Fuel additives
*4
Add every 8,000 miles (13,000 km) or 12 months
Air cleaner filter I I R I I R I I R I I R I I R
Spark plugs Replace every 46,000 miles (75,000 km)
Rotate tires Rotate tires every 8,000 miles (13,000 km)
Climate control air filter I R I R I R I R I R I R I R I
Vacuum hose I I I I I I I I I I I I I I I
Engine coolant / Inverter coolant At first, replace at 80,000 miles (130,000 km) or 10 years.
After that, replace every 24,000 miles (39,000 km) or 24 months
I : Inspect and if necessary, adjust, correct, clean or replace.
R : Replace or change.*1 : The drive belt should be replaced when cracks occur or tension is reduced excessively.
*2 : Requires API SN PLUS (or above) grade engine oil. If a lower grade engine oil is used, then the engine oil and engine oil filter
must be replaced at every 5,000 miles (8,000 km) or 6 months as indicated for severe maintenance condition.
*3 : As it is normal for engine oil to be consumed during driving, the amount of engine oil should be checked regularly.
*4 : If TOP TIER Detergent Gasoline is not available, one bottle of additive is recommended. Additives are available from your
authorized HYUNDAI dealer along with information on how to use them. Do not mix other additives.
Normal Maintenance Schedule
Page 559 of 630

Maintenance
9-12
Maintenance itemMaintenance
operation Maintenance Intervals Driving
condition
Driveshaft and boots IEvery 5,000 miles
(8,000 km) or 6 months C, D, E, F, G,
H, I, J
Drive shaft IInspect more frequently
depending on the condition C, D, E, F, G,
H, I, J
Climate control air filter
(for evaporator and blower
unit) RReplace more
frequently depending on the condition C, E
Rear differential oil (AWD) RReplace every 72,000
miles (120,000 km) C, D, E, G, H,
I, J
Transfer case oil (AWD) RReplace every 72,000
miles (120,000 km) C, D, E, G, H,
I, J
Severe driving conditions
A. Repeatedly driving short distance of less than 5 miles (8 km) in normal temperature
or less than 16 miles (10 km ) in freezing temperature
B.
Extensiv
e engine idling or low speed driving for long distances
C.
Driving on rough, dus
ty, muddy, unpaved, graveled or salt spread roads
D.
Driving in areas using salt or o
ther corrosive materials or in very cold weather
E.
Driving in heavy dus
t conditions
F.
Driving in heavy tr
affic area
G.
Driving on uphill, downhill, or moun
tain roads repeatedly
H.
Using f
or towing or camping, and driving with loading on the roof
I.
Driving as a patr
ol car, taxi, other commercial use or vehicle towing
J.
Fr
equently driving under high speed or rapid acceleration
K.
Fr
equently driving in stop-and-go conditions
L.
Engine oil usage which is no
t recommended(mineral type, semi-synthetic, lower
grade, etc.)
Page 562 of 630
09
9-15
Checking the engine oil level
Engine oil is used for lubricating,
cooling, and operating various hydraulic
components in the engine. Engine oil
consumption while driving is normal,
and it is necessary to check and refill the
engine oil regularly. Also, check and refill
the oil level within the recommended
maintenance schedule to prevent
deterioration of oil performance.
Check the engine oil following the below
procedure.
1.
Follo
w all of the oil manufacturer’s
precautions.
2.
Be sure the v
ehicle is on the level
ground in P (Park) with the parking
brake set and the wheels blocked.
3.
Turn the engine on and w
arm
the engine up until the coolant
temperature reaches a constant
normal temperature.
4.
Turn the engine o
ff, remove the oil
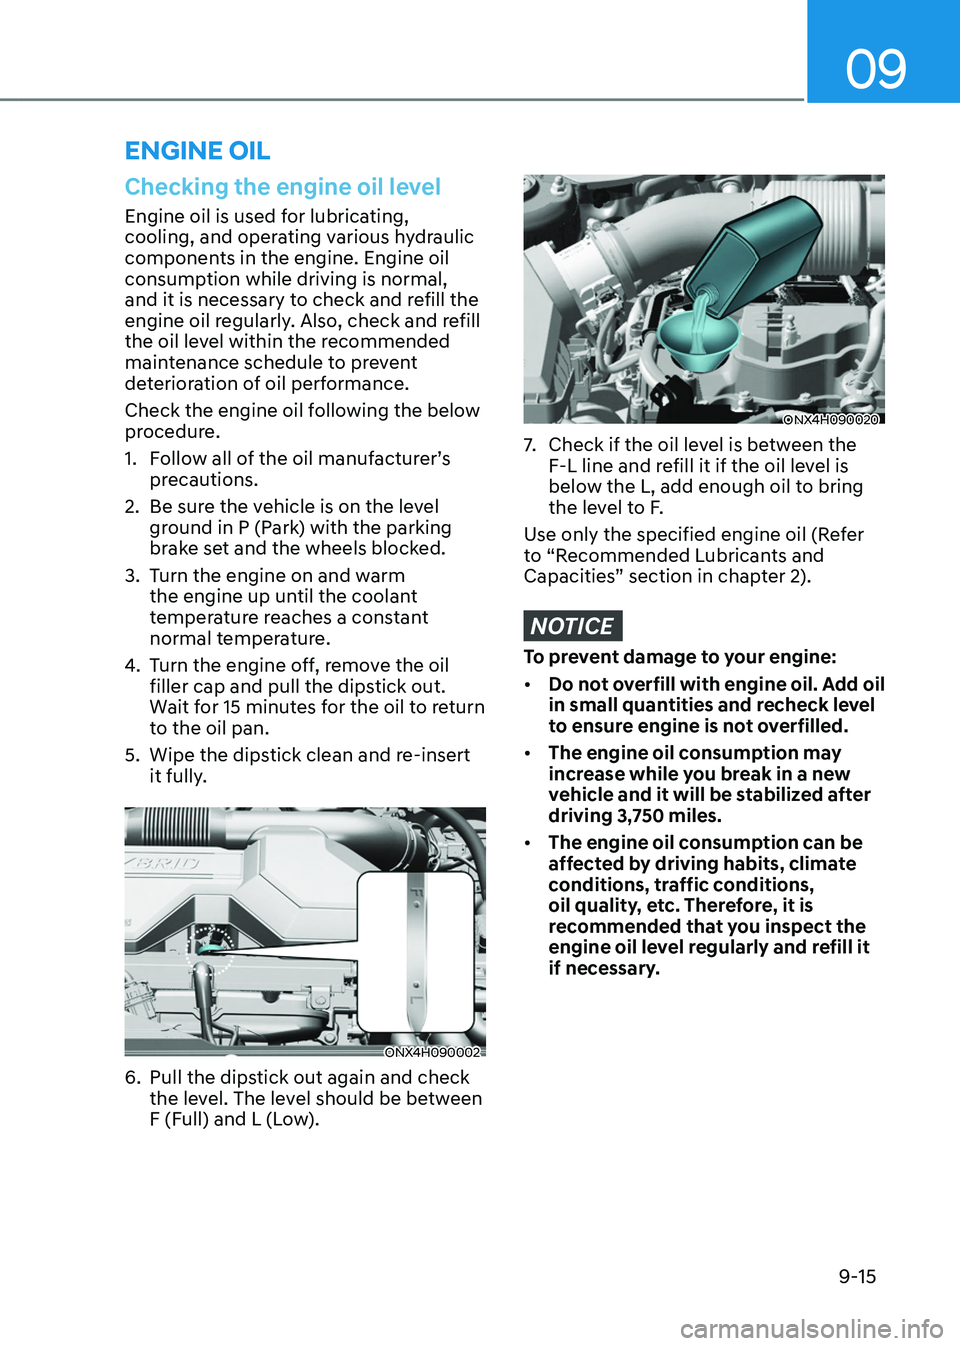
filler cap and pull the dipstick out.
Wait for 15 minutes for the oil to return
to the oil pan.
5.
Wipe the dipstick clean and r
e-insert
it fully.
ONX4H090002
6. Pull the dipstick out again and check
the le vel. The level should be between
F (Full) and L (Low).
ONX4H090020
7. Check if the oil lev el is between the
F-L line and refill it if the oil level is
below the L, add enough oil to bring
the level to F.
Use only the specified engine oil (Refer
to “Recommended Lubricants and
Capacities” section in chapter 2).
NOTICE
To prevent damage to your engine:
• Do not overfill with engine oil. Add oil
in small quantities and recheck level
to ensure engine is not overfilled.
• The engine oil consumption may
increase while you break in a new
vehicle and it will be stabilized after
driving 3,750 miles.
• The engine oil consumption can be
affected by driving habits, climate
conditions, traffic conditions,
oil quality, etc. Therefore, it is
recommended that you inspect the
engine oil level regularly and refill it
if necessary.
EnginE oil
Page 564 of 630
09
9-17
The high-pressure cooling system has a
reservoir filled with year-round antifreeze
coolant. The reservoir is filled at the
factory.
Check the antifreeze protection and
coolant level at least once a year, at
the beginning of the winter season and
before traveling to a colder climate.
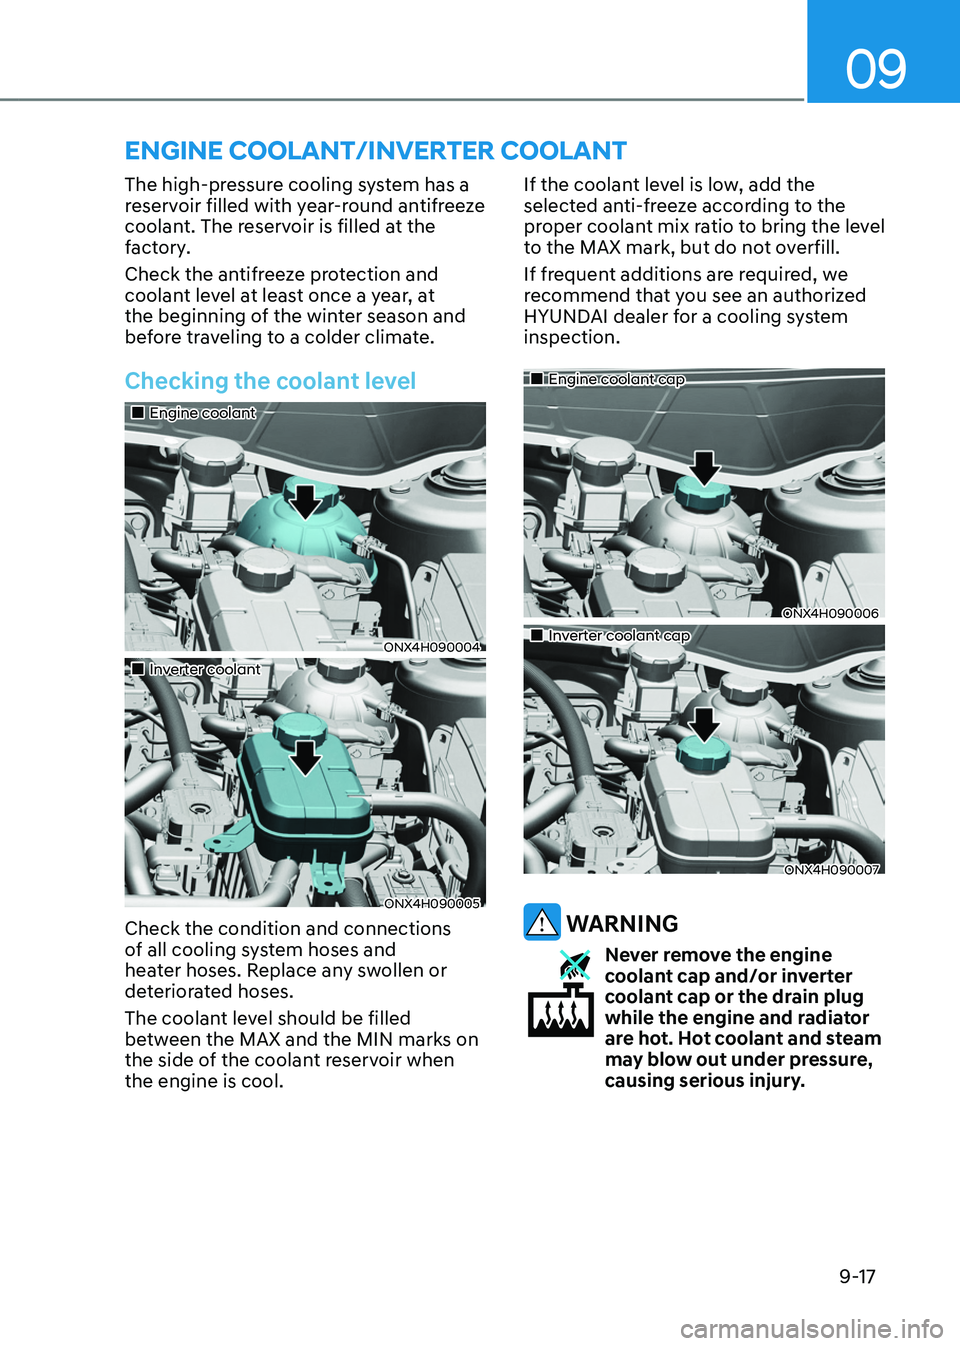
Checking the coolant level
„„Engine coolant
ONX4H090004
„„Inverter coolant
ONX4H090005
Check the condition and connections
of all cooling system hoses and
heater hoses. Replace any swollen or
deteriorated hoses.
The coolant level should be filled
between the MAX and the MIN marks on
the side of the coolant reservoir when
the engine is cool.If the coolant level is low, add the
selected
an
ti-freeze according to the
proper
coolan
t mix ratio
t
o bring the level
to the MAX mark, but do not overfill.
If frequent additions are required, we
recommend that you see an authorized
HYUNDAI dealer for a cooling system
inspection.
„„Engine coolant cap
ONX4H090006
„„Inverter coolant cap
ONX4H090007
WARNING
Never remove the engine
coolant cap and/or inverter
coolant cap or the drain plug
while the engine and radiator
are hot. Hot coolant and steam
may blow out under pressure,
causing serious injury.
EnginE coolant/invErtEr coolant
Page 568 of 630
09
9-21
washEr fluid
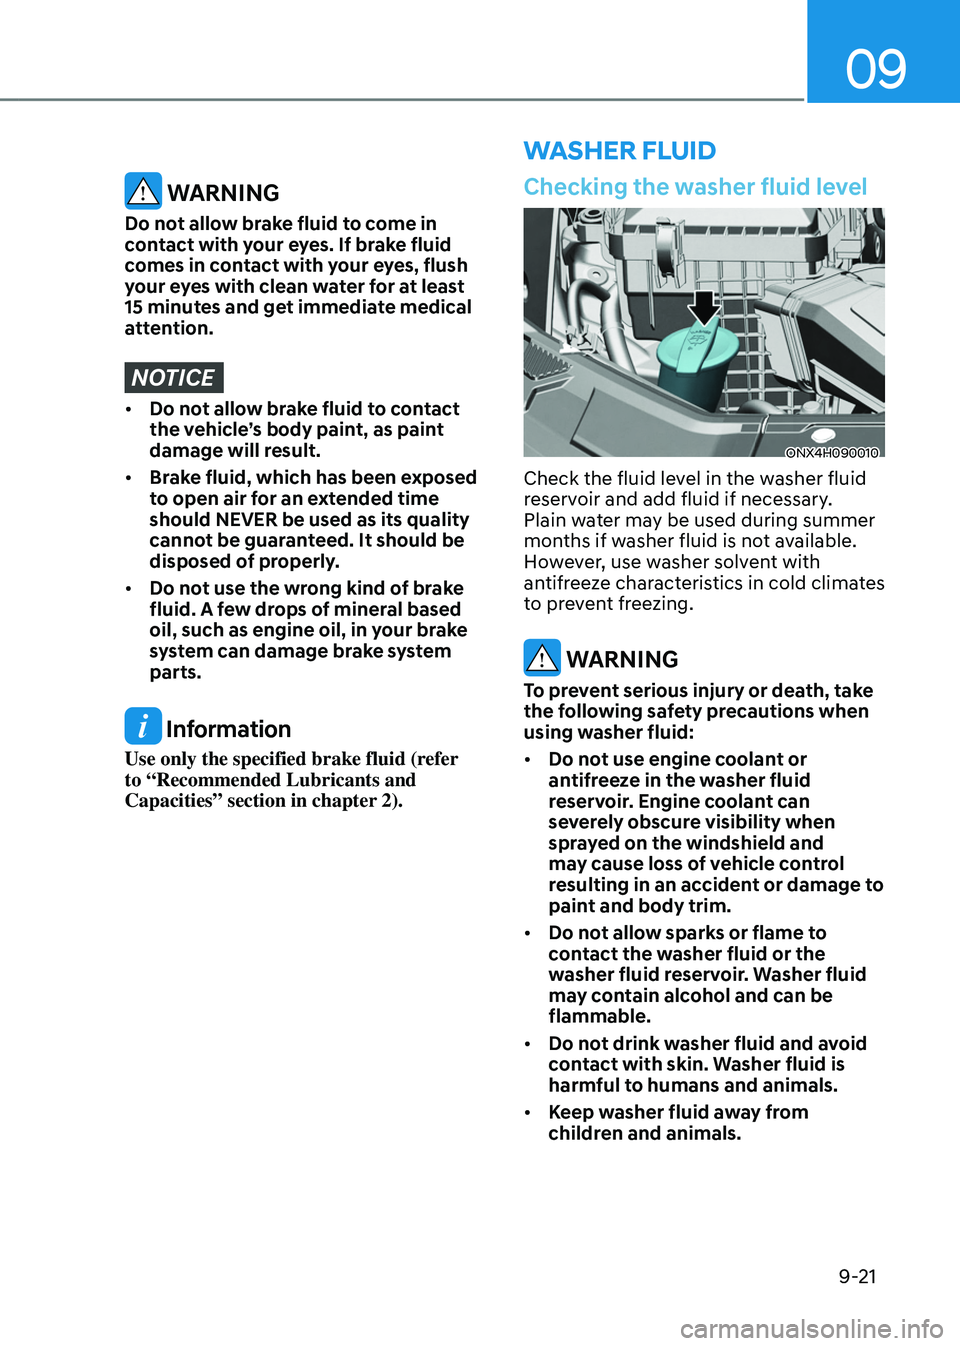
Checking the washer fluid level
ONX4H090010
Check the fluid level in the washer fluid
reservoir and add fluid if necessary.
Plain water may be used during summer
months if washer fluid is not available.
However, use washer solvent with
antifreeze characteristics in cold climates
to prevent freezing.
WARNING
To prevent serious injury or death, take
the following safety precautions when
using washer fluid:
• Do not use engine coolant or
antifreeze in the washer fluid
reservoir. Engine coolant can
severely obscure visibility when
sprayed on the windshield and
may cause loss of vehicle control
resulting in an accident or damage to
paint and body trim.
• Do not allow sparks or flame to
contact the washer fluid or the
washer fluid reservoir. Washer fluid
may contain alcohol and can be
flammable.
• Do not drink washer fluid and avoid
contact with skin. Washer fluid is
harmful to humans and animals.
• Keep washer fluid away from
children and animals.
WARNING
Do not allow brake fluid to come in
contact with your eyes. If brake fluid
comes in contact with your eyes, flush
your eyes with clean water for at least
15 minutes and get immediate medical
attention.
NOTICE
• Do not allow brake fluid to contact
the vehicle’s body paint, as paint
damage will result.
• Brake fluid, which has been exposed
to open air for an extended time
should NEVER be used as its quality
cannot be guaranteed. It should be
disposed of properly.
• Do not use the wrong kind of brake
fluid. A few drops of mineral based
oil, such as engine oil, in your brake
system can damage brake system
parts.
Information
Use only the specified brake fluid (refer
to “Recommended Lubricants and
Capacities” section in chapter 2).