Page 246 of 630
05
5-89
Rear lamps
„„Type A
ODN8059211
„„Type B
OLFP048099
Rear room lamp switch :
Press this button to turn the room lamp
on and off.
Vanity mirror lamp
OTM050200
Push the switch to turn the light on or off.
•
: The lamp will turn on if this
button is pressed.
•
: The lamp will turn off if this
butt on is pressed.
Page 248 of 630
05
5-91
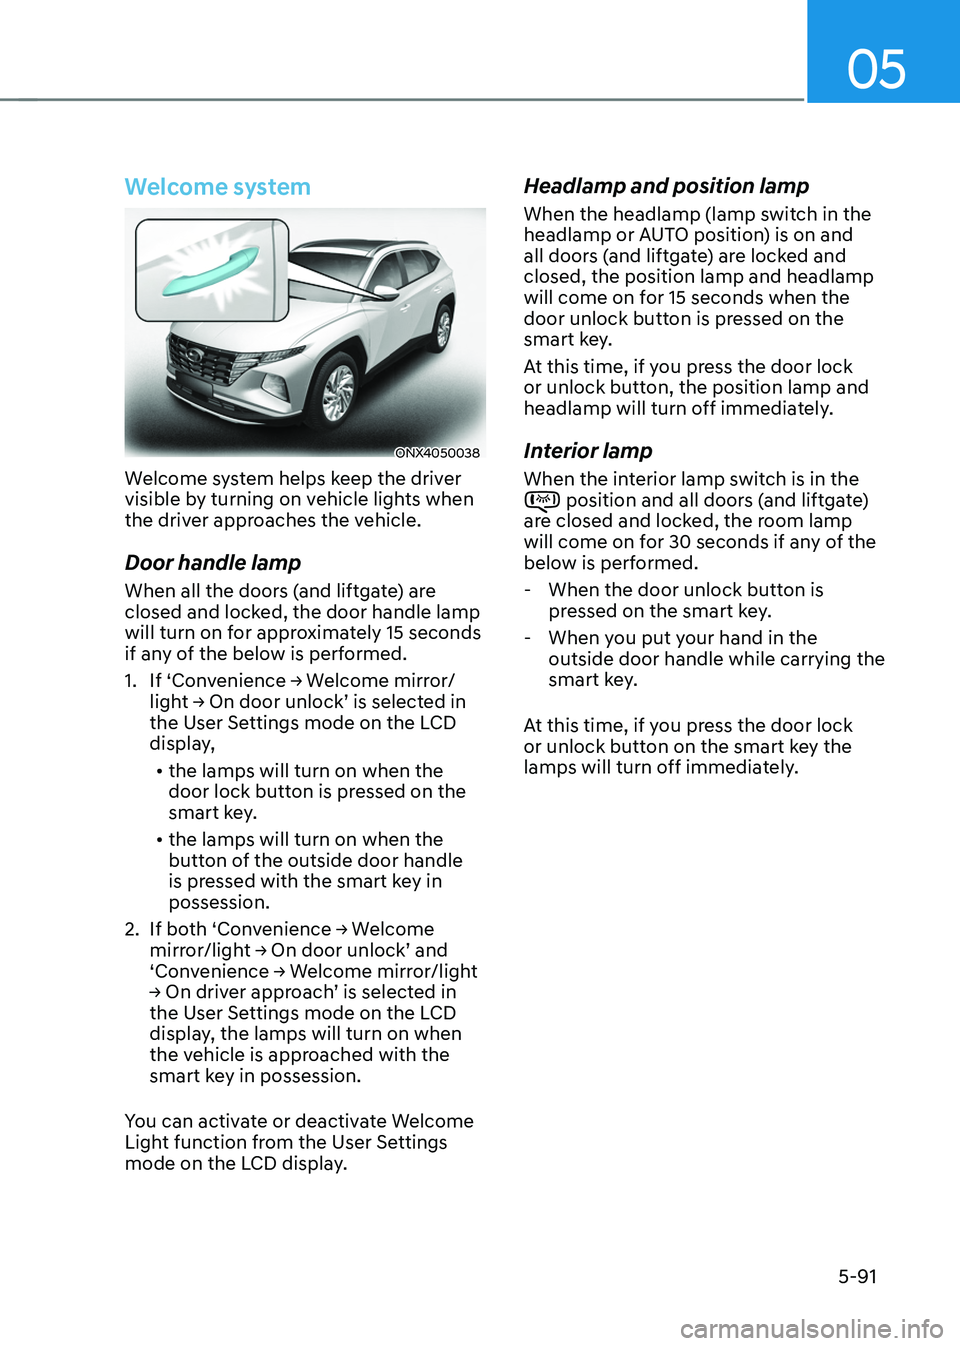
Welcome system
ONX4050038
Welcome system helps keep the driver
visible by turning on vehicle lights when
the driver approaches the vehicle.
Door handle lamp
When all the doors (and liftgate) are
closed and locked, the door handle lamp
will turn on for approximately 15 seconds
if any of the below is performed.
1.
If ‘Con
venience
→ W
elcome
mirr
or/
light
→ On door unlock’ is select
ed
in the User Se
ttings mode on the LCD
display,
• the lamps will turn on when the
door lock button is pressed on the
smart key.
• the lamps will turn on when the
button of the outside door handle
is pressed with the smart key in
possession.
2.
If bo
th
‘Con
venience
→ W
elcome
mirror/ligh
t
→ On door unlock’ and ‘Conv
enience
→ W
elcome
mirr
or/light
→ On driv
er
appr
oach’
is select
ed
in the User Se
ttings mode on the LCD
display, the lamps will turn on when
the vehicle is approached with the
smart key in possession.
You can activate or deactivate Welcome
Light function from the User Settings
mode on the LCD display.
Headlamp and position lamp
When the headlamp (lamp switch in the
headlamp or AUTO position) is on and
all doors (and liftgate) are locked and
closed, the position lamp and headlamp
will come on for 15 seconds when the
door unlock button is pressed on the
smart key.
At this time, if you press the door lock
or unlock button, the position lamp and
headlamp will turn off immediately.
Interior lamp
When the interior lamp switch is in the position and all doors (and liftgate)
are closed and locked, the room lamp
will come on for 30 seconds if any of the
below is performed.
- When the door unlock button is pr
essed on the smart key.
- When you put y
our hand in the
outside door handle while carrying the
smart key.
At this time, if you press the door lock
or unlock button on the smart key the
lamps will turn off immediately.
Page 249 of 630
Convenient features5-92
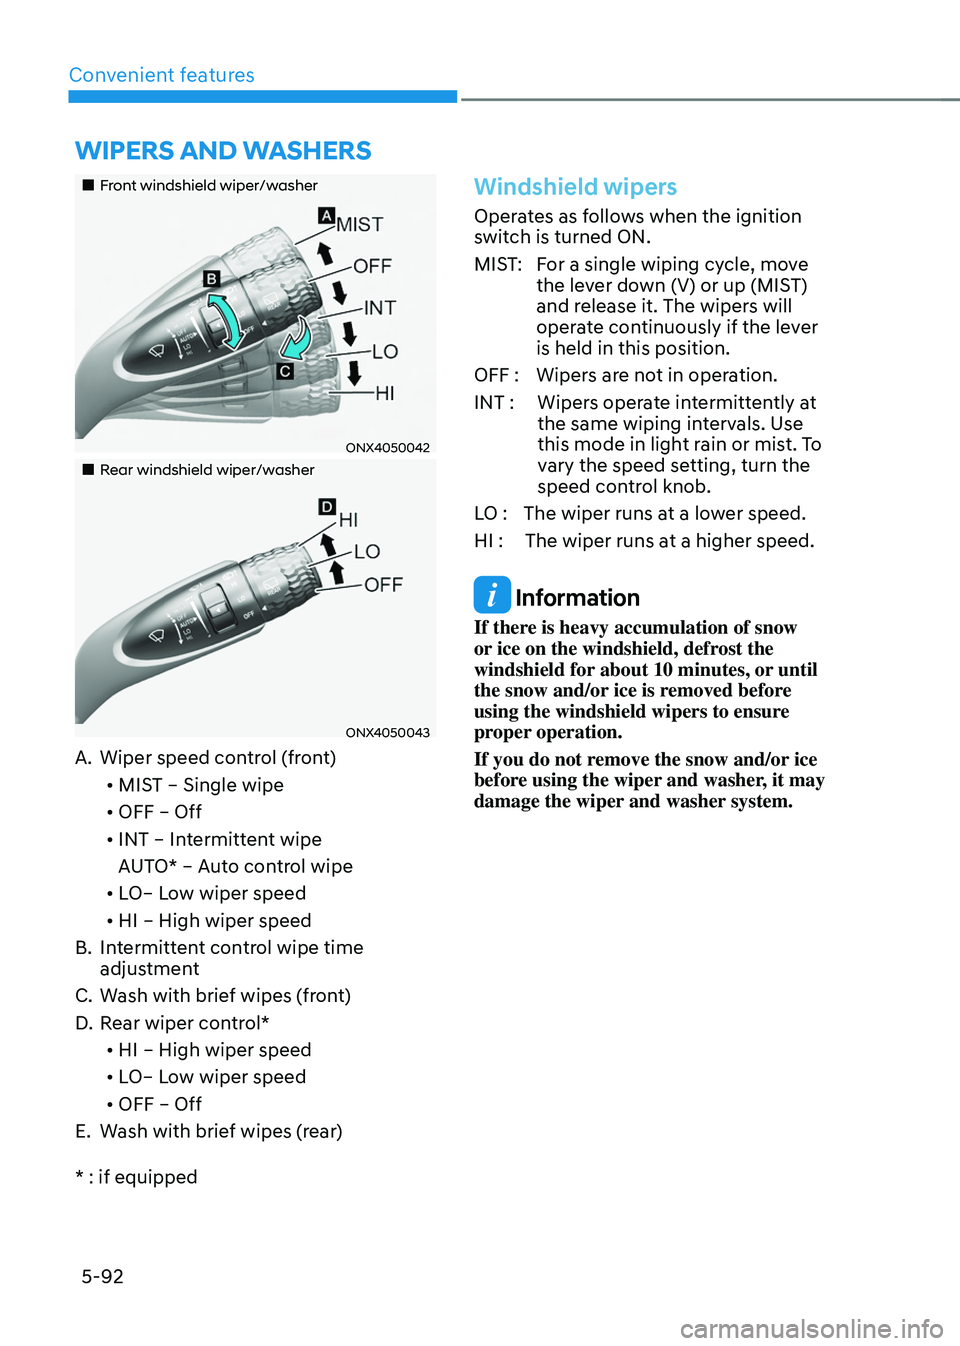
WIPers and Washer s
„„Front windshield wiper/washer
ONX4050042
„„Rear windshield wiper/washer
ONX4050043
A. Wiper speed control (front)
• MIST – Single wipe
• OFF – Off
• INT – Intermittent wipe
AUTO* – Auto control wipe
• LO– Low wiper speed
• HI – High wiper speed
B.
Int
ermittent control wipe time
adjustment
C.
Wash with brie
f wipes (front)
D.
Rear wiper con
trol*
• HI – High wiper speed
• LO– Low wiper speed
• OFF – Off
E.
Wash with brie
f wipes (rear)
* : if equipped
Windshield wipers
Operates as follows when the ignition
switch is turned ON.
MIST: For a single wiping cycle, move the lever down (V) or up (MIST)
and release it. The wipers will
operate continuously if the lever
is held in this position.
OFF : Wipers are not in operation.
INT : Wipers operate intermittently at the same wiping intervals. Use
this mode in light rain or mist. To
vary the speed setting, turn the
speed control knob.
LO : The wiper runs at a lower speed.
HI : The wiper runs at a higher speed.
Information
If there is heavy accumulation of snow
or ice on the windshield, defrost the
windshield for about 10 minutes, or until
the snow and/or ice is removed before
using the windshield wipers to ensure
proper operation.
If you do not remove the snow and/or ice
before using the wiper and washer, it may
damage the wiper and washer system.
Page 250 of 630

05
5-93
AUTO Wiper Control (if equipped)
ONX4EH050002
The rain sensor located on the upper
end of the windshield glass senses
the amount of rainfall and controls the
wiping cycle for the proper interval.
The wiper operation time will be
automatically controlled depends on
rainfall.
When the rain stops, the wiper stops.
To vary the sensitivity setting, turn the
sensitivity control knob.
If the wiper switch is set in AUTO mode
when the Engine Start/Stop button is in
the ON position, the wiper will operate
once to perform a self-check of the
system. Set the wiper to the OFF position
when the wiper is not in use.
WARNING
To avoid personal injury from the
windshield wipers, when the engine
is running and the windshield wiper
switch is placed in the AUTO mode:
• Do not touch the upper end of the
windshield glass facing the rain
sensor.
• Do not wipe the upper end of the
windshield glass with a damp or wet
cloth.
• Do not put pressure on the
windshield glass.
NOTICE
• When washing the vehicle, set the
wiper switch in the OFF position to
stop the auto wiper operation. The
wiper may operate and be damaged
if the switch is set in the AUTO mode
while washing the vehicle.
• Do not remove the sensor cover
located on the upper end of the
passenger side windshield glass.
Damage to system components
could occur and may not be covered
by your vehicle warranty.
• Because of using a photo sensor,
temporary malfunction could occur
according to sudden ambient light
change made by stone and dust
while driving.
Page 258 of 630
05
5-101
„„Front
ONX4050104
„„Rear
ONX4050105
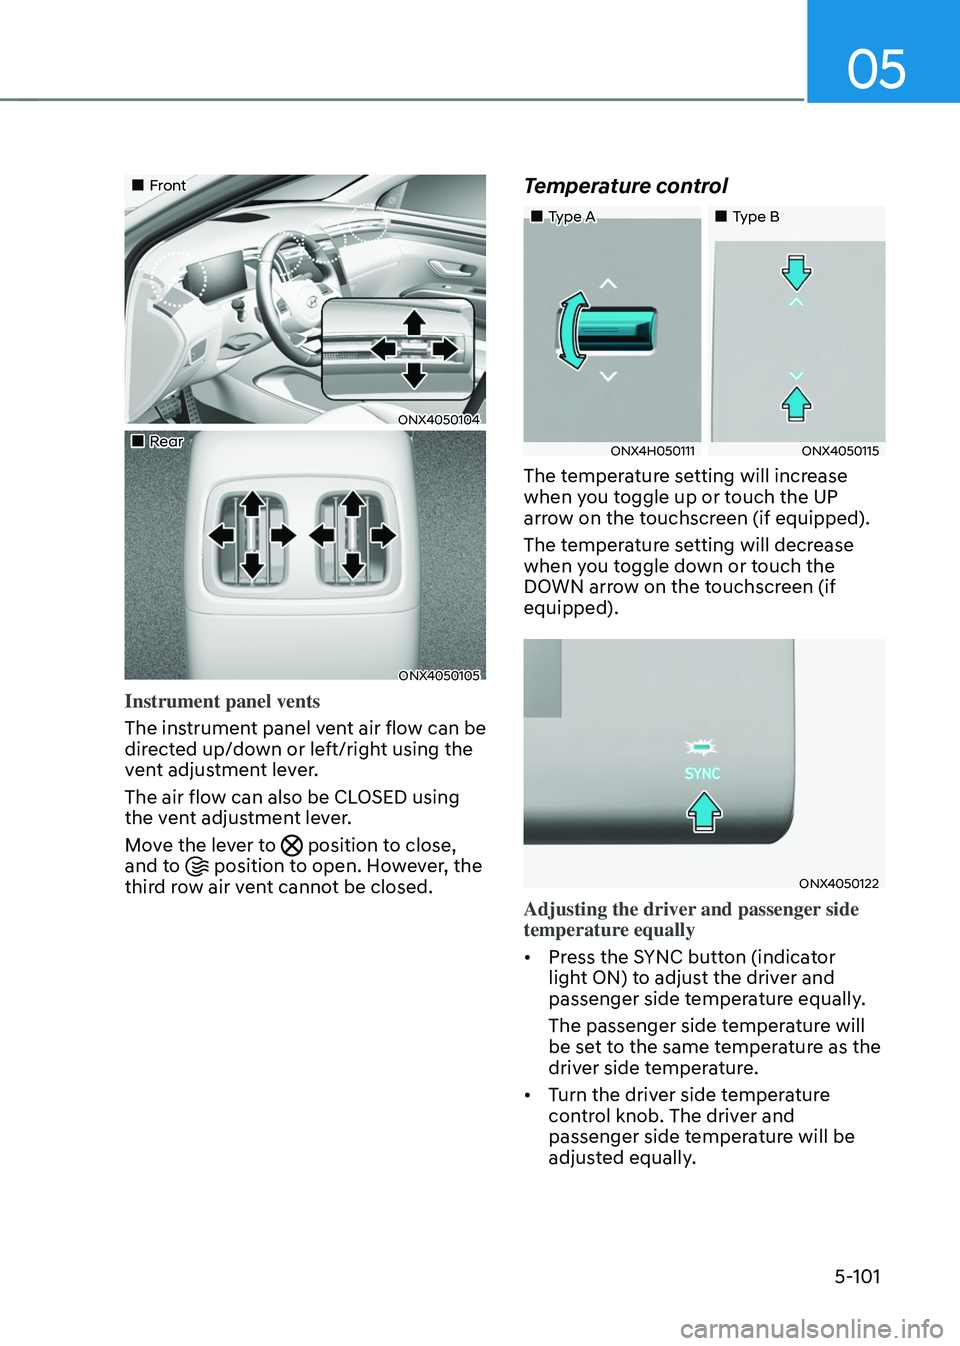
Instrument panel vents
The instrument panel vent air flow can be
directed up/down or left/right using the
vent adjustment lever.
The air flow can also be CLOSED using
the vent adjustment lever.
Move the lever to
position to close,
and to position to open. However, the
third row air vent cannot be closed.
Temperature control
„„Type A „„Type B
ONX4H050111ONX4050115
The temperature setting will increase
when you toggle up or touch the UP
arrow on the touchscreen (if equipped).
The temperature setting will decrease
when you toggle down or touch the
DOWN arrow on the touchscreen (if
equipped).
ONX4050122
Adjusting the driver and passenger side
temperature equally
• Press the SYNC button (indicator
light ON) to adjust the driver and
passenger side temperature equally.
The passenger side temperature will
be set to the same temperature as the
driver side temperature.
• Turn the driver side temperature
control knob. The driver and
passenger side temperature will be
adjusted equally.
Page 259 of 630
Convenient features
5-102
Adjusting the driver and passenger side
temperature individually
• Press the SYNC button (indicator
light OFF) again to adjust the driver
and passenger side temperature
individually.
Temperature conversion
If the battery has been discharged or
disconnected, the temperature mode
display will reset to Fahrenheit.
To change the temperature unit from °C
to °F or °F to °C :
- Instrumen
t cluster or infotainment
system screen
Go
t
o
Se
tup
→ Unit → T
emperature
unit.
The t
emperature unit on both the cluster
LCD display and the climate control
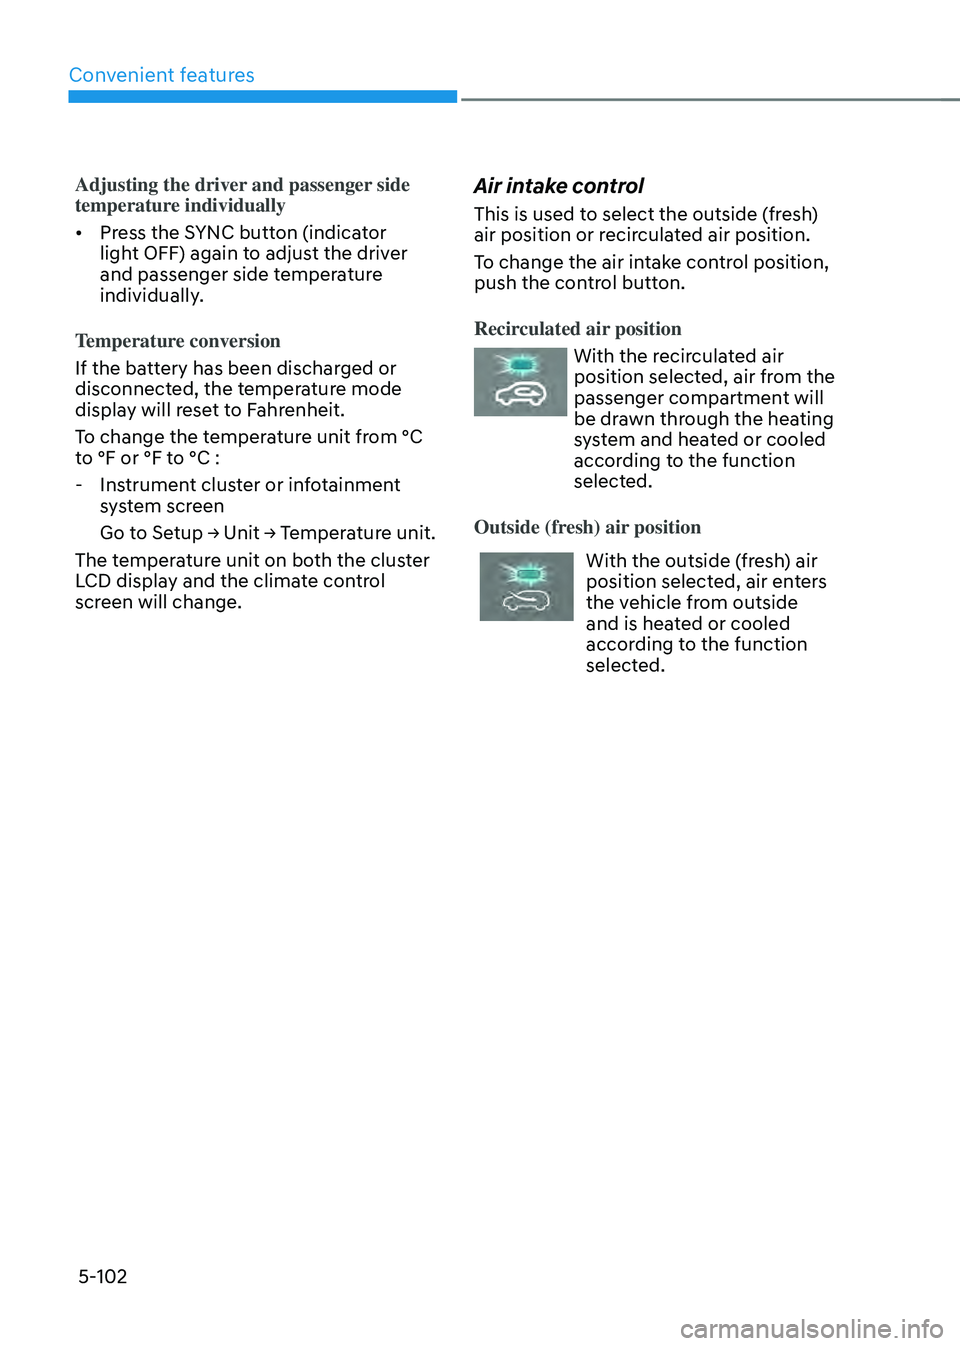
screen will change.Air intake control
This is used to select the outside (fresh)
air position or recirculated air position.
To change the air intake control position,
push the control button.
Recirculated air position
With the recirculated air
position selected, air from the
passenger compartment will
be drawn through the heating
system and heated or cooled
according to the function
selected.
Outside (fresh) air position
With the outside (fresh) air
position selected, air enters
the vehicle from outside
and is heated or cooled
according to the function
selected.
Page 261 of 630
Convenient features
5-104
Air conditioning
Push the A/C button to turn the air
conditioning system on (indicator light
will illuminate).
Push the button again to turn the air
conditioning system off.
OFF mode
Push the OFF button to turn the climate
control system off. However, you can still
operate the mode and air intake buttons
as long as the ignition switch is in the ON
position.
Driver Only
ONX4H050104
If you press the DRIVER ONLY button
and the indicator light illuminates, air
mostly blows in the direction of the
driver’s seat.
However, some of the air may come out
of other seating position ducts to keep
indoor air pleasant.
If you use the button with no passenger
in the front passenger seat, energy
consumption will be reduced.
When the front windshield defroster
button is pressed to remove frost, air
blows from the left and right sides of the
front windshield even the DRIVER ONLY
button is pressed.
Page 265 of 630
Convenient features
5-108
Air conditioning system operation tips
• If the vehicle has been parked in
direct sunlight during hot weather,
open the windows for a short time
to let the hot air inside the vehicle
escape.
• After sufficient cooling has been
achieved, switch back from the
recirculated air to the fresh outside air
position.
• To help reduce moisture inside of
the windows on rainy or humid
days, decrease the humidity inside
the vehicle by operating the air
conditioning system with the windows
and sunroof closed.
• Use the air conditioning system every
month for a few minutes to ensure
maximum system performance.
• If you operate the air conditioner
excessively, the difference between
the temperature of the outside air and
that of the windshield could cause
the outer surface of the windshield to
fog up, causing loss of visibility. In this
case, set the mode selection button to
the
position and set the fan speed
control knob to the lowest speed
setting.
System maintenance
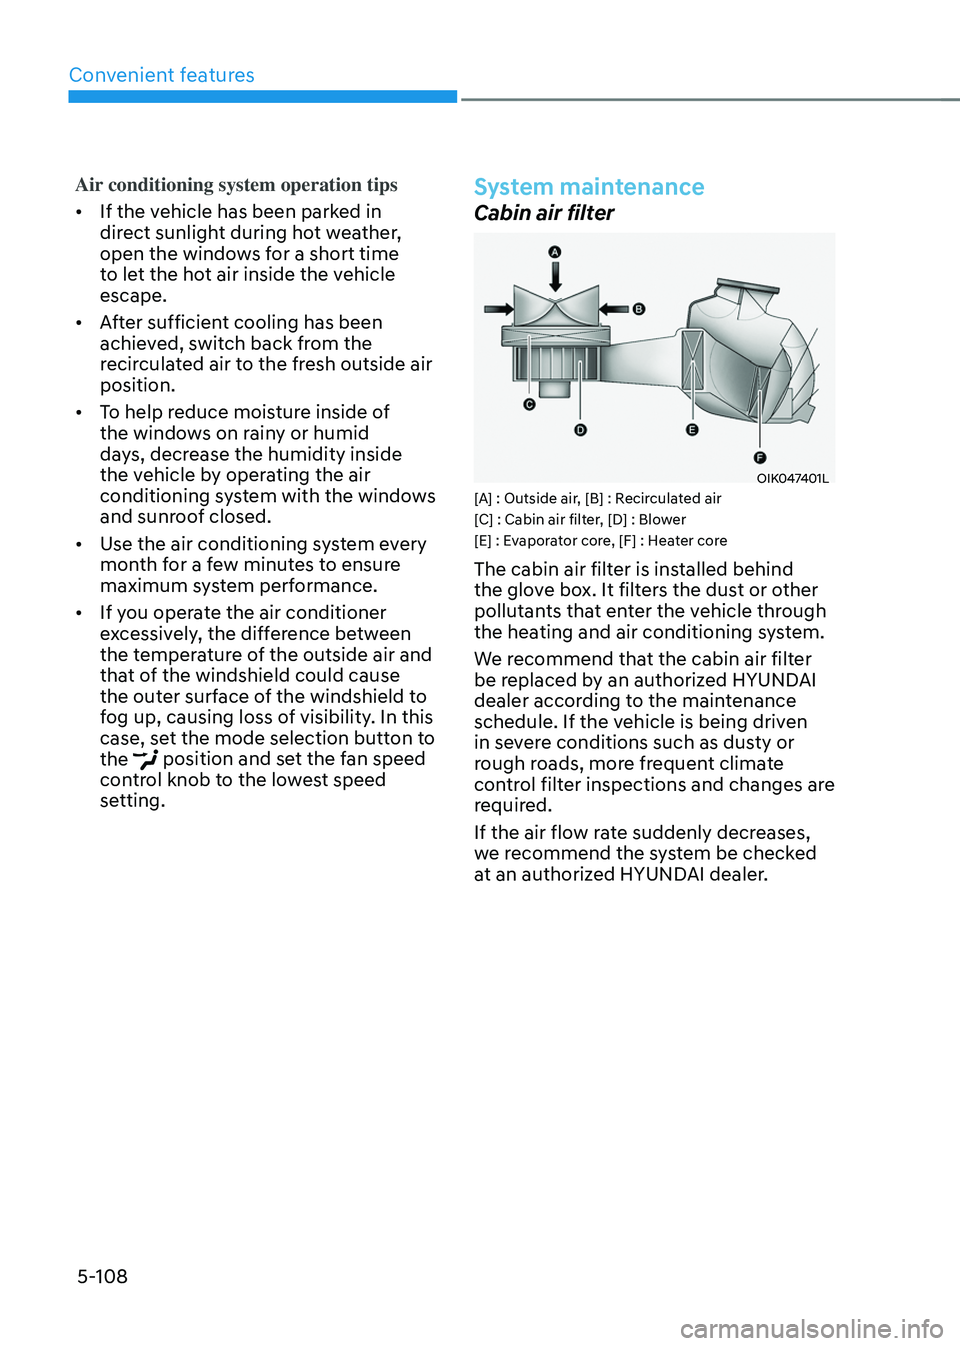
Cabin air filter
OIK047401L[A] : Outside air, [B] : Recirculated air
[C] : Cabin air filter, [D] : Blower
[E] : Evaporator core, [F] : Heater core
The cabin air filter is installed behind
the glove box. It filters the dust or other
pollutants that enter the vehicle through
the heating and air conditioning system.
We recommend that the cabin air filter
be replaced by an authorized HYUNDAI
dealer according to the maintenance
schedule. If the vehicle is being driven
in severe conditions such as dusty or
rough roads, more frequent climate
control filter inspections and changes are
required.
If the air flow rate suddenly decreases,
we recommend the system be checked
at an authorized HYUNDAI dealer.