2021 HYUNDAI KONA display screen
[x] Cancel search: display screenPage 137 of 506
3-53
Convenient features of your vehicle
3
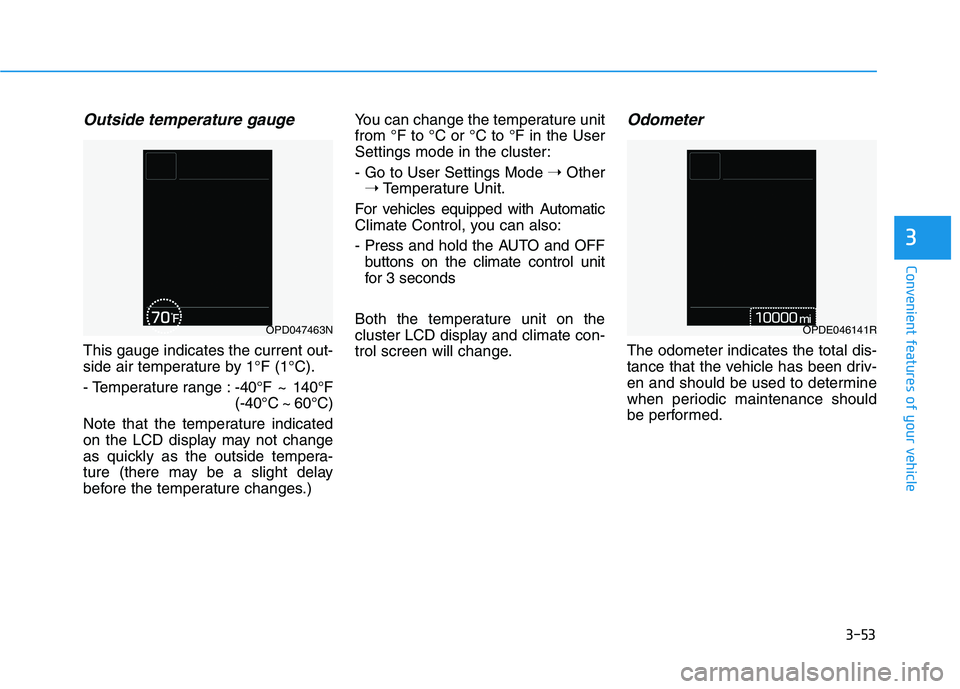
Outside temperature gauge
This gauge indicates the current out-
side air temperature by 1°F (1°C).
- Temperature range :-40°F ~ 140°F
(-40°C ~ 60°C)
Note that the temperature indicated
on the LCD display may not change
as quickly as the outside tempera-
ture (there may be a slight delay
before the temperature changes.) You can change the temperature unit
from °F to °C or °C to °F in the User
Settings mode in the cluster:
- Go to User Settings Mode ➝Other
➝Temperature Unit.
For vehicles equipped with Automatic
Climate Control, you can also:
- Press and hold the AUTO and OFF
buttons on the climate control unit
for 3 seconds
Both the temperature unit on the
cluster LCD display and climate con-
trol screen will change.
Odometer
The odometer indicates the total dis-
tance that the vehicle has been driv-
en and should be used to determine
when periodic maintenance should
be performed.
OPD047463NOPDE046141R
Page 169 of 506
3-85
Convenient features of your vehicle
3
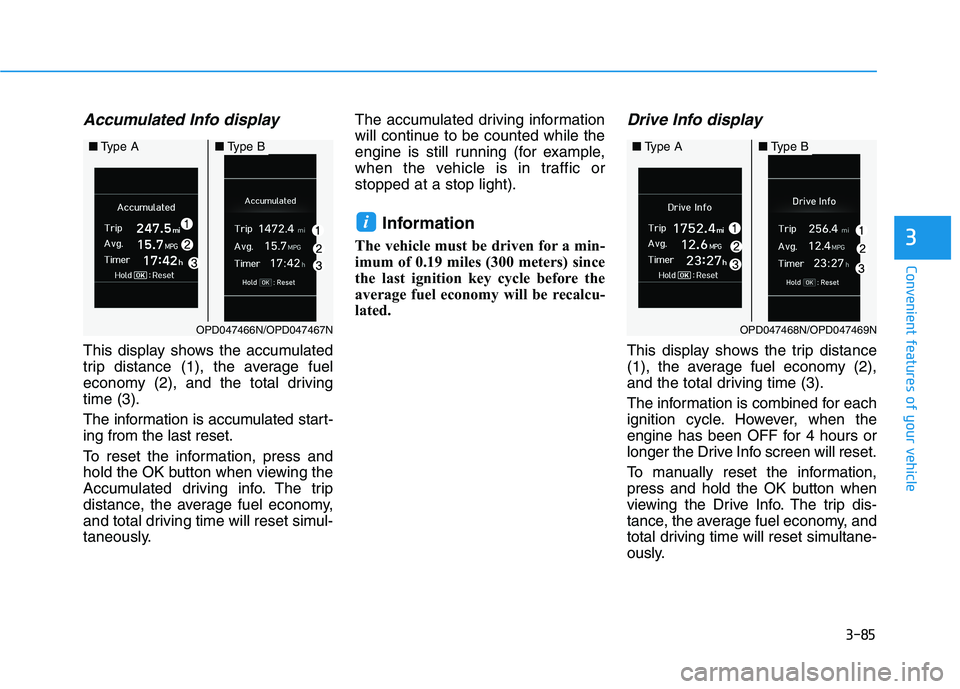
Accumulated Info display
This display shows the accumulated
trip distance (1), the average fuel
economy (2), and the total driving
time (3).
The information is accumulated start-
ing from the last reset.
To reset the information, press and
hold the OK button when viewing the
Accumulated driving info. The trip
distance, the average fuel economy,
and total driving time will reset simul-
taneously.The accumulated driving information
will continue to be counted while the
engine is still running (for example,
when the vehicle is in traffic or
stopped at a stop light).
Information
The vehicle must be driven for a min-
imum of 0.19 miles (300 meters) since
the last ignition key cycle before the
average fuel economy will be recalcu-
lated.
Drive Info display
This display shows the trip distance
(1), the average fuel economy (2),
and the total driving time (3).
The information is combined for each
ignition cycle. However, when the
engine has been OFF for 4 hours or
longer the Drive Info screen will reset.
To manually reset the information,
press and hold the OK button when
viewing the Drive Info. The trip dis-
tance, the average fuel economy, and
total driving time will reset simultane-
ously.
i
OPD047468N/OPD047469N
■Type A■Type B
OPD047466N/OPD047467N
■Type A■Type B
Page 171 of 506
3-87
Convenient features of your vehicle
3
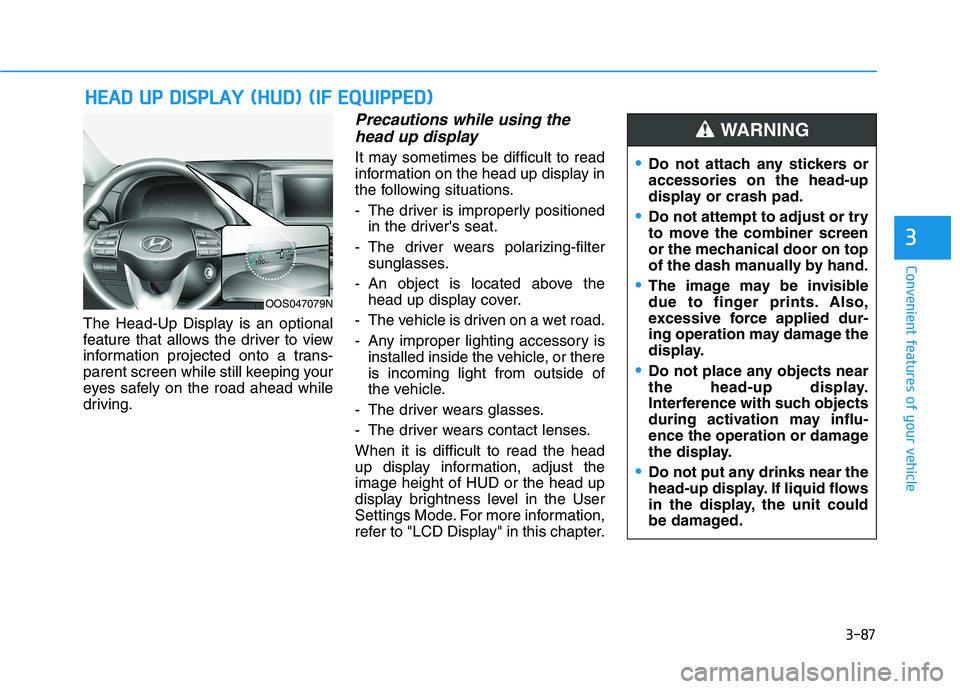
The Head-Up Display is an optional
feature that allows the driver to view
information projected onto a trans-
parent screen while still keeping your
eyes safely on the road ahead while
driving.
Precautions while using the
head up display
It may sometimes be difficult to read
information on the head up display in
the following situations.
- The driver is improperly positioned
in the driver's seat.
- The driver wears polarizing-filter
sunglasses.
- An object is located above the
head up display cover.
- The vehicle is driven on a wet road.
- Any improper lighting accessory is
installed inside the vehicle, or there
is incoming light from outside of
the vehicle.
- The driver wears glasses.
- The driver wears contact lenses.
When it is difficult to read the head
up display information, adjust the
image height of HUD or the head up
display brightness level in the User
Settings Mode. For more information,
refer to "LCD Display" in this chapter.
H HE
EA
AD
D
U
UP
P
D
DI
IS
SP
PL
LA
AY
Y
(
(H
HU
UD
D)
)
(
(I
IF
F
E
EQ
QU
UI
IP
PP
PE
ED
D)
)
Do not attach any stickers or
accessories on the head-up
display or crash pad.
Do not attempt to adjust or try
to move the combiner screen
or the mechanical door on top
of the dash manually by hand.
The image may be invisible
due to finger prints. Also,
excessive force applied dur-
ing operation may damage the
display.
Do not place any objects near
the head-up display.
Interference with such objects
during activation may influ-
ence the operation or damage
the display.
Do not put any drinks near the
head-up display. If liquid flows
in the display, the unit could
be damaged.
WARNING
OOS047079N
Page 172 of 506
3-88
Convenient features of your vehicle
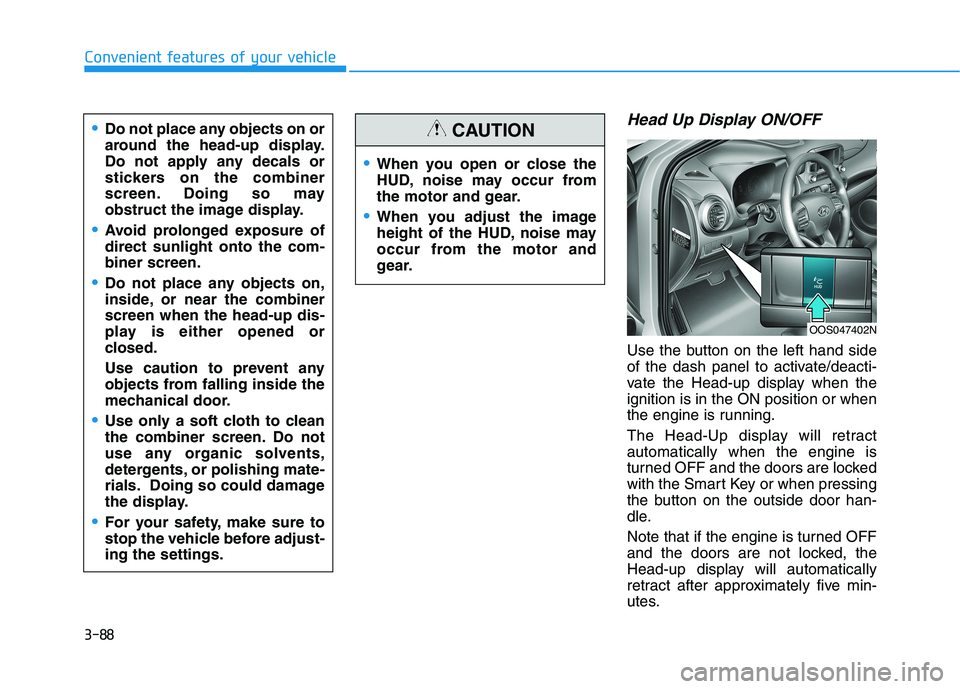
Head Up Display ON/OFF
Use the button on the left hand side
of the dash panel to activate/deacti-
vate the Head-up display when the
ignition is in the ON position or when
the engine is running.
The Head-Up display will retract
automatically when the engine is
turned OFF and the doors are locked
with the Smart Key or when pressing
the button on the outside door han-
dle.
Note that if the engine is turned OFF
and the doors are not locked, the
Head-up display will automatically
retract after approximately five min-
utes.
When you open or close the
HUD, noise may occur from
the motor and gear.
When you adjust the image
height of the HUD, noise may
occur from the motor and
gear.
CAUTIONDo not place any objects on or
around the head-up display.
Do not apply any decals or
stickers on the combiner
screen. Doing so may
obstruct the image display.
Avoid prolonged exposure of
direct sunlight onto the com-
biner screen.
Do not place any objects on,
inside, or near the combiner
screen when the head-up dis-
play is either opened or
closed.
Use caution to prevent any
objects from falling inside the
mechanical door.
Use only a soft cloth to clean
the combiner screen. Do not
use any organic solvents,
detergents, or polishing mate-
rials. Doing so could damage
the display.
For your safety, make sure to
stop the vehicle before adjust-
ing the settings.
OOS047402N
Page 214 of 506
3-130
Convenient features of your vehicle
When the Auto Defogging
System operates, the indi-
cator will illuminate.
If a high amount of humidity is
detected in the vehicle, the Auto
Defogging System will be enabled.
The following steps will be performed
automatically:
Step 1) The air intake control will
change to Fresh mode.
Step 2) The A/C button will turn ON.
Step 3) The mode will be changed to
defrost to direct airflow to the
windshield.
Step 4) The fan speed will be set to
MAX.
If the air conditioning is off or recircu-
lated air position is manually select-
ed while Auto Defogging System is
ON, the Auto Defogging System
Indicator will blink 3 times to signal
that the manual operation has been
canceled.
To cancel or reset the
Auto Defogging System
Press the front windshield defroster
button for 3 seconds when the ignition
switch is in the ON position. When the
Auto Defogging System is canceled,
the ADS OFF symbol will blink 3 times
and ADS OFF will be displayed on the
climate control information screen.
When the Auto Defogging System is
reset, the ADS OFF symbol will blink
6 times without a signal.
Information
• When the air conditioning is turned
on by Auto defogging system, if you
try to turn off the air conditioning, the
indicator will blink 3 times and the air
conditioning will not be turned off.
• To maintain the effectiveness and
efficiency of the Auto Defogging
System, do not select Recirculation
mode while the system is operating.
• When the Auto Defogging System is
operating, the fan speed adjustment
knob, the temperature adjustment
knob, and the air intake control but-
ton are all disabled.Do not remove the sensor cover
located on the upper end of the
windshield glass.
Damage to system parts could
occur and may not be covered by
your vehicle warranty.
NOTICE
i
Page 224 of 506
3-140
Convenient features of your vehicle
The wireless charging process
may temporarily stop, when tem-
perature abnormally increases
inside the wireless cellular
phone charging system. The
wireless charging process
restarts, when temperature falls
to a certain level.
The wireless charging process
may temporarily stop when
there is any metallic item, such
as a coin, between the wireless
cellular phone charging system
and cellular phone.
When charging some cell
phones with the case still
applied,the wireless charging
speed may decrease and the
wireless charging may stop.
If the cellular phone has a thick
cover, the wireless charging may
not be possible.
If the cell phone is not complete-
ly contacting the charging pad,
wireless charging may not oper-
ate properly.
Some magnetic items like credit
cards, phone cards or rail tickets
may be damaged if left with the
cellular phone during the charg-
ing process. If the cellular phone without the
wireless charging function or
the metallic items are placed on
the charging pad, it may cause
slight noise. This noise does not
affect the cellular phone and the
vehicle, because this noise is an
operating sound during deter-
mining the item on the charging
pad.
Information
If the ignition switch is OFF, the
charging also stops.
Information
This device complies with part 15 of
the FCC Rules.
Operation is subject to the following
two conditions:
1. This device may not cause harmful
interference, and
2. This device must accept any inter-
ference received, including inter-
ference that may cause undesired
operation.
Clock
Vehicles with Audio system
Select the [SETUP]button on the
audio system ➟Select [Date/Time].
Set time: Set the time displayed on
the audio screen.
Time format: Choose between 12-
hour and 24-hour time formats.
Vehicles with Navigation system
Select the Settings menu on the
Navigation system➟Select
[Date/Time].
GPS time: Displays time according
to the received GNSS time.
24-hour: Switches to 12 hour or 24
hour.
i
i
Do not attempt to adjust the
clock while driving. Doing so
may result in distracted driving
which may lead to an accident
involving personal injury or
death.
WARNING
Page 317 of 506
5-83
Driving your vehicle
5
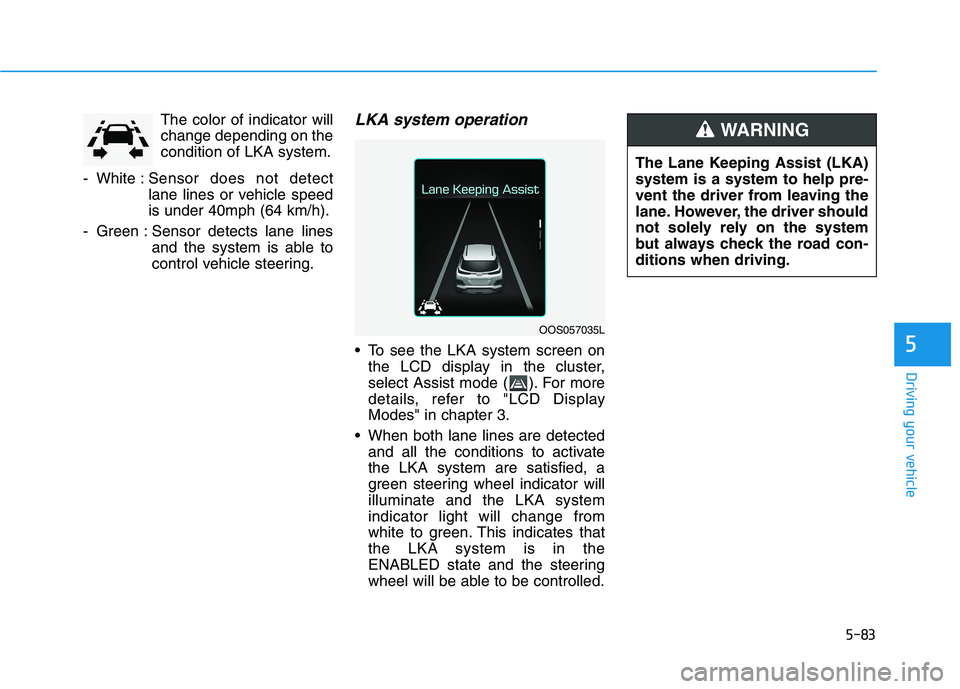
The color of indicator will
change depending on the
condition of LKA system.
- White :Sensor does not detect
lane lines or vehicle speed
is under 40mph (64 km/h).
- Green : Sensor detects lane lines
and the system is able to
control vehicle steering.LKA system operation
To see the LKA system screen on
the LCD display in the cluster,
select Assist mode ( ). For more
details, refer to "LCD Display
Modes" in chapter 3.
When both lane lines are detected
and all the conditions to activate
the LKA system are satisfied, a
green steering wheel indicator will
illuminate and the LKA system
indicator light will change from
white to green. This indicates that
the LKA system is in the
ENABLED state and the steering
wheel will be able to be controlled.
The Lane Keeping Assist (LKA)
system is a system to help pre-
vent the driver from leaving the
lane. However, the driver should
not solely rely on the system
but always check the road con-
ditions when driving.
WARNING
OOS057035L
Page 324 of 506
5-90
Driving your vehicle
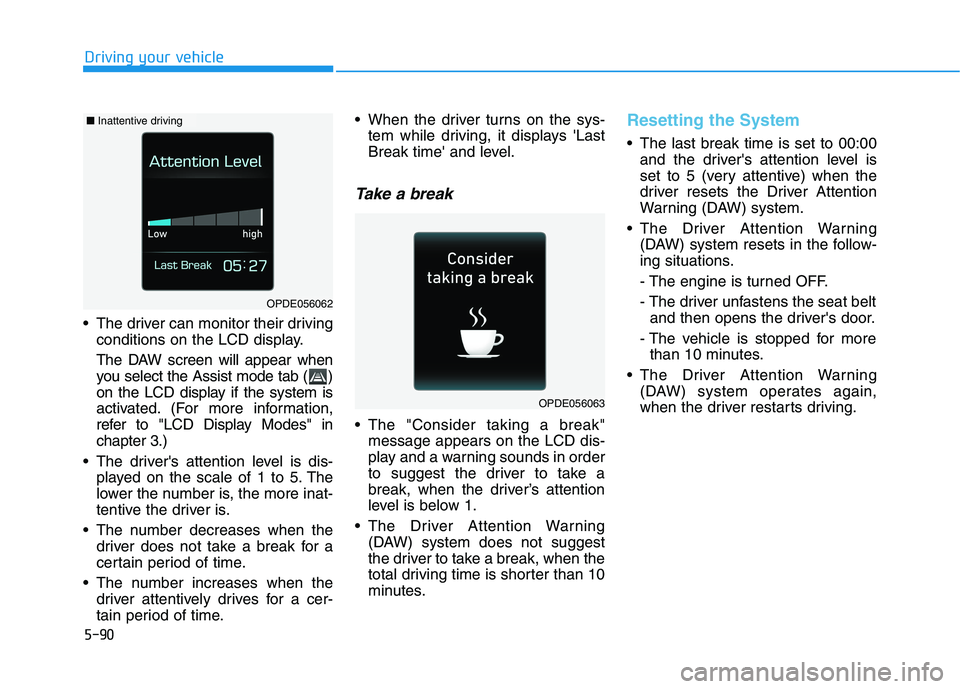
The driver can monitor their driving
conditions on the LCD display.
The DAW screen will appear when
you select the Assist mode tab ( )
on the LCD display if the system is
activated. (For more information,
refer to "LCD Display Modes" in
chapter 3.)
The driver's attention level is dis-
played on the scale of 1 to 5. The
lower the number is, the more inat-
tentive the driver is.
The number decreases when the
driver does not take a break for a
certain period of time.
The number increases when the
driver attentively drives for a cer-
tain period of time. When the driver turns on the sys-
tem while driving, it displays 'Last
Break time' and level.
Take a break
The "Consider taking a break"
message appears on the LCD dis-
play and a warning sounds in order
to suggest the driver to take a
break, when the driver’s attention
level is below 1.
The Driver Attention Warning
(DAW) system does not suggest
the driver to take a break, when the
total driving time is shorter than 10
minutes.
Resetting the System
The last break time is set to 00:00
and the driver's attention level is
set to 5 (very attentive) when the
driver resets the Driver Attention
Warning (DAW) system.
The Driver Attention Warning
(DAW) system resets in the follow-
ing situations.
- The engine is turned OFF.
- The driver unfastens the seat belt
and then opens the driver's door.
- The vehicle is stopped for more
than 10 minutes.
The Driver Attention Warning
(DAW) system operates again,
when the driver restarts driving.
OPDE056063
OPDE056062
■Inattentive driving