2021 HYUNDAI ELANTRA SEL brake light
[x] Cancel search: brake lightPage 468 of 570

08
8-5
Jump starting procedure
1. Position the vehicles close enough
that the jumper cables will reach, but
do not allow the vehicles to touch.
2.
Av
oid fans or any moving parts in the
engine compartment at all times, even
when the vehicles are turned off.
3.
Turn o
ff all electrical devices such as
radios, lights, air conditioning, etc.
Put the vehicle in P (Park), and set the
parking brakes. Turn both vehicles
OFF.
OCN7070002
4. Connect the jumper cables in
the ex act sequence shown in the
illustration. First connect one jumper
cable to the red, positive (+) jumper
terminal of your vehicle (1).
5.
Connect the other end o
f the jumper
cable to the red, positive (+) battery/
jumper terminal of the assisting
vehicle (2).
6.
Connect the second jumper cable to
the black, nega
tive (-) battery/ chassis
ground of the assisting vehicle (3). 7.
Connect the other end o
f the second
jumper cable to the black, negative (-)
chassis ground of your vehicle (4).
8.
Do not allo
w the jumper cables to
contact anything except the correct
battery or jumper terminals or the
correct ground. Do not lean over the
battery when making connections.
9.
Opera
te your vehicle for at least
30 minutes of driving or at least
60 minutes of engine running at
idle before shutting off the engine.
Without sufficient time to charge
the battery the vehicle will reoccur
another no start. You can also visit
your nearest dealer to request the
battery be charged and tested.
If your vehicle will not start after a few
attempts, it probably requires servicing.
In this event please seek qualified
assistance. If the cause of your battery
discharging is not apparent, have your
vehicle checked by an authorized
HYUNDAI dealer.
Disconnect the jumper cables in the
exact reverse order you connected them:
1.
Disconnect the jumper cable from the
black, nega
tive (-) chassis ground of
your vehicle (4).
2.
Disconnect the other end o
f the
jumper cable from the black, negative
(-) battery/chassis ground of the
assisting vehicle (3).
3.
Disconnect the second jumper cable
from the r
ed, positive (+) battery/
jumper terminal of the assisting
vehicle (2).
4.
Disconnect the other end o
f the
jumper cable from the red, positive (+)
jumper terminal of your vehicle (1).
Page 476 of 570

08
8-13
Each wheel is equipped with a tire
pressure sensor mounted inside the tire
behind the valve stem (except for the
spare tire). You must use TPMS specific
wheels. It is recommended that you
always have your tires serviced by an
authorized HYUNDAI dealer.
You may not be able to identify a tire
with low pressure by simply looking at it.
Always use a good quality tire pressure
gauge to measure the tire’s inflation
pressure. Please note that a tire that is
hot (from being driven) will have a higher
pressure measurement than a tire that is
cold.
A cold tire means the vehicle has been
sitting for 3 hours and driven for less
than 1 mile (1.6 km) in that 3 hour period.
Allow the tire to cool before measuring
the inflation pressure. Always be sure
the tire is cold before inflating to the
recommended pressure.
WARNING
• The TPMS cannot alert you to severe
and sudden tire damage caused by
external factors such as nails or road
debris.
• If you feel any vehicle instability,
immediately take your foot off
the accelerator, apply the brakes
gradually with light force, and slowly
move to a safe position off the road.
WARNING
Tampering with, modifying, or disabling
the Tire Pressure Monitoring System
(TPMS) components may interfere
with the system’s ability to warn the
driver of low tire pressure conditions
and/or TPMS malfunctions. Tampering
with, modifying, or disabling the Tire
Pressure Monitoring System (TPMS)
components may void the warranty for
that portion of the vehicle.
Information
This device complies with Part 15 of the
FCC rules.
Operation is subject to the following three
conditions:
1.
This device may not cause harmful
interference.
2.
This device must accept any
interference r
eceived, including
interference that may cause undesired
operation.
3.
Changes or modifications not expr
essly
approved by the party responsible
for compliance could void the user’s
authority to operate the equipment.
Page 492 of 570

Maintenance
9-6
While operating your vehicle:
• Note any changes in the sound of the
exhaust or any smell of exhaust fumes
in the vehicle.
• Check for vibrations in the steering
wheel. Notice if there is any increased
steering effort or looseness in the
steering wheel, or change in its
straight-ahead position.
• Notice if your vehicle constantly turns
slightly or “pulls” to one side when
traveling on smooth, level road.
• When stopping, listen and check for
unusual sounds, pulling to one side,
increased brake pedal travel or “hard-
to-push” brake pedal.
• If any slipping or changes in the
operation of your transmission occurs,
check the transmission fluid level.
• Check the intelligent variable
transmission P (Park) function.
• Check the parking brake.
• Check for fluid leaks under your
vehicle (water dripping from the air
conditioning system during or after
use is normal).
At least monthly:
• Check coolant level in the engine
coolant reservoir.
• Check the operation of all exterior
lights, including the brake lights, turn
signals and hazard warning flashers.
• Check the inflation pressures of all
tires including the spare for tires that
are worn, show uneven wear, or are
damaged.
• Check for loose wheel lug nuts.
At least twice a year:
(i.e., every Spring and Autumn)
• Check radiator, heater and air
conditioning hoses for leaks or
damage.
• Check windshield washer spray and
wiper operation. Clean wiper blades
with a clean cloth dampened with
washer a fluid.
• Check headlamp alignment.
• Check muffler, exhaust pipes, shields
and clamps.
• Check the seat belts for wear and
function.
At least once a year:
• Clean body and door drain holes.
• Lubricate door hinges and hood
hinges.
• Lubricate door and hood locks and
latches.
• Lubricate door rubber weather strips.
• Lubricate door checker.
• Check the air conditioning system.
• Inspect and lubricate intelligent
variable transmission linkage and
controls.
• Clean the battery and terminals.
• Check the brake fluid level.
Page 536 of 570
Maintenance
9-50
Consult an authorized HYUNDAI dealer
to replace most vehicle light bulbs. It is
difficult to replace vehicle light bulbs
because other parts of the vehicle must
be removed before you can get to the
bulb. This is especially true for removing
the headlamp assembly to get to the
bulb(s).
Removing/installing the headlamp
assembly can result in damage to the
vehicle.
Information
The headlamp and tail lamp lenses could
appear frosty if the vehicle is washed after
driving or the vehicle is driven at night in
wet weather. This condition is caused by
temperature difference between the lamp
inside and outside and does not indicate
a problem with your vehicle. When
moisture condenses in the lamp, it will be
removed after driving with the headlamp
on. The removable level may differ
depending on lamp size, lamp position
and environmental condition. However, if
moisture is not removed, have the vehicle
inspected by an authorized HYUNDAI
dealer.
WARNING
• Prior to replacing a lamp, depress
the foot brake, move the shift button
into P (Park) apply the parking brake,
place the ignition switch to the
LOCK/OFF position, and take the key
with you when leaving the vehicle
to avoid sudden movement of the
vehicle and to prevent possible
electric shock.
• Be aware the bulbs may be hot and
may burn your fingers.
• When the bulb is disconnected or the
lamp connector is removed while the
lamp is operating normally, the fuse
box electronics may recognize the
lamp as a malfunction. Therefore, a
fault record for the lamp may remain
in the Diagnostic Trouble Code (DTC)
recorded in the fuse box.
NOTICE
Be sure to replace the burned-out bulb
with one of the same wattage rating.
Otherwise, it may cause damage to the
fuse or electrical wiring system.
Information
The headlamp aiming should be adjusted
after an accident or after the headlamp
assembly is reinstalled at an authorized
HYUNDAI dealer.
light BulBS
Page 546 of 570
Maintenance
9-60
WARNING
After washing the vehicle, test the
brakes while driving slowly to see
if they have been affected by water
before getting on the road. If braking
performance is impaired, dry the
brakes by applying them lightly while
maintaining a slow forward speed.
NOTICE
• Do not use strong soap, chemical
detergents or hot water, and do not
wash the vehicle in direct sunlight
or when the body of the vehicle is
warm.
• Be careful when washing the side
windows of your vehicle.
Especially, with high-pressure water,
water may leak through the windows
and wet the interior.
• To prevent damage to the plastic
parts, do not clean with chemical
solvents or strong detergents.ODN8A089039
NOTICE
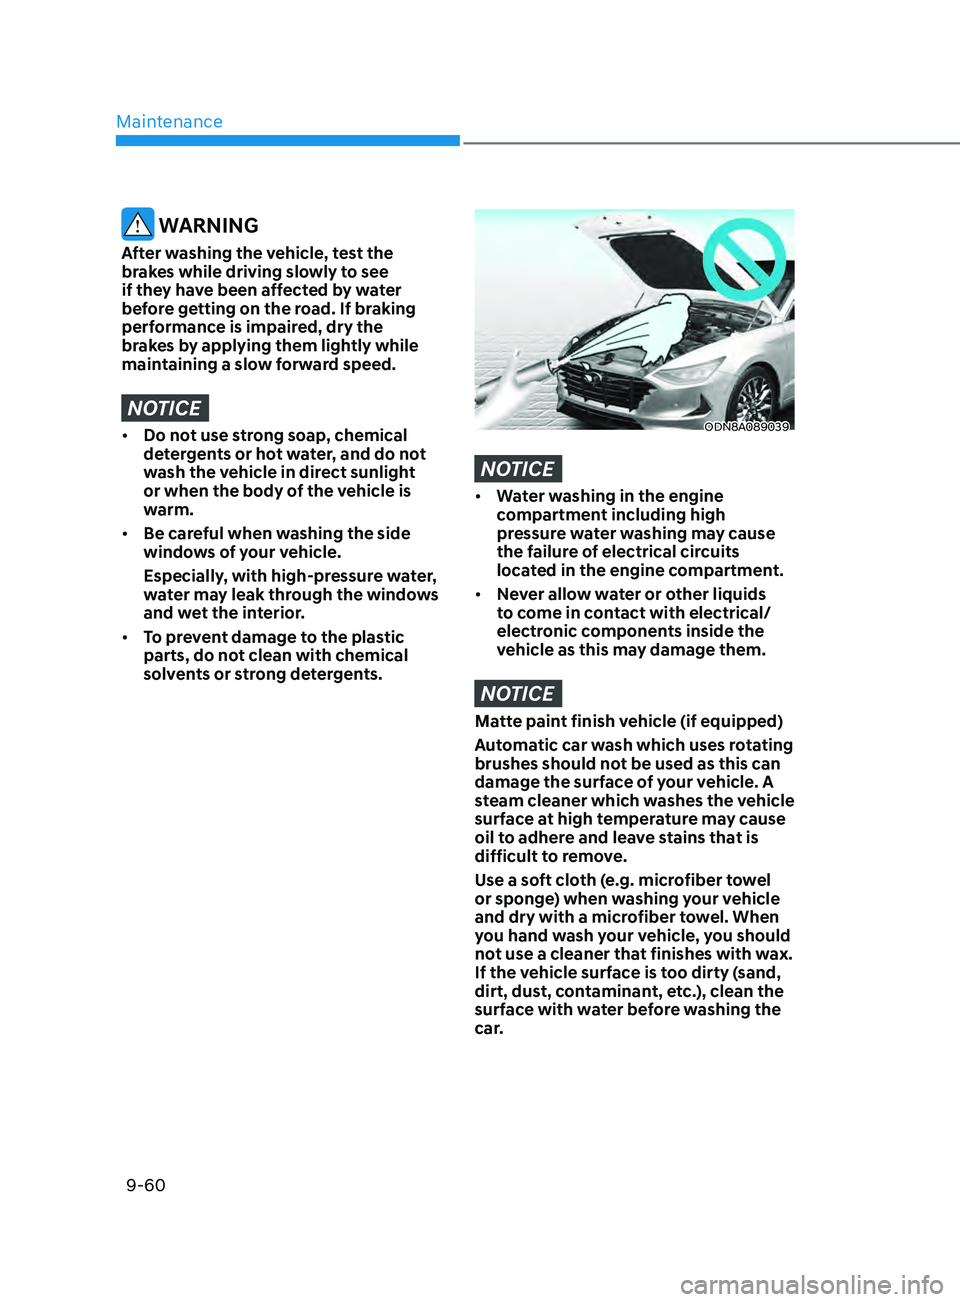
• Water washing in the engine
compartment including high
pressure water washing may cause
the failure of electrical circuits
located in the engine compartment.
• Never allow water or other liquids
to come in contact with electrical/
electronic components inside the
vehicle as this may damage them.
NOTICE
Matte paint finish vehicle (if equipped)
Automatic car wash which uses rotating
brushes should not be used as this can
damage the surface of your vehicle. A
steam cleaner which washes the vehicle
surface at high temperature may cause
oil to adhere and leave stains that is
difficult to remove.
Use a soft cloth (e.g. microfiber towel
or sponge) when washing your vehicle
and dry with a microfiber towel. When
you hand wash your vehicle, you should
not use a cleaner that finishes with wax.
If the vehicle surface is too dirty (sand,
dirt, dust, contaminant, etc.), clean the
surface with water before washing the
car.
Page 548 of 570
Maintenance
9-62
Underbody maintenance
Corrosive materials used for ice and
snow removal and dust control may
collect on the underbody. If these
materials are not removed, accelerated
rusting can occur on underbody parts
such as the fuel lines, frame, floor pan
and exhaust system, even though they
have been treated with rust protection.
Thoroughly flush the vehicle underbody
and wheel openings with lukewarm or
cold water once a month, after off-road
driving and at the end of each winter. Pay
special attention to these areas because
it is difficult to see all the mud and dirt.
It will do more harm than good to wet
down the road grime without removing
it. The lower edges of doors, rocker
panels, and frame members have drain
holes that should not be allowed to clog
with dirt; trapped water in these areas
can cause rusting.
WARNING
After washing the vehicle, test the
brakes while driving slowly to see if
they have been affected by water. If
braking performance is impaired, dry
the brakes by applying them lightly
while maintaining a slow forward
speed.
Aluminum wheel maintenance
The aluminum wheels are coated with a
clear protective finish.
NOTICE
• Do not use abrasive cleaner,
polishing compound, solvent, or wire
brushes on aluminum wheels.
• Clean the wheel when it has cooled.
• Use only a mild soap or neutral
detergent, and rinse thoroughly with
water. Also, clean the wheels after
driving on salted roads.
• Do not wash the wheels with high-
speed car wash brushes.
• Do not use any cleaners containing
acid or alkaline detergents.