2021 HONDA ODYSSEY headlights
[x] Cancel search: headlightsPage 206 of 787

uuOperating the Switches Around the Steering Wheel uLight Switches
204
Controls
The headlights automatically come on when the wipers are used several times within
a certain number of intervals wi th the headlight switch in AUTO.
The headlights automatically go off a few minutes later if the wipers are stopped.
The headlights, all other exterior lights, an d the instrument panel lights turn off 15
seconds after you set the power mode to VE HICLE OFF, take the remote with you,
and close the driver’s door.
If you set the power mode to VEHICLE OFF with the headlight switch on, but do not
open the door, the lights turn off after 10 minutes (3 minutes, if the switch is in the
AUTO position).
The lights turn on again when you unlock or open the driver’s door. If you unlock
the door, but do not open it within 15 seconds, the lights go off. If you open the
driver’s door, you will hear a reminder chime alerting you that the lights are on.
■Headlight Integration with Wiper
■Automatic Lighting Off Feature
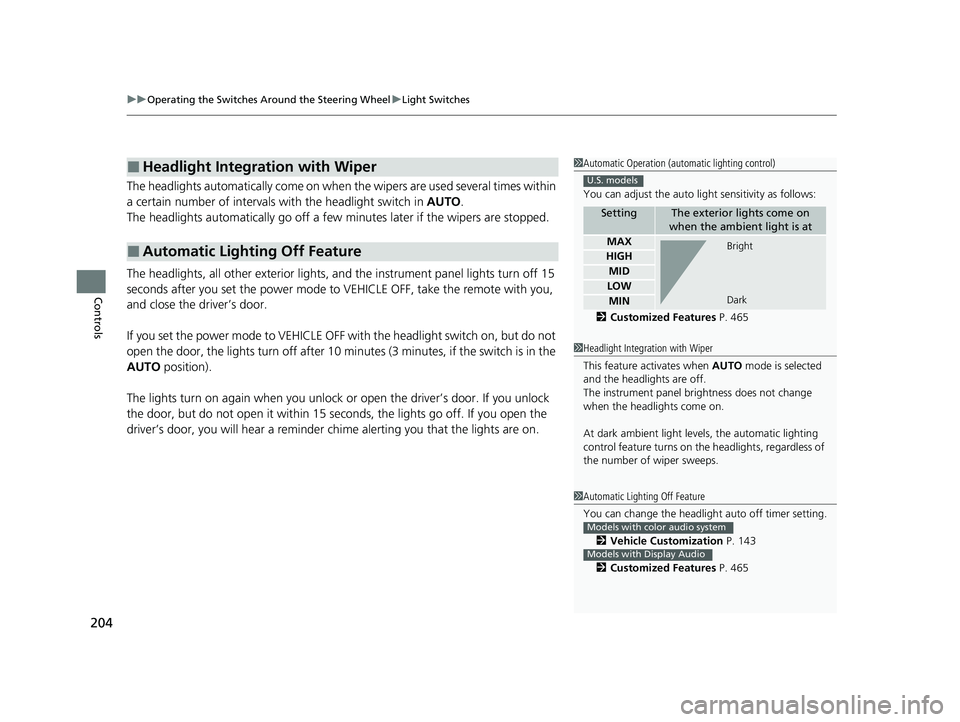
1Automatic Operation (aut omatic lighting control)
You can adjust the auto li ght sensitivity as follows:
2 Customized Features P. 465
SettingThe exterior lights come on
when the ambient light is at
MAX
HIGH
MID
LOW
MIN
U.S. models
Bright
Dark
1 Headlight Integration with Wiper
This feature activates when AUTO mode is selected
and the headlights are off.
The instrument panel br ightness does not change
when the headlights come on.
At dark ambient light leve ls, the automatic lighting
control feature turns on the headlights, regardless of
the number of wiper sweeps.
1 Automatic Lighting Off Feature
You can change the headlight auto off timer setting.
2 Vehicle Customization P. 143
2 Customized Features P. 465
Models with color audio system
Models with Display Audio
21 US ODYSSEY-31THR6310.book 204 ページ 2020年6月17日 水曜日 午後2時46分
Page 207 of 787

205
uuOperating the Switches Around the Steering Wheel uFog Lights*
Controls
Fog Lights*
When the low beam headlights are on, turn
the fog light switch on to use the fog lights.
Fog Light Switch
* Not available on all models
21 US ODYSSEY-31THR6310.book 205 ページ 2020年6月17日 水曜日 午後2時46分
Page 209 of 787

207
uuOperating the Switches Around the Steering Wheel uAuto High-Beam
Continued
Controls
Auto High-Beam
The front sensor camera detects the light sources ahead of the vehicle such as the
lights of a preceding or oncoming vehicle, or street lights. When you are driving at
night, the system automatically switches the headlights between low beam and high
beam depending on the situation.
When all of the following conditions have been met, the auto high-beam indicator
comes on and the auto high-beam is activated.
•The power mode is in ON.
• The light switch is in AUTO.
• The lever is in the low beam position.
• The headlights have been automatically
activated.
• It is dark outside the vehicle.
If the auto high-beam indica tor does not come on even when all the conditions have
been met, carry out the following procedure and the indicator will come on.
• Pull the lever toward you for flashing the high beams then release it while driving.1Auto High-Beam
The auto high-beam system does not always operate
in every situation. This syst em is just for assisting the
driver. Always observe your surroundings and switch
the headlights between high beam and low beam
manually if necessary.
If you find the timing of beam changes inconvenient
for driving, change the headlight beams manually.
The range and the distance at which the camera can
recognize varies de pending on conditions
surrounding your vehicle.
Regarding the handling of the camera mounted to
the inside of the windshiel d, refer to the following.
2 Front Sensor Camera P. 637
For the auto high-beam to work properly:
•Do not place an object that reflects light on the
dashboard.
•Keep the windshield around the camera clean.
When cleaning the windshield, be careful not to
apply the windshield cleans er to the camera lens.
•Do not attach an object, sticker or film to the area
around the camera.
•Do not touch the camera lens.
If the camera receives a st rong impact, or repairing of
the area near the camera is required, consult a dealer.
■How to Use the Auto High-Beam
Front Sensor Camera
Light Switch
Auto High-
Beam
Indicator
21 US ODYSSEY-31THR6310.book 207 ページ 2020年6月17日 水曜日 午後2時46分
Page 210 of 787

uuOperating the Switches Around the Steering Wheel uAuto High-Beam
208
Controls
■Automatic switching between high-beam and low-beam
When auto-high beam is active, the head lights switch between high beam and low
beam based on the following conditions.
■Manual switching between high-beam and low-beam
If you want to manually switch the headlights between high beam and low beam,
follow either of the proced ures below. Note that when you do this, the auto high-
beam indicator will turn off and the auto high-beam will be deactivated.
Using the lever:
Pull the lever toward you fo r flashing the high beams then release it within about
one second while driving. u To reactivate the auto high-beam, pull the lever toward you for flashing the
high beams then release it while driving. The auto high-beam indicator will
come on.
Using the light switch:
Turn the light switch to . u To reactivate the auto high-be am, turn the light switch to AUTO when the
lever is in the low beam position, the auto high-beam indicator will come on.
1 How to Use the Auto High-Beam
In the following cases, th e auto high-beam system
may not switch the head lights properly or the
switching timing may be ch anged. In case of the
automatic switching operati on does not fit for your
driving habits, please swit ch the headlights manually.
•The brightness of the lights from the preceding or
oncoming vehicle is intense or poor.
•Visibility is poor due to the weather (rain, snow,
fog, windshield frost, etc.).
•Surrounding light sources, such as street lights,
electric billboards and traf fic lights are illuminating
the road ahead.
•The brightness level of th e road ahead constantly
changes.
•The road is bumpy or has many curves.•A vehicle suddenly appears in front of you, or a
vehicle in front of you is not in the preceding or
oncoming direction.
•Your vehicle is tilted with a heavy load in the rear.•A traffic sign, mirror, or other reflective object
ahead is reflecting strong light toward the vehicle.
•The oncoming vehicle freq uently disappears under
roadside trees or be hind median barriers.
•The preceding or oncoming vehicle is a motorcycle,
bicycle, mobility scooter, or other small vehicle.
The auto high-beam system keeps the headlight low
beam when:
•Windshield wipers are op erating at a high speed.
•The camera has detected dense fog.
Switching to high beam:
All of the following conditions must
be met before the high beams turn
on.
•Your vehicle speed is 25 mph (40
km/h) or more.
• There are no preceding or
oncoming vehicle with headlights
or taillights turned on.
• There are few street lights on the
road ahead.
Switching to low beam:
One of the following conditions
must be met before the low beams
turn on.
•Your vehicle speed is 15 mph (24
km/h) or less.
• There is a preceding or oncoming
vehicle with headlights or
taillights turned on.
• There are many street lights on
the road ahead.
21 US ODYSSEY-31THR6310.book 208 ページ 2020年6月17日 水曜日 午後2時46分
Page 221 of 787

219
Controls
Mirrors
Interior Rearview Mirror
Adjust the angle of the rearview mirror when you are sitting in the correct driving
position.
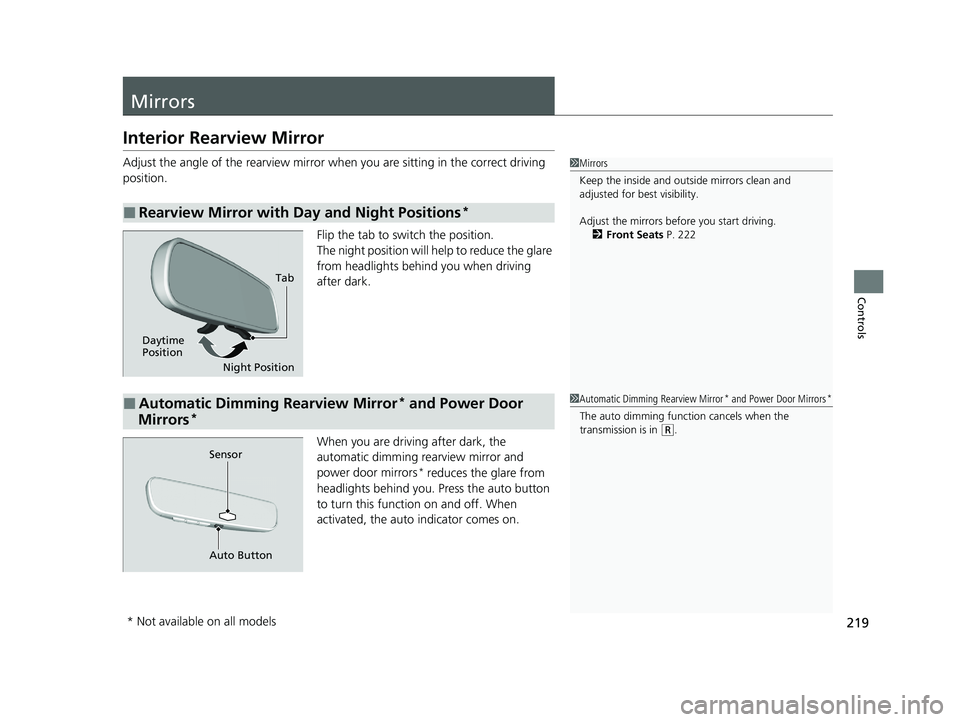
Flip the tab to switch the position.
The night position will help to reduce the glare
from headlights behind you when driving
after dark.
When you are driving after dark, the
automatic dimming rearview mirror and
power door mirrors
* reduces the glare from
headlights behind you. Press the auto button
to turn this functi on on and off. When
activated, the auto indicator comes on.
■Rearview Mirror with Day and Night Positions*
1Mirrors
Keep the inside and out side mirrors clean and
adjusted for best visibility.
Adjust the mirrors before you start driving. 2 Front Seats P. 222
Tab
Daytime
Position Night Position
■Automatic Dimming Rearview Mirror* and Power Door
Mirrors*
1 Automatic Dimming Rearview Mirror* and Power Door Mirrors*
The auto dimming function cancels when the
transmission is in (R.
Sensor
Auto Button
* Not available on all models
21 US ODYSSEY-31THR6310.book 219 ページ 2020年6月17日 水曜日 午後2時46分
Page 482 of 787

480
uuCustomized Features u
Features
*1:Default SettingSetup
Group Customizable Features Description Selectable Settings
Vehicle
Lighting
Setup
Interior Light
Dimming TimeChanges the length of time the interior lights stay
on after you close the doors.60 sec/
30 sec*1/15
sec
Headlight Auto Off
TimerChanges the length of time the exterior lights stay
on after you close the driver’s door.60 sec/ 30 sec/ 15
sec*1/ 0 sec
Auto Interior
Illumination
SensitivityChanges the sensitivity of the brightness of the
instrument panel when the headlight switch is in
the AUTO position.Min/Low/Mid*1/
High /Max
Auto Headlight On
with Wiper OnChanges the settings for th e wiper operation when
the headlights automati cally come on while the
headlight switch is in the AUTO position.
ON*1/OFF
Auto Light
Sensitivity*Changes the timing for the headlights to come on.Max /High /Mid*1/
Low /Min
Wireless
Charger*Turns the wireless charger feature on and off.ON*1/OFF
Maintenance
InformationOil LifeResets the engine oil life display when you have
performed the maintenance service.—
* Not available on all models
21 US ODYSSEY-31THR6310.book 480 ページ 2020年6月17日 水曜日 午後2時46分
Page 599 of 787

597
uuHonda Sensing ®u Collision Mitigation Braking SystemTM (CMBSTM)
Continued
Driving
■Vehicle conditions
• Headlight lenses are dirty or the h eadlights are not properly adjusted.
• The outside of the windshield is blocked by dirt, mud, leaves, wet snow, etc.
• The inside of the windshield is fogged.
• An abnormal tire or wheel condition (wrong sized, varied size or construction,
improperly inflated, co mpact spare tire, etc.).
• When tire chains are installed.
• The vehicle is tilted due to a heavy load or suspension modifications.
• The camera temperature gets too high.
• Driving with the parking brake applied.
• When the radar sensor in the front grille gets dirty.
• The vehicle is towing a trailer.
• Driving at night or in a dark place (e.g., a tunnel) with the headlights off.
21 US ODYSSEY-31THR6310.book 597 ページ 2020年6月17日 水曜日 午後2時46分
Page 628 of 787

626
uu Honda Sensing ®u Lane Keeping Assist System (LKAS)
Driving
• When objects on the road (curb, guard rail, pylons, etc.) are recognized as white
lines (or yellow lines).
• Driving on roads with double lines.
■Vehicle conditions
• Headlight lenses are dirty or the headlights are not properly adjusted.
• The outside of the windshield is streake d or blocked by dirt, mud, leaves, wet
snow, etc.
• The inside of the windshield is fogged.
• The camera temperature gets too high.
• An abnormal tire or wheel condition (wrong sized, varied size or construction,
improperly inflated, comp act spare tire, etc.).
• The vehicle is tilted due to a heav y load or suspension modifications.
• The vehicle is towing a trailer.
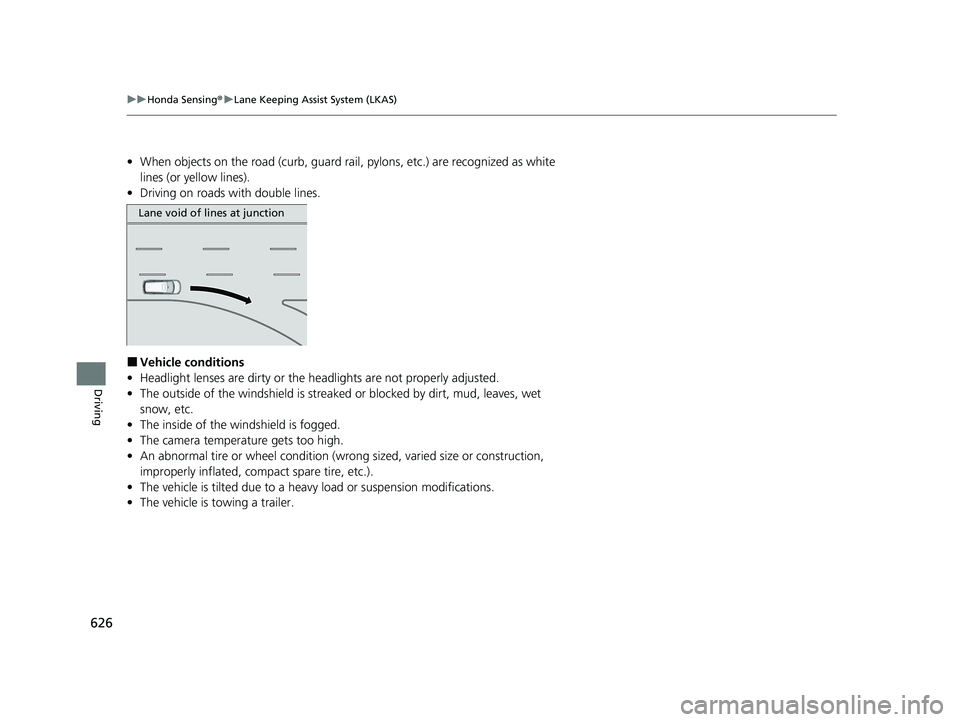
Lane void of lines at junction
21 US ODYSSEY-31THR6310.book 626 ページ 2020年6月17日 水曜日 午後2時46分