2021 GMC SIERRA warning
[x] Cancel search: warningPage 3 of 20

3
Read your Owner’s Manual to
learn about the information being
relayed by the lights, gauges and
indicators on the instrument cluster.
See Introduction in your
Owner’s Manual.
Driver’s Heated/ Ventilated Seat Buttons
F
Infotainment
System (8-inch* screen shown
F) Passenger’s Heated/
Ventilated Seat ButtonsF
Infotainment System
Controls Climate
Controls
F
USB Ports/
Accessory Power Outlet/120-Volt Power Outlet
F
Integrated
Trailer Brake Control
F
Wireless
Charging Pad
F
Lane Keep AssistF/
Park AssistF/Auto Engine
Stop-Start Disable/Power Release Tailgate
F/
Hazard Warning Flashers Buttons
F Optional equipment *Screen measured diagonally
Traction Control-StabiliTrak Off/
Power Outlet
F/Hill
Descent ControlF/
Power WindowsF/
MultiPro Power Assist Steps
F Buttons
Vehicle Ahead
Antilock Brake System
Low Tire Pressure
Door Ajar
Charging System
Driver Seat Belt Reminder
2 Passenger Seat Belt
Reminder
AU TO 4WD Mode
Page 8 of 20

8F Optional equipment
VEHICLE CUSTOMIZATIONF
Some features can be turned on/off or cus tomized using the Settings menus on the infotainment screen. The Settings
menus include System, Apps, and Vehicle.
1. Select Settings on the Home page.
2. Select the desired menu tab.
3. Select the desired feature and setting.
4. Press
BACK to exit each menu.
See Instruments and Controls in your Owner’s Manual.
CLIMATE CONTROLS/VEHICLE CONTROLSF
AUTO
Driver’s Temp. Control/
Automatic
Operation
F
SYNC
Passenger’s Temp.
Control/Syncronize
passenger’s setting to driver’s setting
F
AC/ Air Conditioning/
Recirculation Mode Fan Speed/ On/Off
Air Delivery
Modes: Defog Vent Floor
MA X/REAR Defrost Mode/Rear
Window-Heated
Outside Mirror Defog
F
Park
Assist
On/Off
F
Lane Keep Assist
On/Off
F
Hill
Descent Control
On/Off
F
Power
Assist Steps
On/Off
F
�$ Auto Engine Stop/Start Disable
On/Off Press to
lower the tailgate Cargo Box
Power Outlet On/Off
F
(Ignition
must be On)
Hazard
Warning
Flashers On/Off Traction
Control/
StabiliTrak On/Off
Dual automatic climate controlsF shown
See Introduction in your Owner’s Manual.
Page 14 of 20

14F Optional equipment
DRIVER ASSISTANCE SYSTEMSF
Safety or driver assistance features are not a substitute for the driver’s responsibility to operate
the vehicle in a safe manner. The driver should remain attentive to traffic, surroundings and
road conditions at all times. Read your Owner’s Manual for important feature limitations and
information.
SAFETY ALERT SEAT – The driver’s seat pulses — left side, right side or simultaneously
— to alert the driver of the direction of potential hazards.
Audible alerts or seat pulsing alerts may be selected. To change the alert settings, go to Settings > Vehicle > Collision/Detection Systems > Alert Type.
FORWARD COLLISION ALERT – The Vehicle Ahead Indicator is green when a vehicle is detected and is amber when following a vehicl e ahead much too closely. When approaching a vehicle directly ahead too rapidly, a red alert flashes on the windshield
and the Safety Alert Seat pulses or rapid beeps sound (if selected).
Press the Forward Collision Alert button on the steering wheel to set the alert
timing to Far, Medium, or Near.
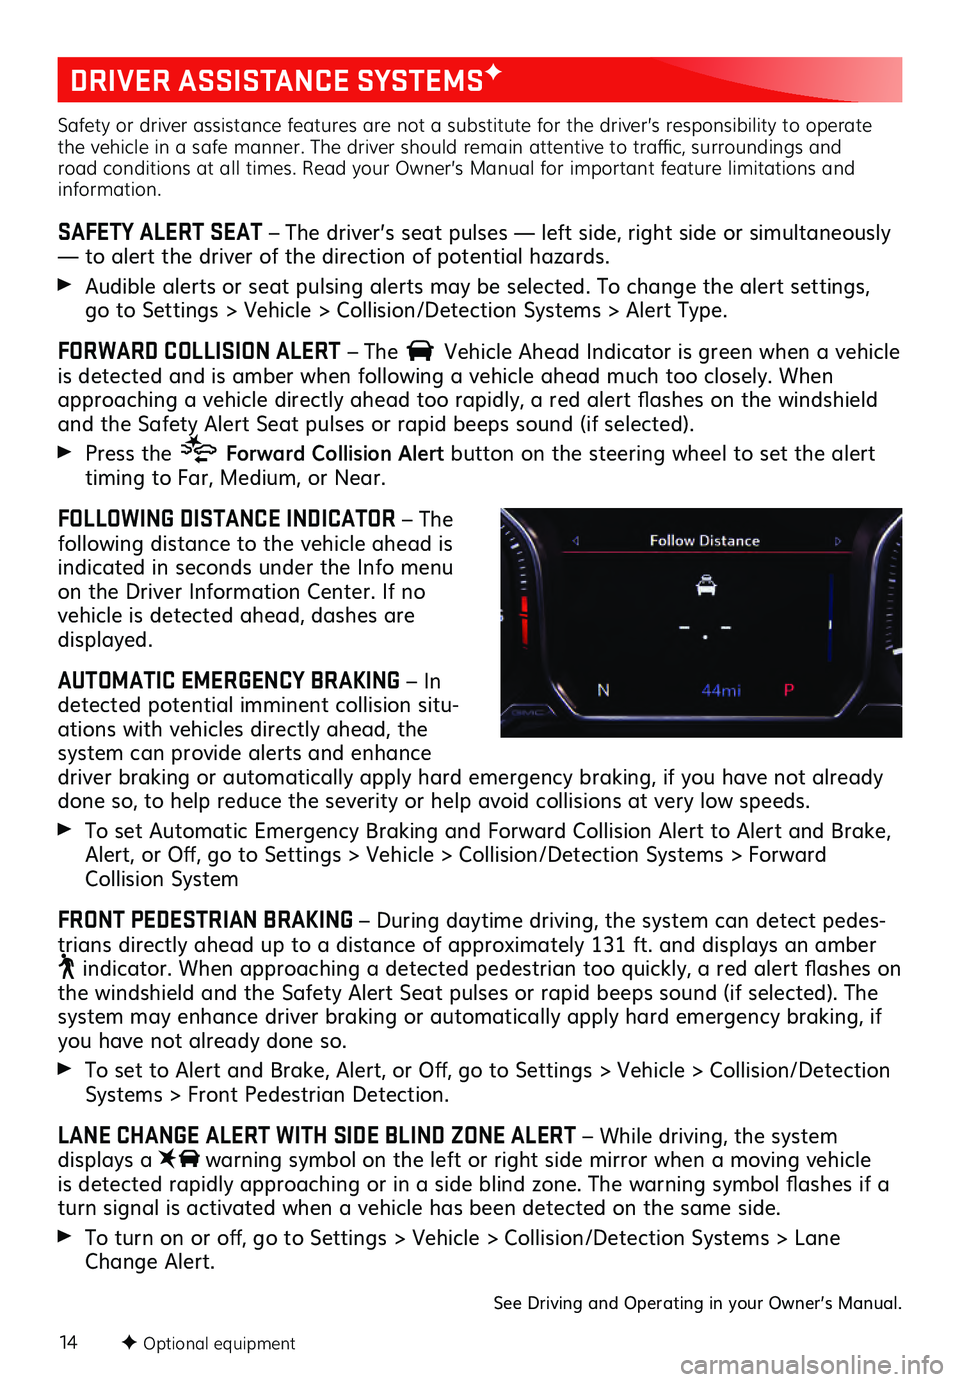
FOLLOWING DISTANCE INDICATOR – The
following distance to the vehicle ahead is
indicated in seconds under the Info menu
on the Driver Information Center. If no vehicle is detected ahead, dashes are displayed.
AUTOMATIC EMERGENCY BRAKING – In
detected potential imminent collision situ -
ations with vehicles directly ahead, the
system can provide alerts and enhance driver braking or automatically apply hard emergency braking, if you have not already
done so, to help reduce the severity or help avoid collisions at very low speeds.
To set Automatic Emergency Braking and Forward Collision Alert to Alert and Brake,
Alert, or Off, go to Settings > Vehicle > Collision/Detection Systems > Forward
Collision System
FRONT PEDESTRIAN BRAKING – During daytime driving, the system can detect pedes -
trians directly ahead up to a distance of approximately 131 ft. and displays an amber
indicator. When approaching a detected pedestrian too quickly, a red alert flashes on the windshield and the Safety Alert Seat pulses or rapid beeps sound (if selected). The system may enhance driver braking or automatically apply hard emergency braking, if you have not already done so.
To set to Alert and Brake, Alert, or Off, go to Settings > Vehicle > Collision/Detection
Systems > Front Pedestrian Detection.
LANE CHANGE ALERT WITH SIDE BLIND ZONE ALERT – While driving, the system displays a warning symbol on the left or right side mirror when a moving vehicle
is detected rapidly approaching or in a side blind zone. The warning symbol flashes if a
turn signal is activated when a vehicle has been detected on the same side.
To turn on or off, go to Settings > Vehicle > Collision/Detection Systems > Lane
Change Alert.
See Driving and Operating in your Owner’s Manual.
Page 15 of 20

15F Optional equipment
DRIVER ASSISTANCE SYSTEMSF
LANE KEEP ASSIST WITH LANE DEPARTURE WARNING – The system may help you
avoid collisions due to unintentional lane departures. The
Lane Keep Assist indicator
is green if the system is available to assist. If the vehicle approaches a detected lane
marking without using a turn signal in that direction, the system may assist by gently
turning the steering wheel and displaying an amber
.
If active driver steering is not detected, the amber may flash and the Safety Alert
Seat may pulse or beeps may sound (if selected) on the side of the departure direction
as the lane marking is crossed. In order to use this system safely, the driver needs to
steer and be in complete control of the vehicle.
To turn on or off, press the Lane Keep Assist button on the instrument panel.
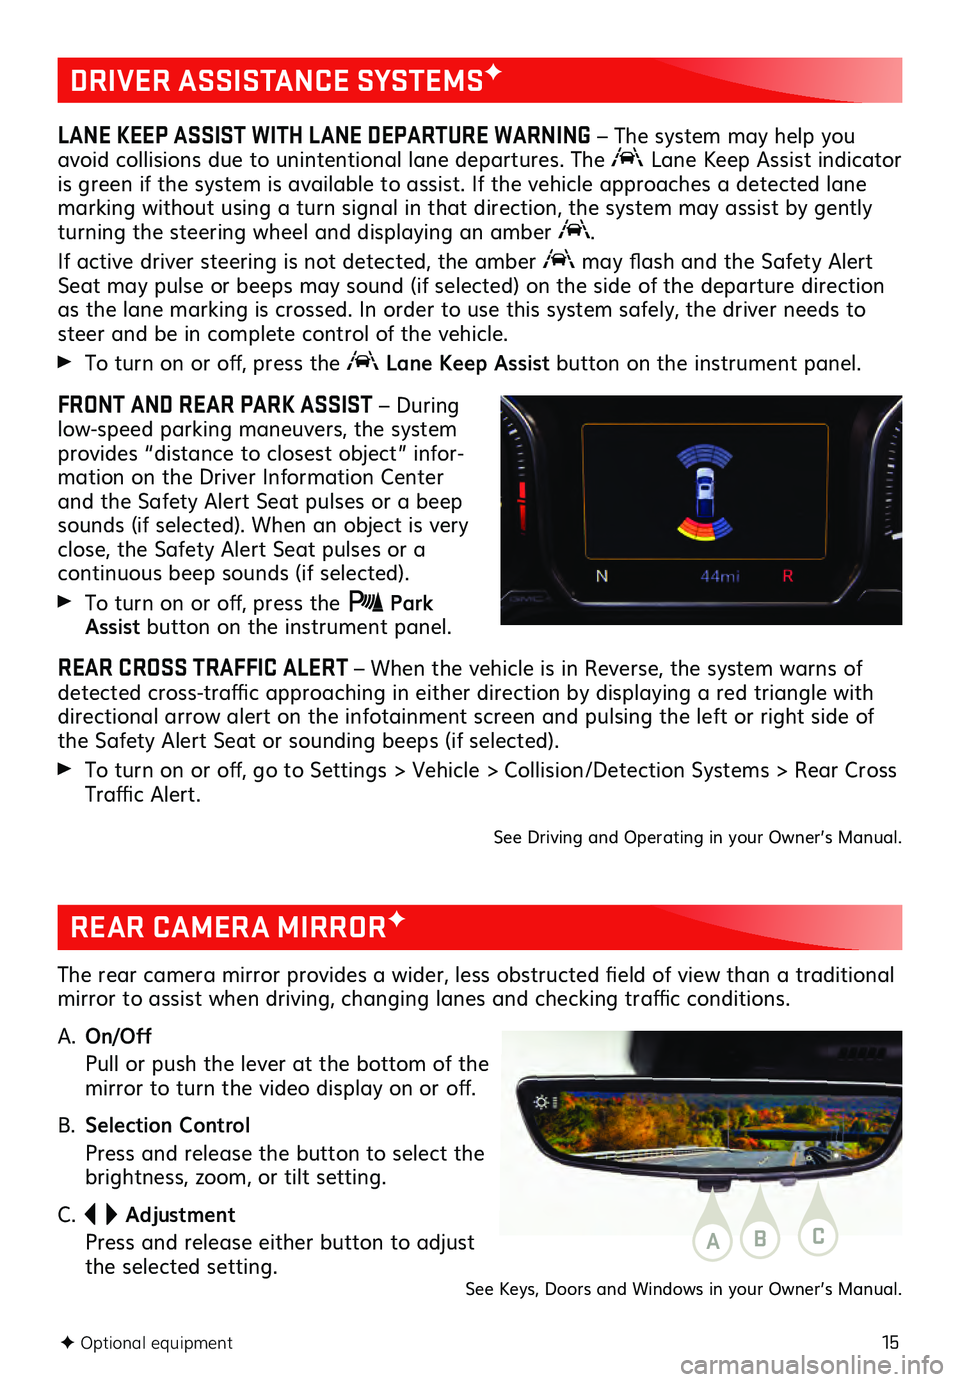
FRONT AND REAR PARK ASSIST – During
low-speed parking maneuvers, the system
provides “distance to closest object” infor -
mation on the Driver Information Center
and the Safety Alert Seat pulses or a beep
sounds (if selected). When an object is very
close, the Safety Alert Seat pulses or a
continuous beep sounds (if selected).
To turn on or off, press the Park Assist button on the instrument panel.
REAR CROSS TRAFFIC ALERT – When the vehicle is in Reverse, the system warns of
detected cross-traffic approaching in either direction by displaying a red triangle with
directional arrow alert on the infotainment screen and pulsing the left or right side of
the Safety Alert Seat or sounding beeps (if selected).
To turn on or off, go to Settings > Vehicle > Collision/Detection Systems > Rear Cross
Traffic Alert.
See Driving and Operating in your Owner’s Manual.
REAR CAMERA MIRRORF
The rear camera mirror provides a wider, less obstructed field of view than a traditional
mirror to assist when driving, changing lanes and checking traffic conditions.
A.
On/Off
Pull or pu sh the lever at the bottom of the mirror to turn the video display on or off.
B. Selection Control
Press and release the button to select the brightness, zoom, or tilt setting.
C.
Adjustment
Press and release either button to adjust the selected setting.ABC
See Keys, Doors and Windows in your Owner’s Manual.
Page 16 of 20

16F Optional equipment required
CAMERA SYSTEM FEATURES
The available camera systems feature up to 8 camerasF with up to 15 viewsF to help
make it easier to hitch a trailer and provide better visibility while towing.
REAR VISION CAMERA
When the vehicle is in Reverse, a view of the area behind the vehicle dis plays on the infotainment screen. Camera view buttonsF are on the screen.
Touch the Guidance Lines or Hitch Guid ance button to change gu idelines.
Touch the Hitch View button for a zoomed-in view of the hitch area.
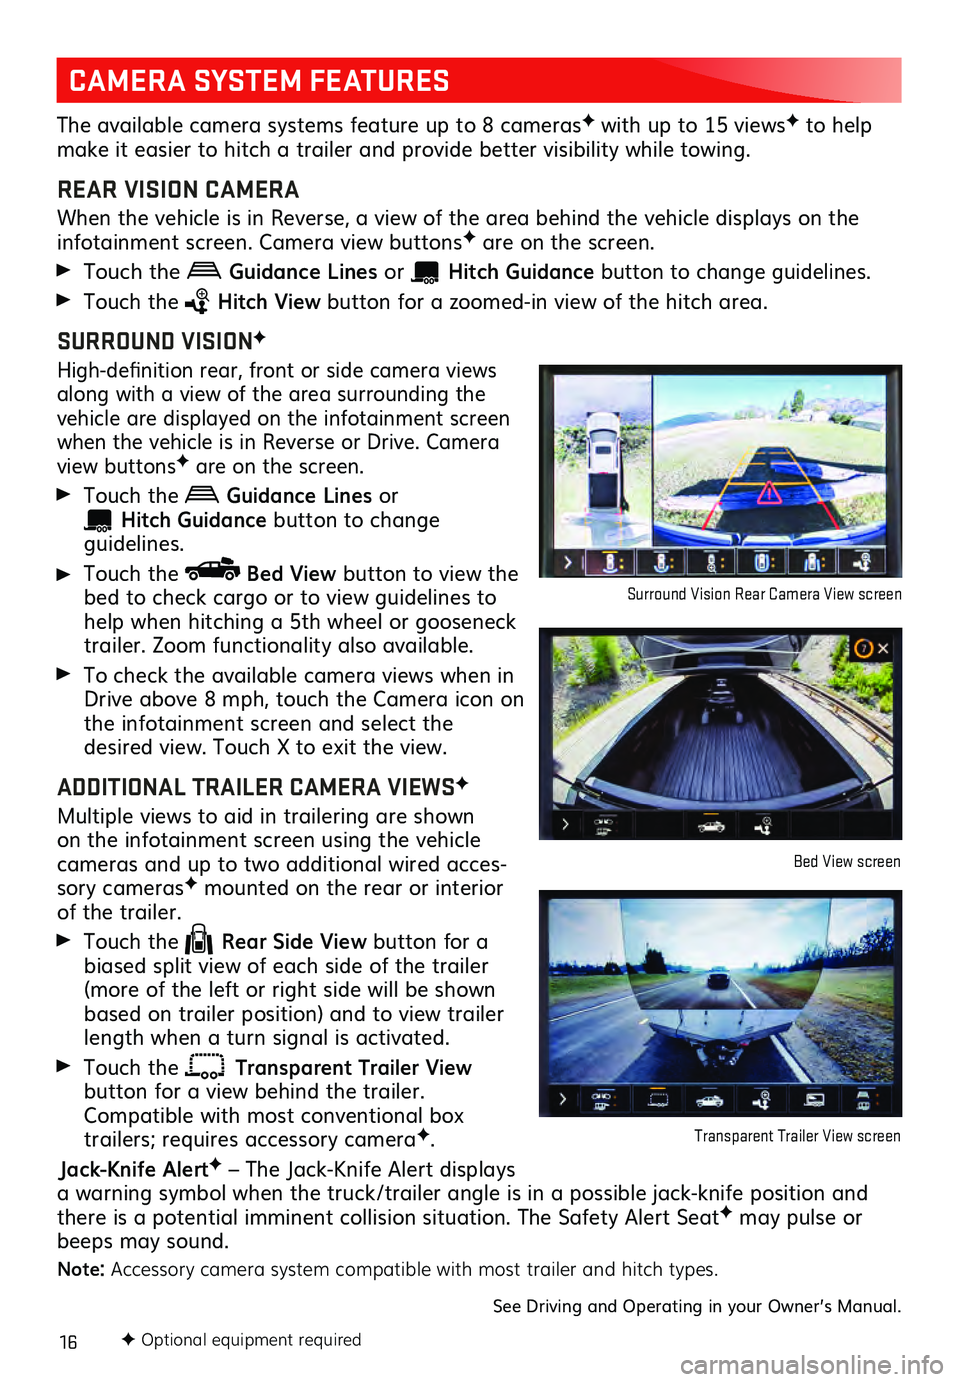
SURROUND VISIONF
High-definition rear, front or side c amera views along with a view of the area surrounding the
vehicle are displayed on the infotainment screen
when the vehicle is in Reverse or Drive. Camera
view buttonsF are on the screen.
Touch the Guidance Lines or
Hitch Guidance button to change guidelines.
Touch the Bed View button to view the
bed to check cargo or to view guidelines to
help when hitching a 5th wheel or gooseneck
trailer. Zoom functionality also available.
To check the available camera views when in
Drive above 8 mph, touch the Camera icon on
the infotainment s creen and select the desired view. Touch X to exit the view.
ADDITIONAL TRAILER CAMERA VIEWSF
Multiple views to aid in trailering are shown on the infotainment screen using the vehicl e cameras and up to two additional wired acces-
sory camerasF mounted on the rear or interior of the trailer.
Touch the Rear Side View button for a
biased split view of each side of the trailer
(more of the left or right side will be shown
based on trailer position) and to view trailer
length when a turn signal is activated.
Touch the Transparent Trailer View button for a view behind the trailer.
Compatible with most conventional box
trailers; requires accessory cameraF.
Jack-Knife AlertF – The Jack-Knife Alert displays
a warning symbol when the truck/trailer angle is in a possible jack-knife position and
there is a potential imminent collision situation. The Safety Alert Seat
F may pulse or
beeps may sound.
Note: Accessory camera system compatible with most trailer and hitch types.
See Driving and Operating in your Owner’s Manual.
Surround Vision Rear Camera View screen
Bed View screen
Transparent Trailer View screen
Page 18 of 20

18F Optional equipment
TRAILERINGF
PROGRADE TRAILERING SYSTEMF
The in-vehicle trailering app on the info-
tainment screen allows customized trailer
profiles with a variety of helpful towing
assistance features, including a hitching
and setup checklist, trailer tire pressure and
temperature monitoring
F, trailer light test-
ing, Jack-Knife Alert, trailer length indicator,
trailer theft detection and more. Trailering
App information also is available with the
myGMC mobile app.
Note: The Trailering App will monitor trailer presence, even while the vehicle is off, by periodically
checking the trailer lighting circuits. On trailers equipped with LED lights, these periodic checks may
cause the trailer lights to flash. This flashing will become more frequent if Theft Alert is enabled.
HITCH AREA LIGHTING
Press the Cargo Lamp button on the left side of the instrument panel to turn
the cargo bed lamp or conventional hitch lamp on/off.
TRAILERING INFORMATION LABEL
The Trailering information label, located by the driver’s door latch, provides vehicle-
specific weight information to help when loading the vehicle.
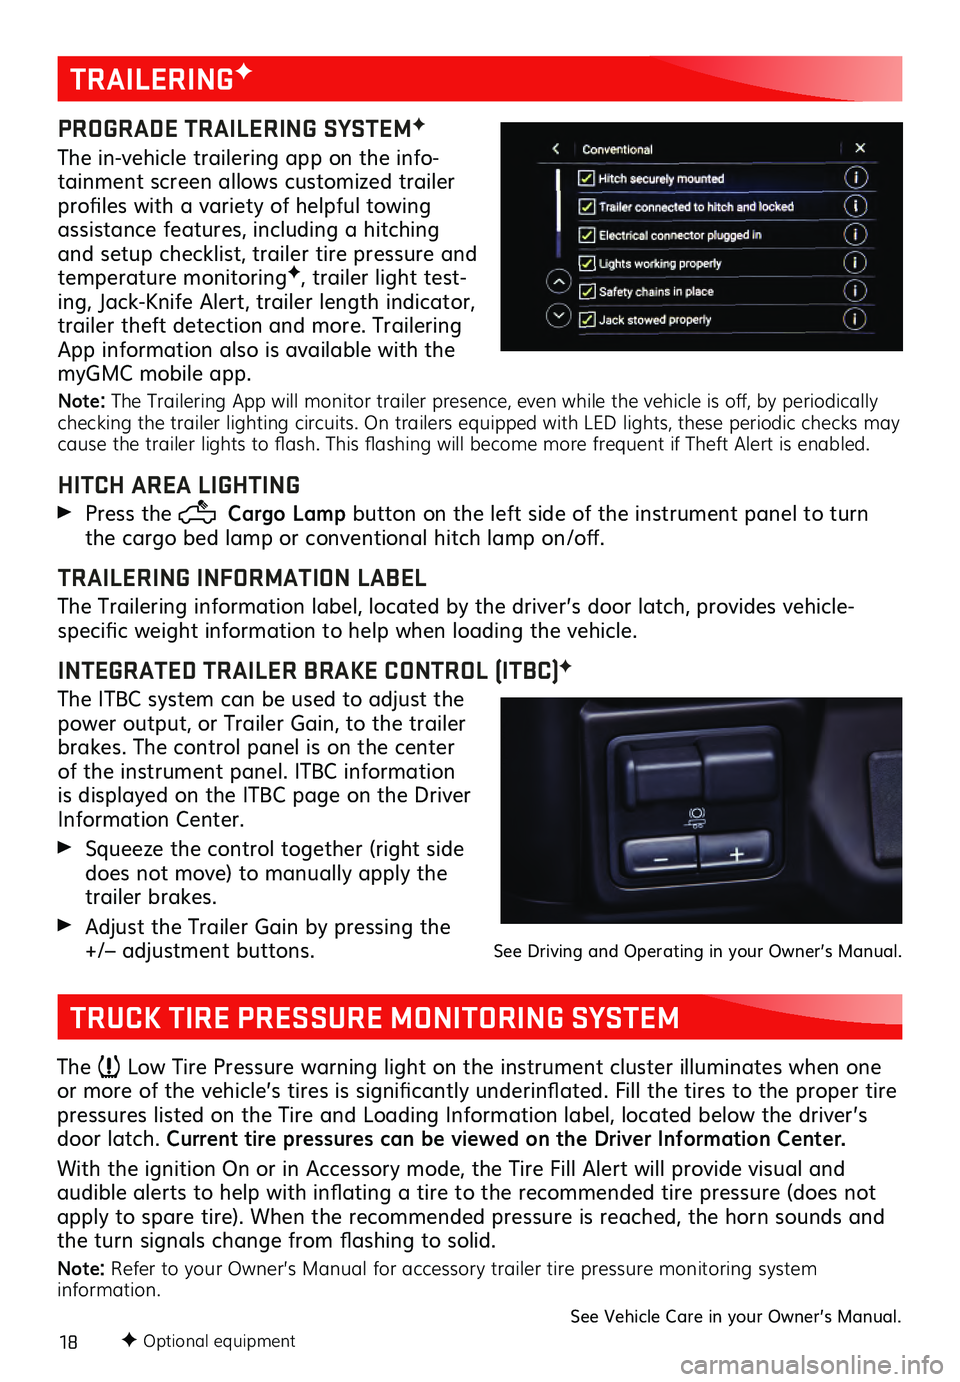
INTEGRATED TRAILER BRAKE CONTROL (ITBC)F
The ITBC system can be used to adjust the
power output, or Trailer Gain, to the trailer
brakes. The control panel is on the center
of the instrument panel. ITBC information
is displayed on the ITBC page on the Driver
Information Center.
Squeeze the control together (right s ide does not move) to manually apply the
trailer brakes.
Adjust the Trailer Gain by pressing the +/– adjustment buttons. See Driving and Operating in your Owner’s Manual.
TRUCK TIRE PRESSURE MONITORING SYSTEM
The Low Tire Pressure warning light on the instrument cluster illuminates when one
or more of the vehicle’s tires is significantly underinflated. Fill the tires to the proper tire
pressures listed on the Tire and Loading Information label, located below the driver’s
door latch. Current tire pressures can be viewed on the Driver Information Center.
With the ignition On or in Accessory mode, the Tire Fill Alert will provide visual and
audible alerts to help with inflating a tire to the recommended tire pressure (does not apply to spare tire). When the recommended pressure is reached, the horn sounds and
the turn signals change from flashing to solid.
Note: Refer to your Owner’s Manual for accessory trailer tire pressure monitoring system
information.
See Vehicle Care in your Owner’s Manual.