2021 FORD F650/750 Low range
[x] Cancel search: Low rangePage 126 of 390

First (1)
•
The transmission operates in first (1)
gear only.
• Provides maximum engine braking.
• Allows upshifts by moving the gearshift
lever.
• Does not downshift into first (1) gear
at high speeds but allows for first (1)
gear when vehicle reaches slower
speeds.
Forced downshifts
• Allowed in drive (D) with the tow/haul
feature on or off.
• Press the accelerator to the floor.
• Allows the transmission to select an
appropriate gear.
Tow/Haul Mode WARNING: Do not use tow/haul
when the road surface is slippery. Failure
to follow this instruction could result in
the loss of control of your vehicle. WARNING:
Do not use diesel
engine exhaust braking when the road
surface is slippery. Failure to follow this
instruction could result in the loss of
control of your vehicle. To activate tow/haul, press the
button on the gearshift lever
once. An indicator light
illuminates in the instrument cluster. The tow/haul feature:
•
Delays upshifts to reduce the frequency
of transmission shifting.
• Provides engine braking in all forward
gears, which slows your vehicle and
assists you in controlling your vehicle
when descending a slope.
• Depending on driving conditions and
load conditions, could downshift the
transmission to slow your vehicle and
help to control the vehicle speed when
descending a hill without pressing the
accelerator pedal. Tapping the brake
pedal downshifts the transmission to
provide additional braking, but only if
the downshift does not cause an
engine overspeed condition.
The tow/haul feature improves
transmission operation when towing a
trailer or a heavy load. All transmission
gear ranges are available when using
tow/haul.
To deactivate the tow/haul feature and
return to normal driving mode, press the
button on the gearshift lever twice. The
indicator light deactivates. Tow/haul also
deactivates when you power down your
vehicle.
Note: Under certain conditions, the
automatic tow/haul feature engages, and
the indicator comes on without pressing the
tow/haul button.
Understanding Your SelectShift™
Automatic Transmission
Your vehicle has a SelectShift automatic
transmission gearshift lever. SelectShift
automatic transmission gives you the
ability to change gears up or down, without
a clutch, as you prefer.
123
F650750 (TBC) , enUSA, Edition date: 202010, Second-Printing TransmissionE161509
Page 128 of 390

To prevent the engine from running at too
low an RPM, which could cause it to stall,
SelectShift still makes some downshifts
if it has determined that you have not
downshifted in time. Although SelectShift
makes some downshifts for you, it still
allows you to downshift at any time if the
SelectShift determines there is no damage
to the engine from over-revving.
SelectShift does not automatically upshift,
even if the engine is approaching the RPM
limit. Shift manually by pressing the +
button.
Note:
Engine damage could occur if you rev
the engine excessively and hold it without
shifting.
Progressive Range Selection - PRS
(If Equipped)
Progressive Range Selection gives you the
ability to lockout gears from the automatic
shifting range. This could provide you with
an improved driving experience, for
example, in slippery conditions or when
experiencing a steep slope.
With the gearshift lever in drive (D), press
the – button to activate progressive range
selection. The instrument cluster indicates
the available and selected gears.
All available gears display with the current
gear indicated. Press the – button again to
lock out gears beginning with the highest
gear. For example, press the – button twice
to lock out sixth (6) and fifth (5) gears.
Only the available gears display, and the
transmission shifts between the available
gears. Press the + button to unlock gears
to allow the transmission to shift to higher
gears. The transmission shifts within the
gear range you select. Automatic Transmission Adaptive
Learning
This feature could increase durability and
provide consistent shift feel over the life
of your vehicle. A new vehicle or
transmission may have firm shifts, soft
shifts, or both. This is normal and does not
affect the function or durability of the
transmission. Over time, the adaptive
learning process fully updates transmission
operation.
Brake-Shift Interlock
WARNING: Do not drive your
vehicle until you verify that the
stoplamps are working. WARNING:
When doing this
procedure, you need to take the
transmission out of park (P) which
means your vehicle can roll freely. To
avoid unwanted vehicle movement,
always fully apply the parking brake prior
to doing this procedure. Use wheels
chocks if appropriate. WARNING:
If the parking brake is
fully released, but the brake warning
lamp remains illuminated, the brakes
may not be working properly. Have your
vehicle checked as soon as possible.
Your vehicle has a feature that prevents
the gearshift lever from moving from park
(P) when you switch the ignition on but
you are not pressing on the brake pedal.
If you cannot move the gearshift lever out
of the park (P) position with the ignition in
the on position and the brake pedal
pressed, a malfunction could have
occurred. It is possible that a fuse has
blown, or your vehicle ’s brake lamps are
not operating properly.
See Fuse
Specification Chart (page 193).
125
F650750 (TBC) , enUSA, Edition date: 202010, Second-Printing Transmission
Page 132 of 390

Servicing a Vehicle with an
Electronic Locking Differential
Turn the engine off and raise all drive
wheels of the locker differential axle to
prevent your vehicle from moving when
servicing the wheels, tires or brakes. Axles
equipped with a driver-controlled
differential deliver power to both wheels
even when only one wheel is on the ground.
WARNING: Failure to raise all drive
wheels with this type of differential could
cause the vehicle to move unexpectedly,
resulting in property damage, personal
injury or death.
2-SPEED REAR AXLE (IF EQUIPPED) WARNING: Never shift a
two-speed axle when descending a
steep grade as this may cause loss of
vehicle control and result in personal
injury.
Note: Do not shift between ranges when
the speed control is on.
A two-speed rear axle allows the driver to
select a low range for greater pulling power
and a high range for greater road speed
and fuel economy. You can also use these
ranges to provide extra steps between
transmission shifts when driving on steep
grades or fuel economy may be factors. Axle Shifting Note:
Do not shift the axle to LOW when
your vehicle is moving. Use LOW when you
drive a fully loaded vehicle on a severe grade
or in congested traffic. Use HIGH for all
normal driving conditions with a lightly
loaded or partially loaded vehicle.
Note: The axle is set to HIGH by default.
To shift the axle between HIGH and LOW
with the vehicle stopped, place the
transmission in position N, then press and
hold the button for two seconds.
129
F650750 (TBC) , enUSA, Edition date: 202010, Second-Printing Rear AxleE208228
Page 138 of 390

Vehicles with Automatic Transmission
You cannot turn the system on or off.
When you switch the ignition on, the
system automatically turns on.
AIR BRAKES (IF EQUIPPED)
WARNING: Do not drive or continue
to drive if the low air pressure buzzer is
sounding or the brake warning light is lit.
These warnings indicate that air pressure
is not to normal operating level.
Continued use of the vehicle could result
in loss of braking ability. WARNING:
Avoid repeated light
application of the brake pedal. This
depletes air pressure faster and could
result in loss of braking capability. WARNING:
Do not move the
vehicle when the air pressure is
insufficient because the brake system
may be inoperative.
After starting the engine, give the air
compressor time to build up the air
pressure to
60 psi (414 kPa) before moving
your vehicle. Periodically check the air pressure gauge
while driving. Pressure should range
between approximately 100 psi (690 kPa)
to
130 psi (896 kPa). The air compressor
governor cut-in and cutout pressure
settings are set at the factory and are not
adjustable. When air pressure is insufficient
(below
60 psi (414 kPa)), a
warning light illuminates and a
buzzer sounds when the ignition is in the
on position. This may happen because
excessive brake applications are depleting
the system air pressure. If this condition
occurs, stop driving your vehicle until the
compressor has fully recharged the air
system.
Select a gear ratio to help slow your vehicle
before descending grades. Supplementing
with brakes, as required, help to safely slow
the vehicle and avoids overspeeding the
engine.
Air Chamber Stroke Indication
Air chamber push rods have orange stroke
indicator markers that warn when the
braking system requires adjustment or
repair. The painted orange indicator is on
the air chamber push rod at the slack
adjuster stroke dimension that requires
service when visible during brake
application.
A qualified service technician should
perform air brake inspection and
adjustment or repairs keeping to the
instructions in the service manual.
135
F650750 (TBC) , enUSA, Edition date: 202010, Second-Printing BrakesE210336 E206772
Page 140 of 390

An exhaust brake is an auxiliary braking
system that assists, but does not replace,
the primary brake system. It helps control
vehicle speed. It is not a vehicle-stopping
device.
Use the button on the instrument panel, in
combination with the accelerator pedal,
to maximize the use of the exhaust brake
in the following conditions:
•
Off-highway driving.
• Mountain driving.
• Heavy traffic.
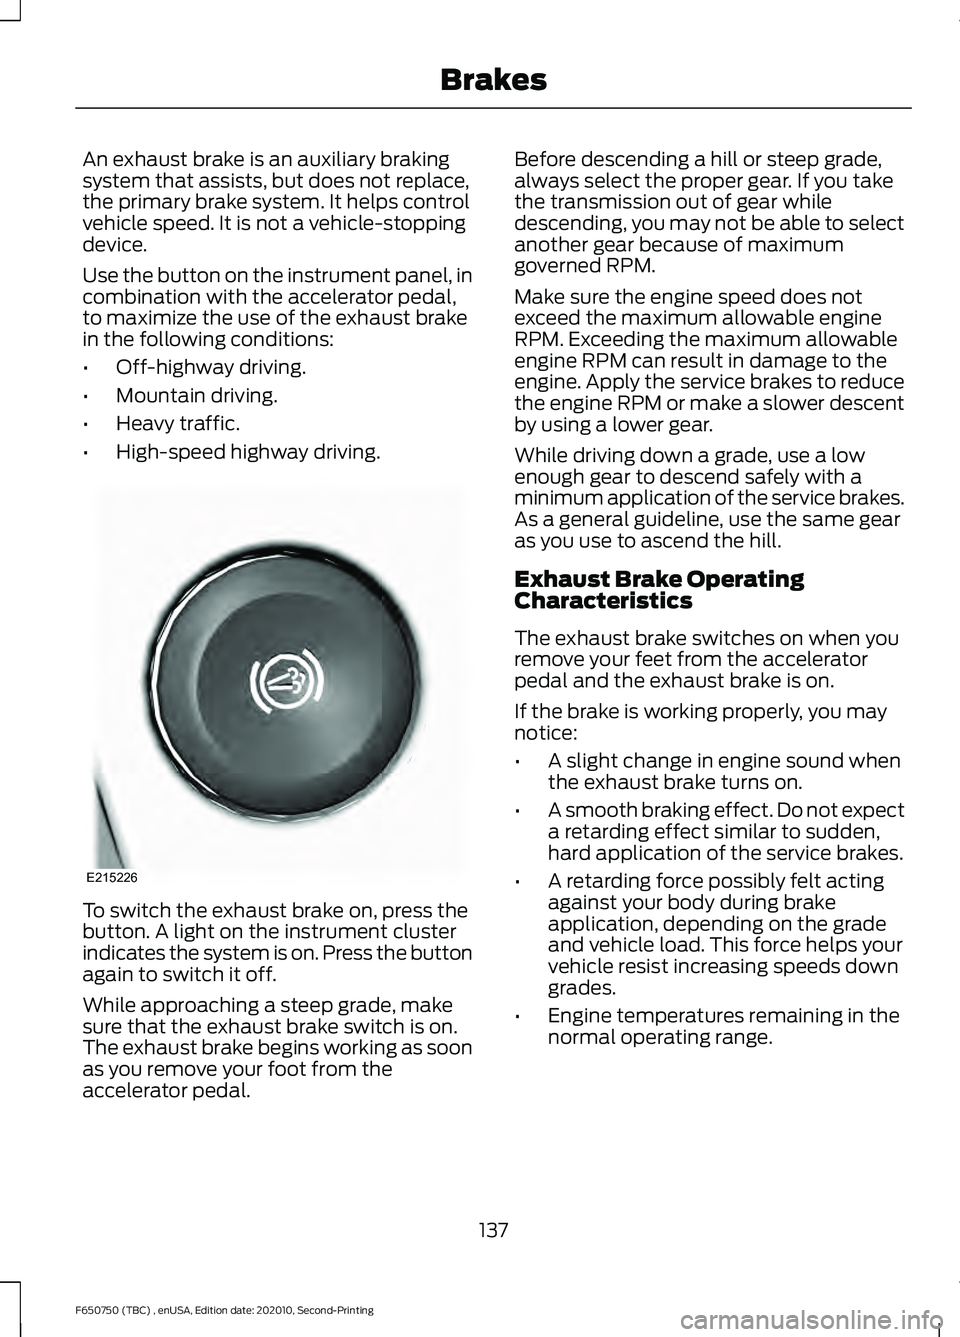
• High-speed highway driving. To switch the exhaust brake on, press the
button. A light on the instrument cluster
indicates the system is on. Press the button
again to switch it off.
While approaching a steep grade, make
sure that the exhaust brake switch is on.
The exhaust brake begins working as soon
as you remove your foot from the
accelerator pedal. Before descending a hill or steep grade,
always select the proper gear. If you take
the transmission out of gear while
descending, you may not be able to select
another gear because of maximum
governed RPM.
Make sure the engine speed does not
exceed the maximum allowable engine
RPM. Exceeding the maximum allowable
engine RPM can result in damage to the
engine. Apply the service brakes to reduce
the engine RPM or make a slower descent
by using a lower gear.
While driving down a grade, use a low
enough gear to descend safely with a
minimum application of the service brakes.
As a general guideline, use the same gear
as you use to ascend the hill.
Exhaust Brake Operating
Characteristics
The exhaust brake switches on when you
remove your feet from the accelerator
pedal and the exhaust brake is on.
If the brake is working properly, you may
notice:
•
A slight change in engine sound when
the exhaust brake turns on.
• A smooth braking effect. Do not expect
a retarding effect similar to sudden,
hard application of the service brakes.
• A retarding force possibly felt acting
against your body during brake
application, depending on the grade
and vehicle load. This force helps your
vehicle resist increasing speeds down
grades.
• Engine temperatures remaining in the
normal operating range.
137
F650750 (TBC) , enUSA, Edition date: 202010, Second-Printing BrakesE215226
Page 162 of 390

Gray: Indicates that the system is
temporarily unable to provide a warning
on the indicated side(s). This may be
because:
• Your vehicle is below the activation
speed.
• The direction indicator is active.
• Your vehicle is in a dynamic maneuver.
• The road has no or poor lane markings
in the camera field-of-view.
• The camera is obscured or unable to
detect the lane markings due to
environmental, traffic or vehicle
conditions. For example, significant sun
angles, shadows, snow, heavy rain or
fog, following a large vehicle that is
blocking or shadowing the lane or poor
headlamp illumination. See Troubleshooting for additional
information.
Green
: Indicates that the system is
available or ready to provide a warning on
the indicated side(s).
Red
: Indicates that the system is providing
or has just provided a lane keeping alert
warning.
You can temporarily disable the system at
any time by doing the following:
• Quick braking.
• Fast acceleration.
• Using your direction indicator.
• Evasive steering maneuver.
• Driving too close to the lane markings.
Troubleshooting Why is the feature not available (line markings are gray) when I can see the lane markings
on the road?
Your vehicle speed is outside the operational range of the feature.
The sun is shining directly into the camera lens.
A quick intentional lane change has occurred.
Your vehicle stays too close to the lane markings.
Driving at high speeds in curves.
The last feature activation occurred a short time ago.
Ambiguous lane markings, for example in construction zones.
Rapid transition from light to dark, or from dark to light.
Sudden offset in lane markings.
ABS or AdvanceTrac ™ is active.
There is a camera blockage due to dirt, grime, fog, frost or water on the windshield.
You are driving too close to the vehicle in front of you.
Transitioning between no lane markings to lane markings or vice versa.
159
F650750 (TBC) , enUSA, Edition date: 202010, Second-Printing Driving Aids
Page 206 of 390

VEHICLE INSPECTION
INFORMATION
To make sure your vehicle is ready to
operate, conduct a pre-trip inspection at
the beginning of each work period. Follow
the steps listed in this section to verify a
proper vehicle inspection procedure.
WARNING: Exercise great caution
when working on a vehicle equipped with
an automatic fan clutch. The fan starts
in motion only after the engine coolant
reaches a predetermined temperature
or the refrigerant pressure (if equipped
with air conditioning) reaches a
predetermined setting. The fan starts at
this point with no advance warning.
Never reach near, or permit objects to
protrude into, the fan blade radius while
the engine is running as this could result
in vehicle damage, personal injury or
death. WARNING:
Do not operate the
vehicle if any suspension conditions
listed in the following charts are evident.
Loss of steering or suspension could
result in property damage, personal injury
or death. WARNING:
If a wheel must be
changed, obtain expert tire service help.
Mounting and un-mounting of tires
should only be performed by a qualified
technician using necessary safety
procedures and equipment, otherwise
the result could be property damage,
personal injury or death.
Note: Always make sure you apply the
parking brake before starting the engine. Engine compartment (with engine off)
Use the dipstick to verify the oil level is in the proper operating
range. See
Engine Oil Dipstick (page 217).
Engine oil
Look through the plastic reservoir and verify the coolant level
is within the proper operating range. Do not remove the
pressure cap until the coolant has cooled. See
Engine
Coolant Check (page 226).
Engine coolant
Verify that the fluid level is in the proper operating range. See
Power Steering Fluid Check
(page 238).
Power steering fluid
Remove the master cylinder caps and inspect the fluid level.
See
Brake Fluid Check (page 237).
Brake fluid
203
F650750 (TBC) , enUSA, Edition date: 202010, Second-Printing Vehicle Inspection Guide
Page 207 of 390

Engine compartment (with engine off)
Inspect for glazing, fraying or cracking. There should be no
more than 5-7 cracks per rib, per 1 in (2.5 cm)
Belts (fan, alternator,
water pump and air
conditioning
compressor)
Inspect for signs of fluid puddles or dripping fluid on the
ground under the engine, or the underside of the engine.
Fluid leaks
Inspect for debris that may have collected on the HVAC air
inlet grille or inside the exterior module as this may reduce
system performance.
HVAC air inlet Engine starting (with parking brake applied)
Before entering the cab, verify that the vehicle is equipped
with spare electrical fuses (if used), three red reflective
triangles, a properly charged and rated fire extinguisher and
wheel chocks.
Safety and emergency
equipment
Walk around the vehicle and verify all steps and grab handles,
inside and out (as well as behind), are tight and clean. Use
extreme caution and a three-point stance at all times.
Inspect door latches for proper closing, latching and locking.
Set the parking brake. Make sure the gearshift lever is in
neutral (N) or park (P) (if equipped with a park position).
Starting the engine
Diesel engine:
Turn the key to the on position. Turn the key
to start when the wait to start indicator light in the instrument
cluster turns off.
Gasoline engine:
Turn the key to start, and then release it
as soon as the engine starts.
Verify pressure builds to normal operating range.
Engine oil pressure
A tone indicating low air pressure should sound immediately
after the engine starts but before the compressor has built-
up pressure. The tone should stop when the air pressure
reaches
70 psi (483 kPa). Let the air pressure build to
governed cutout pressure, which should occur between
115– 130 psi (793–896 kPa)
.
Low air pressure warning
tone (if equipped with an
air compressor)
Press the accelerator and verify that it operates smoothly,
without any binding or irregular feel. Release the pedal and
verify the engine returns to idle speed immediately.
Accelerator
204
F650750 (TBC) , enUSA, Edition date: 202010, Second-Printing Vehicle Inspection Guide