2021 FORD F-600 service
[x] Cancel search: servicePage 378 of 666
If the engine reaches a preset
over-temperature condition, the engine
switches to alternating cylinder operation.
Each disabled cylinder acts as an air pump
and cools the engine.
When this occurs, your vehicle still
operates, however:
•
Engine power is limited.
• The air conditioning system turns off.
Continued operation increases the engine
temperature, causing the engine to
completely shut down. Your steering and
braking effort increases in this situation.
When the engine temperature cools, you
can re-start the engine. Have your vehicle
checked as soon as possible to minimize
engine damage.
When Fail-Safe Mode Is Activated WARNING: Fail-safe mode is for
use during emergencies only. Operate
your vehicle in fail-safe mode only as
long as necessary to bring your vehicle
to rest in a safe location and seek
immediate repairs. When in fail-safe
mode, your vehicle will have limited
power, will not be able to maintain
high-speed operation, and may
completely shut down without warning,
potentially losing engine power, power
steering assist, and power brake assist,
which may increase the possibility of a
crash resulting in serious injury. WARNING:
Do not remove the
coolant reservoir cap when the engine is
on or the cooling system is hot. Wait 10
minutes for the cooling system to cool
down. Cover the coolant reservoir cap
with a thick cloth to prevent the
possibility of scalding and slowly remove
the cap. Failure to follow this instruction
could result in personal injury. Your vehicle has limited engine power
when in the fail-safe mode, drive your
vehicle with caution. Your vehicle does not
maintain high-speed operation and the
engine may operate poorly.
Remember that the engine is capable of
shutting down to prevent engine damage.
In this situation:
1. Pull off the road as soon as safely
possible and switch the engine off.
2. If you are a member of a roadside assistance program, we recommend
that you contact your roadside
assistance service provider.
3. If this is not possible, wait a short period for the engine to cool.
4. Check the coolant level. If the coolant level is at or below the minimum mark,
add prediluted coolant immediately.
5. When the engine temperature cools, you can re-start the engine. Have your
vehicle checked as soon as possible to
minimize engine damage.
Note: Driving your vehicle without repair
increases the chance of engine damage.
Engine Coolant Temperature
Management
(If Equipped) WARNING:
To reduce the risk of
crash and injury, be prepared that the
vehicle speed may reduce and the
vehicle may not be able to accelerate
with full power until the coolant
temperature reduces.
If you tow a trailer with your vehicle, the
engine may temporarily reach a higher
temperature during severe operating
conditions, for example ascending a long
or steep grade in high ambient
temperatures.
375
Super Duty (TFE) Canada/United States of America, enUSA, Edition date: 202008, Third-Printing- Maintenance
Page 379 of 666
At this time, you may notice the coolant
temperature gauge moves toward the red
zone and a message may appear in the
information display.
You may notice a reduction in vehicle
speed caused by reduced engine power in
order to manage the engine coolant
temperature. Your vehicle may enter this
mode if certain high-temperature and
high-load conditions take place. The
amount of speed reduction depends on
vehicle loading, grade and ambient
temperature. If this occurs, there is no
need to pull off the road. You can continue
to drive your vehicle.
The air conditioning may turn on and off
during severe operating conditions to
protect the engine from overheating. When
the coolant temperature decreases to the
normal operating temperature, the air
conditioning turns on.
If the coolant temperature gauge moves
fully into the red zone, or if the coolant
temperature warning or service engine
soon messages appear in your information
display, do the following:
1. Pull off the road as soon as safely
possible and shift the transmission into
park (P).
2. Leave the engine running until the coolant temperature gauge needle
returns to the normal position. After
several minutes, if the temperature
does not drop, follow the remaining
steps.
3. Switch the engine off and wait for it to
cool. Check the coolant level.
4. If the coolant level is at or below the minimum mark, add prediluted coolant
immediately.
5. If the coolant level is normal, restart the engine and continue. AUTOMATIC TRANSMISSION
FLUID CHECK
Note:
Transmission fluid should be checked
by an authorized dealer. If required, fluid
should be added by an authorized dealer.
The automatic transmission does not have
a transmission fluid dipstick.
Have an authorized dealer check and
change the transmission fluid and filter at
the correct service interval. See your
scheduled maintenance information. Your
transmission does not consume fluid.
However, the fluid level should be checked
if the transmission is not working properly,
(i.e., if the transmission slips or shifts
slowly) or if you notice some sign of fluid
leakage.
Do not use supplemental transmission
fluid additives, treatments or cleaning
agents. The use of these materials may
affect transmission operation and result
in damage to internal transmission
components.
376
Super Duty (TFE) Canada/United States of America, enUSA, Edition date: 202008, Third-Printing- Maintenance
Page 381 of 666
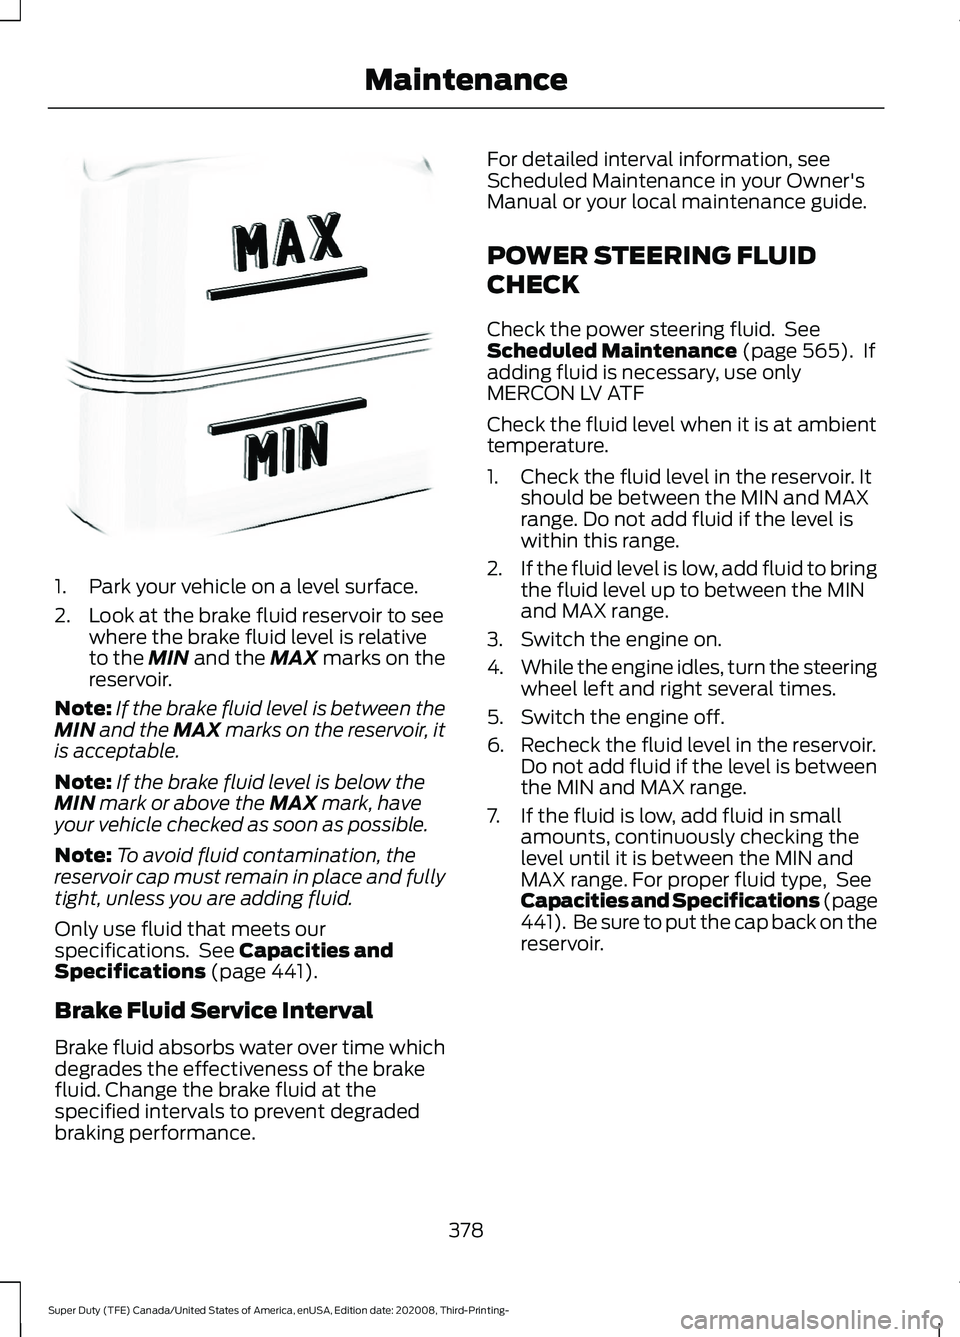
1. Park your vehicle on a level surface.
2. Look at the brake fluid reservoir to see
where the brake fluid level is relative
to the MIN and the MAX marks on the
reservoir.
Note: If the brake fluid level is between the
MIN
and the MAX marks on the reservoir, it
is acceptable.
Note: If the brake fluid level is below the
MIN
mark or above the MAX mark, have
your vehicle checked as soon as possible.
Note: To avoid fluid contamination, the
reservoir cap must remain in place and fully
tight, unless you are adding fluid.
Only use fluid that meets our
specifications. See
Capacities and
Specifications (page 441).
Brake Fluid Service Interval
Brake fluid absorbs water over time which
degrades the effectiveness of the brake
fluid. Change the brake fluid at the
specified intervals to prevent degraded
braking performance. For detailed interval information, see
Scheduled Maintenance in your Owner's
Manual or your local maintenance guide.
POWER STEERING FLUID
CHECK
Check the power steering fluid. See
Scheduled Maintenance
(page 565). If
adding fluid is necessary, use only
MERCON LV ATF
Check the fluid level when it is at ambient
temperature.
1. Check the fluid level in the reservoir. It should be between the MIN and MAX
range. Do not add fluid if the level is
within this range.
2. If the fluid level is low, add fluid to bring
the fluid level up to between the MIN
and MAX range.
3. Switch the engine on.
4. While the engine idles, turn the steering
wheel left and right several times.
5. Switch the engine off.
6. Recheck the fluid level in the reservoir. Do not add fluid if the level is between
the MIN and MAX range.
7. If the fluid is low, add fluid in small amounts, continuously checking the
level until it is between the MIN and
MAX range. For proper fluid type, See
Capacities and Specifications (page
441). Be sure to put the cap back on the
reservoir.
378
Super Duty (TFE) Canada/United States of America, enUSA, Edition date: 202008, Third-Printing- MaintenanceE170684
Page 389 of 666

4. Remove the bulb by pulling it straight
out.
License Plate Lamp Bulb 1.
Switch all of the lamps and the ignition
off.
2. To access the bulb, reach behind the bumper.
3. Turn the bulb holder counterclockwise
and remove it.
4. Remove the bulb by pulling it straight out.
LED Lamps (If Equipped)
LED lamps are not serviceable items. See
an authorized dealer if they fail.
The following lamps may be LED:
• Headlamps.
• Front fog lamps.
• Rear lamps.
• High stop lamp and cargo lamp.
• License plate bulb. CHANGING THE ENGINE-
MOUNTED AND DIESEL FUEL
CONDITIONER MODULE FUEL
FILTERS - 6.7L DIESEL WARNING:
Do not dispose of fuel
in the household refuse or the public
sewage system. Use an authorized waste
disposal facility.
Your vehicle has two fuel filters. The first
filter mounts on top of the engine on the
left-hand side. The second filter is inside
the diesel fuel conditioner module. The
module is attached to the fuel tank in
different locations depending on the
configuration of your truck. See table
below for configurations.
Note: The module is at the front of the fuel
tank or at the front of the aft-axle fuel tank
on some models.
Regular fuel filter changes are an
important part of engine maintenance;
failing to keep with the scheduled
maintenance could lead to engine
performance issues and fuel injection
system damage. See
Scheduled
Maintenance (page 565).
Use only recommended service parts
conforming to specifications. See
Motorcraft Parts
(page 443).
Note: Using fuel that has high levels of
impurities may require more frequent filter
replacements than the service interval
specifies.
Diesel Fuel Conditioner Module
Filter
Filter Location
Use the tables below to find the location
of your filter.
386
Super Duty (TFE) Canada/United States of America, enUSA, Edition date: 202008, Third-Printing- MaintenanceE163830
Page 407 of 666
TIRE CARE
Information About Uniform
Tire Quality Grading
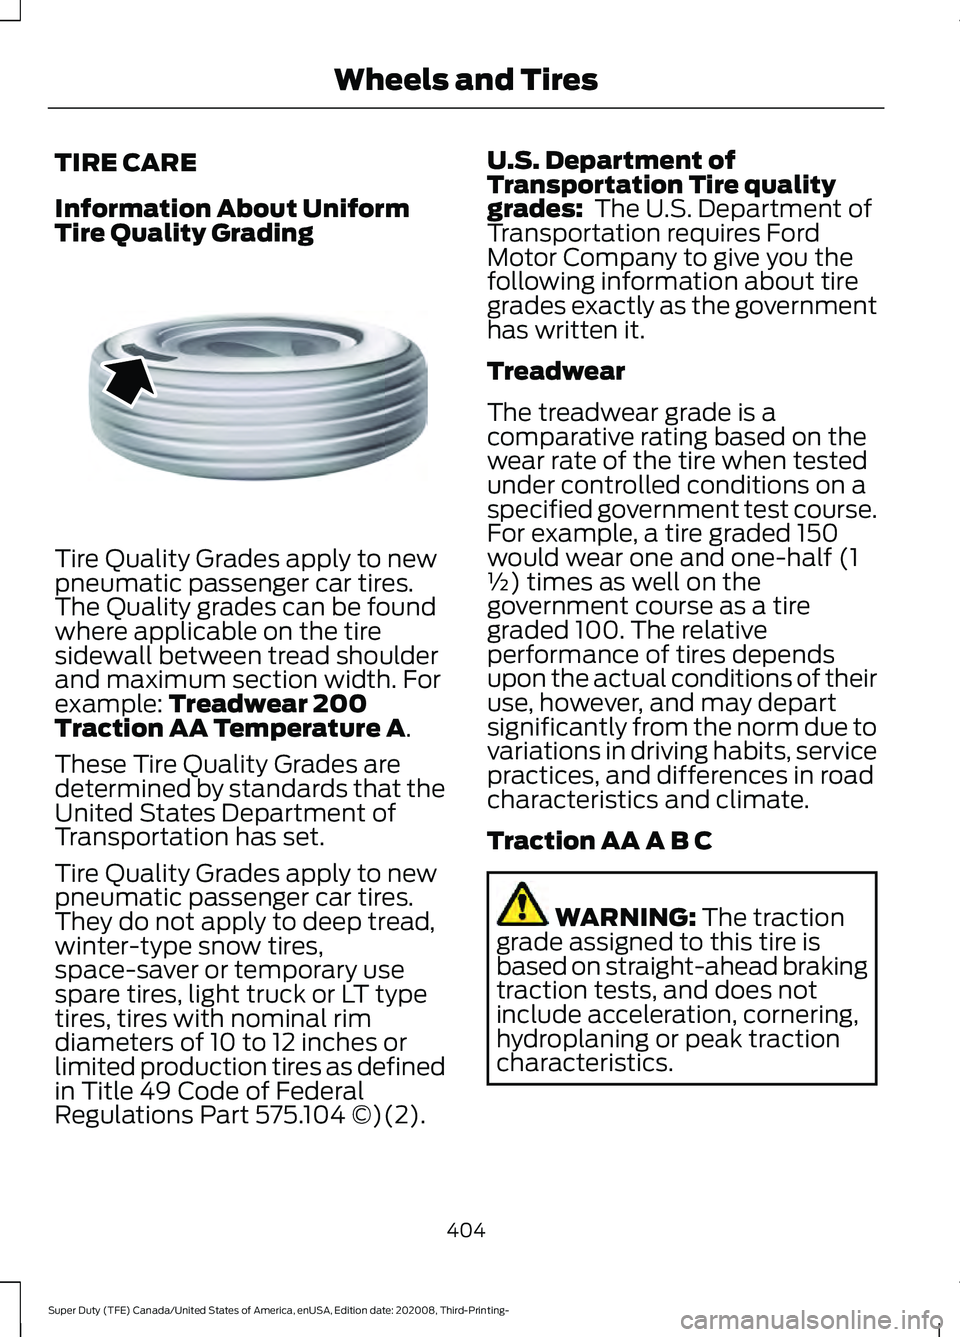
Tire Quality Grades apply to new
pneumatic passenger car tires.
The Quality grades can be found
where applicable on the tire
sidewall between tread shoulder
and maximum section width. For
example: Treadwear 200
Traction AA Temperature A.
These Tire Quality Grades are
determined by standards that the
United States Department of
Transportation has set.
Tire Quality Grades apply to new
pneumatic passenger car tires.
They do not apply to deep tread,
winter-type snow tires,
space-saver or temporary use
spare tires, light truck or LT type
tires, tires with nominal rim
diameters of 10 to 12 inches or
limited production tires as defined
in Title 49 Code of Federal
Regulations Part 575.104 ©)(2). U.S. Department of
Transportation Tire quality
grades:
The U.S. Department of
Transportation requires Ford
Motor Company to give you the
following information about tire
grades exactly as the government
has written it.
Treadwear
The treadwear grade is a
comparative rating based on the
wear rate of the tire when tested
under controlled conditions on a
specified government test course.
For example, a tire graded 150
would wear one and one-half (1
½) times as well on the
government course as a tire
graded 100. The relative
performance of tires depends
upon the actual conditions of their
use, however, and may depart
significantly from the norm due to
variations in driving habits, service
practices, and differences in road
characteristics and climate.
Traction AA A B C WARNING:
The traction
grade assigned to this tire is
based on straight-ahead braking
traction tests, and does not
include acceleration, cornering,
hydroplaning or peak traction
characteristics.
404
Super Duty (TFE) Canada/United States of America, enUSA, Edition date: 202008, Third-Printing- Wheels and TiresE142542
Page 410 of 666
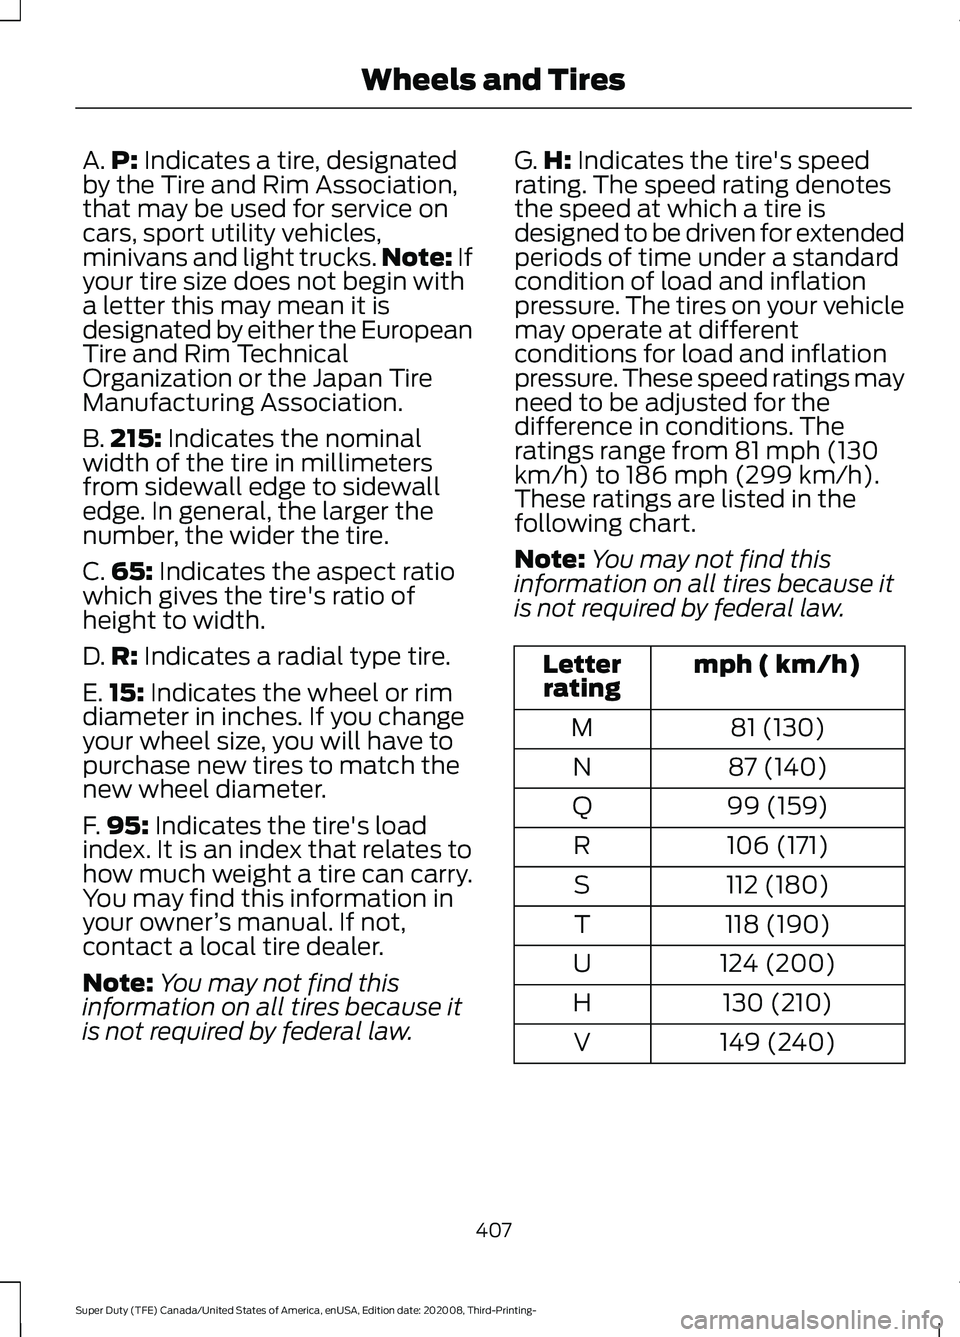
A.
P: Indicates a tire, designated
by the Tire and Rim Association,
that may be used for service on
cars, sport utility vehicles,
minivans and light trucks. Note:
If
your tire size does not begin with
a letter this may mean it is
designated by either the European
Tire and Rim Technical
Organization or the Japan Tire
Manufacturing Association.
B. 215:
Indicates the nominal
width of the tire in millimeters
from sidewall edge to sidewall
edge. In general, the larger the
number, the wider the tire.
C. 65:
Indicates the aspect ratio
which gives the tire's ratio of
height to width.
D. R:
Indicates a radial type tire.
E. 15:
Indicates the wheel or rim
diameter in inches. If you change
your wheel size, you will have to
purchase new tires to match the
new wheel diameter.
F. 95:
Indicates the tire's load
index. It is an index that relates to
how much weight a tire can carry.
You may find this information in
your owner ’s manual. If not,
contact a local tire dealer.
Note: You may not find this
information on all tires because it
is not required by federal law. G.
H:
Indicates the tire's speed
rating. The speed rating denotes
the speed at which a tire is
designed to be driven for extended
periods of time under a standard
condition of load and inflation
pressure. The tires on your vehicle
may operate at different
conditions for load and inflation
pressure. These speed ratings may
need to be adjusted for the
difference in conditions. The
ratings range from 81 mph (130
km/h) to 186 mph (299 km/h).
These ratings are listed in the
following chart.
Note: You may not find this
information on all tires because it
is not required by federal law. mph ( km/h)
Letter
rating
81 (130)
M
87 (140)
N
99 (159)
Q
106 (171)
R
112 (180)
S
118 (190)
T
124 (200)
U
130 (210)
H
149 (240)
V
407
Super Duty (TFE) Canada/United States of America, enUSA, Edition date: 202008, Third-Printing- Wheels and Tires
Page 412 of 666
*Temperature: The temperature
grades are A (the highest), B and
C, representing the tire's
resistance to the generation of
heat and its ability to dissipate
heat when tested under controlled
conditions on a specified indoor
laboratory test wheel.
M. Maximum Inflation
Pressure:
Indicates the tire
manufacturers' maximum
permissible pressure or the
pressure at which the maximum
load can be carried by the tire. This
pressure is normally higher than
the vehicle manufacturer's
recommended cold inflation
pressure which can be found on
the Safety Compliance
Certification Label (affixed to
either the door hinge pillar,
door-latch post, or the door edge
that meets the door-latch post,
next to the driver's seating
position), or Tire Label located on
the B-pillar or the edge of the
driver's door. The cold inflation
pressure should never be set lower
than the recommended pressure
on the vehicle label.
The tire suppliers may have
additional markings, notes or
warnings such as standard load
or radial tubeless.
Additional Information
Contained on the Tire Sidewall
for LT Type Tires
Note: Tire Quality Grades do not
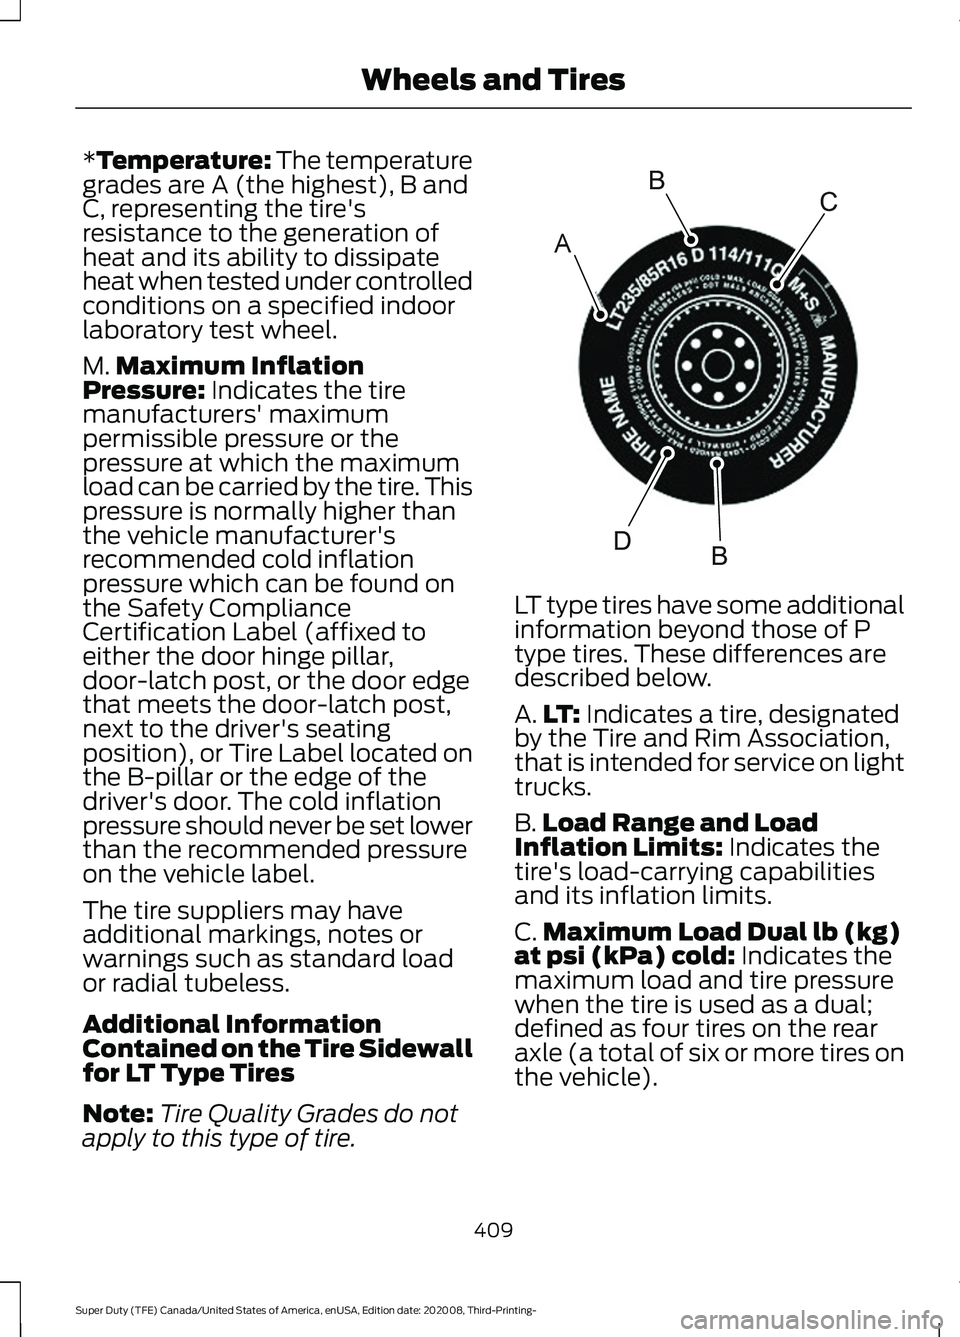
apply to this type of tire. LT type tires have some additional
information beyond those of P
type tires. These differences are
described below.
A.
LT:
Indicates a tire, designated
by the Tire and Rim Association,
that is intended for service on light
trucks.
B. Load Range and Load
Inflation Limits:
Indicates the
tire's load-carrying capabilities
and its inflation limits.
C. Maximum Load Dual lb (kg)
at psi (kPa) cold:
Indicates the
maximum load and tire pressure
when the tire is used as a dual;
defined as four tires on the rear
axle (a total of six or more tires on
the vehicle).
409
Super Duty (TFE) Canada/United States of America, enUSA, Edition date: 202008, Third-Printing- Wheels and TiresA
BC
BDE142544
Page 413 of 666
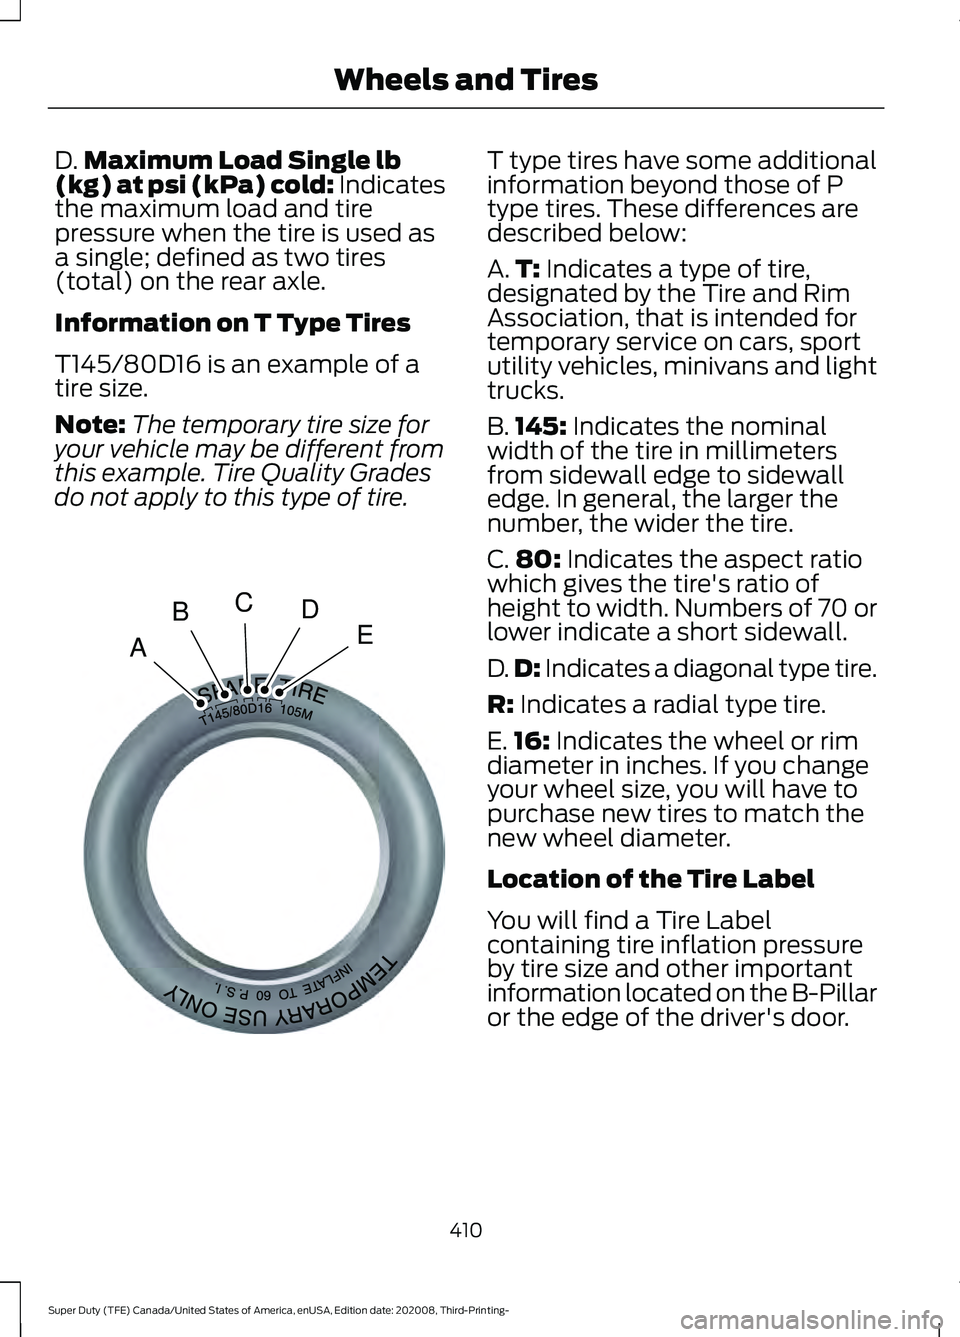
D.
Maximum Load Single lb
(kg) at psi (kPa) cold: Indicates
the maximum load and tire
pressure when the tire is used as
a single; defined as two tires
(total) on the rear axle.
Information on T Type Tires
T145/80D16 is an example of a
tire size.
Note: The temporary tire size for
your vehicle may be different from
this example. Tire Quality Grades
do not apply to this type of tire. T type tires have some additional
information beyond those of P
type tires. These differences are
described below:
A.
T:
Indicates a type of tire,
designated by the Tire and Rim
Association, that is intended for
temporary service on cars, sport
utility vehicles, minivans and light
trucks.
B. 145:
Indicates the nominal
width of the tire in millimeters
from sidewall edge to sidewall
edge. In general, the larger the
number, the wider the tire.
C. 80:
Indicates the aspect ratio
which gives the tire's ratio of
height to width. Numbers of 70 or
lower indicate a short sidewall.
D. D:
Indicates a diagonal type tire.
R:
Indicates a radial type tire.
E. 16:
Indicates the wheel or rim
diameter in inches. If you change
your wheel size, you will have to
purchase new tires to match the
new wheel diameter.
Location of the Tire Label
You will find a Tire Label
containing tire inflation pressure
by tire size and other important
information located on the B-Pillar
or the edge of the driver's door.
410
Super Duty (TFE) Canada/United States of America, enUSA, Edition date: 202008, Third-Printing- Wheels and TiresA
BCDEE142545