2021 FORD F-550 lights
[x] Cancel search: lightsPage 71 of 666

When you lock your vehicle using the
power door lock control (with the door
open, vehicle in park and ignition off), your
vehicle searches for an intelligent access
key in the passenger compartment after
you close the door. If your vehicle finds a
key, all of the doors immediately unlock.
In order to override the smart unlock
feature and intentionally lock the
intelligent access key inside your vehicle,
you can lock your vehicle after all doors
are closed by using the keyless entry
keypad, pressing the lock button on
another intelligent access key or touching
the locking area on the handle with another
intelligent access key in your hand.
When you open one of the front doors and
lock your vehicle using the power door lock
control, all doors lock then unlock if the
ignition is on.
Autolock (If Equipped)
Autolock locks all the doors when:
• All doors are closed.
• The ignition is on.
• You shift into any gear putting your
vehicle in motion.
• Your vehicle reaches a speed greater
than
12 mph (20 km/h).
Autolock repeats when:
• You open then close any door while the
ignition is on and your vehicle speed is
9 mph (15 km/h)
or lower.
• Your vehicle reaches a speed greater
than
12 mph (20 km/h). Autounlock
Autounlock unlocks all the doors when:
•
Your vehicle comes to a stop and you
switch the ignition off or to the
accessory position.
• You open the driver door within 10
minutes of switching the ignition off or
to accessory.
Note: The doors do not autounlock if you
electronically lock your vehicle after you
switch the ignition off and before you open
the driver door.
Enabling or Disabling Autounlock
You can enable or disable the autounlock
feature in the information display or an
authorized dealer can do it for you. See
General Information
(page 110).
Illuminated Entry
The interior lamps and select exterior
lamps illuminate when you unlock the
doors with the remote entry system.
The illuminated entry system turns off the
lights if:
• The ignition is on.
• You press the remote control lock
button.
• After 25 seconds of illumination.
The dome lamp does not turn on if the
control is set to the off position.
The lights do not turn off if:
• You switch them on with the dimmer
control.
• Any door is open.
Battery Saver
The battery saver turns off the interior
lamps 10 minutes after you switch the
ignition off, or 10 minutes after you exit the
vehicle.
68
Super Duty (TFE) Canada/United States of America, enUSA, Edition date: 202008, Third-Printing- Doors and Locks
Page 94 of 666

All Lamps Off
Press to switch all interior lamps
off.
Individual Map Lamps Press to switch the left-hand
individual dome lamp on and off.
Press to switch the right-hand
individual dome lamp on and off.
Interior Lamp Function Press to switch the interior lamp
function on and off.
When the interior lamp function is off and
you open a door, the courtesy and door
lamps stay off.
When the interior lamp function is on and
you open a door, the courtesy and door
lamps turn on.
Note: The indicator lamp lights amber
when the door function is off.
Rear Interior Lamps
The rear interior lamps may be above the
rear seat or above the rear windows. Press to switch the lamps on or
off.
Press to switch the left-hand
individual dome lamp on and off.
Press to switch the right-hand
individual dome lamp on and off.
AMBIENT LIGHTING (IF EQUIPPED)
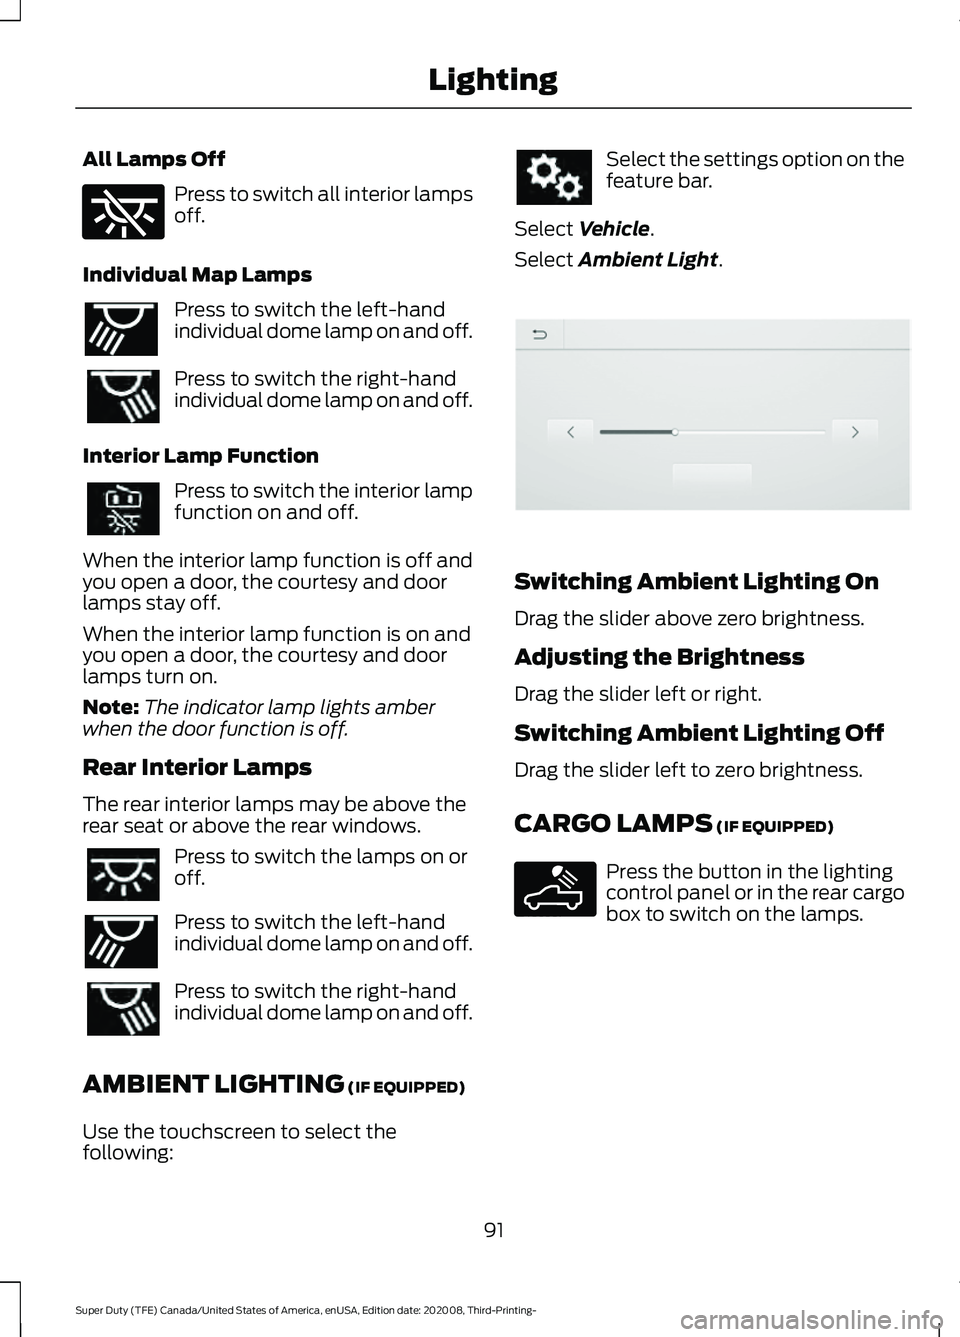
Use the touchscreen to select the
following: Select the settings option on the
feature bar.
Select
Vehicle.
Select
Ambient Light. Switching Ambient Lighting On
Drag the slider above zero brightness.
Adjusting the Brightness
Drag the slider left or right.
Switching Ambient Lighting Off
Drag the slider left to zero brightness.
CARGO LAMPS
(IF EQUIPPED)
Press the button in the lighting
control panel or in the rear cargo
box to switch on the lamps.
91
Super Duty (TFE) Canada/United States of America, enUSA, Edition date: 202008, Third-Printing- LightingE262185 E262193 E262193 E306304 E189587
Page 99 of 666

Window Lock (If Equipped)
Press the control to lock or unlock the rear
window controls.
Accessory Delay
(If Equipped)
The window switches remain operational
for several minutes when you switch the
ignition off or until you open either front
door.
GLOBAL OPENING
(IF EQUIPPED)
You can use the remote control to open
the windows with the ignition off.
Note: To operate this feature, accessory
delay must not be active.
Opening the Windows
You can only open the windows for a short
time after you unlock your vehicle with the
remote control. After you unlock your
vehicle, press and hold the remote control
unlock button to open the windows.
Release the button once movement starts.
Press the lock or unlock button to stop
movement. EXTERIOR MIRRORS
Power Exterior Mirrors
(If Equipped) WARNING:
Do not adjust the
mirrors when your vehicle is moving. This
could result in the loss of control of your
vehicle, serious personal injury or death. Left-hand mirror.
A
Adjustment control.
B
Right-hand mirror.
C
To adjust your mirrors, switch your vehicle
on, with the ignition in accessory mode or
the engine running, and then:
1. Select the mirror you want to adjust. The control lights.
2. Use the adjustment control to adjust the position of the mirror.
3. Press the mirror control again. The control light turns off.
Fold-Away Exterior Mirrors
(If
Equipped)
Push the mirror toward the door window
glass. Make sure that you fully engage the
mirror in its support when returning it to its
original position.
96
Super Duty (TFE) Canada/United States of America, enUSA, Edition date: 202008, Third-Printing- Windows and MirrorsE176216 E144073
Page 101 of 666

Extend.
A
Retract.
B
To adjust your mirrors, press the
adjustment control to position the mirrors.
Note: Moving the mirrors 10 or more times
within one minute, or repeated folding,
unfolding and telescoping of the mirrors
when holding the control down during full
travel, may disable the system to protect
the motors from overheating. Wait
approximately three minutes with the
vehicle running, and up to 10 minutes with
the vehicle off, for the system to reset and
for function to return to normal.
Loose Mirror
If your power-folding mirrors are manually
folded, they may not work properly even
after you re-position them. You need to
reset them if:
• The mirrors vibrate when you drive.
• The mirrors feel loose.
• The mirrors do not stay in the folded or
unfolded position.
• One of the mirrors is not in its normal
driving position. To reset the power-fold feature, use the
power-folding mirror control to fold and
unfold the mirrors. You may hear a loud
noise as you reset the power-folding
mirrors. This sound is normal. Repeat this
process as needed each time the mirrors
are manually folded.
Heated Exterior Mirrors (If Equipped)
See
Exterior Mirrors (page 96).
Memory Mirrors
(If Equipped)
You can save and recall the mirror
positions through the memory function.
See
Memory Function (page 157).
Direction Indicator Mirrors (If Equipped)
When the vehicle is running, the
forward-facing portion of the appropriate
mirror housing blinks when you switch on
the direction indicator.
Puddle Lamps
(If Equipped)
The lamps on the bottom part of the mirror
housing light when you use your
transmitter to unlock the doors or when
you open a door.
Clearance Lamps
(If Equipped)
The lower, outer part of the mirror housings
light when you switch the headlamps or
parking lamps on.
Spot Lamps
(If Equipped)
The area lights are on the forward-facing
portion of the mirror housing. You can
switch them on and off by using the
controls located on the instrument panel.
See
Lighting (page 87).
Trailer Towing Camera System
(If
Equipped)
See
360 Degree Camera (page 238).
98
Super Duty (TFE) Canada/United States of America, enUSA, Edition date: 202008, Third-Printing- Windows and MirrorsE218902
Page 102 of 666

Blind Spot Information System (If
Equipped)
See
Blind Spot Information System
(page 254).
INTERIOR MIRROR WARNING:
Do not adjust the
mirrors when your vehicle is moving. This
could result in the loss of control of your
vehicle, serious personal injury or death.
Note: Do not clean the mirror housing or
glass with harsh abrasives, fuel or other
petroleum-based cleaning products.
You can adjust the interior mirror to your
preference. Some mirrors also have a
second pivot point. This lets you move the
mirror hear up or down and from side to
side.
Manual Dimming Mirror
Pull the tab below the mirror toward you
to reduce the effect of bright light from
behind.
Auto-Dimming Mirror
(If Equipped)
Note: Do not block the sensors on the front
and back of the mirror. A rear center
passenger or raised rear center head
restraint may also block light from reaching
the sensor.
The mirror dims to reduce glare when
bright lights are detected from behind your
vehicle. It automatically returns to normal
reflection when you shift the transmission
into reverse (R) to make sure you have a
clear view when backing up. SLIDING WINDOWS
(IF EQUIPPED)
Power Sliding Back Window
(If
Equipped) WARNING:
When operating the
power sliding back window, you must
make sure all rear seat occupants and
cargo are not in the proximity of the back
window. WARNING:
Do not leave children
unattended in your vehicle and do not
let them play with the power sliding back
window. They may seriously injure
themselves. The control is on the overhead console.
Press and hold the control to open the
window. Pull and hold the control to close
the window.
99
Super Duty (TFE) Canada/United States of America, enUSA, Edition date: 202008, Third-Printing- Windows and MirrorsE176217
Page 148 of 666

DIRECTING THE FLOW OF AIR
Directing Air to the Windshield Air
Vents
Press the button to activate the
selection screen.
Press the button on the
touchscreen.
Directing Air to the Instrument
Panel Air Vents Press the button to activate the
selection screen.
Press the button on the
touchscreen.
Directing Air to the Footwell Air
Vents Press the button to activate the
selection screen. Press the button on the
touchscreen.
AUTO MODE
Switching Auto Mode On and Off Press the button to switch auto
mode on. Repeatedly press the
button to adjust auto mode.
Note: When you switch auto mode on,
lights on the blower motor control do not
illuminate to indicate the blower motor
speed.
Adjust the blower motor control or air
distribution control to switch auto mode
off.
Auto Mode Indicators
The indicators are on the Auto Mode
button. Description
Auto Mode Indicator
Status
The blower motor speed is reduced. Use this setting to
minimize the amount of noise from the blower motor. This
setting increases the time taken to cool the interior.
One indicator illumin-
ated.
The blower motor speed is moderate.
Two indicators illumin-
ated.
The blower motor speed is increased. Use this setting to
reduce the time taken to cool the interior. This setting
increases the amount of noise from the blower motor.
Three indicators illumin-
ated.
145
Super Duty (TFE) Canada/United States of America, enUSA, Edition date: 202008, Third-Printing- Climate Control - Vehicles With: Automatic Temperature
ControlE265283 E265283 E244097 E265283
Page 151 of 666

SWITCHING THE HEATED
REAR WINDOW ON AND OFF (IF
EQUIPPED)
Press the button to clear the rear
window of thin ice and fog. The
heated rear window turns off
after a short period of time.
Note: Do not use harsh chemicals, razor
blades or other sharp objects to clean or
remove decals from the inside of the heated
rear window as this could cause damage to
the heated rear window grid lines not
covered by the vehicle Warranty.
SWITCHING THE HEATED
MIRRORS ON AND OFF (IF
EQUIPPED) Press the button.
SETTING THE BLOWER MOTOR
SPEED Note:
Lights on the control illuminate to
indicate the blower motor speed.
Note: When you switch the blower motor
off, air conditioning turns off and the
windows could fog up. SETTING THE TEMPERATURE
Turn the temperature control
counterclockwise for cooler temperature
settings.
Turn the temperature control clockwise
for warmer temperature settings.
DIRECTING THE FLOW OF AIR
Directing Air to the Windshield Air
Vents
Press the button.
Directing Air to the Instrument
Panel Air Vents Press the button.
Directing Air to the Footwell Air
Vents Press the button.
148
Super Duty (TFE) Canada/United States of America, enUSA, Edition date: 202008, Third-Printing- Climate Control - Vehicles With: Manual Temperature Control E266189 E244106 E244097
Page 163 of 666

Use your vehicle key to lock the storage
space. See Keys and Remote Controls
(page 55).
HEATED SEATS
(IF EQUIPPED) WARNING: People who are unable
to feel pain to their skin because of
advanced age, chronic illness, diabetes,
spinal cord injury, medication, alcohol
use, exhaustion or other physical
conditions, must exercise care when
using the heated seat. The heated seat
may cause burns even at low
temperatures, especially if used for long
periods of time. Do not place anything
on the seat that insulates against heat,
such as a blanket or cushion. This may
cause the heated seat to overheat. Do
not puncture the seat with pins, needles
or other pointed objects. This may
damage the heating element which may
cause the heated seat to overheat. An
overheated seat may cause serious
personal injury.
Do not do the following:
• Place heavy objects on the seat.
• Operate the heated seat if water or any
other liquid spills on the seat. Allow the
seat to dry thoroughly.
Note: The engine must be running to use
this feature. Press the heated seat symbol to cycle
through the various heat settings and off.
More indicator lights indicate warmer
settings.
Note:
The heated seats may remain on
after you remote start your vehicle, based
on your remote start settings. The heated
seats may also turn on when you start your
vehicle if they were on when you switched
your vehicle off.
Rear Heated Seats
(If Equipped) WARNING: People who are unable
to feel pain to their skin because of
advanced age, chronic illness, diabetes,
spinal cord injury, medication, alcohol
use, exhaustion or other physical
conditions, must exercise care when
using the heated seat. The heated seat
may cause burns even at low
temperatures, especially if used for long
periods of time. Do not place anything
on the seat that insulates against heat,
such as a blanket or cushion. This may
cause the heated seat to overheat. Do
not puncture the seat with pins, needles
or other pointed objects. This may
damage the heating element which may
cause the heated seat to overheat. An
overheated seat may cause serious
personal injury.
Do not do the following:
• Place heavy objects on the seat.
• Operate the heated seat if water or any
other liquid spills on the seat. Allow the
seat to dry thoroughly.
Note: The engine must be running to use
this feature.
The rear seat heat controls are on the rear
of the center console.
160
Super Duty (TFE) Canada/United States of America, enUSA, Edition date: 202008, Third-Printing- SeatsE146322