2021 FORD BRONCO SPORT belt
[x] Cancel search: beltPage 171 of 471
In manual (M), press the manual (M)
button to switch the feature off and return
to drive (D).
Note:
The shift schedule can change with
drive modes. Using drive modes could
change when you can shift into the
requested gear. See Drive Mode Control
(page 223).
Automatic Return to Park
Note: This feature does not operate when
your vehicle is in stay in neutral (N).
Your vehicle has a feature that shifts your
vehicle into park (P) when any of the
following conditions occur:
• You switch the vehicle off.
• You open the driver door with your
seatbelt unlatched.
• You unlatch your seatbelt when the
driver door is open.
If you switch your vehicle off when moving,
the vehicle first shifts into neutral (N) until
it slows down enough to shift into park (P).
Note: If you have waited for more than two
minutes before starting your vehicle,
unlatching your seatbelt causes this feature
to activate, even with the driver door closed.
Note: This feature may not work properly
if the door ajar switch is malfunctioning. If
your door ajar indicator does not illuminate
when you open the driver door or the
indicator illuminates with the driver door
closed, see your authorized dealer.
Stay in Neutral Mode
Stay in neutral mode allows your vehicle
to stay in neutral when you exit your
vehicle. Your vehicle must be stationary to
enter this mode.
Do not tow your vehicle in this mode. Note:
Stay in neutral is a temporary vehicle
state with the ignition off. Once in this
mode, sufficient battery voltage must be
maintained or your vehicle returns to park.
Not maintaining sufficient battery voltage
could damage the battery which the vehicle
warranty would not cover.
Note: When entering an automatic car
wash, always shift to neutral (N). If you are
exiting the vehicle before the car wash, stay
in neutral mode is available.
To enter stay in neutral mode
1. Bring your vehicle to a complete stop.
2. With the key ON and the engine running, press and hold the brake
pedal.
3. Shift in neutral (N).
Note: When in neutral (N), a message
appears in the display screen informing you
how to access stay in neutral mode.
4. Press the manual (M), or low (L) button in the middle of the
transmission selector to enter stay in
neutral mode.
Note: A message appears in the display
screen confirming your vehicle is in stay in
neutral mode. The neutral (N) indicator light
on the transmission selector slowly flashes.
5. Release the brake pedal.
6. Switch the ignition off.
To exit stay in neutral mode, place your
foot on the brake pedal and shift into park
(P), or start the engine and shift into drive
(D) or reverse (R).
168
Bronco Sport (CHD) Canada/United States of America, enUSA, Edition date: 202007, Second-Printing Transmission
Page 182 of 471
developed sufficient torque to prevent your
vehicle from rolling down the slope. This
is an advantage when pulling away on a
slope, for example from a car park ramp,
traffic lights or when reversing uphill into
a parking space.
The system activates on any slope that
causes your vehicle to roll.
Note:
There is no warning light to indicate
the system is either on or off.
Using Hill Start Assist
1. Press the brake pedal to bring your vehicle to a complete standstill. Keep
the brake pedal pressed and shift into
first gear when facing uphill or reverse
(R) when facing downhill.
2. If the sensors detect that your vehicle is on a slope, the system activates
automatically.
3. When you remove your foot from the brake pedal, your vehicle remains on
the slope without rolling away for
about two to three seconds. This hold
time automatically extends if you are
in the process of driving off.
4. Drive off in the normal manner. The system releases the brakes
automatically.
Note: When you remove your foot from the
brake pedal and press the pedal again when
the system is active, you will experience
significantly reduced brake pedal travel. This
is normal.
Switching the System On and Off
When you switch the ignition on, the
system automatically turns on. You cannot
turn the system on or off. AUTO HOLD WARNING: The system does not
replace the parking brake. When you
leave your vehicle, always apply the
parking brake. WARNING:
You must remain in
your vehicle when the system turns on.
At all times, you are responsible for
controlling your vehicle, supervising the
system and intervening, if required.
Failure to take care may result in the loss
of control of your vehicle, serious
personal injury or death. WARNING:
The system turns off if
there is a malfunction or if you
excessively rev the engine.
The system applies the brakes to hold your
vehicle at a standstill after you stop your
vehicle and release the brake pedal. This
could be beneficial in certain situations, for
example when waiting on a hill or in traffic.
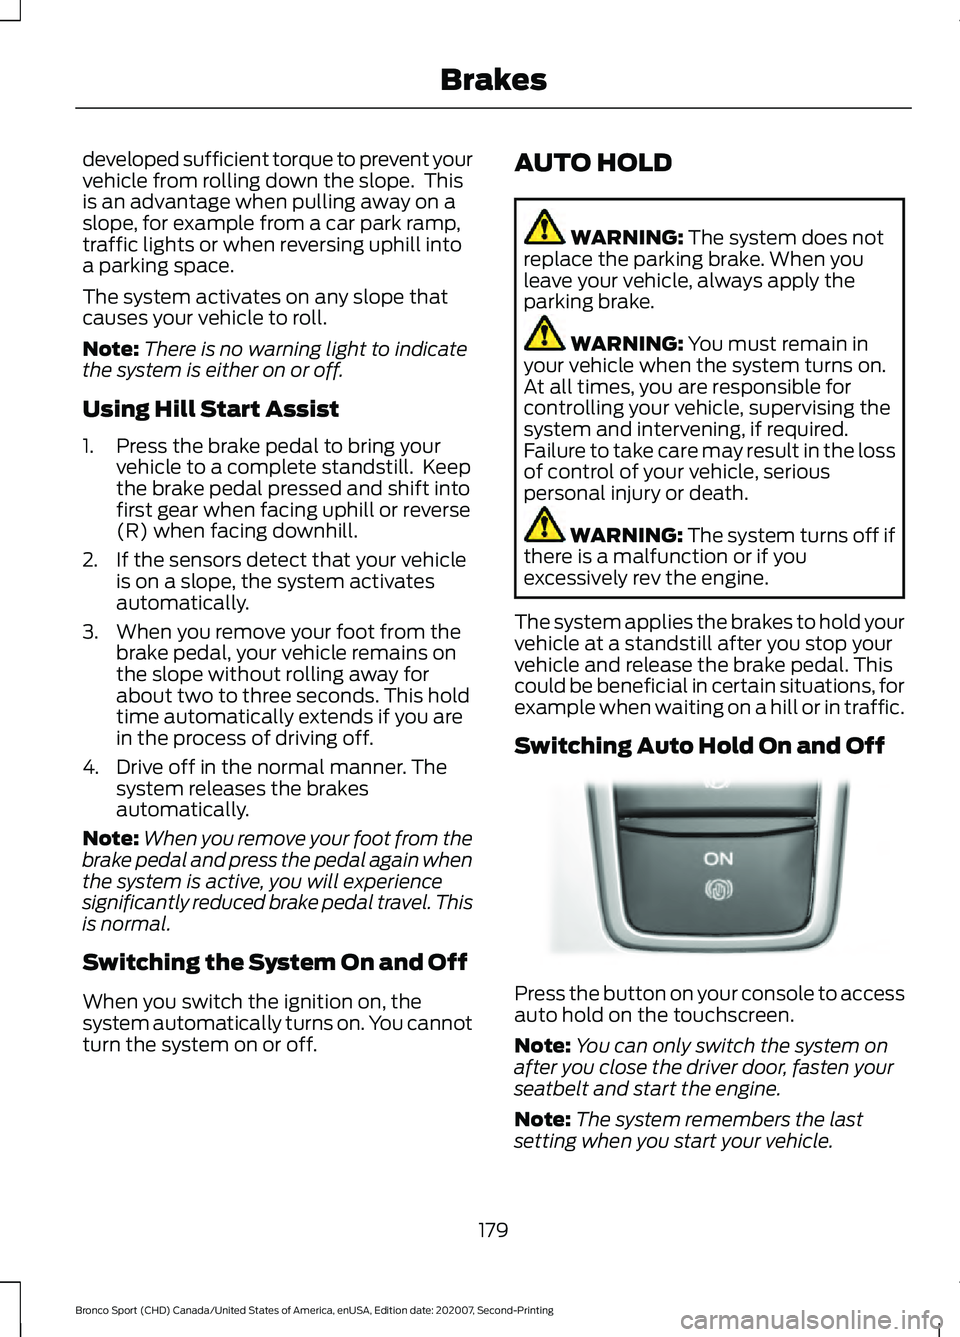
Switching Auto Hold On and Off Press the button on your console to access
auto hold on the touchscreen.
Note:
You can only switch the system on
after you close the driver door, fasten your
seatbelt and start the engine.
Note: The system remembers the last
setting when you start your vehicle.
179
Bronco Sport (CHD) Canada/United States of America, enUSA, Edition date: 202007, Second-Printing BrakesE319161
Page 183 of 471
Make sure you switch the system off before
towing with your vehicle or before using an
automatic car wash.
Using Auto Hold
1. Use the brakes to bring your vehicle to
a complete stop. The auto hold active
indicator illuminates in the information
display.
2. Release the brake pedal. The system holds your vehicle at a standstill. The
auto hold active indicator remains
illuminated in the information display.
Note: The system only activates if you
apply enough brake pressure. If your vehicle
is on a steep slope, you need to press the
brake pedal harder before the system
activates.
Note: Under certain conditions, the system
could apply the electric parking brake. The
brake system warning lamp illuminates. The
electric parking brake releases when you
press the accelerator pedal. See Electric
Parking Brake (page 177).
Note: If auto-start-stop turns off the
engine, auto hold remains active.
Note: The system deactivates if you shift
into reverse (R) and press the brake pedal.
3. Pull away in the normal manner. The system releases the brakes and the
auto hold active indicator turns off.
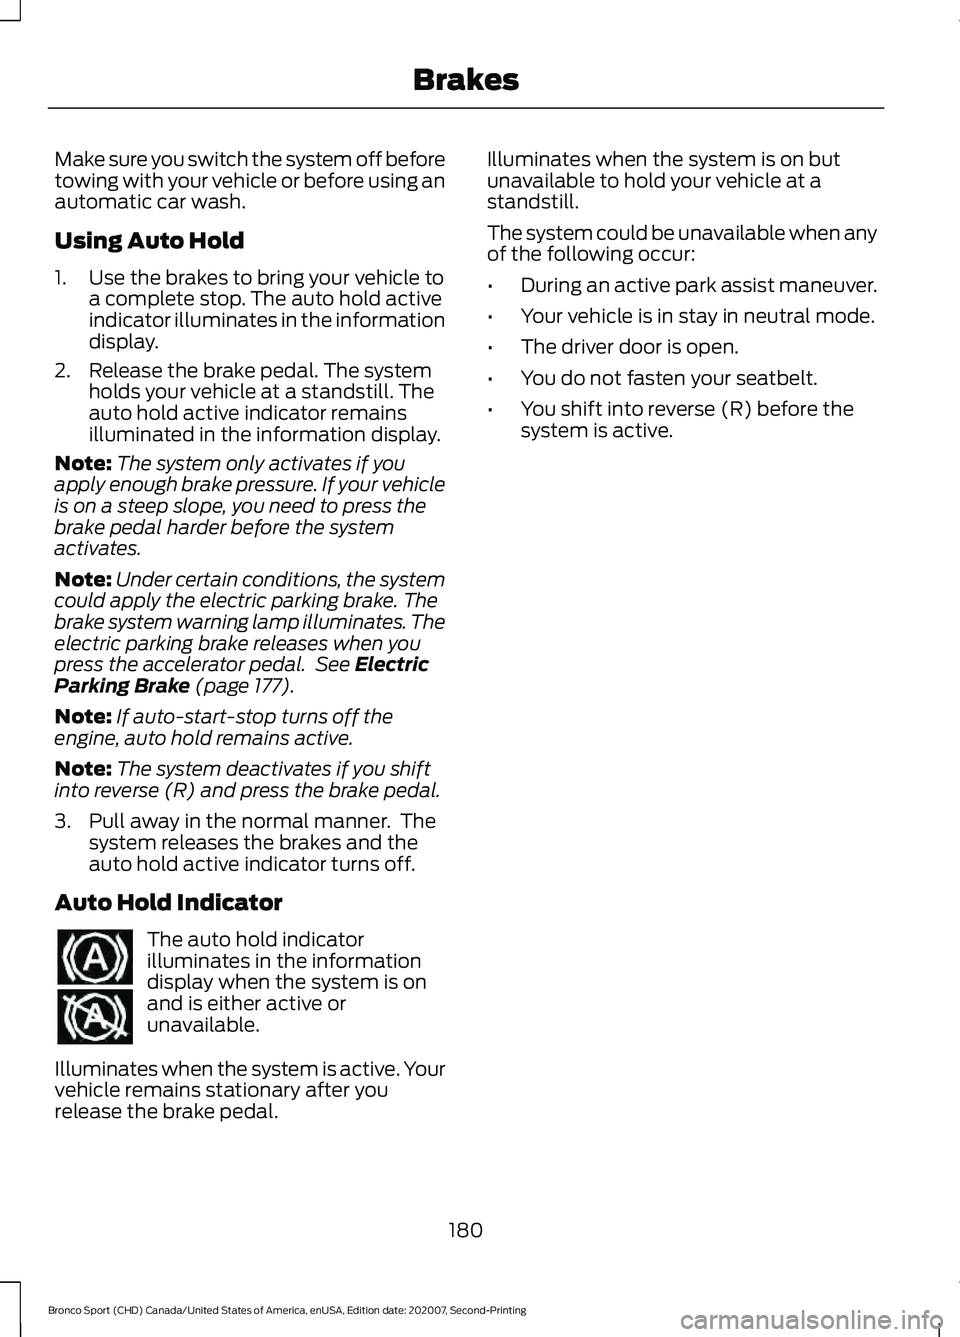
Auto Hold Indicator The auto hold indicator
illuminates in the information
display when the system is on
and is either active or
unavailable.
Illuminates when the system is active. Your
vehicle remains stationary after you
release the brake pedal. Illuminates when the system is on but
unavailable to hold your vehicle at a
standstill.
The system could be unavailable when any
of the following occur:
•
During an active park assist maneuver.
• Your vehicle is in stay in neutral mode.
• The driver door is open.
• You do not fasten your seatbelt.
• You shift into reverse (R) before the
system is active.
180
Bronco Sport (CHD) Canada/United States of America, enUSA, Edition date: 202007, Second-Printing Brakes
Page 202 of 471
Switching Adaptive Cruise Control
On
Press the button to set the
system in standby mode.
The indicator, current gap setting and set
speed appear in the information display.
Switching Adaptive Cruise Control
Off Press the button when the
system is in standby mode, or
switch the ignition off.
Note: You erase the set speed when you
switch the system off.
Automatic Cancellation or
Deactivation
The system may cancel if:
• The tires lose traction.
• You apply the parking brake.
The system may cancel and set the parking
brake if:
• You unbuckle the seatbelt and open
the driver door after you stop your
vehicle.
• Your vehicle is at a stop continuously
for more than three minutes.
The system may deactivate or prevent
activating when requested if:
• The vehicle has a blocked sensor.
• The brake temperature is too high.
• There is a failure in the system or a
related system.
SETTING THE ADAPTIVE
CRUISE CONTROL SPEED
Drive to the speed you prefer. Press the toggle button upward
or downward to set the current
speed.
Take your foot off the accelerator pedal.
The indicator, current gap setting and set
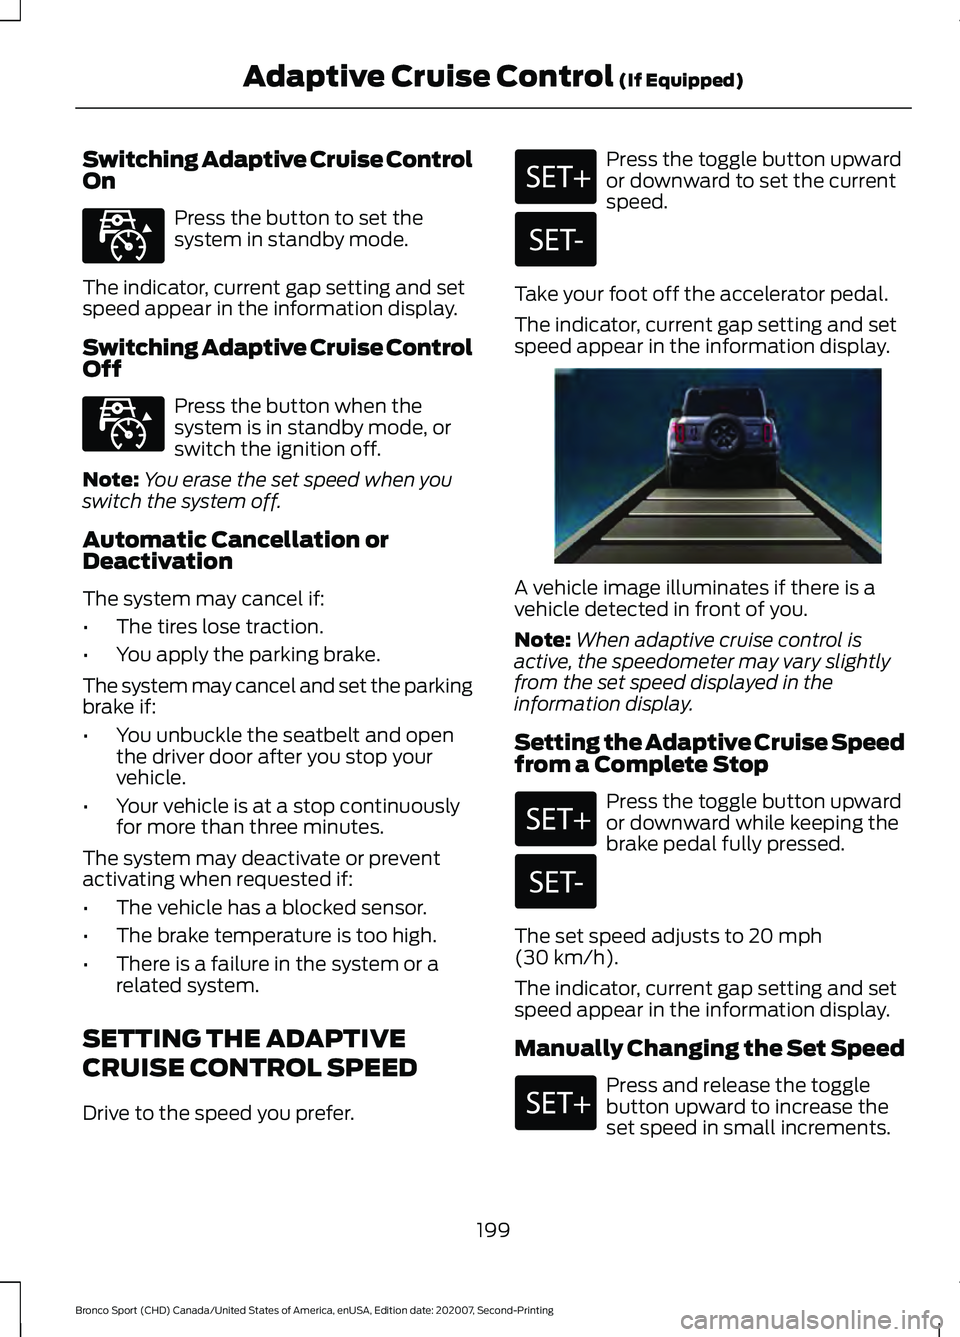
speed appear in the information display. A vehicle image illuminates if there is a
vehicle detected in front of you.
Note:
When adaptive cruise control is
active, the speedometer may vary slightly
from the set speed displayed in the
information display.
Setting the Adaptive Cruise Speed
from a Complete Stop Press the toggle button upward
or downward while keeping the
brake pedal fully pressed.
The set speed adjusts to 20 mph
(30 km/h).
The indicator, current gap setting and set
speed appear in the information display.
Manually Changing the Set Speed Press and release the toggle
button upward to increase the
set speed in small increments.
199
Bronco Sport (CHD) Canada/United States of America, enUSA, Edition date: 202007, Second-Printing Adaptive Cruise Control
(If Equipped)E323440 E323440 E338558
Page 256 of 471
2.
Connect the positive (+) jumper cable
to the positive (+) terminal of the
discharged battery.
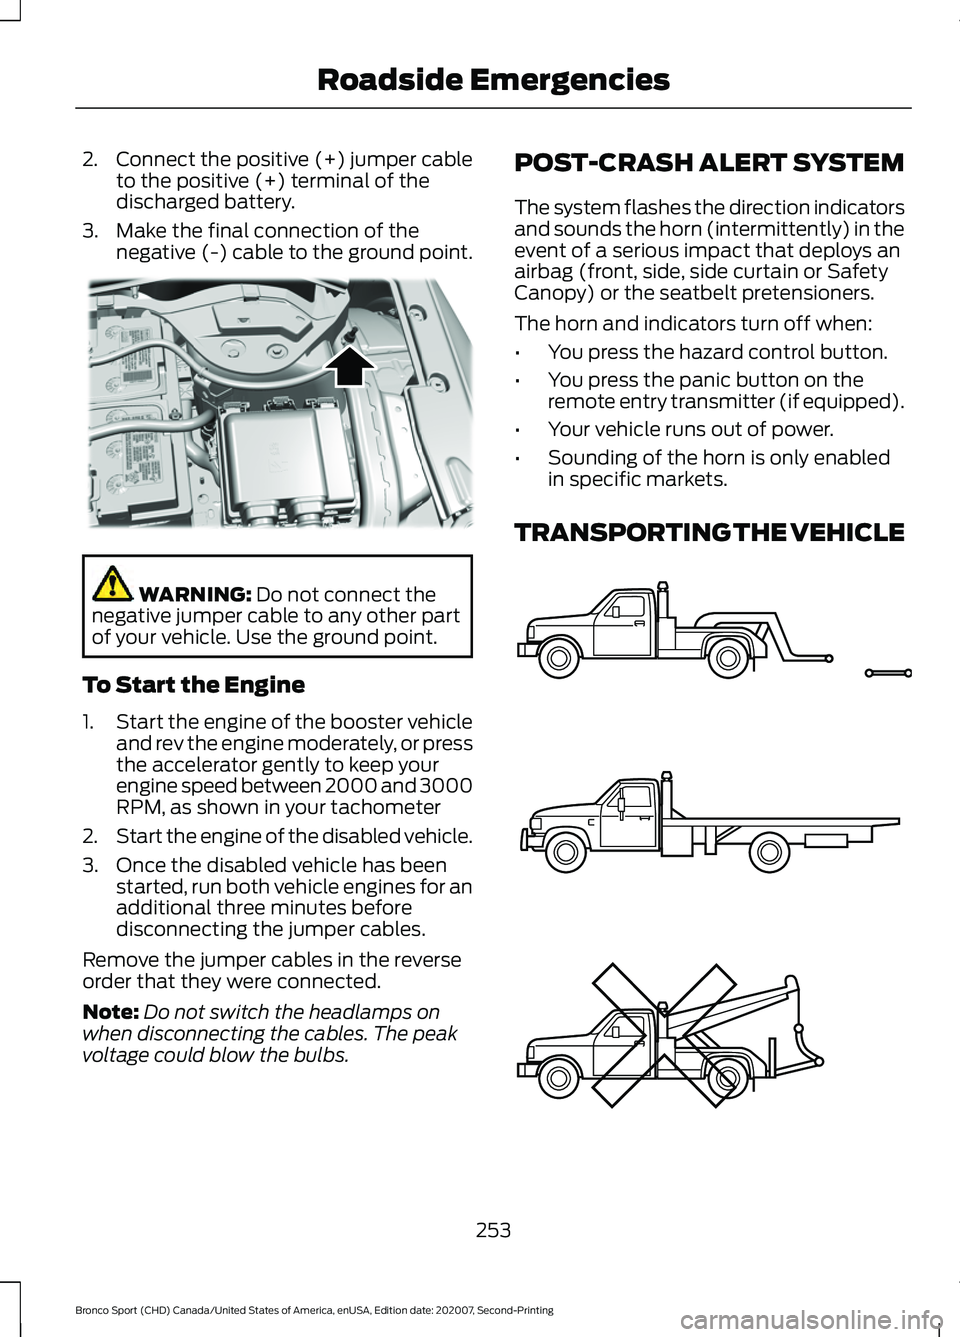
3. Make the final connection of the negative (-) cable to the ground point. WARNING: Do not connect the
negative jumper cable to any other part
of your vehicle. Use the ground point.
To Start the Engine
1. Start the engine of the booster vehicle
and rev the engine moderately, or press
the accelerator gently to keep your
engine speed between 2000 and 3000
RPM, as shown in your tachometer
2. Start the engine of the disabled vehicle.
3. Once the disabled vehicle has been started, run both vehicle engines for an
additional three minutes before
disconnecting the jumper cables.
Remove the jumper cables in the reverse
order that they were connected.
Note: Do not switch the headlamps on
when disconnecting the cables. The peak
voltage could blow the bulbs. POST-CRASH ALERT SYSTEM
The system flashes the direction indicators
and sounds the horn (intermittently) in the
event of a serious impact that deploys an
airbag (front, side, side curtain or Safety
Canopy) or the seatbelt pretensioners.
The horn and indicators turn off when:
•
You press the hazard control button.
• You press the panic button on the
remote entry transmitter (if equipped).
• Your vehicle runs out of power.
• Sounding of the horn is only enabled
in specific markets.
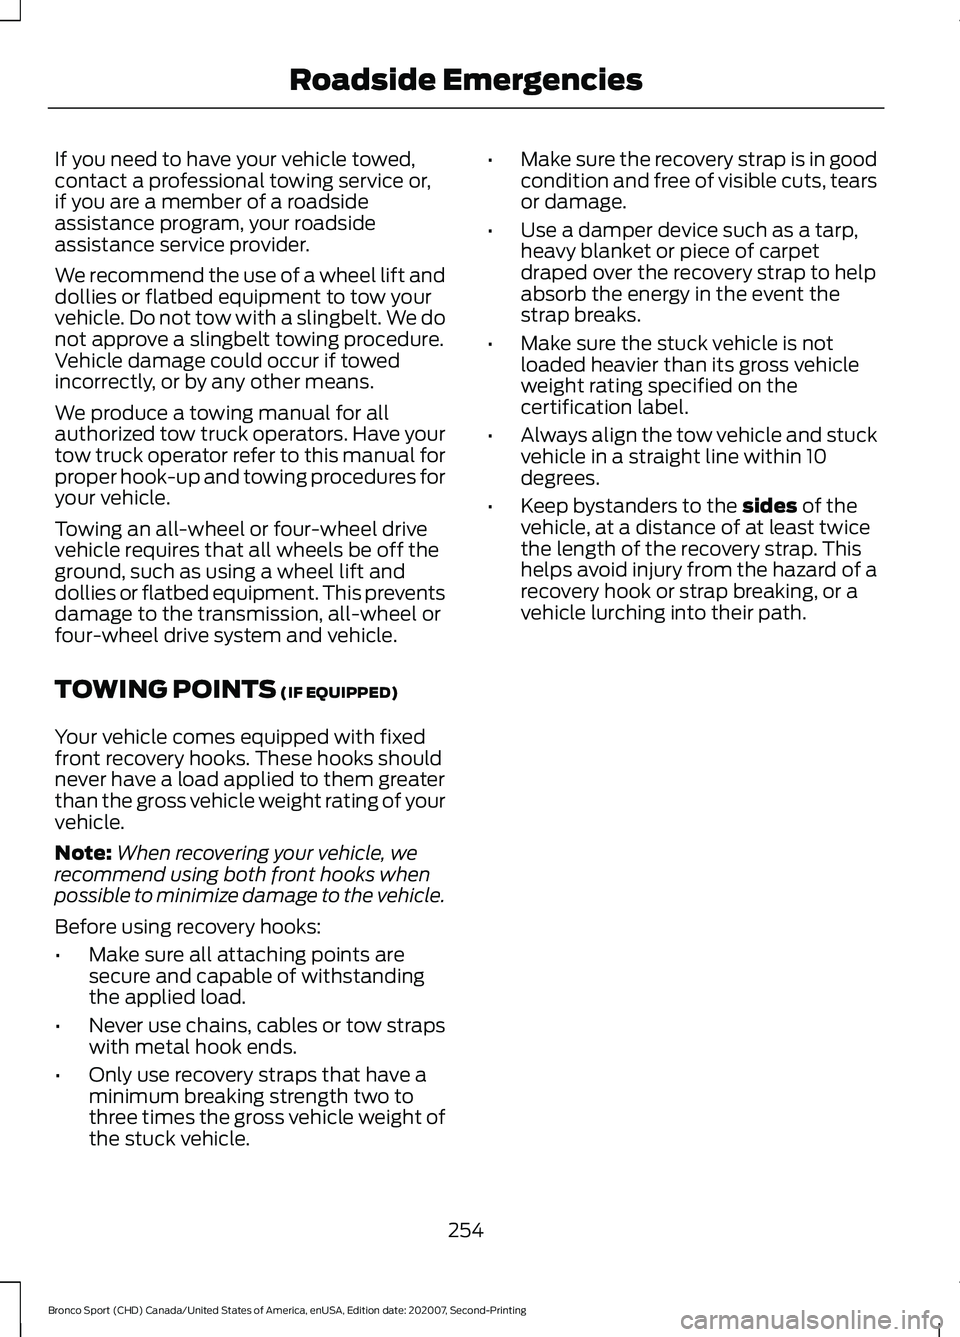
TRANSPORTING THE VEHICLE 253
Bronco Sport (CHD) Canada/United States of America, enUSA, Edition date: 202007, Second-Printing Roadside EmergenciesE318342 E143886
Page 257 of 471
If you need to have your vehicle towed,
contact a professional towing service or,
if you are a member of a roadside
assistance program, your roadside
assistance service provider.
We recommend the use of a wheel lift and
dollies or flatbed equipment to tow your
vehicle. Do not tow with a slingbelt. We do
not approve a slingbelt towing procedure.
Vehicle damage could occur if towed
incorrectly, or by any other means.
We produce a towing manual for all
authorized tow truck operators. Have your
tow truck operator refer to this manual for
proper hook-up and towing procedures for
your vehicle.
Towing an all-wheel or four-wheel drive
vehicle requires that all wheels be off the
ground, such as using a wheel lift and
dollies or flatbed equipment. This prevents
damage to the transmission, all-wheel or
four-wheel drive system and vehicle.
TOWING POINTS (IF EQUIPPED)
Your vehicle comes equipped with fixed
front recovery hooks. These hooks should
never have a load applied to them greater
than the gross vehicle weight rating of your
vehicle.
Note: When recovering your vehicle, we
recommend using both front hooks when
possible to minimize damage to the vehicle.
Before using recovery hooks:
• Make sure all attaching points are
secure and capable of withstanding
the applied load.
• Never use chains, cables or tow straps
with metal hook ends.
• Only use recovery straps that have a
minimum breaking strength two to
three times the gross vehicle weight of
the stuck vehicle. •
Make sure the recovery strap is in good
condition and free of visible cuts, tears
or damage.
• Use a damper device such as a tarp,
heavy blanket or piece of carpet
draped over the recovery strap to help
absorb the energy in the event the
strap breaks.
• Make sure the stuck vehicle is not
loaded heavier than its gross vehicle
weight rating specified on the
certification label.
• Always align the tow vehicle and stuck
vehicle in a straight line within 10
degrees.
• Keep bystanders to the
sides of the
vehicle, at a distance of at least twice
the length of the recovery strap. This
helps avoid injury from the hazard of a
recovery hook or strap breaking, or a
vehicle lurching into their path.
254
Bronco Sport (CHD) Canada/United States of America, enUSA, Edition date: 202007, Second-Printing Roadside Emergencies
Page 295 of 471
•
Never wash or rinse the engine while it
is hot or running; water in the running
engine may cause internal damage.
• Never wash or rinse any ignition coil,
spark plug wire or spark plug well, or
the area in and around these locations.
• Cover the battery, power distribution
box, and air filter assembly to prevent
water damage when cleaning the
engine.
CLEANING THE WINDOWS AND
WIPER BLADES
Car wash chemicals and environmental
fallout can result in windshield and wiper
blade contamination. Dirty windshield and
wipers will result in poor windshield wiper
operation. Keep the windshield and wiper
blades clean to maintain windshield wiper
performance.
To clean the windshield and wiper blades:
• Clean the windshield with a
non-abrasive glass cleaner. When
cleaning the interior of the windshield,
avoid getting any glass cleaner on the
instrument panel or door panels. Wipe
any glass cleaner off these surfaces
immediately.
• For windshields contaminated with
tree sap, chemicals, wax or bugs, clean
the entire windshield using steel wool
(no greater than 0000 grade) in a
circular motion and rinse with water.
• Clean the wiper blades with isopropyl
rubbing alcohol or windshield washer
concentrate.
Note: Do not use razor blades or other
sharp objects to clean or remove decals
from the inside of the heated rear window.
The vehicle warranty does not cover
damage caused to the heated rear window
grid lines. CLEANING THE INTERIOR WARNING: Do not use cleaning
solvents, bleach or dye on the vehicle's
seatbelts, as these actions may weaken
the belt webbing. WARNING:
On vehicles equipped
with seat-mounted airbags, do not use
chemical solvents or strong detergents.
Such products could contaminate the
side airbag system and affect
performance of the side airbag in a crash.
For fabric, carpets, cloth seats and seats
equipped with side airbags:
• Remove dust and loose dirt with a
vacuum cleaner.
• Remove light stains and soil with
Motorcraft Professional Strength
Carpet & Upholstery Cleaner.
• If grease or tar is present on the
material, spot-clean the area first with
Motorcraft Spot and Stain Remover. In
Canada, use Motorcraft Multi-Purpose
Cleaner.
• If a ring forms on the fabric after spot
cleaning, clean the entire area
immediately (but do not oversaturate)
or the ring will set.
• Do not use household cleaning
products or glass cleaners, which can
stain and discolor the fabric and affect
the flame retardant abilities of the seat
materials.
For rubber floor:
• Remove dust and loose dirt with a
vacuum cleaner.
• To remove soil use cloth dampened
with water.
Note: Do not power wash main flooring.
292
Bronco Sport (CHD) Canada/United States of America, enUSA, Edition date: 202007, Second-Printing Vehicle Care
Page 300 of 471
GENERAL INFORMATION
Use only approved wheel and tire sizes.
Using other sizes could damage your
vehicle. If you change the diameter of the
tires from what is fitted at the factory, the
speedometer may not display the correct
speed. If you intend to change the size of
the wheels from what was fitted by the
manufacturer, you can check the suitability
with your dealer.
Additional information related to the
functionality and maintenance of your tires
can be found later in this chapter. See Tire
Care (page 299).
You can find the recommended tire
inflation pressures on the Tire Label, which
is on the B-pillar or the edge of the driver
door. You can also find this information on
the Safety Compliance Certification Label,
affixed to either the door hinge pillar,
door-latch post, or the door edge that
meets the door latch post, next to the
driver seating position.
We strongly recommend maintaining these
tire pressures at all times. Failure to follow
the tire pressure recommendations can
cause uneven treadwear patterns, reduced
fuel economy, and adversely affect the
way your vehicle handles.
Note: Check and set the tire pressure at the
ambient temperature in which you are
intending to drive your vehicle and when the
tires are cold.
Note: Check your tire pressures at least
once per month.
If your vehicle has a spare tire, set the
pressure to the highest value given for your
vehicle and tire size combination. Notice to Utility Vehicle and Truck
Owners WARNING:
Utility vehicles have a
significantly higher rollover rate than
other types of vehicles. WARNING:
Vehicles with a higher
center of gravity (utility and four-wheel
drive vehicles) handle differently than
vehicles with a lower center of gravity
(passenger cars). Avoid sharp turns,
excessive speed and abrupt steering in
these vehicles. Failure to drive cautiously
increases the risk of losing control of your
vehicle, vehicle rollover, personal injury
and death. WARNING:
In a rollover crash, an
unbelted person is significantly more
likely to die than a person wearing a
seatbelt. WARNING:
Do not become
overconfident in the ability of four-wheel
drive vehicles. Although a four-wheel
drive vehicle may accelerate better than
a two-wheel drive vehicle in low traction
situations, it won't stop any faster than
two-wheel drive vehicles. Always drive
at a safe speed.
Utility vehicles and trucks handle
differently than passenger cars in the
various driving conditions that are
encountered on streets, highways and
off-road. Utility vehicles and trucks are not
designed for cornering at speeds as high
as passenger cars any more than low-slung
sports cars are designed to perform
satisfactorily under off-road conditions.
297
Bronco Sport (CHD) Canada/United States of America, enUSA, Edition date: 202007, Second-Printing Wheels and Tires