2021 AUDI A6 center console
[x] Cancel search: center consolePage 109 of 332

4K0012721BE
Driving
Messages
GG / @® Brakes: malfunction! Safely stop ve-
hicle
There is a malfunction in the brake system. If
[3/ Gana BAlalso turn on, there is a malfunc-
tion in the ABS, ESC, and braking distribution. If
the brake booster is not working, you have to use
much more force when braking the vehicle.
Do not continue driving. See an authorized Audi
dealer or authorized Audi Service Facility for as-
sistance. Read and follow the other safety pre-
cautions > A\.
HG / @ Brake pads: wear limit reached. You
can continue driving. Please contact Service
The brake pads are worn. Drive to an authorized
Audi dealer or authorized Audi Service Facility as
soon as possible to have the malfunction correct-
ed.
Brake booster: limited functionality. You can
continue driving. Please contact Service
There is a brake booster malfunction. The brake
booster is available, but its effectiveness is re-
duced. The braking performance may be different
compared to the usual performance. Drive to an
authorized Audi dealer or authorized Audi Service
Facility immediately to have the malfunction cor-
rected.
Brake booster: deactivated. See owner's manual
The brake booster remains active for a brief peri-
od of time after switching off the ignition. Secure
the vehicle against rolling > page 97.
Other indicator lights
When you switch the ignition on, the Pia /@
indicator light turns on briefly to check the func-
tion. If the indicator light does not turn on, there
is a system malfunction.
If Be / B® stays on, there is a malfunction in
the brake system.
@- A high load was placed on the brakes from
driving downhill for a long period of time. Follow
the instructions in the message to utilize the en-
gine braking effect and to relieve the brakes.
ZX WARNING
If a malfunction occurs in the ABS, ESC, and
braking distribution, interventions that stabi-
lize the vehicle will no longer be available.
This could cause the vehicle to swerve, which
increases the risk that the vehicle will slide.
Do not continue driving. See an authorized
Audi dealer or authorized Audi Service Facility
for assistance.
Electromechanical
parking brake
Operating the parking brake
The electromechanical parking brake is used to
secure the vehicle from rolling away unintention-
ally.
The ©) switch is located under the selector lever
in the center console. It turns on when the park-
ing brake is set. You can release the parking brake
manually or automatically when you start to
drive.
Setting and releasing the parking brake
> Setting: pull the © switch.
> 1 ZW / © appears, the parking brake is hold-
ing the vehicle. You can remove your foot from
the brake pedal.
> Releasing: when the ignition is switched on,
press and hold the brake pedal and press the ©)
button.
If the red indicator light flashes, the braking
force has not built up enough or it has decreased.
You can also secure the vehicle by selecting the
“P” gear or pressing the brake pedal. Make sure
the indicator light is off before you start driving.
Automatically releasing the parking brake
when starting to drive
Requirement: the driver's door must be closed
and the driver’s safety belt must be fastened.
> Press the accelerator pedal to start to drive. >
107
Page 114 of 332

Driving dynamic
Driving dynamic
Audi drive select
Introduction
Applies to: vehicles with Audi drive select
Drive select makes it possible to experience dif-
ferent types of vehicle characteristics in one vehi-
cle. With different driving modes, the driver can
switch the setting, for example from sporty to
comfortable. This allows you to adjust the set-
tings to your personal preferences. This makes it
possible to combine settings such as a sporty
drivetrain setting with comfortable steering.
Selecting an Audi drive select mode
Applies to: vehicles with Audi drive select
The sie button is located above the selector lever
in the center console.
> Press the left or right arrow key until the de-
sired mode appears in the MMI. Or:
» Applies to MMI: Select on the home screen: VE-
HICLE > Audi drive select.
You can change the driving mode when the vehi-
cle is stationary or while driving. If traffic per-
mits, briefly remove your foot from the accelera-
tor pedal after changing modes so that the mode
you have selected will be activated for the drive
system.
The following modes may be available depending
on the equipment:
offroad - Provides assistance when driving off-
road. The vehicle will be raised to the second-
highest level using the air suspension®. The ESC
will be restricted and the hill descent assist* will
be activated. The vehicle will exit this mode after
the ignition is switched off.
allroad - Provides balanced vehicle handling. The
vehicle will be raised to the second-highest level
using the air suspension*.
comfort - Provides a comfort-oriented vehicle
setup and is suited for long drives on highways.
auto - Provides an overall comfortable yet dy-
namic driving feel and is suited for everyday use.
112
dynamic - Gives the driver a sporty driving feel
and is suited to a sporty driving style. The “S”
driving program is selected.
Individual - Provides the option for personalized
vehicle settings. Press ¥ to configure the mode
=> page 112, Individual settings.
(i) Tips
When the ignition is being switched on, indi-
vidual systems, such as the drive system, will
be reset to a balanced setting. Select the cur-
rent mode again to attain its full configura-
tion.
Selecting RS mode
Applies to: RS models
In RS models, there are two individual adjustable
RS modes instead of the Individual mode.
Selecting the mode
> Press the fds button on the multi-function
steering wheel to switch between the RS modes
and the last selected Audi drive select mode.
Or:
» Applies to MMI: Select on the home screen: VE-
HICLE > Audi drive select.
Adjusting the mode
> Applies to MMI: Select on the home screen: VE-
HICLE > Audi drive select.
> Press ¥ to configure the respective RS mode
=> page 112, Individual settings.
Individual settings
Applies to: vehicles with Audi drive select
The equipment in your vehicle will determine
which settings you can adjust.
Drive
The drive system will react to accelerator pedal
moves more quickly or in a more balanced man-
ner. The shift points are placed in higher or lower
speed ranges.
Page 119 of 332

4K0012721BE
Driving dynamic
Electronic Stabilization
Control
Electronic Stabilization Control (ESC) supports
driver safety. It reduces the risk of slipping and
improves driving stability. ESC detects critical sit-
uations, such as if the vehicle is oversteering or
understeering, or if the wheels are spinning.
The brakes are applied or the engine torque is re-
duced in order to stabilize the vehicle.
The following stabilization functions are integrat-
ed into the ESC, among others:
Anti-lock braking system (ABS)
ABS prevents the wheels from locking when brak-
ing. The vehicle can still be steered even during
hard braking. Apply steady pressure to the brake
pedal. Do not pump the pedal.
A pulsing in the brake pedal indicates that the
system is acting to stabilize the vehicle.
Anti-Slip Regulation (ASR)
ASR reduces drive power when the wheels begin
spinning and adapts the power to the road condi-
tions. This will increase the driving stability.
Electronic Differential Lock (EDL)
The EDL applies the brakes to wheels that are
slipping and transfers the drive power to the oth-
er wheels. This function is not available at higher
speeds.
In extreme cases, EDL automatically switches off
to keep the brake on the braked wheel from over-
heating. The vehicle is still functioning correctly.
EDL will switch on again automatically when con-
ditions have returned to normal.
Selective wheel torque control
Selective wheel torque control is used when driv-
ing on curves. Braking is targeted toward the
wheels on the inside of the curve as needed. This
allows more precise driving in curves.
Power steering
The ESC can also support vehicle stability
through steering.
ZA WARNING
— The ESC and its integrated systems cannot
overcome the limits imposed by natural
physical laws. This is especially important on
slippery or wet roads. If the systems begin
acting to stabilize your vehicle, you should
immediately alter your speed to match the
road
and traffic conditions. Do not let the in-
creased safety provided tempt you into tak-
ing risks. This could increase your risk of a
collision.
— Please note the risk of a collision increases
when driving fast, especially through curves
and on slippery or wet roads, and when driv-
ing too close to objects ahead. There is still
a risk of accidents because the ESC and its
integrated systems cannot always prevent
collisions.
— Accelerate carefully when driving on
smooth, slippery surfaces such as ice and
snow. The drive wheels can spin even when
these control systems are installed and this
can affect driving stability and increase the
risk of a collision.
@) Tips
— The ABS and ASR only function correctly
when all four wheels have a similar wear
condition. Different tire sizes can lead toa
reduction in engine power.
— You may hear noises when the systems de-
scribed are working.
The So button (or #, depending on the model)
for controlling the ESC is located in the center
console, in front of the selector lever. The ESC is
automatically switched on when the ignition is
switched on.
Limiting ESC
In some situations, it may make sense to limit
the stabilizing function of the ESC so that the >
117
Page 127 of 332

4K0012721BE
Assist systems
Rear area
Depending on the vehicle equipment, the follow-
ing sensors and cameras may be installed:
— Rearview camera in the luggage compartment
lid
— Radar sensors at the rear corners of the vehicle
— Rear and side ultrasonic sensors
Switching the systems
on and off
ZA\ WARNING
Applies to: vehicles with laser scanner
— The surface of the laser scanner can become
hot during operation, which increases the
risk of burns.
— The laser scanner contains a class 1 laser in
accordance with IEC 60825-1:2014. When
used according to regulations, the laser is
not dangerous. Opening the laser module
and removing covers is not permitted. Doing
so could cause permanent injuries to the
eyes.
— Any repair work on the laser module must
be performed by an authorized Audi dealer
or authorized Audi Service Facility; other-
wise the vehicle's operating license may be
voided. Incorrect repairs may cause limited
functionality and eye damage.
@) Tips
Applies to: vehicles with laser scanner
— The possible emissions are below the
threshold for class 1 lasers.
— Complies with 21 CFR 1040.10 and
1040.11 except for deviations pursuant to
Laser Notice No. 50, dated June 24, 2007.
@ Tips
— The locations of the sensors may differ
slightly depending on vehicle equipment.
— Some sensors are installed under vehicle
components and cannot be seen from the
outside.
— The system complies with United States FCC
regulations and ISED regulations
=> page 311.
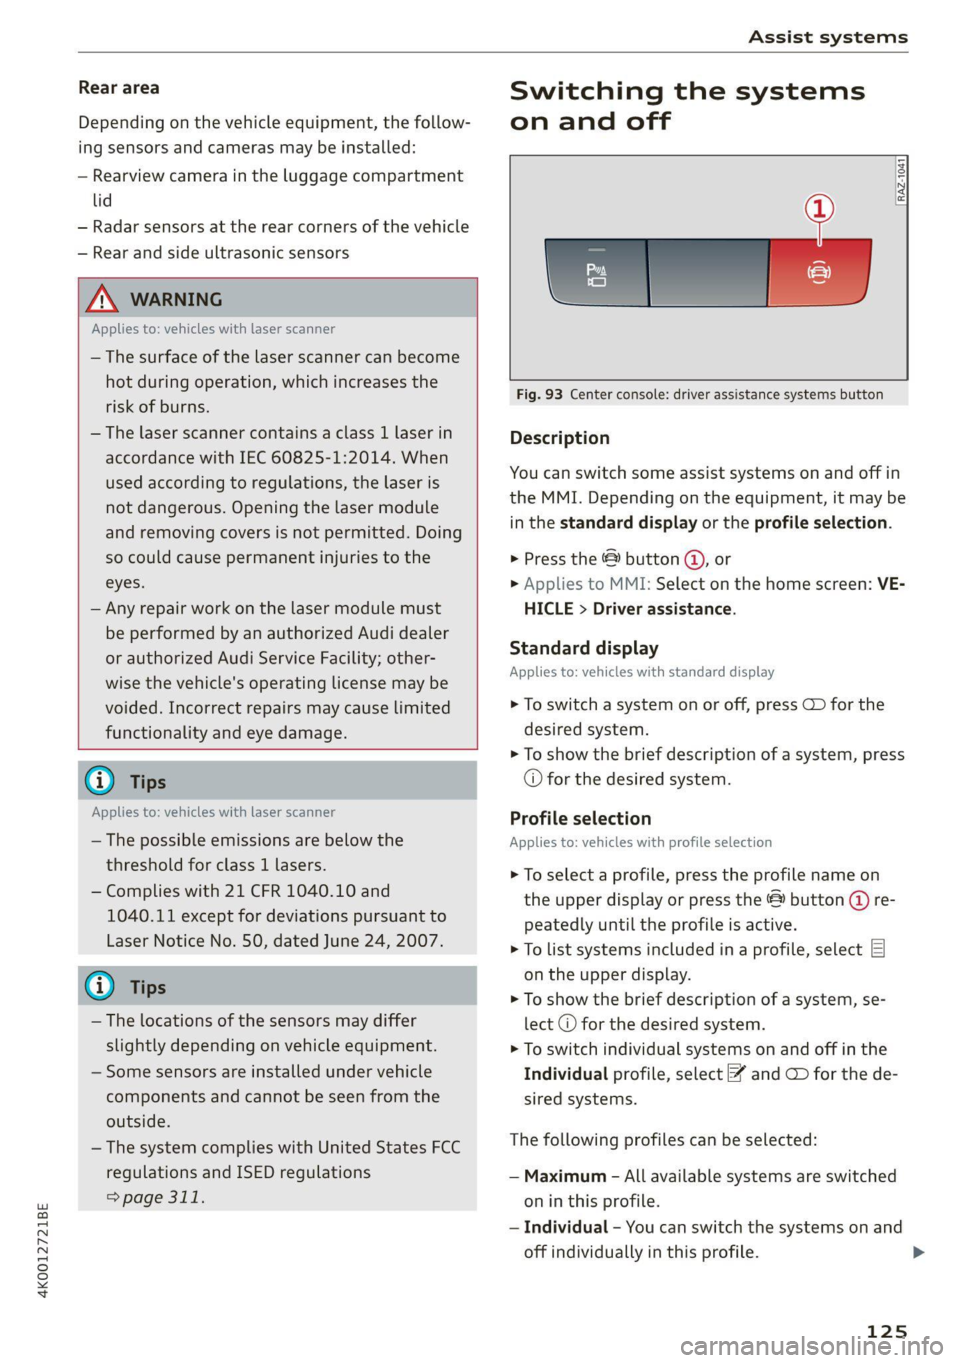
Fig. 93 Center console: driver assistance systems button
Description
You can switch some assist systems on and off in
the MMI. Depending on the equipment, it may be
in the standard display or the profile selection.
> Press the © button @, or
> Applies to MMI: Select on the home screen: VE-
HICLE > Driver assistance.
Standard display
Applies to: vehicles with standard display
> To switch a system on or off, press CD for the
desired system.
> To show the brief description of a system, press
© for the desired system.
Profile selection
Applies to: vehicles with profile selection
> To select a profile, press the profile name on
the upper display or press the & button (@ re-
peatedly until the profile is active.
> To list systems included in a profile, select E]
on the upper display.
> To show the brief description of a system, se-
lect @ for the desired system.
> To switch individual systems on and off in the
Individual profile, select ¥ and CD for the de-
sired systems.
The following profiles can be selected:
— Maximum - All available systems are switched
on in this profile.
— Individual - You can switch the systems on and
off individually in this profile.
125
Page 162 of 332

Parking and maneuvering
Parking and
maneuvering
Introduction
Depending on the vehicle equipment, various
parking aids will help you when parking and ma-
neuvering.
Parking aid
The parking aid plus assists you while parking
using audio and visual signals to warn you about
objects detected in front of, behind, and at the
sides* of the vehicle > page 160.
The rearview camera shows the area behind the
vehicle in the MMI display. The lines in the rear-
view camera image help you to park and maneu-
ver > page 163.
The peripheral cameras are an addition to the
rearview camera and help you to see various
areas around the vehicle while parking and ma-
neuvering > page 163.
The rear cross-traffic assist can warn you of ap-
proaching cross traffic when driving in reverse or
exiting a parking space > page 167.
The maneuver assist!)”) helps the driver to ma-
neuver > page 179.
Assisted parking
The following systems help you to locate suitable
parking spaces > page 168 and to park in them
and exit them. The driver must always monitor
the area around the vehicle and supervise the
parking process.
Park assist plus!)2) helps you when parking in
available parking spaces and exiting them. This
occurs either in the vehicle by pressing a drive
button > page 170 or, if equipped with Remote
park assist plus!)2), from outside the vehicle by
remote control using a mobile device
= page 174. The systems control steering, gear
selection, acceleration, and braking.
D_ System availability may be limited depending on the mar-
ket.
2) In preparation at the time of printing.
160
Remote park assist plus with garage func-
tion))2) enhances the remote controlled parking
by remote park assist to include parking in pri-
vate one-car and two-car garages > page 174.
Settings options
You can adjust parking aid functions individually.
The adjustment options depend on the vehicle
equipment.
— Automatic activation > page 161
— Front and rear volume > page 162
— Entertainment fader > page 162.
— Clean rearview camera > page 163
— View > page 165
— Rear cross-traffic assist > page 167
— Maneuver assist > page 180
x WARNING
Observe the safety precautions and note the
limits of the assist systems, sensors, and
cameras > page 122.
G) Tips
Audi recommends practicing parking in a traf-
fic-free location or parking lot to become fa-
miliar with the systems. Practice parking in
good light and weather conditions.
Parking aid plus
Activating and deactivating
Applies to: vehicles with parking aid plus
[RAZ-1042
?
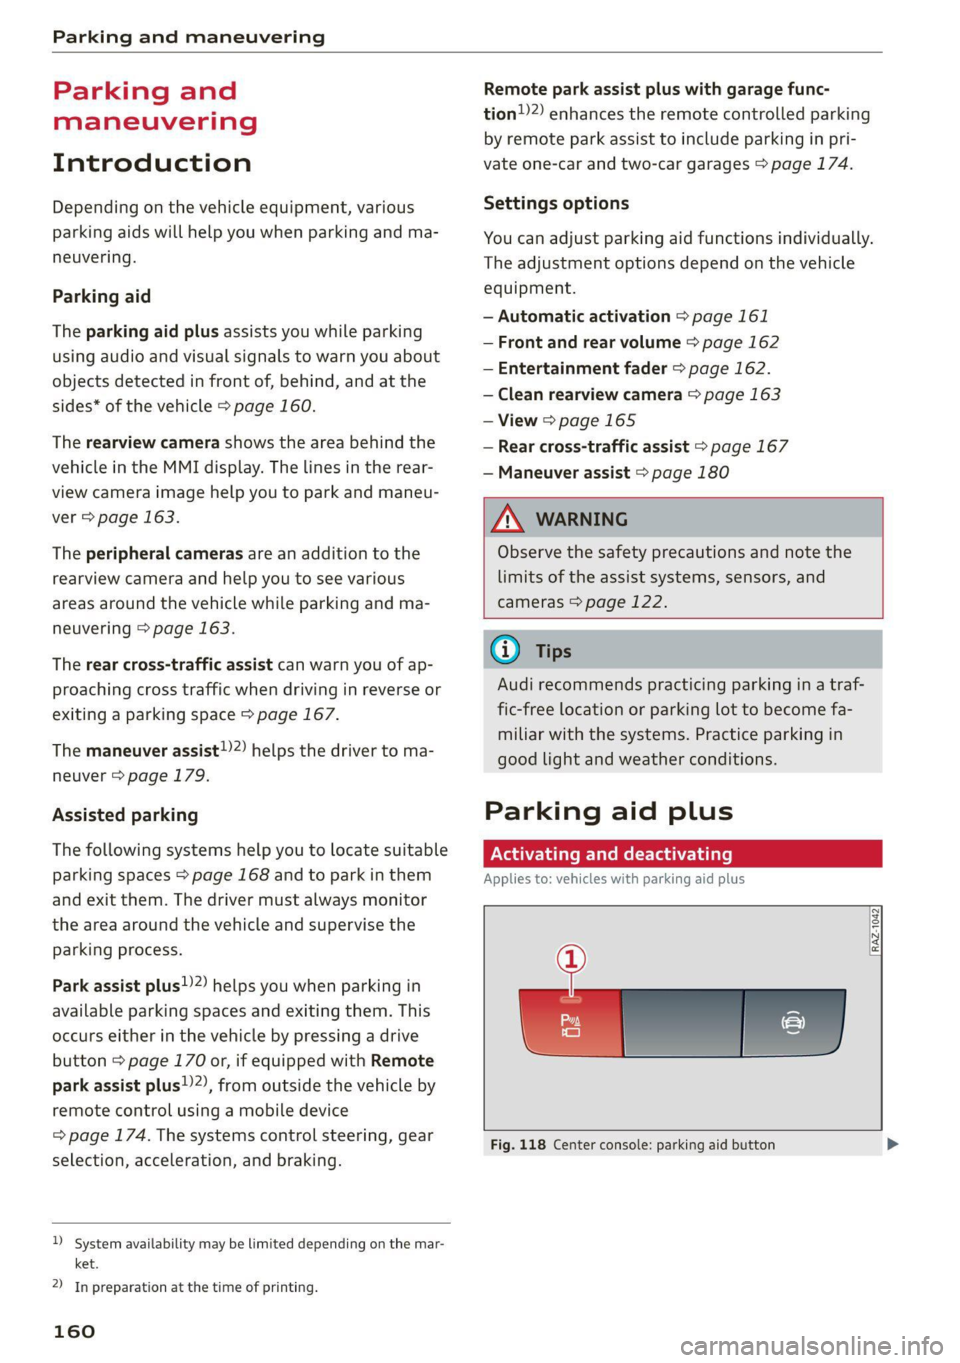
Fig. 118 Center console: parking aid button
Page 165 of 332

4K0012721BE
Parking and maneuvering
Rearview camera and
peripheral cameras
Introduction
Applies to: vehicles with rearview camera/peripheral cameras
B8V-0629
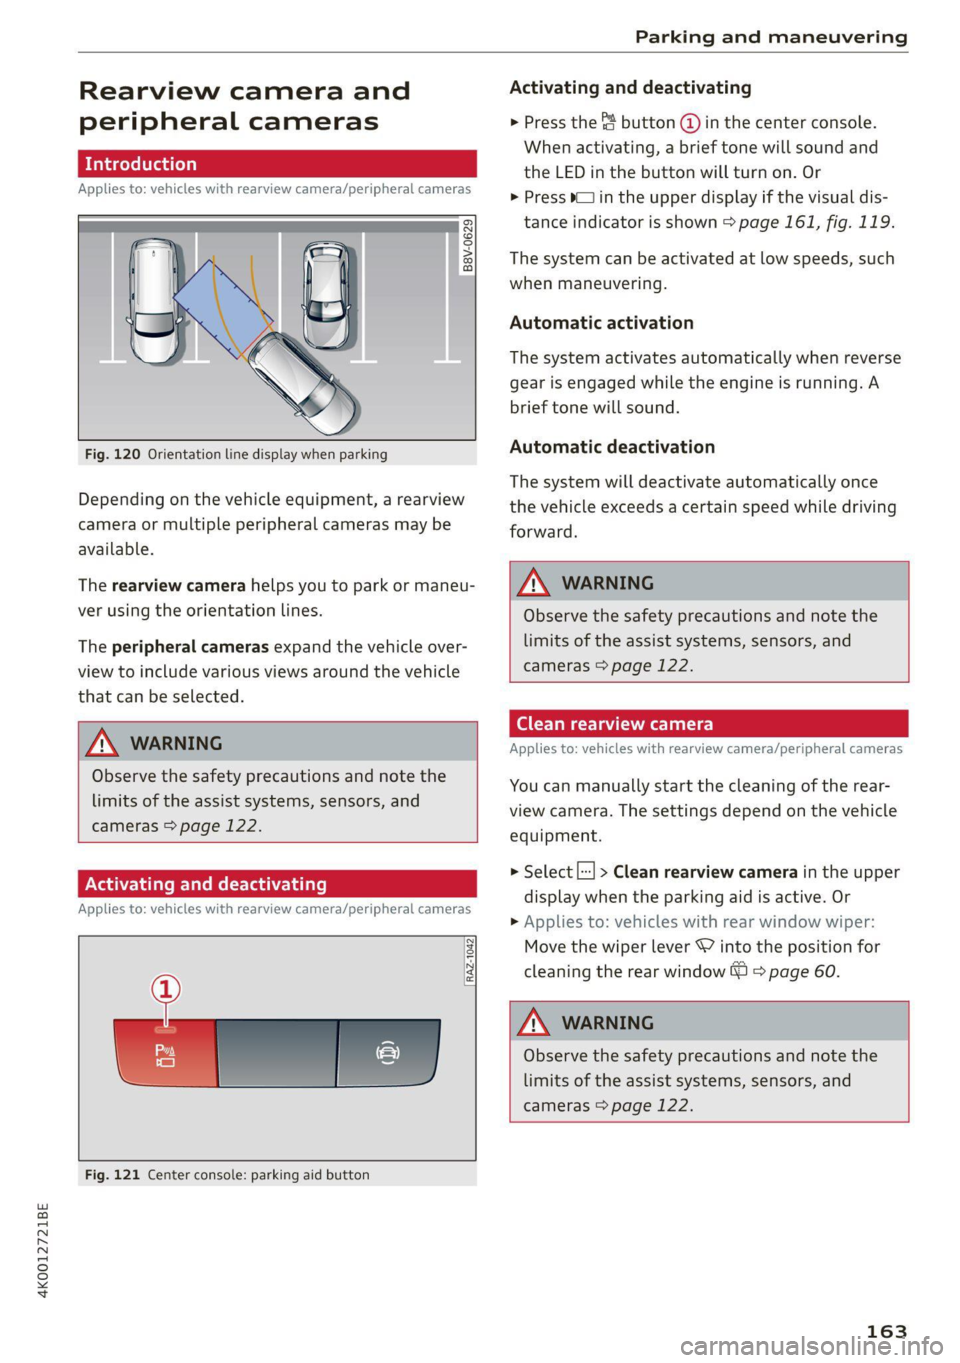
Fig. 120 Orientation line display when parking
Depending on the vehicle equipment, a rearview
camera or multiple peripheral cameras may be
available.
The rearview camera helps you to park or maneu-
ver using the orientation lines.
The peripheral cameras expand the vehicle over-
view to include various views around the vehicle
that can be selected.
ZA WARNING
Observe the safety precautions and note the
limits of the assist systems, sensors, and
cameras > page 122.
Activating and deactivating
Applies to: vehicles with rearview camera/peripheral cameras
[RAZ-1042|
Fig. 121 Center console: parking aid button
Activating and deactivating
> Press the 4 button (@ in the center console.
When activating, a brief tone will sound and
the LED in the button will turn on. Or
> Press bin the upper display if the visual dis-
tance indicator is shown > page 161, fig. 119.
The system can be activated at low speeds, such
when maneuvering.
Automatic activation
The system activates automatically when reverse
gear is engaged while the engine is running. A
brief tone will sound.
Automatic deactivation
The system will deactivate automatically once
the vehicle exceeds a certain speed while driving
forward.
A WARNING
Observe the safety precautions and note the
limits of the assist systems, sensors, and
cameras > page 122.
Clean rearview camera
Applies to: vehicles with rearview camera/peripheral cameras
You can manually start the cleaning of the rear-
view camera. The settings depend on the vehicle
equipment.
> Select |--| > Clean rearview camera in the upper
display when the parking aid is active. Or
> Applies to: vehicles with rear window wiper:
Move the wiper lever S7 into the position for
cleaning the rear window © © page 60.
Z\ WARNING
Observe the safety precautions and note the
limits of the assist systems, sensors, and
cameras > page 122.
163
Page 182 of 332

Parking and maneuvering
Activating or deactivating maneuver assist
Applies to: vehicles with maneuver assist
Requirements
> Maneuver assist must be switched on in the
parking system settings in the MMI.
> The speed must not be higher than approxi-
mately 6 mph (10 km/h).
Automatic activation
Maneuver assist activates automatically when re-
verse gear is engaged while the engine is run-
ning. A brief tone will sound.
Deactivating temporarily
If you do not want to use maneuver assist during
a parking cycle, you can deactivate it temporarily.
If maneuver assist is deactivated temporarily, it
will be activated again automatically the next
time park assist is activated.
> To deactivate maneuver assist temporarily,
press % @) > page 179, fig. 133 in the upper
display. The “% symbol will appear.
If you continue driving toward the obstacle after
the vehicle is braked to a stop, maneuver assist
will automatically be temporarily deactivated un-
til the next maneuvering situation.
Activating manually
You can activate maneuver assist in various ways
depending on the situation:
> To activate maneuver assist manually (such as
when driving forward), press the % button in
the center console.
> To reactivate maneuver assist after it has been
deactivated temporarily, press 74 @,
=> page 179, fig. 133 in the upper display. The
® symbol will appear.
Switching on or off permanently
» Applies to MMI: Select on the home screen: VE-
HICLE > Parking aid > Maneuver assist. Or
> Select [| > Maneuver assist in the upper dis-
play when the parking aid is active.
If maneuver assist is switched off permanently,
there will be no symbol in the center of the vehi-
cle graphic @) > page 179, fig. 133.
180
ZA WARNING
Observe the safety precautions and note the
limits of the assist systems, sensors, and
cameras > page 122.
Messages
Applies to: vehicles with maneuver assist
if or fg is displayed when there is a malfunc-
tion, the maneuver assist functions may be un-
available or may be limited.
A message that indicates the cause and possible
solution may appear with some displays. The
weather conditions may be too poor or a sensor
may be covered. Clean the area in front of the
sensors and cameras > page 124 and try to turn
the system on again later.
If the malfunction remains, drive to an author-
ized Audi dealer or authorized Audi Service Facili-
ty immediately to have the malfunction correct-
ed.