Page 334 of 502
Fig. 161 In the luggage compartment: opening the luggage compartment floor.
First read and observe the introductoryinformation and safety warnings
The vehicle toolkit may be located in various places in the vehicle, e.g. in the side stowage area of
the luggage compartment or under the luggage compartment floor Fig. 161
luggage net if necessary Transporting items
the side restraints (arrows).
NOTICE
Never drop the luggage compartment floor; guide it slowly back down. The trims or the luggage
compartment floor could otherwise be damaged.
After using the vehicle jack, crank it back to its original position so that it can be stowed safely.
Vehicle toolkit contents
Fig. 162 Contents of the vehicle toolkit.
First read and observe the introductoryinformation and safety warnings
Page 335 of 502

Fig. 162
following describes the maximum scope.
Key to Fig. 162
Screwdriver with hexagon socket in the handle for unscrewing or tightening slackened wheel
bolts. The screwdriver blade is reversible. The screwdriver may be stowed under the box spanner.
Adapter for the anti-theft wheel bolt. Volkswagen recommends that you carry the wheel bolt
adapter in the vehicle toolkit at all times. The code number of the anti-theft wheel bolt is engraved
on the front of the adapter. You will need this number to replace the adapter if lost. Make a note of
the code number for the anti-theft wheel bolt and keep it in a safe place but not inside the vehicle.
Removable towing eye.
Wire hook for pulling off the centre wheel trims, wheel covers and the wheel bolt caps.
Vehicle jack. Before you repack the jack, you must fully wind in the claw.
Box spanner for wheel bolts.
Crank.
Vehicle jack: maintenance
There are no maintenance cycles for the vehicle jack. Grease it with universal lubricant when
necessary.
Wiper blades
Service position
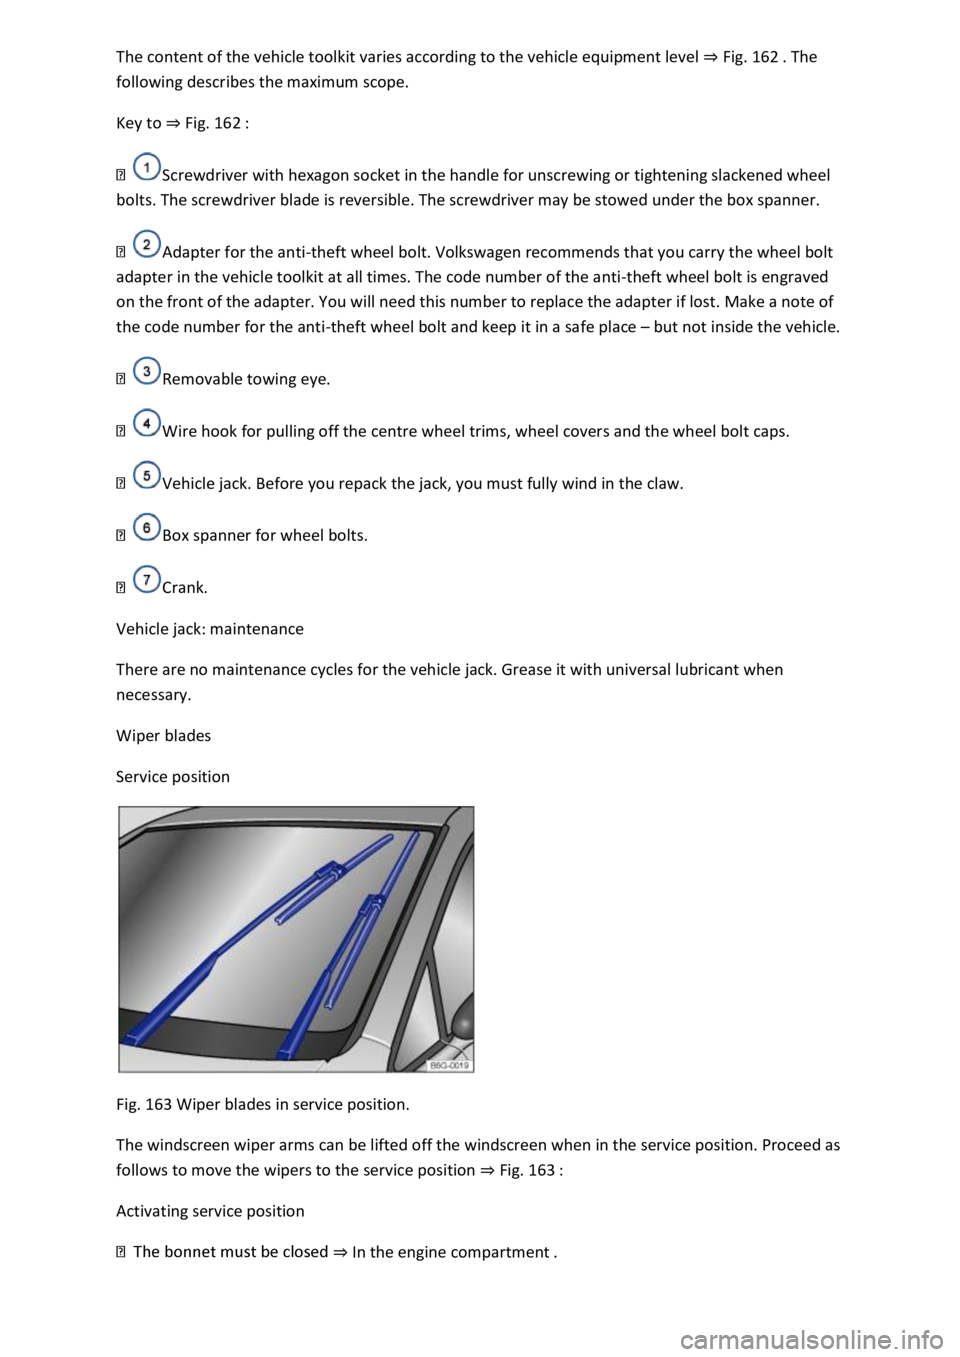
Fig. 163 Wiper blades in service position.
The windscreen wiper arms can be lifted off the windscreen when in the service position. Proceed as
follows to move the wipers to the service position Fig. 163
Activating service position
In the engine compartment
Page 344 of 502

Fig. 168Fig. 168
Fit the cover in the wheel housing liner Fig. 168and lock it in position.
NOTICE
the headlight housing is seated properly in order to
prevent damage to the electrical system caused by water entering the system.
damaged.
Changing bulbs in the front bumper
Fig. 169 In the front bumper, right-hand side: removing the fog light.
First read and observe the introductoryinformation and safety warnings
The actions should only be carried out in the specified order:
Observe and follow the instructions in the checklist Checklist Information on changing
bulbs
Take the wire hook from the toolkit and insert it in the opening in the cover Fig. 169
the cover forwards in the direction of the arrow.
Use the screwdriver from the vehicle toolkit to unscrew the securing screws Fig. 169
Vehicle toolkit
Pull the headlight out of the bumper towards the outside of the vehicle.
Release the connector and pull it off.
Turn the bulb holder anti-clockwise as far as it will go and pull it out to the rear along with the
bulb.
Page 345 of 502

Insert the bulb holder into the headlight and turn it clockwise as far as it will go.
Connect the connector to the bulb holder. The connector must audibly click into place.
Push the headlight from the outside into the openings and insert into the bumper.
Use the screwdriver to tighten the securing screws Fig. 169
Fit the cover in the bumper Fig. 169
Stow the wire hook and screwdriver in the vehicle toolkit.
Changing bulbs in the tail light clusters (LED lights)
First read and observe the introductoryinformation and safety warnings
These lamps use LED technology. The LEDs cannot be replaced by customers. If some LEDs fail, this
may be an indication that more elements are on the point of failure. In this case, have the lights
checked and renewed if necessary at a qualified workshop. Volkswagen recommends using a
Volkswagen dealership for this purpose.
Changing bulbs in the number plate light (LED lights)
First read and observe the introductoryinformation and safety warnings
These lamps use LED technology. The LEDs cannot be replaced by customers. If some LEDs fail, this
may be an indication that more elements are on the point of failure. In this case, have the lights
checked and renewed if necessary at a qualified workshop.
Troubleshooting
First read and observe the introductoryinformation and safety warnings
Fault in vehicle lighting
The indicator lamp lights up yellow.
Fault in vehicle lighting or fault in cornering lights.
Check the vehicle lighting and change the appropriate bulb as required Changing bulbs
bulbs are OK or there is a fault in the dynamic cornering light, go to a qualified workshop.
Changing fuses
Introduction
This chapter contains information on the followingsubjects:
Fuses in the dash panel
Page 348 of 502
the holder and push it upwards until it audibly clicks into place. Carefully push the stowage
compartment forwards beyond the resistance of the catches Fig. 171
NOTICE
e the covers of the fuse boxes carefully and install them again properly so as to avoid
damage to the vehicle.
boxes can damage the electrical system.
Fuses in the engine compartment
Fig. 172
First read and observe the introductoryinformation and safety warnings
Opening the fuse box in the engine compartment
et In the engine compartment
Fig. 172
y clicks
into place on both sides.
In some vehicles, there is a pair of plastic pliers Fig. 172
NOTICE
tall them again properly so as to avoid
damage to the vehicle.
Page 355 of 502

p leads should be removed only in the order D C B
AFig. 177
-volt vehicle battery checked.
WARNING
Jump starting the vehicle incorrectly can cause the 12-volt vehicle battery to explode, which can lead
to serious injuries. Please note the following in order to reduce the risk of the 12-volt vehicle battery
exploding:
-volt vehicle battery and the electrical system can cause serious chemical burns,
fire or electric shocks. Always read the warnings and safety information before carrying out any kind
of work on the 12-volt vehicle battery 12-volt vehicle battery
-volt vehicle
battery.
h the leads in the correct order the positive lead first, followed by the negative.
-insulated parts of the battery clamps must not be allowed to touch. The jump lead
attached to the positive terminal on the 12-volt vehicle battery must not touch electrically
conductive parts of the vehicle.
-volt vehicle battery, using a torch if necessary. If it is light
yellow or colourless, do not jump start the vehicle. Seek expert assistance.
-volt vehicle battery. The hydrogen gas
emitted from the 12-volt vehicle battery could be ignited by sparks.
g if the 12-volt vehicle battery is damaged or if it is or has ever been
frozen.
NOTICE
Once the vehicle has been successfully jump-started, go to a qualified workshop and have the 12-
volt vehicle battery checked.
Tow-starting or towing
Introduction
This chapter contains information on the followingsubjects:
Notes on tow-starting and towing
Page 356 of 502

Tow-starting
Towing
Fitting the rear towing eye
Fitting the front towing eye
Towing requires some experience, especially when using a tow rope. Both drivers should be familiar
with the technique required for towing. Inexperienced drivers should not attempt to tow.
Ensure that no excessive pulling forces occur and take care to avoid jerking movements. When
towing offroad, there is always a risk of overloading the anchorage points.
Observe any legal requirements when towing or tow-starting.
Tow-starting
Tow-starting describes the procedure for starting the vehicle by moving it using another towing
vehicle.
The vehicle can be tow-started with a tow-bar or a tow-rope.
Towing
Towing is where a vehicle that cannot be driven is pulled with the aid of another vehicle.
The vehicle can be towed with a tow-bar or a tow-rope. When the engine is stopped, the gearbox is
not lubricated sufficiently at higher speeds and over long distances:
km/h (30 mph).
km.
Tow rope, tow bar
It is easier and safer to tow a vehicle with a tow bar. Use a tow rope only if you do not have a tow
bar.
The tow rope should be slightly elastic to reduce the strain on both vehicles. It is advisable to use a
tow rope made of synthetic fibre or similarly elastic material.
Towing with a tow truck
If your vehicle is to be raised on one axle for towing, this may only be done using the following axles
according to the gearbox/drive combination:
Front-wheel drive
Manual gearboxFront or rear axleAutomatic gearboxFront axle
WARNING
If a vehicle is being towed, the vehicle handling and braking efficiency will change significantly.
Page 357 of 502

WARNING
Never tow a vehicle that has no power supply.
assistance.
NOTICE
When pushing the vehicle by hand, do not press on the tail light clusters, the side spoilers on the
rear window, the rear spoiler or large panels. This could damage the vehicle and the rear spoiler
could become detached.
NOTICE
Remove and install the cover and the towing eye carefully so as to avoid damage to the vehicle, e.g.
the paintwork.
Notes on tow-starting and towing
First read and observe the introductoryinformation and safety warnings
It is still possible to activate the turn signals in a vehicle that is being towed, even if the hazard
warning lights are switched on. To do this, operate the turn signal lever in the required direction
while the ignition is switched on. The hazard warning lights will not flash while the turn signal is
being used. The hazard warning lights will start flashing again automatically as soon as the turn
signal lever is moved back to the neutral position.
When should your vehicle not be tow-started or towed?
an 50 km.
accident.
If the vehicle cannot be towed on its own four wheels due to one of the above conditions, seek
expert assistance and have the vehicle transported on a recovery vehicle if necessary.
Tow-starting
First read and observe the introductoryinformation and safety warnings
Preparations for tow-starting
Vehicles with an automatic gearbox: