2020 TOYOTA PROACE CITY steering
[x] Cancel search: steeringPage 25 of 272
25
Access
2
WARNI NG
Anti-theft protectionDo not modify the electronic vehicle immobiliser, as this might result in malfunctions.For vehicles with a key ignition switch, remember to remove the key and turn the steering wheel to engage the steering lock.
WARNI NG
Locking the vehicleDriving with the doors locked could make it more difficult for the emergency services to enter the vehicle in an emergency.As a safety precaution, remove the key from the ignition or take the electronic key with you when leaving the vehicle, even for a short time.
NOTIC E
Purchasing a second-hand vehicleHave the key codes memorised by a TOYOTA dealer, to ensure that the keys in your possession are the only ones able to start the vehicle.
WARNI NG
Accumulations (water, dust, grime, salt, etc.) on the inner surface of the door handle may affect detection.If cleaning the inner surface of the door handle using a cloth does not restore detection, contact a TOYOTA dealer or a qualified workshop.A sudden splash of water (stream of water, high pressure jet washer, etc.) may be identified by the system as the desire to open the vehicle.
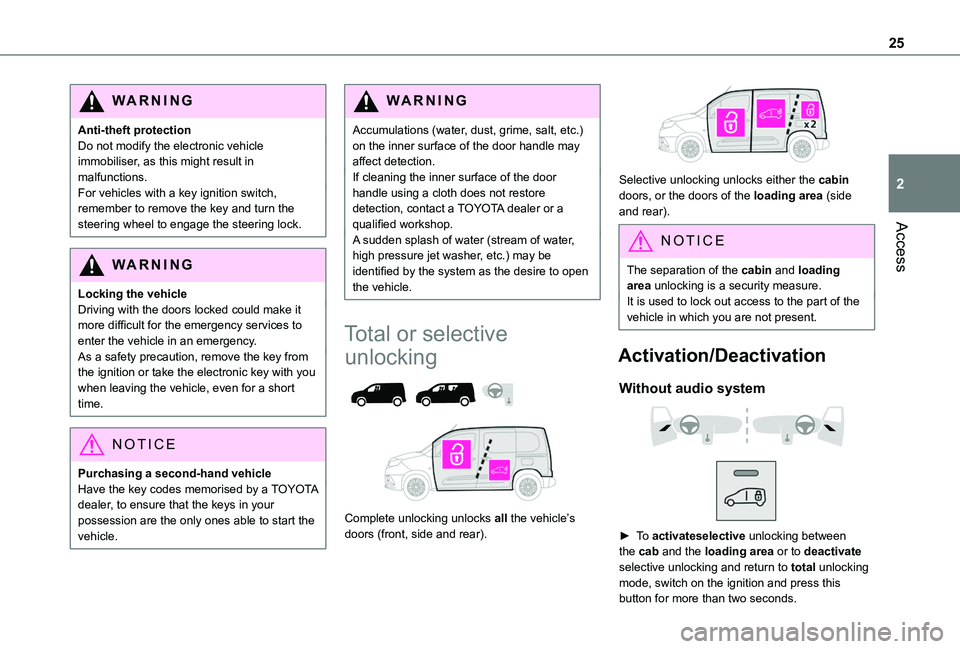
Total or selective
unlocking
Complete unlocking unlocks all the vehicle’s doors (front, side and rear).
Selective unlocking unlocks either the cabin doors, or the doors of the loading area (side and rear).
NOTIC E
The separation of the cabin and loading area unlocking is a security measure.It is used to lock out access to the part of the vehicle in which you are not present.
Activation/Deactivation
Without audio system
► To activateselective unlocking between
the cab and the loading area or to deactivate selective unlocking and return to total unlocking mode, switch on the ignition and press this button for more than two seconds.
Page 32 of 272
32
► Insert the new battery, observing the polarity, and clip the cover onto the housing.► Reinitialise the remote control.For more information on Reinitialising the remote control, refer to the corresponding section.
EC O
Do not throw remote control batteries away, as they contain metals that are harmful to the environment. Take them to an approved disposal point.
Reinitialising the remote
control
Following replacement of the battery or in the event of a fault, it may be necessary to reinitialise the remote control.
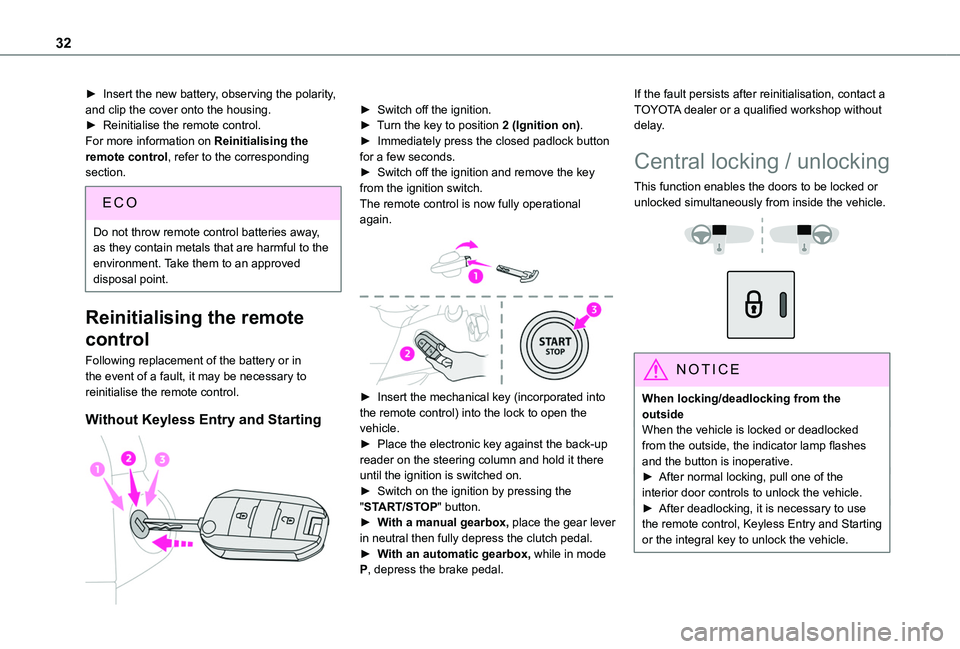
Without Keyless Entry and Starting
► Switch off the ignition.► Turn the key to position 2 (Ignition on).► Immediately press the closed padlock button for a few seconds.► Switch off the ignition and remove the key from the ignition switch.The remote control is now fully operational again.
► Insert the mechanical key (incorporated into the remote control) into the lock to open the vehicle.► Place the electronic key against the back-up
reader on the steering column and hold it there until the ignition is switched on.► Switch on the ignition by pressing the "START/STOP" button.► With a manual gearbox, place the gear lever in neutral then fully depress the clutch pedal.► With an automatic gearbox, while in mode P, depress the brake pedal.
If the fault persists after reinitialisation, contact a TOYOTA dealer or a qualified workshop without delay.
Central locking / unlocking
This function enables the doors to be locked or unlocked simultaneously from inside the vehicle.
NOTIC E
When locking/deadlocking from the outsideWhen the vehicle is locked or deadlocked from the outside, the indicator lamp flashes and the button is inoperative.► After normal locking, pull one of the interior door controls to unlock the vehicle.► After deadlocking, it is necessary to use the remote control, Keyless Entry and Starting or the integral key to unlock the vehicle.
Page 41 of 272
41
Ease of use and comfort
3
General
recommendations for the
seats
WARNI NG
For safety reasons, seat adjustments must only be made when the vehicle is stationary.
WARNI NG
Folding or unfolding the seat backrests must only be done with the vehicle stationary.
WARNI NG
Before moving the seat backwards, ensure that there is no person or object that might prevent the full travel of the seat.There is a risk of trapping or pinching
passengers if present in the rear seats or of jamming the seat if large objects are placed on the floor behind the seat.
WARNI NG
Do not place hard or heavy objects on the backrests forming a table. They could become
dangerous projectiles in the event of sudden braking or a collision.– Do not remove a head restraint without stowing it; secure it to a support inside the vehicle.– Check that the seat belts remain accessible to the passenger and easy to fasten.– Passengers must never take their seat without adjusting and fastening their seat belt.
WARNI NG
Before carrying out the manoeuvres, check that nothing and no one is obstructing the moving elements and their locking.To avoid sudden folding, take care to hold the backrest and support it until it is horizontal.Never put your hand underneath the seat cushion to guide the seat downwards or upwards, you could get your fingers trapped. Place your hand on the grip/strap (depending on equipment) at the top of the seat cushion.
WARNI NG
Please note: an incorrectly latched backrest compromises the safety of passengers in the event of sudden braking or an impact.The contents of the boot may be thrown forward - risk of severe injury!
Front seats
Correct driving position
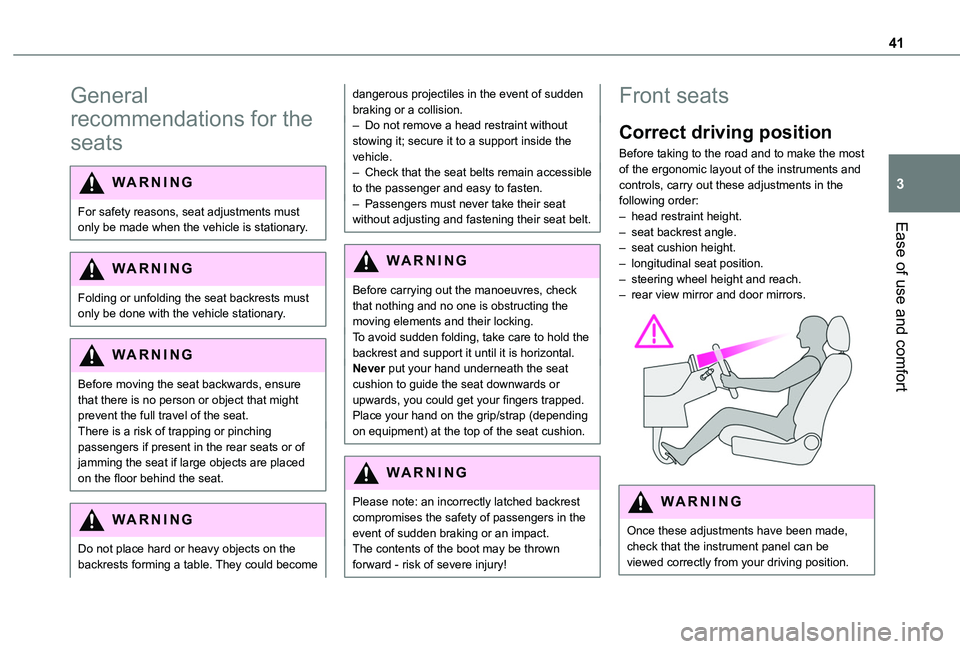
Before taking to the road and to make the most of the ergonomic layout of the instruments and controls, carry out these adjustments in the following order:– head restraint height.– seat backrest angle.– seat cushion height.– longitudinal seat position.– steering wheel height and reach.– rear view mirror and door mirrors.
WARNI NG
Once these adjustments have been made,
check that the instrument panel can be viewed correctly from your driving position.
Page 44 of 272
44
Steering wheel
adjustment
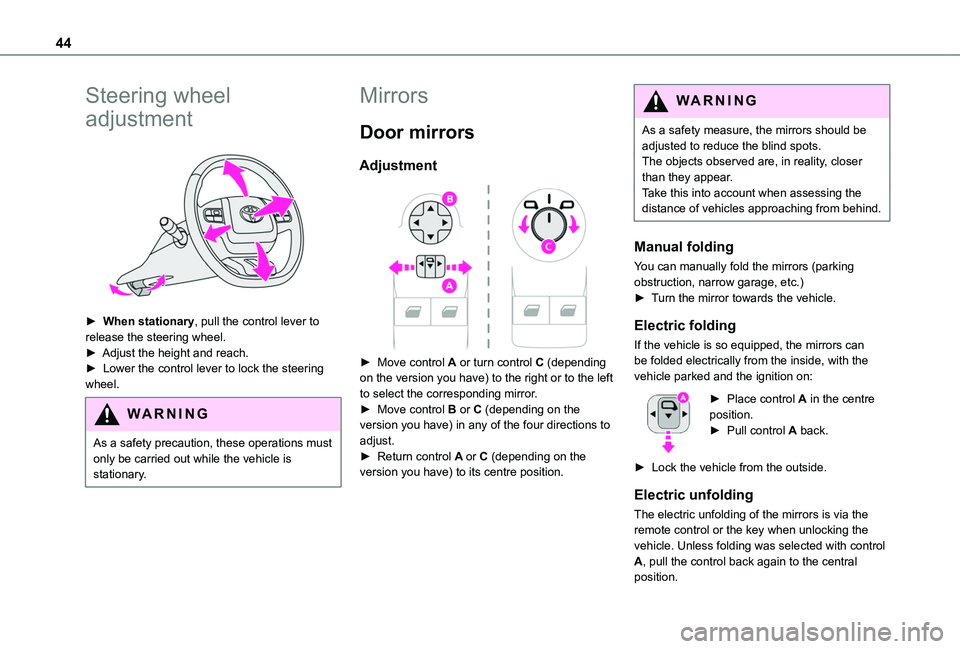
► When stationary, pull the control lever to release the steering wheel.► Adjust the height and reach.► Lower the control lever to lock the steering wheel.
WARNI NG
As a safety precaution, these operations must only be carried out while the vehicle is stationary.
Mirrors
Door mirrors
Adjustment
► Move control A or turn control C (depending on the version you have) to the right or to the left to select the corresponding mirror.► Move control B or C (depending on the version you have) in any of the four directions to adjust.
► Return control A or C (depending on the version you have) to its centre position.
WARNI NG
As a safety measure, the mirrors should be adjusted to reduce the blind spots.The objects observed are, in reality, closer than they appear.Take this into account when assessing the distance of vehicles approaching from behind.
Manual folding
You can manually fold the mirrors (parking obstruction, narrow garage, etc.)► Turn the mirror towards the vehicle.
Electric folding
If the vehicle is so equipped, the mirrors can be folded electrically from the inside, with the vehicle parked and the ignition on:
► Place control A in the centre position.► Pull control A back.
► Lock the vehicle from the outside.
Electric unfolding
The electric unfolding of the mirrors is via the remote control or the key when unlocking the vehicle. Unless folding was selected with control A, pull the control back again to the central position.
Page 50 of 272

50
It also allows a smartphone to be connected by MirrorLinkTM, Android Auto® or CarPlay®, enabling certain smartphone applications to be used on the touch screen.For best results, use a cable made or approved by the device manufacturer.These applications can be managed using the steering mounted controls or the audio system controls.
220 V/50 Hz socket
AC 220V
50Hz 120W
It is located on the side of the central storage compartment.This socket (max. power: 150 W) operates with the engine running, and with the Stop & Start system in STOP mode.► Lift the protective cover.► Check that the green indicator lamp is on.► Connect your multimedia or other electrical device (telephone charger, laptop computer, CD-DVD player, bottle warmer, etc.).In the event of a malfunction, the green indicator lamp flashes.
Have the socket checked by a TOYOTA dealer or a qualified workshop.
WARNI NG
Connect only one device at a time to the socket (do not use extension leads or multi-socket adapters).Connect only devices with class II insulation (shown on the device).
Do not use metal-cased devices (e.g. electric shaver, etc.).
NOTIC E
As a safety measure, if power consumption is high and power is required by the vehicle's electrical system (due to severe weather conditions, electrical overload, etc.), power to the socket may be cut off, in which case the green indicator lamp goes off.
Wireless smartphone
charger
It allows wireless charging of a portable device such as a smartphone, using the magnetic induction principle, in accordance with the Qi 1.1 standard.The portable device to be charged must be compatible with the Qi standard, either by design or by using a compatible holder or shell.The charging area is identified by the Qi symbol.The charger works with the engine running and with the Stop & Start system in STOP mode.Charging is managed by the smartphone.With Keyless Entry and Starting, the charger’s operation may be briefly disrupted when a door is opened or the ignition is switched off.
Charging
► With the charging area clear, place a device in its centre.
When the portable device is detected, the charger’s indicator lamp lights up green. It
Page 78 of 272
78
(GDPR). Third parties to which data has been communicated shall be notified of any rectification, erasure or restriction carried out in accordance with the aforementioned Directive, unless doing so would be impossible or require a disproportionate effort. You also have the right to lodge a complaint with the relevant data protection authority.
Hazard warning lamps
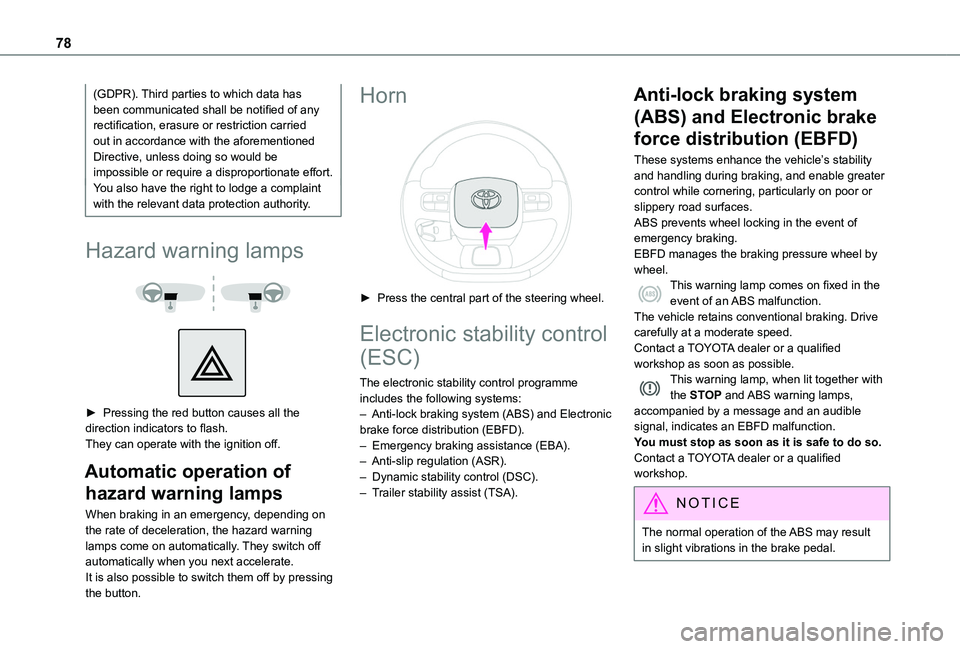
► Pressing the red button causes all the direction indicators to flash.They can operate with the ignition off.
Automatic operation of
hazard warning lamps
When braking in an emergency, depending on the rate of deceleration, the hazard warning lamps come on automatically. They switch off automatically when you next accelerate.It is also possible to switch them off by pressing the button.
Horn
► Press the central part of the steering wheel.
Electronic stability control
(ESC)
The electronic stability control programme includes the following systems:– Anti-lock braking system (ABS) and Electronic brake force distribution (EBFD).
– Emergency braking assistance (EBA).– Anti-slip regulation (ASR).– Dynamic stability control (DSC).– Trailer stability assist (TSA).
Anti-lock braking system
(ABS) and Electronic brake
force distribution (EBFD)
These systems enhance the vehicle’s stability and handling during braking, and enable greater control while cornering, particularly on poor or slippery road surfaces.ABS prevents wheel locking in the event of emergency braking.EBFD manages the braking pressure wheel by wheel.This warning lamp comes on fixed in the event of an ABS malfunction.The vehicle retains conventional braking. Drive carefully at a moderate speed.Contact a TOYOTA dealer or a qualified workshop as soon as possible.This warning lamp, when lit together with the STOP and ABS warning lamps, accompanied by a message and an audible signal, indicates an EBFD malfunction.You must stop as soon as it is safe to do so.
Contact a TOYOTA dealer or a qualified workshop.
NOTIC E
The normal operation of the ABS may result in slight vibrations in the brake pedal.
Page 85 of 272
85
Safety
5
WARNI NG
In the event of an impactDepending on the nature and seriousness of impacts, the pyrotechnic pretensioner device may trigger before and independently of airbag deployment. Deployment of the pretensioners is accompanied by a slight discharge of harmless smoke and a noise, due to the activation of the pyrotechnic cartridge incorporated in the system.In all cases, the airbag warning lamp comes on.Following an impact, have the seat belt system checked, and if necessary replaced, by a TOYOTA dealer or a qualified workshop.
Airbags
System designed to contribute towards improving the safety of the occupants (with the exception of the centre seat in row 2) in the
event of violent collisions.The airbags supplement the action of the force-limiting seat belts.If a collision occurs, the electronic detectors record and analyse the front and side impacts sustained in the impact detection zones:– in the event of a serious impact, the airbags are deployed instantly and contribute towards better protection of the occupants (with the exception of the centre seat in row 2);
immediately after the impact, the airbags deflate rapidly so that they do not hinder visibility or the exit of the occupants,– in the case of a minor or rear impact or in certain rollover conditions, the airbags may not be deployed; the seat belt alone contributes towards ensuring your protection in these situations.
WARNI NG
The airbags do not operate when the ignition is switched off.This equipment will only deploy once. If a second impact occurs (during the same or a subsequent accident), the airbag will not be deployed again.
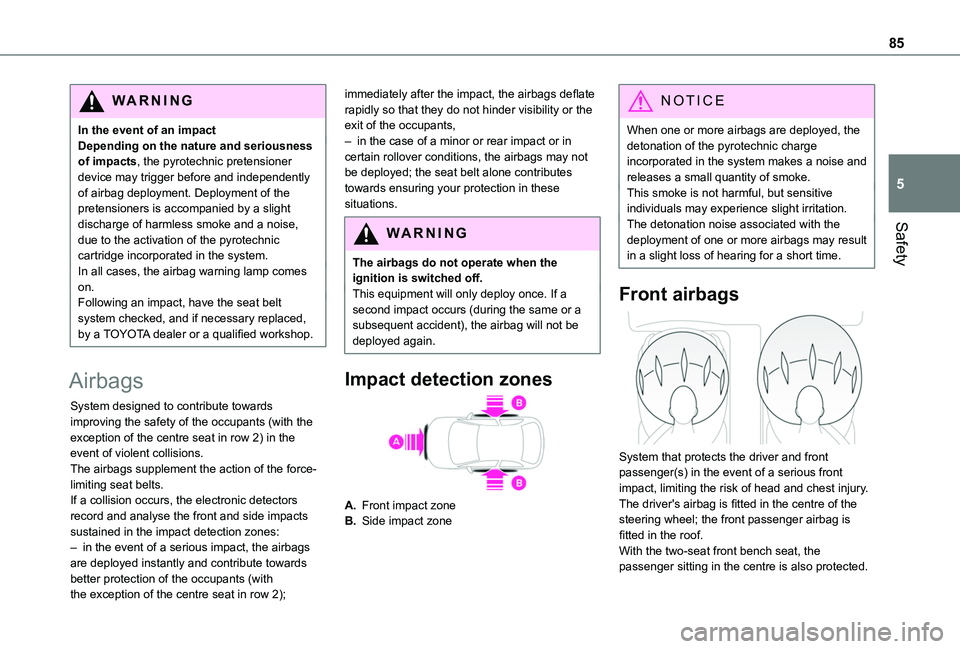
Impact detection zones
A.Front impact zone
B.Side impact zone
NOTIC E
When one or more airbags are deployed, the detonation of the pyrotechnic charge incorporated in the system makes a noise and releases a small quantity of smoke.This smoke is not harmful, but sensitive individuals may experience slight irritation.The detonation noise associated with the deployment of one or more airbags may result in a slight loss of hearing for a short time.
Front airbags
System that protects the driver and front passenger(s) in the event of a serious front impact, limiting the risk of head and chest injury.The driver's airbag is fitted in the centre of the steering wheel; the front passenger airbag is fitted in the roof.
With the two-seat front bench seat, the passenger sitting in the centre is also protected.
Page 86 of 272
86
Deployment
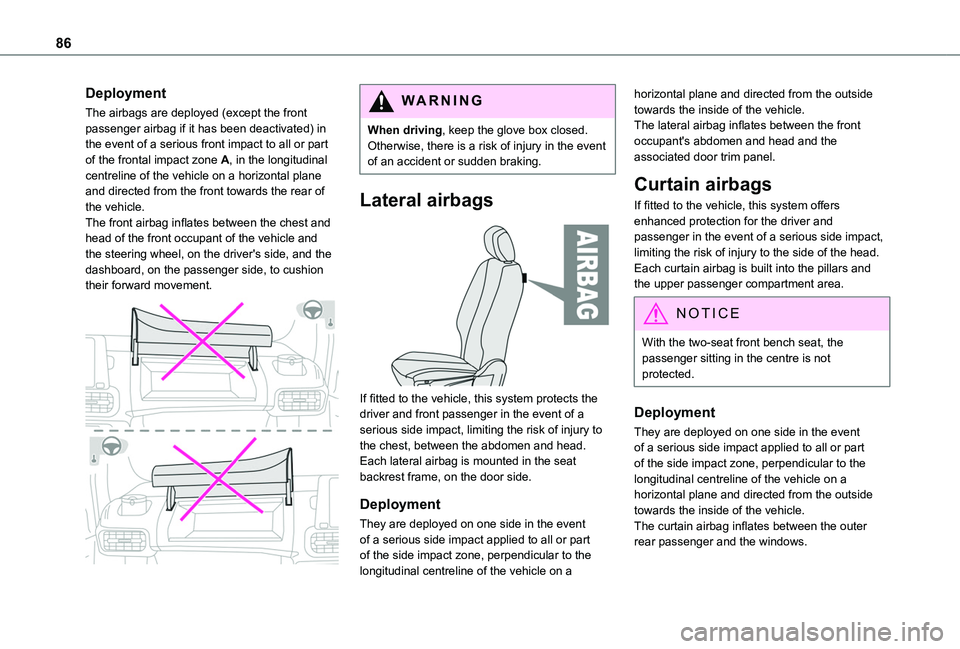
The airbags are deployed (except the front passenger airbag if it has been deactivated) in the event of a serious front impact to all or part of the frontal impact zone A, in the longitudinal centreline of the vehicle on a horizontal plane and directed from the front towards the rear of the vehicle.The front airbag inflates between the chest and head of the front occupant of the vehicle and the steering wheel, on the driver's side, and the dashboard, on the passenger side, to cushion their forward movement.
WARNI NG
When driving, keep the glove box closed. Otherwise, there is a risk of injury in the event of an accident or sudden braking.
Lateral airbags
If fitted to the vehicle, this system protects the driver and front passenger in the event of a serious side impact, limiting the risk of injury to
the chest, between the abdomen and head.Each lateral airbag is mounted in the seat backrest frame, on the door side.
Deployment
They are deployed on one side in the event of a serious side impact applied to all or part of the side impact zone, perpendicular to the longitudinal centreline of the vehicle on a
horizontal plane and directed from the outside towards the inside of the vehicle.The lateral airbag inflates between the front occupant's abdomen and head and the associated door trim panel.
Curtain airbags
If fitted to the vehicle, this system offers enhanced protection for the driver and passenger in the event of a serious side impact, limiting the risk of injury to the side of the head.Each curtain airbag is built into the pillars and the upper passenger compartment area.
NOTIC E
With the two-seat front bench seat, the passenger sitting in the centre is not protected.
Deployment
They are deployed on one side in the event of a serious side impact applied to all or part of the side impact zone, perpendicular to the longitudinal centreline of the vehicle on a horizontal plane and directed from the outside towards the inside of the vehicle.The curtain airbag inflates between the outer rear passenger and the windows.