2020 TOYOTA PROACE CITY audio
[x] Cancel search: audioPage 110 of 272
11 0
WARNI NG
Driving on flooded roadsBefore entering into a flooded area, it is strongly recommended that you deactivate the Stop & Start system.For more information on Driving recommendations, particularly on flooded roads, refer to the corresponding section.
Deactivation/Activation
With button
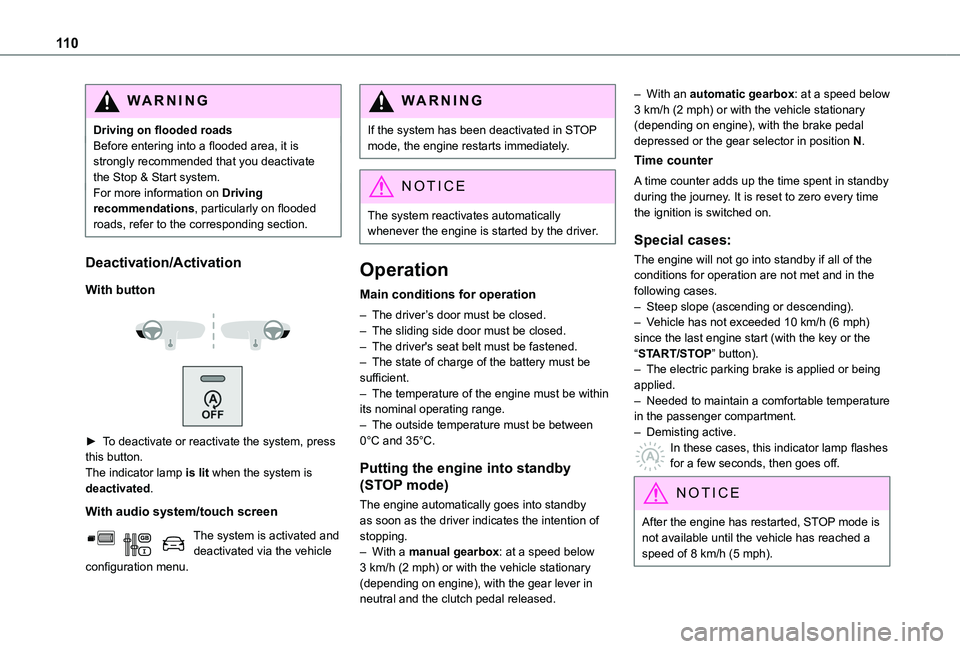
► To deactivate or reactivate the system, press this button.The indicator lamp is lit when the system is deactivated.
With audio system/touch screen
The system is activated and deactivated via the vehicle configuration menu.
WARNI NG
If the system has been deactivated in STOP mode, the engine restarts immediately.
NOTIC E
The system reactivates automatically whenever the engine is started by the driver.
Operation
Main conditions for operation
– The driver’s door must be closed.– The sliding side door must be closed.– The driver's seat belt must be fastened.– The state of charge of the battery must be sufficient.– The temperature of the engine must be within its nominal operating range.– The outside temperature must be between 0°C and 35°C.
Putting the engine into standby
(STOP mode)
The engine automatically goes into standby as soon as the driver indicates the intention of stopping.– With a manual gearbox: at a speed below 3 km/h (2 mph) or with the vehicle stationary (depending on engine), with the gear lever in neutral and the clutch pedal released.
– With an automatic gearbox: at a speed below 3 km/h (2 mph) or with the vehicle stationary (depending on engine), with the brake pedal depressed or the gear selector in position N.
Time counter
A time counter adds up the time spent in standby during the journey. It is reset to zero every time the ignition is switched on.
Special cases:
The engine will not go into standby if all of the conditions for operation are not met and in the following cases.– Steep slope (ascending or descending).– Vehicle has not exceeded 10 km/h (6 mph) since the last engine start (with the key or the “START/STOP” button).– The electric parking brake is applied or being applied.– Needed to maintain a comfortable temperature in the passenger compartment.– Demisting active.
In these cases, this indicator lamp flashes for a few seconds, then goes off.
NOTIC E
After the engine has restarted, STOP mode is not available until the vehicle has reached a speed of 8 km/h (5 mph).
Page 112 of 272
11 2
NOTIC E
The inflation pressures defined for the vehicle can be found on the tyre pressure label.For more information on the Identification markings, refer to the corresponding section.
WARNI NG
Checking tyre pressuresThis check should be done when the tyres are "cold" (vehicle stopped for 1 hour or after a journey of less than 10 km (6 miles) at moderate speeds).Otherwise, add 0.3 bar to the pressures shown on the label.
NOTIC E
Snow chainsThe system does not have to be reinitialised after fitting or removing snow chains.
NOTIC E
Spare wheelThe steel spare wheel does not have an under-inflation detection sensor.
Under-inflation alert
This is signalled by the fixed illumination of this warning lamp, accompanied by an audible signal and, depending on equipment, the display of a message.► Reduce speed immediately, avoid excessive steering movements and avoid sudden braking.► Stop the vehicle as soon as it is safe to do so.
WARNI NG
The loss of pressure detected does not always cause visible bulging of the tyre.Do not rely on just a visual check.
► Using a compressor, such as the one in the temporary puncture repair kit, check the pressures of the four tyres when cold.► If it is not possible to make this check immediately, drive carefully at reduced speed.► In the event of a puncture, use the temporary puncture repair kit or the spare wheel (depending on equipment).
NOTIC E
The alert is kept active until the system is reinitialised.
Reinitialisation
Reinitialise the system after adjusting one or more tyre pressures and after changing one or more wheels.
WARNI NG
Before reinitialising the system, make sure that the pressures of the four tyres are correct for the conditions of use of the vehicle and
conform to the values written on the tyre pressure label.Check the pressures of the four tyres before performing the reinitialisation.The system does not advise if a pressure is incorrect at the time of reinitialisation.
Without audio system
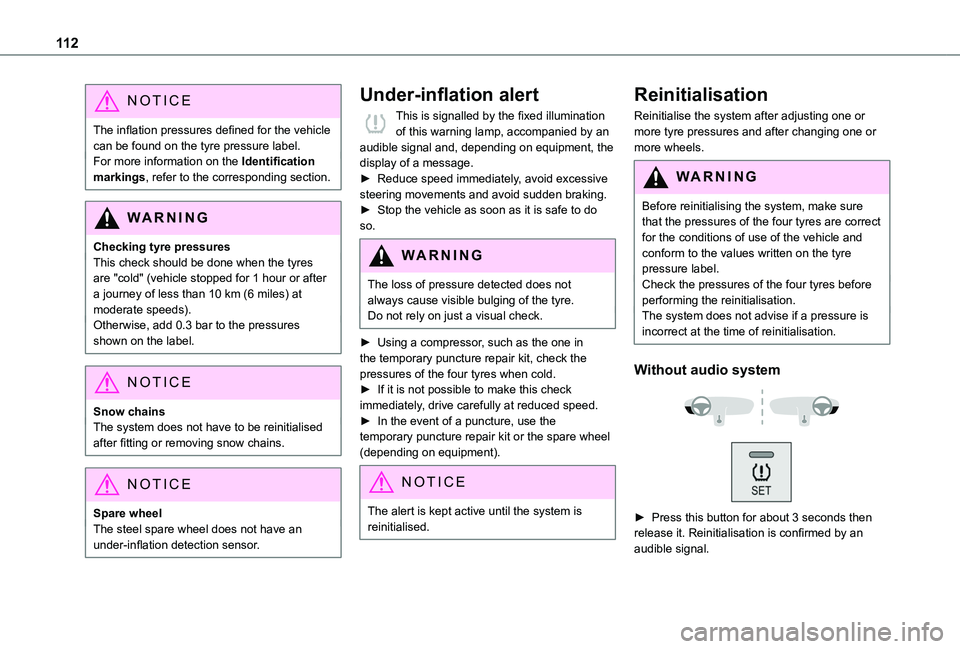
► Press this button for about 3 seconds then release it. Reinitialisation is confirmed by an audible signal.
Page 113 of 272
11 3
Driving
6
With audio system or touch screen
With the vehicle stationary, the system is reinitialised via the vehicle configuration menu.
Malfunction
These warning lamps come on in the event of a malfunction.In this case, the tyre under-inflation monitoring function is no longer performed.Have the system checked by a TOYOTA dealer or a qualified workshop.
Head-up display
This system projects various information onto a smoked projection blade situated in the driver's field of vision, enabling them to drive without taking their eyes off the road.
Information displayed
during operation
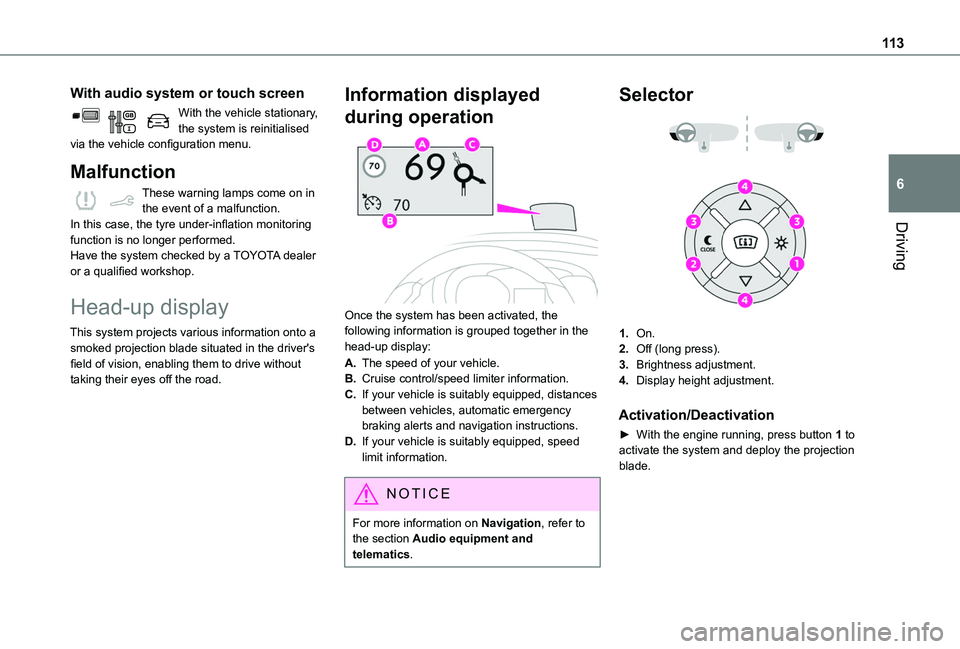
Once the system has been activated, the following information is grouped together in the head-up display:
A.The speed of your vehicle.
B.Cruise control/speed limiter information.
C.If your vehicle is suitably equipped, distances between vehicles, automatic emergency braking alerts and navigation instructions.
D.If your vehicle is suitably equipped, speed limit information.
NOTIC E
For more information on Navigation, refer to the section Audio equipment and
telematics.
Selector
1.On.
2.Off (long press).
3.Brightness adjustment.
4.Display height adjustment.
Activation/Deactivation
► With the engine running, press button 1 to
activate the system and deploy the projection blade.
Page 139 of 272
139
Driving
6
Side parking sensors
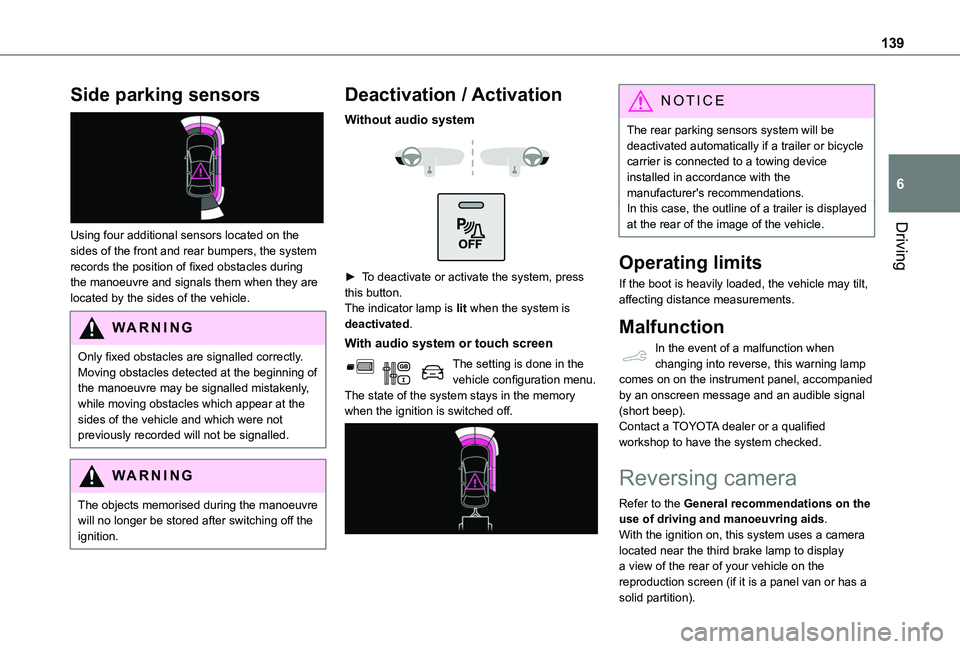
Using four additional sensors located on the sides of the front and rear bumpers, the system records the position of fixed obstacles during the manoeuvre and signals them when they are located by the sides of the vehicle.
WARNI NG
Only fixed obstacles are signalled correctly. Moving obstacles detected at the beginning of the manoeuvre may be signalled mistakenly, while moving obstacles which appear at the sides of the vehicle and which were not previously recorded will not be signalled.
WARNI NG
The objects memorised during the manoeuvre will no longer be stored after switching off the ignition.
Deactivation / Activation
Without audio system
► To deactivate or activate the system, press this button.The indicator lamp is lit when the system is deactivated.
With audio system or touch screen
The setting is done in the vehicle configuration menu.The state of the system stays in the memory when the ignition is switched off.
NOTIC E
The rear parking sensors system will be deactivated automatically if a trailer or bicycle carrier is connected to a towing device installed in accordance with the manufacturer's recommendations.In this case, the outline of a trailer is displayed at the rear of the image of the vehicle.
Operating limits
If the boot is heavily loaded, the vehicle may tilt, affecting distance measurements.
Malfunction
In the event of a malfunction when changing into reverse, this warning lamp comes on on the instrument panel, accompanied by an onscreen message and an audible signal (short beep).Contact a TOYOTA dealer or a qualified workshop to have the system checked.
Reversing camera
Refer to the General recommendations on the use of driving and manoeuvring aids.With the ignition on, this system uses a camera located near the third brake lamp to display a view of the rear of your vehicle on the reproduction screen (if it is a panel van or has a
solid partition).
Page 150 of 272
150
If the mass on board the vehicle exceeds the maximum authorised weight, this indicator lamp comes on.
Malfunction
Display of the malfunction in the loading area
After the measurement is triggered from the loading area, the LEDs of the 3 buttons flash simultaneously for about 3 seconds and then go out.Contact a TOYOTA dealer or a qualified workshop.
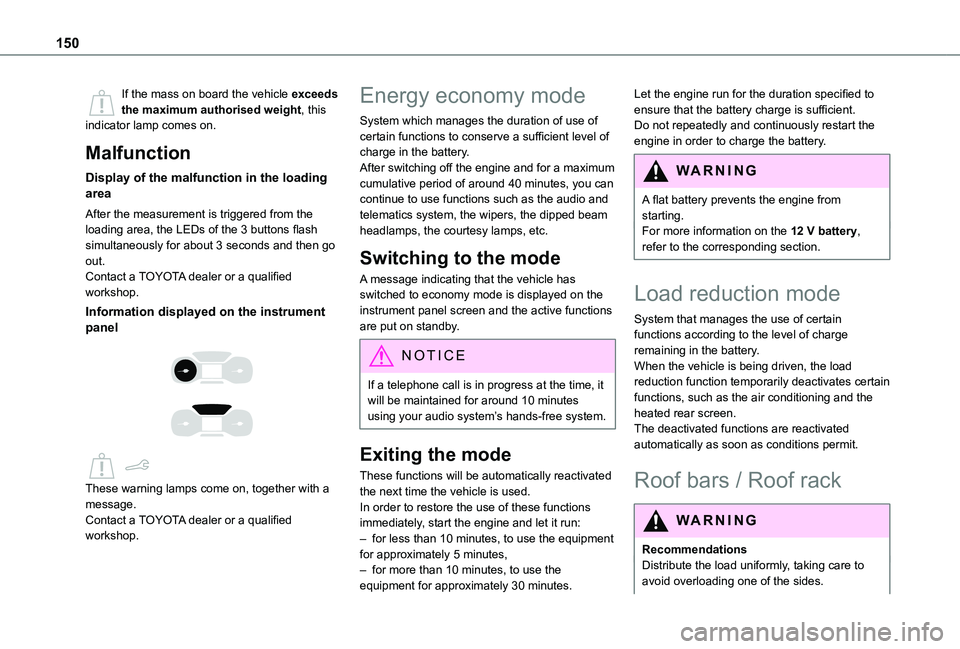
Information displayed on the instrument panel
These warning lamps come on, together with a message.Contact a TOYOTA dealer or a qualified workshop.
Energy economy mode
System which manages the duration of use of certain functions to conserve a sufficient level of charge in the battery.After switching off the engine and for a maximum cumulative period of around 40 minutes, you can continue to use functions such as the audio and telematics system, the wipers, the dipped beam headlamps, the courtesy lamps, etc.
Switching to the mode
A message indicating that the vehicle has switched to economy mode is displayed on the instrument panel screen and the active functions are put on standby.
NOTIC E
If a telephone call is in progress at the time, it will be maintained for around 10 minutes using your audio system’s hands-free system.
Exiting the mode
These functions will be automatically reactivated the next time the vehicle is used.In order to restore the use of these functions immediately, start the engine and let it run:– for less than 10 minutes, to use the equipment for approximately 5 minutes,– for more than 10 minutes, to use the equipment for approximately 30 minutes.
Let the engine run for the duration specified to ensure that the battery charge is sufficient.Do not repeatedly and continuously restart the engine in order to charge the battery.
WARNI NG
A flat battery prevents the engine from starting.For more information on the 12 V battery,
refer to the corresponding section.
Load reduction mode
System that manages the use of certain functions according to the level of charge remaining in the battery.When the vehicle is being driven, the load reduction function temporarily deactivates certain functions, such as the air conditioning and the heated rear screen.The deactivated functions are reactivated automatically as soon as conditions permit.
Roof bars / Roof rack
WARNI NG
RecommendationsDistribute the load uniformly, taking care to avoid overloading one of the sides.
Page 176 of 272
176
Fuse No.Rating (A)Functions
F110Wireless smartphone charger, interior electrochrome rear view mirror.
F415Horn.
F620Screenwash pump.
F71012 V socket (rear).
F1030Electric locks module.
F1310Telematics and radio controls.
F145Alarm, overload indicator, advanced telematic unit.
F193Trailer interface unit.
F223Surround Rear Vision display screen.
F235Generic trailer interface unit.
Fuse No.Rating (A)Functions
F275Additional heating.
F2920Audio system, touch screen.
F321512 V socket (front).
F345Mirror control.
F365USB socket.
Engine compartment fuses
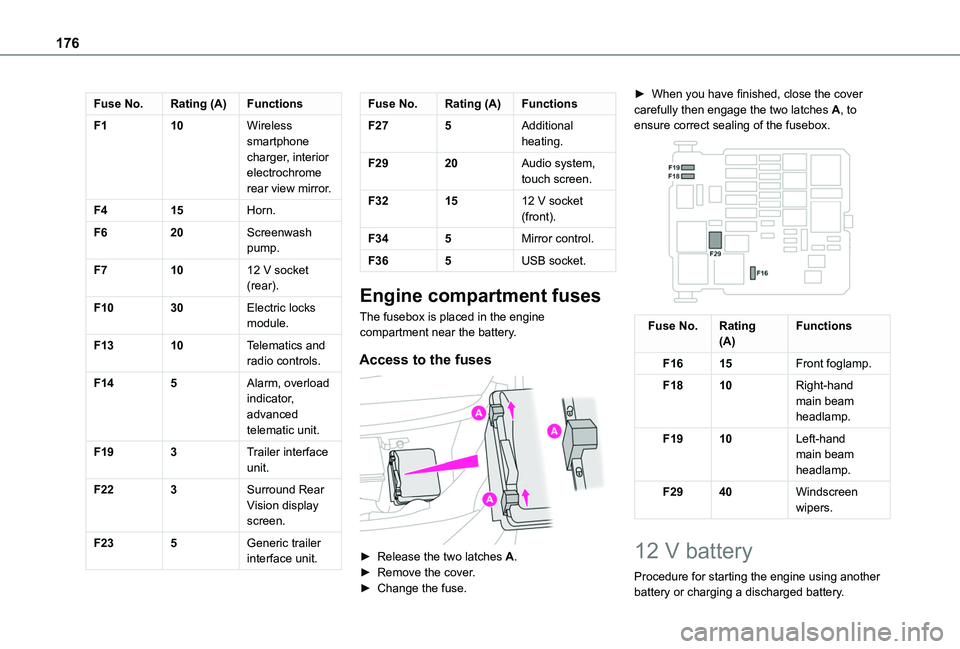
The fusebox is placed in the engine compartment near the battery.
Access to the fuses
► Release the two latches A.► Remove the cover.► Change the fuse.
► When you have finished, close the cover carefully then engage the two latches A, to ensure correct sealing of the fusebox.
Fuse No.Rating(A)Functions
F1615Front foglamp.
F1810Right-hand main beam headlamp.
F1910Left-hand main beam headlamp.
F2940Windscreen wipers.
12 V battery
Procedure for starting the engine using another battery or charging a discharged battery.
Page 177 of 272
177
In the event of a breakdown
8
Lead-acid starter batteries
ECO
Batteries contain harmful substances such as sulphuric acid and lead.They must be disposed of in accordance with regulations and must not, in any circumstances, be discarded with household waste.
Take used remote control batteries and vehicle batteries to a special collection point.
WARNI NG
Protect your eyes and face before handling the battery.All operations on the battery must be carried out in a well ventilated area and away from naked flames and sources of sparks, so as to avoid the risk of explosion or fire.Wash your hands afterwards.
WARNI NG
Versions equipped with Stop & Start are fitted with a 12 V lead-acid battery with special technology and specifications.
It should only be replaced by a TOYOTA dealer or a qualified workshop.
Access to the battery
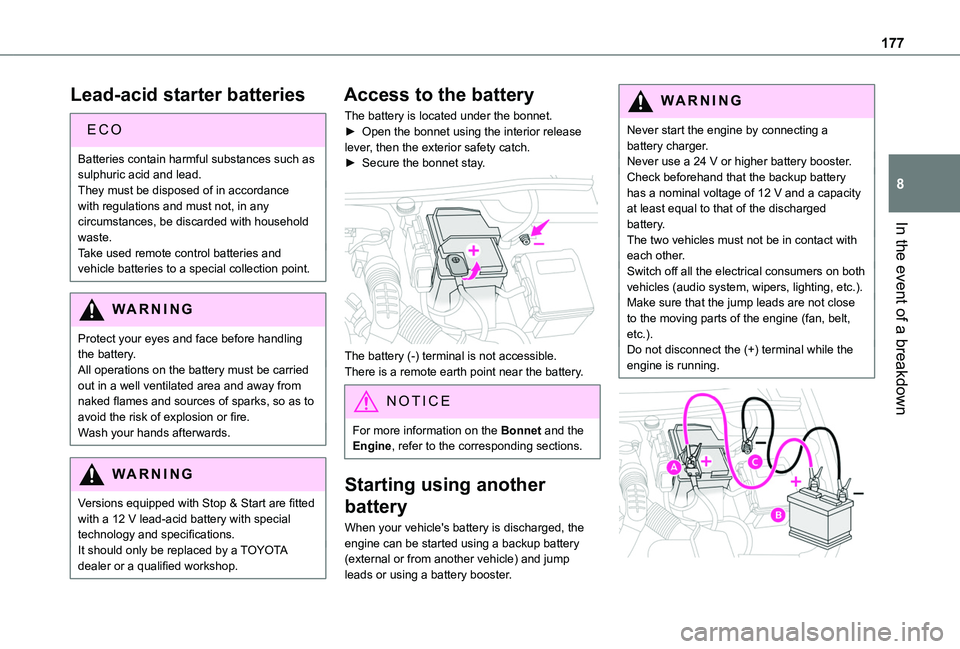
The battery is located under the bonnet.► Open the bonnet using the interior release lever, then the exterior safety catch.► Secure the bonnet stay.
The battery (-) terminal is not accessible.There is a remote earth point near the battery.
NOTIC E
For more information on the Bonnet and the Engine, refer to the corresponding sections.
Starting using another
battery
When your vehicle's battery is discharged, the engine can be started using a backup battery
(external or from another vehicle) and jump leads or using a battery booster.
WARNI NG
Never start the engine by connecting a battery charger.Never use a 24 V or higher battery booster.Check beforehand that the backup battery has a nominal voltage of 12 V and a capacity at least equal to that of the discharged battery.The two vehicles must not be in contact with each other.Switch off all the electrical consumers on both vehicles (audio system, wipers, lighting, etc.).Make sure that the jump leads are not close to the moving parts of the engine (fan, belt, etc.).Do not disconnect the (+) terminal while the engine is running.
Page 178 of 272
178
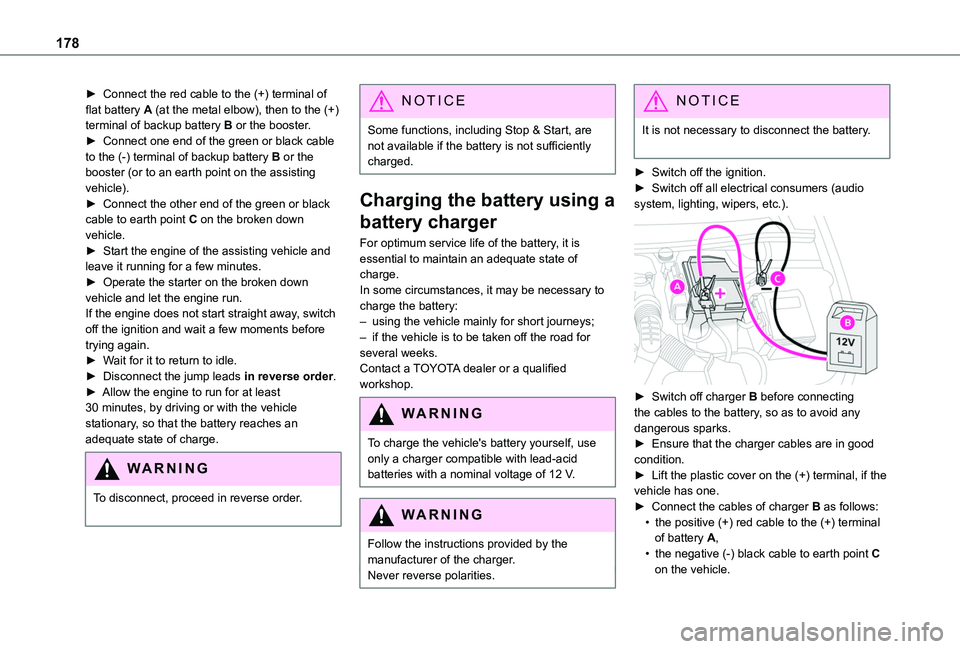
► Connect the red cable to the (+) terminal of flat battery A (at the metal elbow), then to the (+) terminal of backup battery B or the booster.► Connect one end of the green or black cable to the (-) terminal of backup battery B or the booster (or to an earth point on the assisting vehicle).► Connect the other end of the green or black cable to earth point C on the broken down vehicle.► Start the engine of the assisting vehicle and leave it running for a few minutes.► Operate the starter on the broken down vehicle and let the engine run.If the engine does not start straight away, switch off the ignition and wait a few moments before trying again.► Wait for it to return to idle.► Disconnect the jump leads in reverse order.► Allow the engine to run for at least 30 minutes, by driving or with the vehicle stationary, so that the battery reaches an adequate state of charge.
WARNI NG
To disconnect, proceed in reverse order.
NOTIC E
Some functions, including Stop & Start, are not available if the battery is not sufficiently charged.
Charging the battery using a
battery charger
For optimum service life of the battery, it is essential to maintain an adequate state of charge.In some circumstances, it may be necessary to charge the battery:– using the vehicle mainly for short journeys;– if the vehicle is to be taken off the road for several weeks.Contact a TOYOTA dealer or a qualified workshop.
WARNI NG
To charge the vehicle's battery yourself, use only a charger compatible with lead-acid batteries with a nominal voltage of 12 V.
WARNI NG
Follow the instructions provided by the
manufacturer of the charger.Never reverse polarities.
NOTIC E
It is not necessary to disconnect the battery.
► Switch off the ignition.► Switch off all electrical consumers (audio system, lighting, wipers, etc.).
► Switch off charger B before connecting the cables to the battery, so as to avoid any dangerous sparks.► Ensure that the charger cables are in good
condition.► Lift the plastic cover on the (+) terminal, if the vehicle has one.► Connect the cables of charger B as follows:• the positive (+) red cable to the (+) terminal of battery A,• the negative (-) black cable to earth point C on the vehicle.