2020 TOYOTA PROACE CITY ESP
[x] Cancel search: ESPPage 224 of 272
224
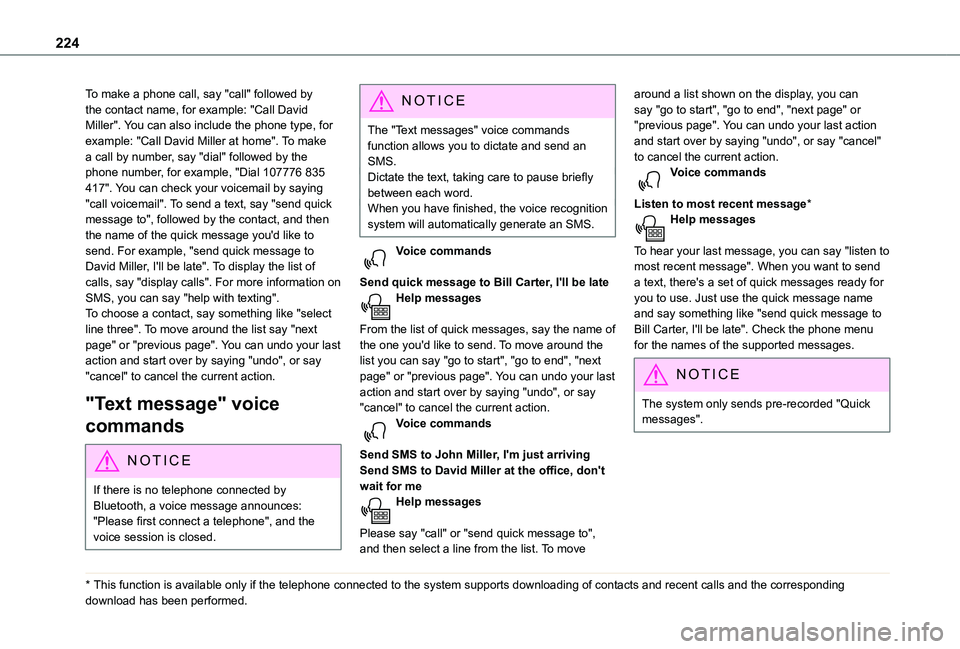
To make a phone call, say "call" followed by the contact name, for example: "Call David Miller". You can also include the phone type, for example: "Call David Miller at home". To make a call by number, say "dial" followed by the phone number, for example, "Dial 107776 835 417". You can check your voicemail by saying "call voicemail". To send a text, say "send quick message to", followed by the contact, and then the name of the quick message you'd like to send. For example, "send quick message to David Miller, I'll be late". To display the list of calls, say "display calls". For more information on SMS, you can say "help with texting". To choose a contact, say something like "select line three". To move around the list say "next page" or "previous page". You can undo your last action and start over by saying "undo", or say "cancel" to cancel the current action.
"Text message" voice
commands
NOTIC E
If there is no telephone connected by Bluetooth, a voice message announces: "Please first connect a telephone", and the voice session is closed.
* This function is available only if the telephone connected to the system supports downloadi\
ng of contacts and recent calls and the corresponding download has been performed.
N OTIC E
The "Text messages" voice commands function allows you to dictate and send an SMS.Dictate the text, taking care to pause briefly between each word.When you have finished, the voice recognition system will automatically generate an SMS.
Voice commands
Send quick message to Bill Carter, I'll be lateHelp messages
From the list of quick messages, say the name of the one you'd like to send. To move around the list you can say "go to start", "go to end", "next page" or "previous page". You can undo your last action and start over by saying "undo", or say "cancel" to cancel the current action.Voice commands
Send SMS to John Miller, I'm just arrivingSend SMS to David Miller at the office, don't wait for meHelp messages
Please say "call" or "send quick message to", and then select a line from the list. To move
around a list shown on the display, you can say "go to start", "go to end", "next page" or "previous page". You can undo your last action and start over by saying "undo", or say "cancel" to cancel the current action.Voice commands
Listen to most recent message*Help messages
To hear your last message, you can say "listen to most recent message". When you want to send a text, there's a set of quick messages ready for you to use. Just use the quick message name and say something like "send quick message to Bill Carter, I'll be late". Check the phone menu for the names of the supported messages.
NOTIC E
The system only sends pre-recorded "Quick messages".
Page 227 of 272
227
TOYOTA Connect Nav
12
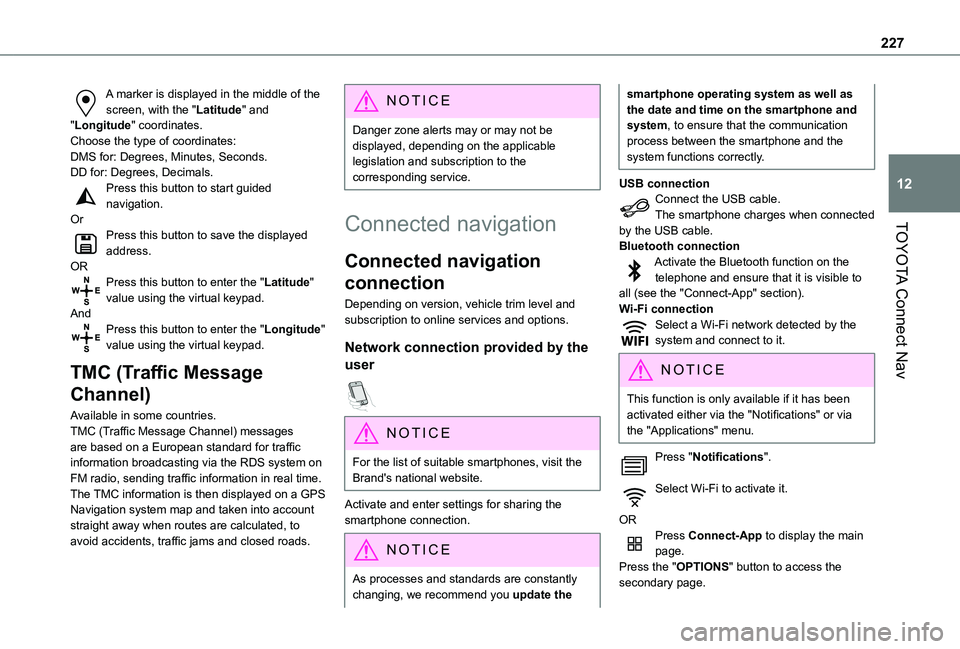
A marker is displayed in the middle of the screen, with the "Latitude" and "Longitude" coordinates.Choose the type of coordinates:DMS for: Degrees, Minutes, Seconds.DD for: Degrees, Decimals.Press this button to start guided navigation.OrPress this button to save the displayed address.ORPress this button to enter the "Latitude" value using the virtual keypad.AndPress this button to enter the "Longitude" value using the virtual keypad.
TMC (Traffic Message
Channel)
Available in some countries.TMC (Traffic Message Channel) messages
are based on a European standard for traffic information broadcasting via the RDS system on FM radio, sending traffic information in real time. The TMC information is then displayed on a GPS Navigation system map and taken into account straight away when routes are calculated, to avoid accidents, traffic jams and closed roads.
NOTIC E
Danger zone alerts may or may not be displayed, depending on the applicable legislation and subscription to the corresponding service.
Connected navigation
Connected navigation
connection
Depending on version, vehicle trim level and subscription to online services and options.
Network connection provided by the
user
NOTIC E
For the list of suitable smartphones, visit the Brand's national website.
Activate and enter settings for sharing the smartphone connection.
NOTIC E
As processes and standards are constantly changing, we recommend you update the
smartphone operating system as well as the date and time on the smartphone and system, to ensure that the communication process between the smartphone and the system functions correctly.
USB connectionConnect the USB cable.The smartphone charges when connected by the USB cable.Bluetooth connectionActivate the Bluetooth function on the telephone and ensure that it is visible to all (see the "Connect-App" section).Wi-Fi connectionSelect a Wi-Fi network detected by the system and connect to it.
NOTIC E
This function is only available if it has been activated either via the "Notifications" or via the "Applications" menu.
Press "Notifications".
Select Wi-Fi to activate it.
ORPress Connect-App to display the main page.Press the "OPTIONS" button to access the secondary page.
Page 228 of 272
228
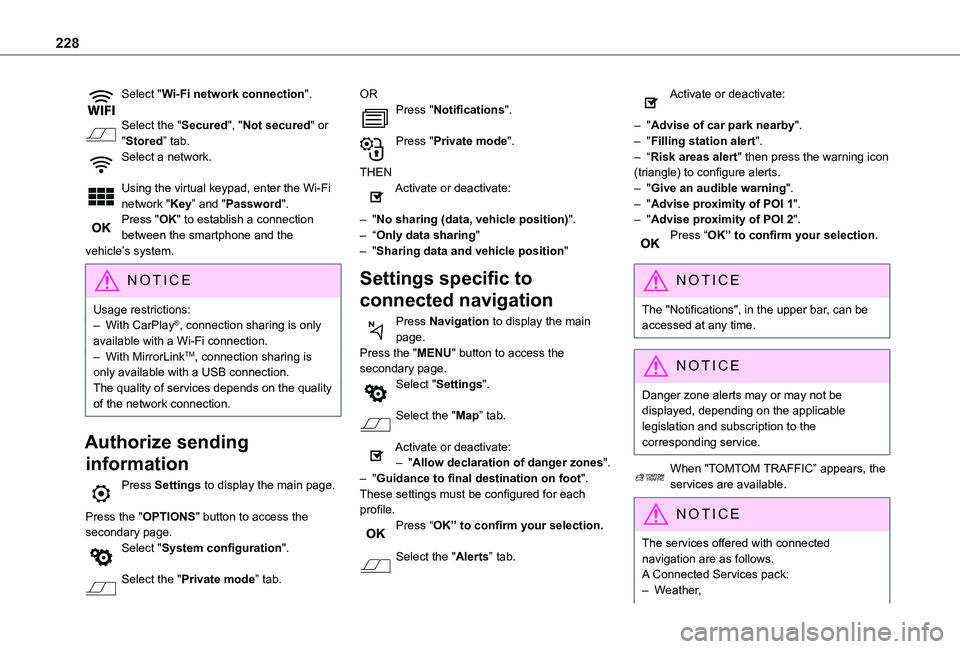
Select "Wi-Fi network connection".
Select the "Secured", "Not secured" or "Stored” tab.Select a network.
Using the virtual keypad, enter the Wi-Fi network "Key” and "Password".Press "OK" to establish a connection between the smartphone and the vehicle’s system.
NOTIC E
Usage restrictions:– With CarPlay®, connection sharing is only available with a Wi-Fi connection.– With MirrorLinkTM, connection sharing is only available with a USB connection.The quality of services depends on the quality of the network connection.
Authorize sending
information
Press Settings to display the main page.
Press the "OPTIONS" button to access the secondary page.Select "System configuration".
Select the "Private mode” tab.
ORPress "Notifications".
Press "Private mode".
THENActivate or deactivate:
– "No sharing (data, vehicle position)".– “Only data sharing"– "Sharing data and vehicle position"
Settings specific to
connected navigation
Press Navigation to display the main page.Press the "MENU" button to access the secondary page.Select "Settings".
Select the "Map” tab.
Activate or deactivate:– "Allow declaration of danger zones".– "Guidance to final destination on foot".These settings must be configured for each profile.Press “OK” to confirm your selection.
Select the "Alerts” tab.
Activate or deactivate:
– "Advise of car park nearby".– "Filling station alert".– “Risk areas alert" then press the warning icon (triangle) to configure alerts.– "Give an audible warning".– "Advise proximity of POI 1".– "Advise proximity of POI 2".Press “OK” to confirm your selection.
NOTIC E
The "Notifications", in the upper bar, can be accessed at any time.
NOTIC E
Danger zone alerts may or may not be displayed, depending on the applicable legislation and subscription to the corresponding service.
When "TOMTOM TRAFFIC” appears, the services are available.
NOTIC E
The services offered with connected navigation are as follows.A Connected Services pack:– Weather,
Page 233 of 272
233
TOYOTA Connect Nav
12
Select the "Settings" tab to change the system’s network name and password.Press "OK" to confirm.
NOTIC E
To protect against unauthorised access and to make all systems as secure as possible, the use of a security code or a complex password
is recommended.
Managing connections
Press Connect-App to display the main page.Press the "OPTIONS" button to access the secondary page.Select "Manage connection".
With this function, you can view the access to connected services, the availability of connected services and modify the connection mode.
Radio
Selecting a station
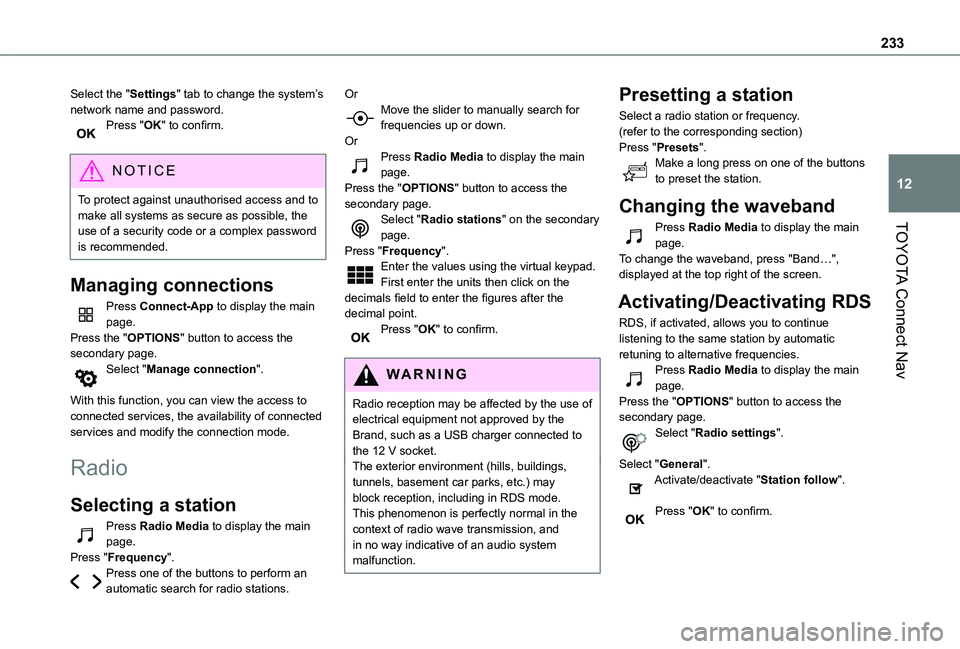
Press Radio Media to display the main page.Press "Frequency".Press one of the buttons to perform an automatic search for radio stations.
OrMove the slider to manually search for frequencies up or down.OrPress Radio Media to display the main page.Press the "OPTIONS" button to access the secondary page.Select "Radio stations" on the secondary page.Press "Frequency".Enter the values using the virtual keypad.First enter the units then click on the decimals field to enter the figures after the decimal point.Press "OK" to confirm.
WARNI NG
Radio reception may be affected by the use of electrical equipment not approved by the Brand, such as a USB charger connected to the 12 V socket.The exterior environment (hills, buildings, tunnels, basement car parks, etc.) may block reception, including in RDS mode. This phenomenon is perfectly normal in the context of radio wave transmission, and in no way indicative of an audio system malfunction.
Presetting a station
Select a radio station or frequency.(refer to the corresponding section)Press "Presets".Make a long press on one of the buttons to preset the station.
Changing the waveband
Press Radio Media to display the main page.To change the waveband, press "Band…", displayed at the top right of the screen.
Activating/Deactivating RDS
RDS, if activated, allows you to continue listening to the same station by automatic retuning to alternative frequencies.Press Radio Media to display the main page.Press the "OPTIONS" button to access the secondary page.Select "Radio settings".
Select "General".Activate/deactivate "Station follow".
Press "OK" to confirm.
Page 234 of 272
234
NOTIC E
RDS station tracking may not be available nationwide, as many radio stations do not cover 100 % of the country. This explains the loss of reception of the station during a journey.
Displaying text information
The "Radio Text" function displays information transmitted by the radio station relating to the station or the currently playing song.Press Radio Media to display the main page.Press the "OPTIONS" button to access the secondary page.Select "Radio settings".
Select "General".Activate/deactivate "Display radio text".
Press "OK" to confirm.
Playing TA messages
The TA (Traffic Announcement) function gives priority to TA alert messages. To operate, this function needs good reception of a radio station that carries this type of message. While traffic information is being broadcast, the current media is automatically interrupted so that the
TA message can be heard. Normal play of the
previously playing media resumes at the end of the message.Select "Announcements".Activate/deactivate "Traffic announcement".Press "OK" to confirm.
DAB (Digital Audio
Broadcasting) radio
Terrestrial Digital Radio
Digital radio provides higher quality sound.The various "multiplexes/ensembles" offer a choice of radio stations organised in alphabetical order.Press Radio Media to display the main page.Press “Band …" at the top right of the screen to display the "DAB" waveband.
FM-DAB tracking
“DAB" does not cover 100 % of the territory.When the digital radio signal is poor, “FM-DAB auto follow-up" enables you to continue listening to the same station by automatically switching to the corresponding FM analogue station (if there is one).Press Radio Media to display the main page.
Press the "OPTIONS" button to access the secondary page.Select "Radio settings".
Select "General".Activate/deactivate "FM-DAB Follow-up".
Activate/deactivate "Station follow".
Press "OK".
NOTIC E
If “FM-DAB auto tracking" is activated, there may be a time offset of a few seconds when the system switches to "FM" analogue radio, and in some cases a change in volume.When the digital signal quality is restored, the system automatically changes back to "DAB".
WARNI NG
If the "DAB" station being listened to is not available on “FM” (“FM-DAB" option shaded), or "FM-DAB auto tracking" is not activated, the sound will cut out while the digital signal is too weak.