2020 TESLA MODEL 3 weight
[x] Cancel search: weightPage 22 of 220

Front Trunk
Opening
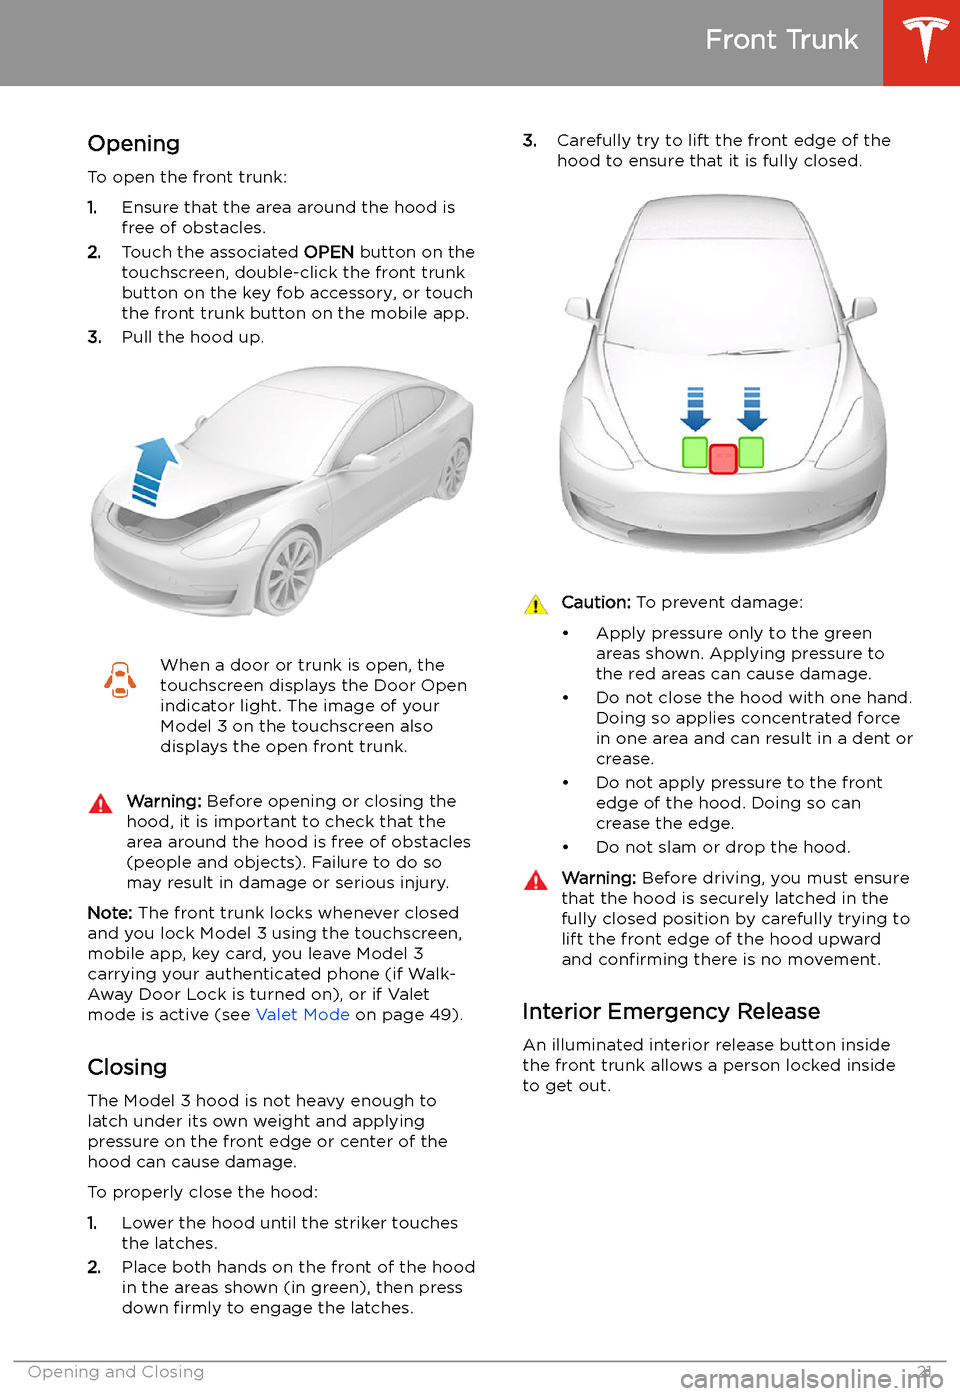
To open the front trunk:
1. Ensure that the area around the hood is
free of obstacles.
2. Touch the associated OPEN button on the
touchscreen, double-click the front trunk
button on the key fob accessory, or touch
the front trunk button on the mobile app.
3. Pull the hood up.
When a door or trunk is open, the
touchscreen displays the Door Open indicator light. The image of your
Model 3 on the touchscreen also
displays the open front trunk.Warning: Before opening or closing the
hood, it is important to check that the area around the hood is free of obstacles
(people and objects). Failure to do so
may result in damage or serious injury.
Note: The front trunk locks whenever closed
and you lock Model 3 using the touchscreen,
mobile app, key card, you leave Model 3
carrying your authenticated phone (if Walk-
Away Door Lock is turned on), or if Valet
mode is active (see Valet Mode on page 49).
Closing The Model 3 hood is not heavy enough to
latch under its own weight and applying
pressure on the front edge or center of the
hood can cause damage.
To properly close the hood:
1. Lower the hood until the striker touches
the latches.
2. Place both hands on the front of the hood
in the areas shown (in green), then press
down firmly to engage the latches.
3.
Carefully try to lift the front edge of the
hood to ensure that it is fully closed.Caution: To prevent damage:
Page 36 of 220

Child Safety Seats
Guidelines for Seating Children
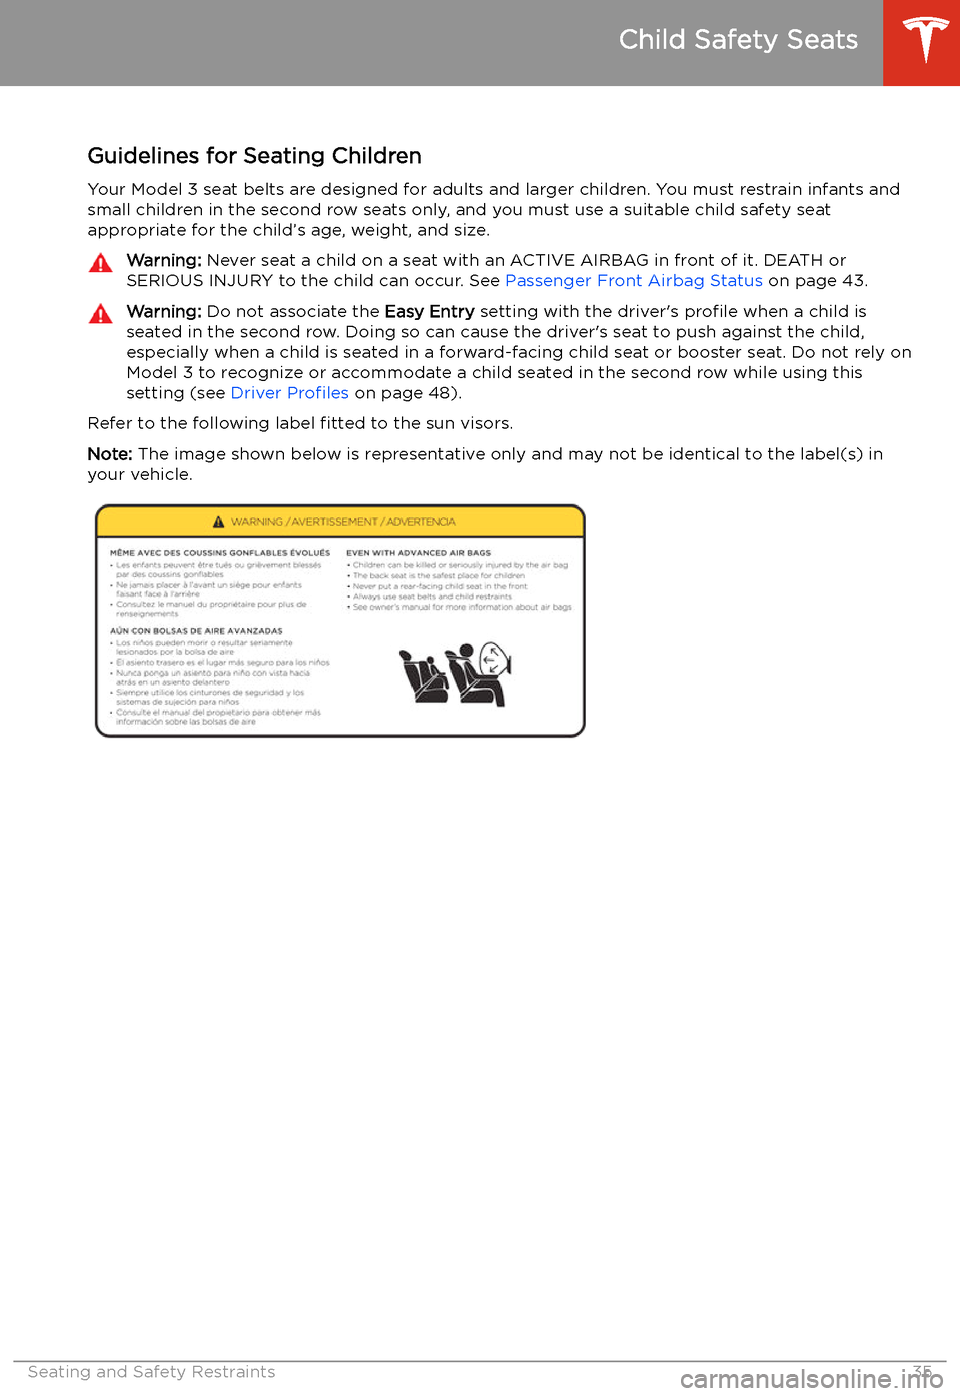
Your Model 3 seat belts are designed for adults and larger children. You must restrain infants and small children in the second row seats only, and you must use a suitable child safety seat
appropriate for the child’s age, weight, and size.
Warning: Never seat a child on a seat with an ACTIVE AIRBAG in front of it. DEATH or
SERIOUS INJURY to the child can occur. See Passenger Front Airbag Status on page 43.Warning: Do not associate the Easy Entry setting with the driver
Page 37 of 220

Choosing a Child Safety SeatAll children age 12 and under should ride in the second and third row seats. Always use a child
safety seat suitable for a young child’s age and weight. The following table is based on child
safety seat recommendations determined by the National Highway Traffic Safety Administration
(NHTSA) in the United States (for more information, go to www.nhtsa.gov/ChildSafety/Guidance).InfantsToddlersYoung
childrenAgeBirth to 1 year*Over 1 year*4 years and
older, and
less than 57
in. (145 cm)
tallWeightUp to at least 20 lbs (9 kg)**Over 20 lbs (9 kg) (minimum)
and up to 40 lbs (18 kg)*Over 40 lbs
(18 kg)Type of child
safety seatRear facing (or convertible)Forward facing (or
convertible)*Seat belt
retained
booster
seatSeat positionRear facing only*Forward facing*Forward
facingRecommended
attachment
methodIf combined weight of child
and safety seat is up to 65
lbs (29.5 kg), attach using
either LATCH** (lower anchor
only) or the seat belt only.***
If combined weight of child
and safety seat is over 65 lbs
(29.5 kg), attach using the
seat belt only.***If combined weight of child
and safety seat is up to 65 lbs
(29.5 kg), attach using either
LATCH** (both lower anchors
and top tether anchor), or the
seat belt and upper tether
strap.*** If combined weight of
child and safety seat is over 65
lbs (29.5 kg), attach using the
seat belt and upper tether
strap.***Attach
booster
seats using
the seat
belt only.* Many child safety seats currently available allow children to ride rear-facing using the child
safety seat’s integrated 5-point harness for a longer period of time BASED UPON SPECIFIC
HEIGHT AND WEIGHT LIMITS. Keep your child in a rear facing seat for as long as possible.
CHECK THE CHILD SAFETY SEAT MANUFACTURER’S INSTRUCTIONS AND CAREFULLY
FOLLOW ALL INSTRUCTIONS
** ISOFIX is the international standard for attachment points for child safety seats in passenger
cars. The system has other regional names including LATCH ("Lower Anchors and Tethers for
Children") in the United States and LUAS ("Lower Universal Anchorage System") or Canfix in
Canada. It has also been called the "Universal Child Safety Seat System" or UCSSS.
*** Subject to instructions provided by the child safety seat manufacturer.Warning: Laws that govern how and where children should be carried when traveling in a
vehicle are subject to change. It is the driver’s responsibility to keep up to date on, and
comply with, all current regulations in the region(s) where Model 3 is driven. To check the
child passenger safety laws for states in the U.S., go to: http://www.ghsa.org/html/stateinfo/
laws/childsafety_laws.html.Warning: Do not use LATCH/Isofix/i-Size anchors with child restraint system or booster seats
that have an integral safety belt where the combined weight of the child plus the child restraint system exceeds 65 lbs (29.5 kg).
Child Safety Seats
36Model 3 Owner
Page 39 of 220

In the second row, install LATCH child safety
seats in the outboard seating positions only.
Use only a seat belt retained seat in the center position.
To install a LATCH child safety seat, slide the
safety seat latches onto the anchor bars until
they click into place. Carefully read and follow
the instructions provided by the child safety
seat manufacturer.
Once installed, test the security of the installation before seating a child. Attempt to twist the child safety seat from side to side
and try to pull it away from the seat, then
check to ensure the anchors remain securely
in place.
Note: Lower LATCH anchors should not be
used with child seats or booster seats that
have an integrated safety belt in situations
where the combined weight of the child plus
the child restraint is more than 65 lbs (29.5 kg). In these situations, use the safety belt
instead.
Attaching Upper Tether Straps If an upper tether strap is provided, attach its
hook to the anchor point located on the shelf behind the rear seats.
Note: The location of anchor points may not
be readily visible but can be found by
identifying a slice in the seat
Page 40 of 220

For dual-strap tethers, position a strap oneach side of the head support.
For single-strap tethers at the outboard
seating positions, run the strap over the outside-facing side of the head support (sameside of the head support as the seat belt
retraction mechanism).
For a single-strap tether in the center seating
position, fully lower the head support (see Raising/Lowering the Rear Center HeadSupport on page 29) and run the strap over
the top center of the head support.
Testing a Child Safety Seat
Before seating a child, always make sure the
child safety seat is not loose:
1. Hold the child safety seat by the belt path
and try to slide the safety seat from side
to side and front to back.
2. If the seat moves more than one inch
(2.5 cm), it is too loose. Tighten the belt or
reconnect the LATCH retained child safety
seat.
3. If you are unable to reduce slack, try a
different seat location or try another child
safety seat.
Child Safety Seat Warnings
Warning: Extreme hazard! Do not seat a
child on the front passenger seat even if
you are using a child safety seat. This seat
has an airbag in front of it. Although this airbag is disabled when Model 3 detects a
lightweight passenger, do not rely on technology to protect your child.Warning: Child restraint systems are
designed to be secured in vehicle seats
by lap belts or the lap belt portion of a lap-shoulder belt. Children could be
endangered in a crash if their child restraints are not properly secured in the
vehicle.Warning: According to collision statistics,
children are safer when properly
restrained in the rear seating positions
than in the front seating positions.Warning: Do not use a forward facing
child safety seat until your child weighs
over 20 lbs (9 kg) and can sit
Child Safety Seats
Seating and Safety Restraints39
Page 45 of 220

occupied by a weight of 20 lbs (9 kg) or less, it will take the touchscreen approximately six
seconds to display the status, PASS AIRBAG OFF. If it fails to do so, contact Tesla Service and do
not seat a child in the front passenger seating position.
To make sure the sensing system can correctly detect occupancy status, eliminate the following:
Page 180 of 220

Parts and Accessories
Parts, Accessories, and
Modifications
Use only genuine Tesla parts and accessories.
Tesla performs rigorous testing on parts to
ensure their suitability, safety, and reliability.
Purchase these parts from Tesla, where they
are professionally installed and where you can receive expert advice about modifications to
Model 3. Accessories are available for
purchase from Tesla stores or online at www.tesla.com .
Note: Some accessories may not be available
in your market region.
Tesla is unable to assess parts manufactured
by other distributors and therefore accepts no responsibility if you use non-Tesla parts onModel 3.
Warning: Installing non-approved parts
and accessories, or performing non- approved modifications, can affect the
performance of Model 3 and the safety of
its occupants. Any damage caused by
using or installing non-approved parts, or by performing non-approved
modifications, is not covered by the
warranty.Warning: Tesla does not accept liability
for death, personal injury or damage that
occurs if you use or install non-approved
accessories or make non-approved
modifications.Accessory Wheels and Tires
If your Model 3 is fitted with Tesla accessory
wheels or tires, the Gross Axle Weight Rating
(GAWR), wheel, tire, and loading information
may be different from the labels shown on the
vehicle. Refer to the relevant following section
for updated information.
Note: If your vehicle is not fitted with Tesla
accessory wheels or tires (it is fitted with the
factory original wheels and tires, including
Tesla genuine replacement parts), refer to the
labels attached to the center door pillar for
the most accurate information for your Model 3.
20" Sport WheelsWheelsLocationWidth (in)Offset(mm)20"Front/Rear8.540Tires (front/rear)SizeTire
PressureMichelin, Pilot
Sport 4S (PS4S)235/35ZR2 042 PSI
(290 kPa)**Increase the tire pressure to 44 PSI (300
kPa) prior to driving 136 mph (220 kph) or faster.GAWRFront2407 lbs1,092 kgRear2,767 lbs1,255 kg
Parts and Accessories
Maintenance179
Page 185 of 220

Vehicle Loading
Load Capacity Labeling It is important to understand how much
weight your Model 3 can safely carry. This weight is called the vehicle capacity weight
and includes the weight of all occupants,
cargo and any additional equipment added to your Model 3 since it was manufactured.
Two labels attached to Model 3 indicate how
much weight Model 3 can safely carry.
Both labels are visible on the door pillar when the front door is open.
Note: If your Model 3 is fitted with Tesla
accessory wheels or tires, your Model 3 may
include an additional label indicating that loadcapacity may differ from what is stated on the
label. If this is the case, instead of referring to
the label, refer to the Owner