2020 TESLA MODEL 3 change time
[x] Cancel search: change timePage 17 of 220

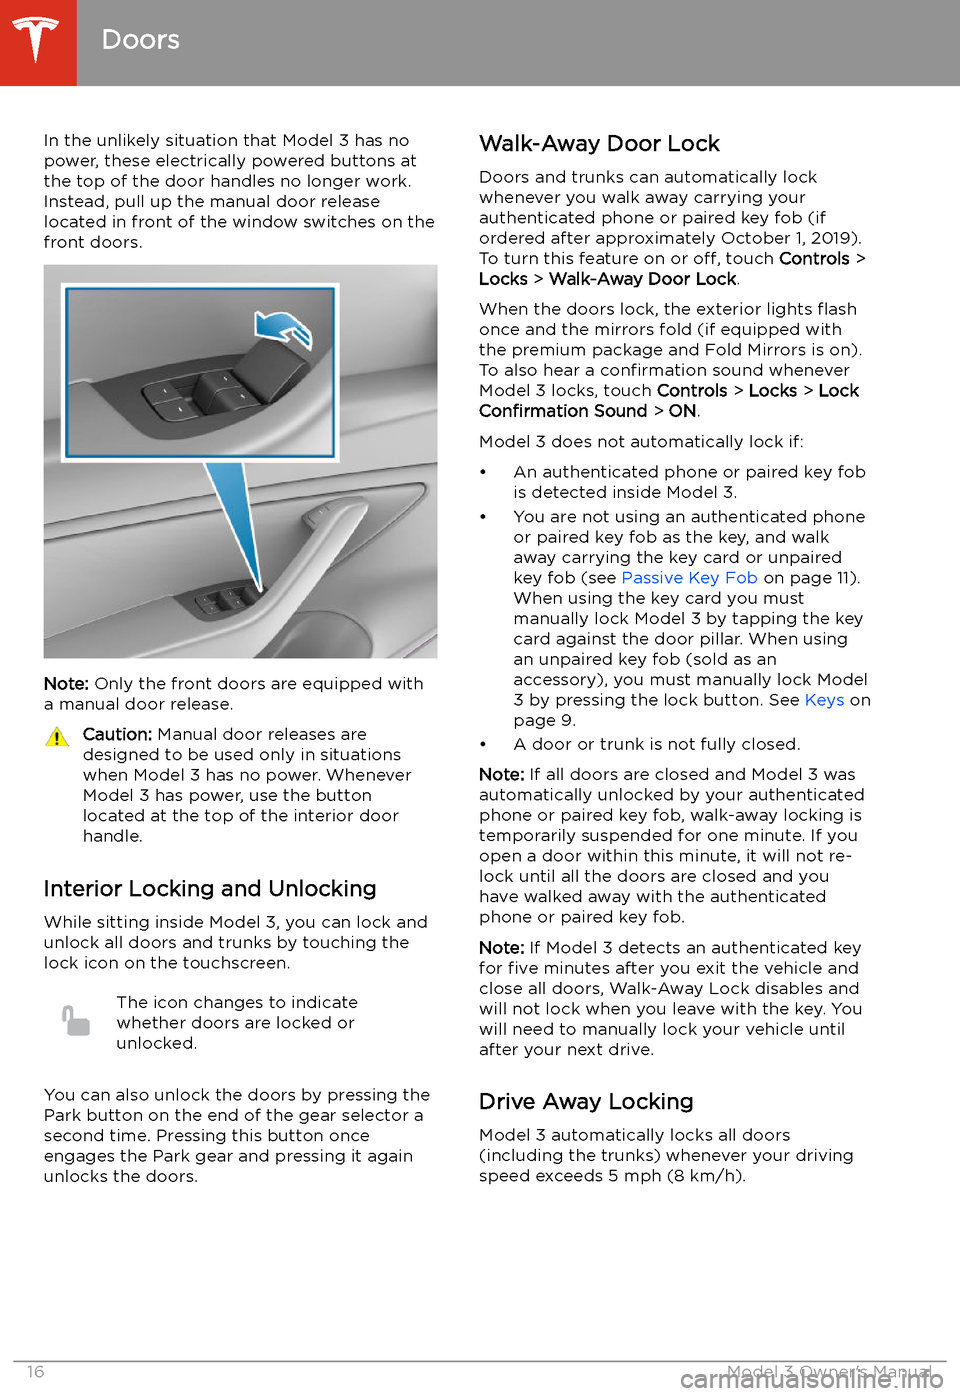
In the unlikely situation that Model 3 has nopower, these electrically powered buttons at
the top of the door handles no longer work.
Instead, pull up the manual door release
located in front of the window switches on the
front doors.
Note: Only the front doors are equipped with
a manual door release.
Caution: Manual door releases are
designed to be used only in situations
when Model 3 has no power. Whenever
Model 3 has power, use the button
located at the top of the interior door
handle.
Interior Locking and Unlocking
While sitting inside Model 3, you can lock and
unlock all doors and trunks by touching the
lock icon on the touchscreen.
The icon changes to indicate
whether doors are locked or
unlocked.
You can also unlock the doors by pressing the
Park button on the end of the gear selector a
second time. Pressing this button once engages the Park gear and pressing it againunlocks the doors.
Walk-Away Door Lock
Doors and trunks can automatically lockwhenever you walk away carrying your
authenticated phone or paired key fob (if
ordered after approximately October 1, 2019).
To turn this feature on or off, touch Controls >
Locks > Walk-Away Door Lock .
When the doors lock, the exterior lights
Page 37 of 220

Choosing a Child Safety SeatAll children age 12 and under should ride in the second and third row seats. Always use a child
safety seat suitable for a young child’s age and weight. The following table is based on child
safety seat recommendations determined by the National Highway Traffic Safety Administration
(NHTSA) in the United States (for more information, go to www.nhtsa.gov/ChildSafety/Guidance).InfantsToddlersYoung
childrenAgeBirth to 1 year*Over 1 year*4 years and
older, and
less than 57
in. (145 cm)
tallWeightUp to at least 20 lbs (9 kg)**Over 20 lbs (9 kg) (minimum)
and up to 40 lbs (18 kg)*Over 40 lbs
(18 kg)Type of child
safety seatRear facing (or convertible)Forward facing (or
convertible)*Seat belt
retained
booster
seatSeat positionRear facing only*Forward facing*Forward
facingRecommended
attachment
methodIf combined weight of child
and safety seat is up to 65
lbs (29.5 kg), attach using
either LATCH** (lower anchor
only) or the seat belt only.***
If combined weight of child
and safety seat is over 65 lbs
(29.5 kg), attach using the
seat belt only.***If combined weight of child
and safety seat is up to 65 lbs
(29.5 kg), attach using either
LATCH** (both lower anchors
and top tether anchor), or the
seat belt and upper tether
strap.*** If combined weight of
child and safety seat is over 65
lbs (29.5 kg), attach using the
seat belt and upper tether
strap.***Attach
booster
seats using
the seat
belt only.* Many child safety seats currently available allow children to ride rear-facing using the child
safety seat’s integrated 5-point harness for a longer period of time BASED UPON SPECIFIC
HEIGHT AND WEIGHT LIMITS. Keep your child in a rear facing seat for as long as possible.
CHECK THE CHILD SAFETY SEAT MANUFACTURER’S INSTRUCTIONS AND CAREFULLY
FOLLOW ALL INSTRUCTIONS
** ISOFIX is the international standard for attachment points for child safety seats in passenger
cars. The system has other regional names including LATCH ("Lower Anchors and Tethers for
Children") in the United States and LUAS ("Lower Universal Anchorage System") or Canfix in
Canada. It has also been called the "Universal Child Safety Seat System" or UCSSS.
*** Subject to instructions provided by the child safety seat manufacturer.Warning: Laws that govern how and where children should be carried when traveling in a
vehicle are subject to change. It is the driver’s responsibility to keep up to date on, and
comply with, all current regulations in the region(s) where Model 3 is driven. To check the
child passenger safety laws for states in the U.S., go to: http://www.ghsa.org/html/stateinfo/
laws/childsafety_laws.html.Warning: Do not use LATCH/Isofix/i-Size anchors with child restraint system or booster seats
that have an integral safety belt where the combined weight of the child plus the child restraint system exceeds 65 lbs (29.5 kg).
Child Safety Seats
36Model 3 Owner
Page 59 of 220

Lights
Controlling Lights Touch Controls > Lights on the touchscreen to
control the lights.
In addition to the lights that you can control
from the touchscreen, Model 3 has
convenience lights that operate automatically
based on what you are doing. For example, in
low ambient lighting conditions, the interior lights, marker lights, tail lights, and puddle
lights turn on when you unlock Model 3, when
you open a door, and when you shift into Park.
They turn off after a minute or two or when
you shift into a driving gear or lock Model 3.
Note: The image below is provided for
demonstration purposes only. Depending on vehicle options, software version and market
region, your touchscreen may appear slightly
different.
1. Exterior lights (headlights, tail lights, side
marker lights, parking lights, and license
plate lights) are set to AUTO each time
you start Model 3. When set to AUTO,
exterior lights automatically turn on when
driving in low lighting conditions. If you
change to a different setting, lights always
revert to AUTO on your next drive.
Touch one of these options to temporarily
change the exterior light setting:
Page 133 of 220

If Navigate on Autopilot (if available in your
market region) is enabled, you can turn it on
for the navigation route by touching Navigate
on Autopilot in the turn-by-turn direction list.
Navigate on Autopilot is an extension of Autosteer that automatically changes lanesand steers Model 3 onto the appropriate
exit(s) when navigating on controlled access
roads (such as freeways). For details, see
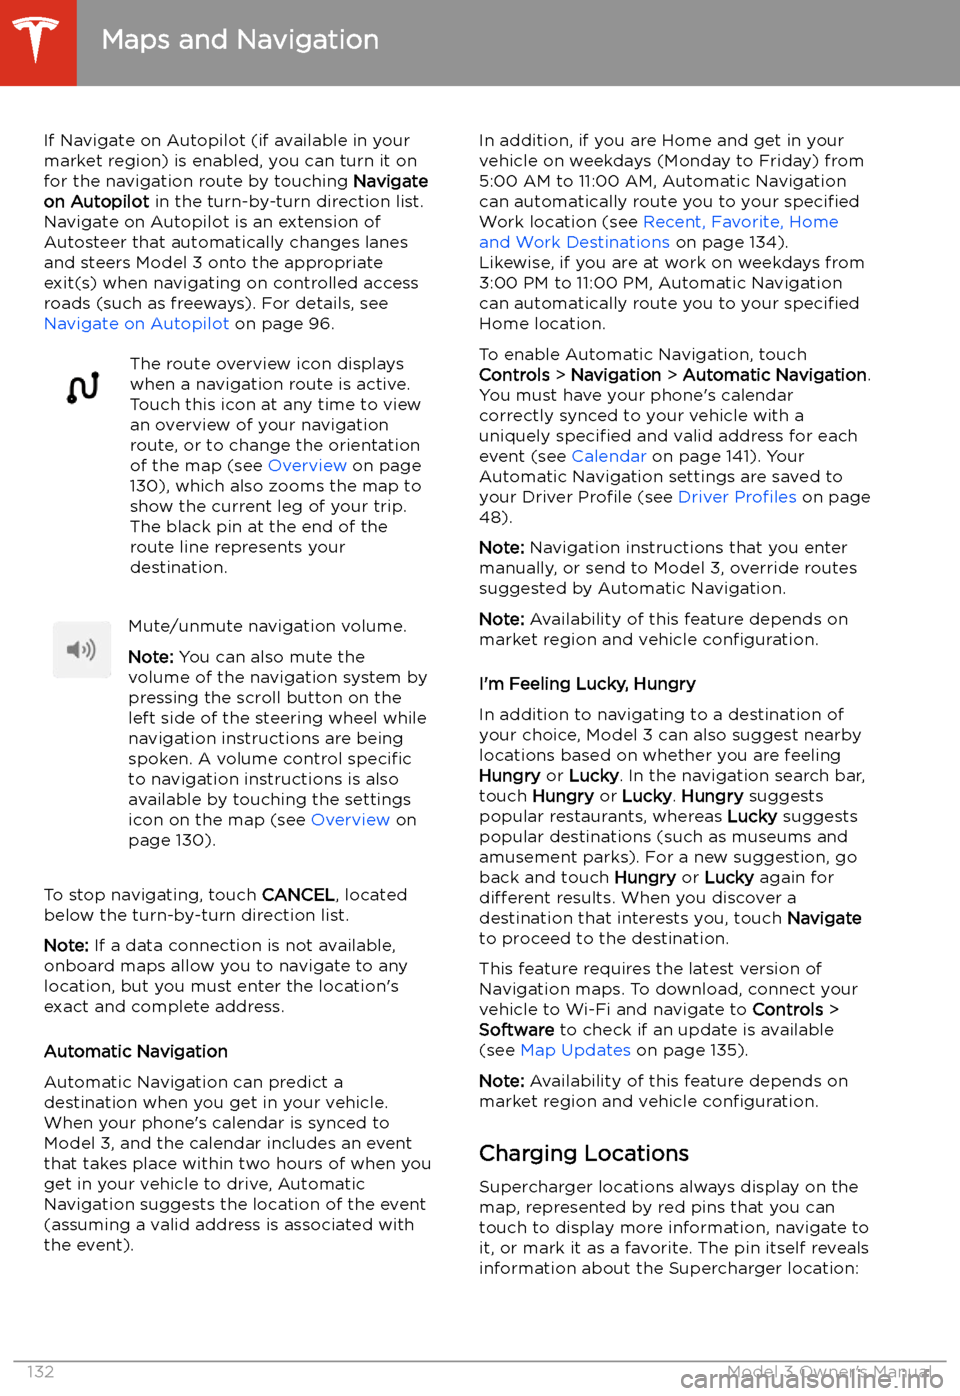
Navigate on Autopilot on page 96.The route overview icon displays
when a navigation route is active.
Touch this icon at any time to view
an overview of your navigation
route, or to change the orientation
of the map (see Overview on page
130), which also zooms the map to
show the current leg of your trip.
The black pin at the end of the
route line represents your
destination.Mute/unmute navigation volume.
Note: You can also mute the
volume of the navigation system by
pressing the scroll button on the
left side of the steering wheel while
navigation instructions are being
spoken. A volume control specific
to navigation instructions is also
available by touching the settings
icon on the map (see Overview on
page 130).
To stop navigating, touch CANCEL, located
below the turn-by-turn direction list.
Note: If a data connection is not available,
onboard maps allow you to navigate to any location, but you must enter the location
Page 153 of 220

Charging
If Model 3 is charging when the software
update begins, charging stops. Charging
resumes automatically when the software
update is complete. If you are driving Model 3
at the scheduled update time, the update is
canceled and must be rescheduled.
Viewing Release Notes
When a software update is complete, read the
release notes displayed on the touchscreen to
learn about changes or new features. To
display release notes about the current
version of your vehicle
Page 156 of 220

Battery Information
About the Battery
Model 3 has one of the most sophisticated
battery systems in the world. The most
important way to preserve the Battery is to LEAVE YOUR VEHICLE PLUGGED IN when
you are not using it. This is particularly important if you are not planning to drive
Model 3 for several weeks. When plugged in,
Model 3 wakes up when needed to
automatically maintain a charge level that
maximizes the lifetime of the Battery.
Note: When left idle and unplugged, your
vehicle periodically uses energy from the Battery for system tests and recharging the
12V battery when necessary.
There is no advantage to waiting until the
Battery’s level is low before charging. In fact, the Battery performs best when charged
regularly.
Note: If you allow the Battery to discharge to
0%, other components may become damaged
or require replacement (for example, the 12V
battery). In these cases, you are responsible for repair and/or transporting expenses.
Discharge-related expenses are not covered
by the warranty or under the Roadside
Assistance policy.
The peak charging rate of the Battery may
decrease slightly after a large number of DC
Fast Charging sessions, such as those at
Superchargers. To ensure maximum driving
range and Battery safety, the Battery charge
rate is decreased when the Battery is too cold,
when the Battery’s charge is nearly full, and when the Battery conditions change with
usage and age. These changes in the condition of the Battery are driven by battery physics
and may increase the total Supercharging
duration by a few minutes over time.
Battery Care
Never allow the Battery to fully discharge.
Even when Model 3 is not being driven, its
Battery discharges very slowly to power the
onboard electronics. The Battery can
discharge at a rate of approximately 1% per day, though the discharge rate may vary
depending on environmental factors (such as
cold weather), vehicle configuration, and your
selected settings on the touchscreen.
Situations can arise in which you must leave
Model 3 unplugged for an extended period of time (for example, at an airport when
traveling). In these situations, keep the 1% in
mind to ensure that you leave the Battery with a sufficient charge level. For example, over a
two week period (14 days), the Battery may
discharge by approximately 14%.
Discharging the Battery to 0% may result in
damage to vehicle components. To protect
against a complete discharge, Model 3 enters
a low-power consumption mode when the
displayed charge level drops to approximately
0%. In this mode, the Battery stops supporting
the onboard electronics and auxiliary 12V
battery. Once this low-power consumption
mode is active, immediately plug in Model 3 to
prevent a jump-start and 12V battery
replacement.
Note: If the vehicle is unresponsive and will
not unlock, open, or charge, then the 12V
battery may have become discharged. In this
situation, contact Tesla.
Temperature Limits
For better long-term performance, avoid
exposing Model 3 to ambient temperatures
above 140