Page 12 of 132

SEATING
Manual Seats
1Forward/Backward: Pull the lever below the
seat up and slide the seat forward or backward.
Release the lever and make sure the seat is
locked into place.
2 Seat Height (Driver’s Seat): Pulling up or
pushing down on the lever will raise or lower the
seat cushion.
3 Recline Seatback: Pull the lever up to adjust the seatback to the desired position.
Release the lever and make sure the seat is locked into place.
Power Driver’s Seat (if equipped)
1Forward/Backward and Height: Moving
the switch forward or backward will
adjust the seat in that direction. Pulling
up or pushing down on the front or back
of the switch will adjust the angle of the
seat cushion. Pulling up or pushing down
the entire switch will adjust the height of
the seat cushion.
2 Recline Seatback: Moving the switch
forward or backward will adjust the angle
of the seatback.
3 Lumbar Support (if equipped): Pressing
the front of the switch will increase
support. Pressing the rear of the switch
will decrease support.
4 Thigh Extension (if equipped): Pull up
on the lever below the seat cushion to
adjust the length.
GETTING COMFORTABLE
10
Page 14 of 132

Head Restraint Adjustment
Pull the head restraint up to raise it. To lower it,
push it down while pressing the release button
on the top of the seatback. Each head restraint
should be adjusted so that the center of the
head restraint is closest to the top of the
occupant’s ears. This adjustment should be
made for any seating position, front or rear,
that has a new occupant.
You can adjust the angle of the front head
restraints by tilting them forward. You will hear
a click when the restraint is locked. Pulling the
head restraint as far forward as it will go will
allow it to return to the fully upright position.
Seatbelt Adjuster
Always position the seatbelt adjuster so the
shoulder belt passes over the middle of your
shoulder without touching your neck. Pull the
adjuster out and slide it up or down. Release
the adjuster and make sure it is locked in
place.
TILT AND TELESCOPIC STEERING COLUMN
Pull the lever down firmly to unlock, then adjust the
height and lengthwise position of the column. Push
the lever firmly back up to lock the column in place.
GETTING COMFORTABLE
12
Page 45 of 132
Memory Height
You can set where the rear gate stops when it
opens. To set the height:1 In the Center Information Display (CID)
press the “Home” Button.
2 Select “Settings”.
3 Select “Car”.
4 Select “Power Rear Gate”.
5 Turn on “Power Rear Gate Memory”.
6 Now open the power rear gate and press
and hold the switch on the rear gate
when it reaches the desired height. You
will hear 2 beeps to indicate the memory
height has been set.
When the “Power Rear Gate Memory” is set to
On in the Center Information Display (CID), the
rear gate will stop at the set memory height
when you use any of the power rear gate switches.
NOTE: To adjust the memory height, once the rear gate stops, move it to the desired
height and press and hold the Power Rear Gate Switch until you hear the 2 beeps.
PASSENGER/CARGO AREAS
43
Page 127 of 132

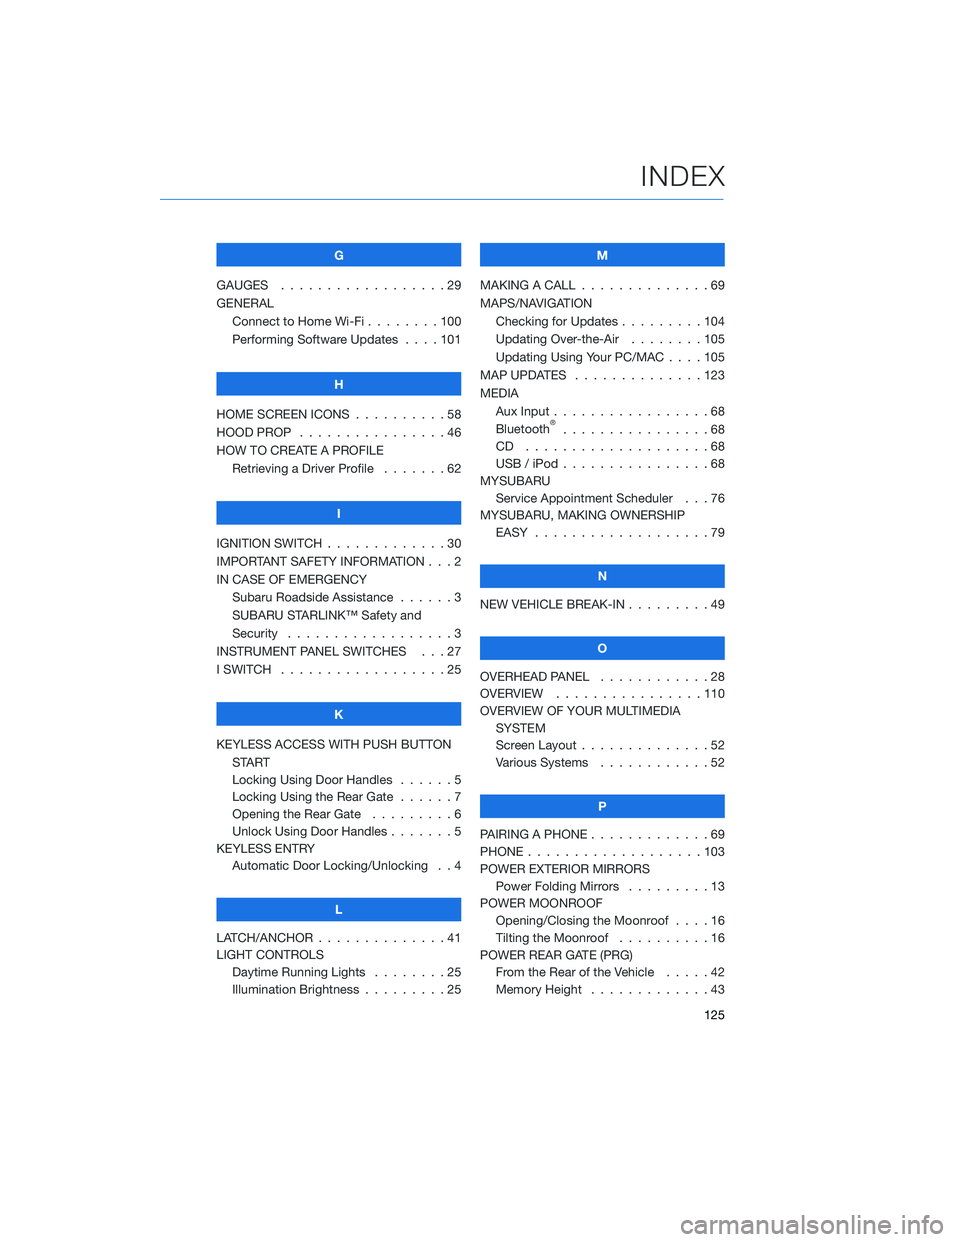
G
GAUGES . . . . . . . . . . ........29
GENERAL Connect to Home Wi-Fi . . ......100
Performing Software Updates . . . . 101
H
HOME SCREEN ICONS . . ........58
HOOD PROP . . . . . . . . ........46
HOW TO CREATE A PROFILE Retrieving a Driver Profile .......62
I
IGNITION SWITCH . . . . . . . . . . . . . 30
IMPORTANT SAFETY INFORMATION . . . 2
IN CASE OF EMERGENCY Subaru Roadside Assistance . . . . . . 3
SUBARU STARLINK™ Safety and
Security . . . . . . . . . . ........3
INSTRUMENT PANEL SWITCHES . . . 27
I SWITCH . . . . . . . . . . . . . . . . . . 25
K
KEYLESS ACCESS WITH PUSH BUTTON START
Locking Using Door Handles ......5
Locking Using the Rear Gate ......7
Opening the Rear Gate . ........6
Unlock Using Door Handles .......5
KEYLESS ENTRY Automatic Door Locking/Unlocking . . 4
L
LATCH/ANCHOR . . . . . .........41
LIGHT CONTROLS Daytime Running Lights . . . . . . . . 25
Illumination Brightness . ........25 M
MAKING A CALL . . . ...........69
MAPS/NAVIGATION Checking for Updates . . . ......104
Updating Over-the-Air . . . . . . . . 105
Updating Using Your PC/MAC . . . . 105
MAP UPDATES . . . . . . ........123
MEDIA Aux Input .................68
Bluetooth
®................68
CD ....................68
USB / iPod . . . . . . ..........68
MYSUBARU Service Appointment Scheduler . . . 76
MYSUBARU, MAKING OWNERSHIP EASY ...................79
N
NEW VEHICLE BREAK-IN . . . ......49
O
OVERHEAD PANEL ............28
OVERVIEW . . ..............110
OVERVIEW OF YOUR MULTIMEDIA SYSTEM
Screen Layout . . . . . . . . ......52
Various Systems . . . . . . . . . . . . 52
P
PAIRING A PHONE . . . . . . . . . . . . . 69
PHONE . . . . . . .............103
POWER EXTERIOR MIRRORS Power Folding Mirrors . . . . . ....13
POWER MOONROOF Opening/Closing the Moonroof . . . . 16
Tilting the Moonroof . . . . ......16
POWER REAR GATE (PRG) From the Rear of the Vehicle . . . . . 42
Memory Height . . . . . . . ......43
INDEX
125