2020 Ram 3500 mirror
[x] Cancel search: mirrorPage 319 of 568

STARTING AND OPERATING317
(Continued)
Deactivation
The Forward Facing Camera is deactivated in
the following conditions:
The vehicle is not in 4WD Low and the vehicle
speed exceeds 8 mph (13 km/h) for
10 seconds.
The “X” button on the display is pressed.
Vehicle is shifted into PARK.
Ignition is placed in the OFF position.
NOTE:
If the vehicle is in 4WD Low, the Forward Facing
Camera image will be displayed until the “X”
button is pressed or the ignition is placed in the
OFF position. If the vehicle goes out of 4WD
Low, then the regular deactivation conditions
listed above are applied.
Trailer Reverse Guidance — If Equipped
The Trailer Reverse Guidance feature assists
the driver in backing up a trailer by providing
adjustable camera views of the trailer and
surrounding area. The cameras are mounted on
the side mirrors and the images will be displayed side-by-side on the touchscreen. Left
and right camera images are swapped and
mirrored on the touchscreen to show the
equivalent area behind the vehicle as though
the driver is using the side mirrors.
Activation
The Trailer Reverse Guidance feature can be
activated by pressing the Trailer Reverse
Guidance button on the Backup/Cargo Camera
Display.
Deactivation
When the vehicle is shifted out of REVERSE
(with camera delay turned on), the camera
image will continue to be displayed for up to
10 seconds, unless the vehicle speed exceeds
8 mph (13 km/h), the vehicle is shifted into
PARK or the ignition is placed in the OFF
position. There is a touchscreen button “X” to
disable the display of the camera image.
If Trailer Reverse Guidance is selected through
manually activated Surround View, Backup
Camera, or Cargo Camera, the below
deactivation conditions apply:
The “X” button on the display is pressed
The vehicle is shifted into PARK
The ignition is placed in the OFF position
The vehicle speed is over 8 mph (13 km/h)
for 10 seconds
WARNING!
Drivers must be careful when backing up
even when using the Surround View Camera.
Always check carefully behind your vehicle,
and be sure to check for pedestrians,
animals, other vehicles, obstructions, or blind
spots before backing up. You are responsible
for the safety of your surroundings and must
continue to pay attention while backing up.
Failure to do so can result in serious injury or
death.
CAUTION!
To avoid vehicle damage, Surround View
should only be used as a parking aid. The
Surround View camera is unable to view
every obstacle or object in your drive path.
5
20_DJD2_OM_EN_USC_t.book Page 317
Page 354 of 568

352IN CASE OF EMERGENCY
Front Side Marker (Halogen Reflector Headlamp) W5W
Front Side Marker (LED Headlamps) LED (Serviced At An Authorized Dealer)
Front Fog Lamps (Halogen Reflector Headlamp) H11LL
Front Fog Lamps (LED Headlamps) LED (Serviced At An Authorized Dealer)
Side Indicators (Front And Side View Mirror) LED (Serviced At An Authorized Dealer)
Base Rear Tail/Turn and Stop Lamp 3157K
Premium Rear Tail/Turn and Stop Lamp LED (Serviced At An Authorized Dealer)
Premium Backup Lamp 7440/W21W
Center High Mounted Stop Lamp (CHMSL) 921
Cab Roof Marker Lamps 194NA
Rear Lamp Bar ID Marker Lamp 194
Side Marker Lamps (Dual Rear Wheels) 194
Backup Lamp 921
Rear License Plate Lamp 194
Exterior Bulbs
Bulb Name Bulb Number
20_DJD2_OM_EN_USC_t.book Page 352
Page 453 of 568

SERVICING AND MAINTENANCE451
Cleaning Plastic Instrument Cluster
Lenses
The lenses in front of the instruments in this
vehicle are molded in clear plastic. When
cleaning the lenses, care must be taken to
avoid scratching the plastic.
1. Clean with a wet soft cloth. A mild soap
solution may be used, but do not use high
alcohol content or abrasive cleaners. If
soap is used, wipe clean with a clean damp
cloth.
2. Dry with a soft cloth.
LEATHER PARTS
Mopar Total Clean is specifically recommended
for leather upholstery.
Your leather upholstery can be best preserved
by regular cleaning with a damp soft cloth.
Small particles of dirt can act as an abrasive
and damage the leather upholstery and should
be removed promptly with a damp cloth.
Stubborn soils can be removed easily with a soft
cloth and Mopar Total Clean. Care should be taken to avoid soaking your leather upholstery
with any liquid. Please do not use polishes, oils,
cleaning fluids, solvents, detergents, or
ammonia-based cleaners to clean your leather
upholstery. Application of a leather conditioner
is not required to maintain the original
condition.
NOTE:
If equipped with light colored leather, it tends to
show any foreign material, dirt, and fabric dye
transfer more so than darker colors. The leather
is designed for easy cleaning, and FCA recom
-
mends Mopar total care leather cleaner applied
on a cloth to clean the leather seats as needed.
GLASS SURFACES
All glass surfaces should be cleaned on a
regular basis with Mopar Glass Cleaner, or any
commercial household-type glass cleaner.
Never use an abrasive type cleaner. Use caution
when cleaning the inside rear window equipped
with electric defrosters or windows equipped
with radio antennas. Do not use scrapers or
other sharp instruments that may scratch the
elements.
When cleaning the rear view mirror, spray
cleaner on the towel or cloth that you are using.
Do not spray cleaner directly on the mirror.
CAUTION!
Do not use Alcohol and Alcohol-based and/or
Ketone based cleaning products to clean
leather upholstery, as damage to the
upholstery may result.7
20_DJD2_OM_EN_USC_t.book Page 451
Page 474 of 568

472MULTIMEDIA
Tilt Side Mirrors In Reverse —
If Equipped On
Off
NOTE:
When the “Tilt Side Mirrors In Reverse” feature is selected, the exterior side-view mirrors tilt downward when the ignition is in the ON/RUN position
and the transmission gear selector is in the REVERSE position. The mirrors move back to their previous position when the transmission is shifted out
of REVERSE. Surround View Camera — If Equipped On
Off
NOTE:
The “Surround View Camera” feature displays a complete 360 degree view of the vehicle's exterior environment while backing up. Surround View Camera Delay — If Equipped On
Off
NOTE:
The “Surround View Camera Delay” setting determines whether or not the screen will display the 360 degree view image with guidelines for up to
10 seconds after the vehicle is shifted out of REVERSE. This delay will be canceled if the vehicle’s speed exceeds 8 mph (13 km/h), the transmission
is shifted into PARK, or the ignition is switched to the OFF position.
Surround View Camera Guidelines — If Equipped On
Off
NOTE:
The “Surround View Camera Guidelines” feature allows you to see active guidelines over the Surround View camera display whenever the gear
selector is put into REVERSE or the Surround View button on the touchscreen is pressed. The image will be displayed on the radio touchscreen display.
Setting Name Selectable Options
20_DJD2_OM_EN_USC_t.book Page 472
Page 486 of 568

484MULTIMEDIA
UCONNECT 4/4C/4C NAV SETTINGS
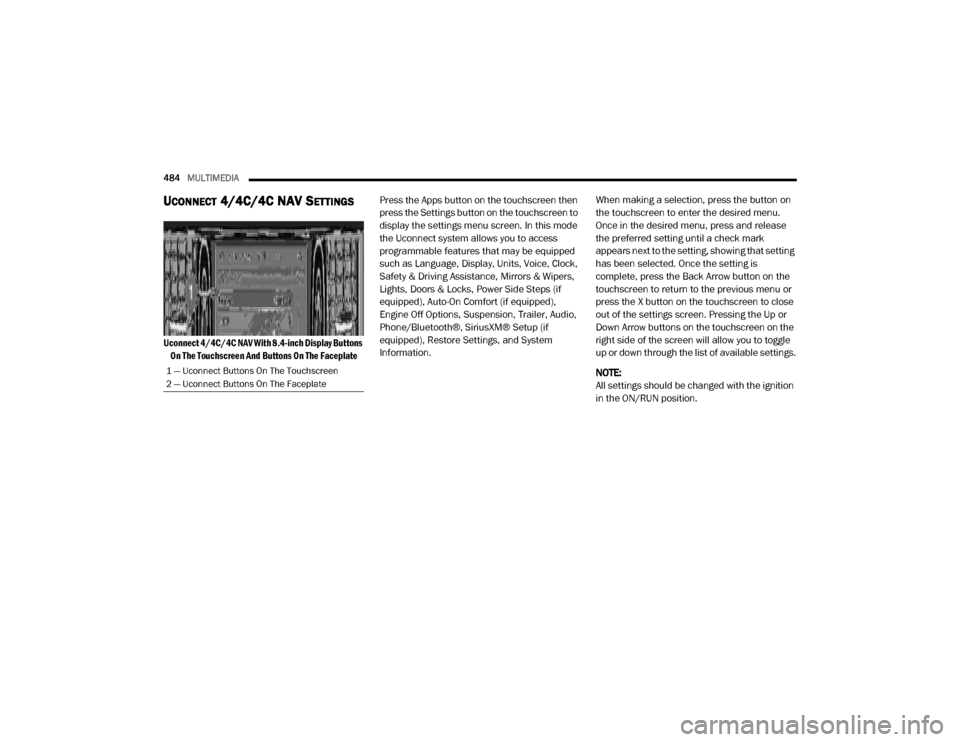
Uconnect 4/4C/4C NAV With 8.4-inch Display Buttons
On The Touchscreen And Buttons On The Faceplate
Press the Apps button on the touchscreen then
press the Settings button on the touchscreen to
display the settings menu screen. In this mode
the Uconnect system allows you to access
programmable features that may be equipped
such as Language, Display, Units, Voice, Clock,
Safety & Driving Assistance, Mirrors & Wipers,
Lights, Doors & Locks, Power Side Steps (if
equipped), Auto-On Comfort (if equipped),
Engine Off Options, Suspension, Trailer, Audio,
Phone/Bluetooth®, SiriusXM® Setup (if
equipped), Restore Settings, and System
Information.
When making a selection, press the button on
the touchscreen to enter the desired menu.
Once in the desired menu, press and release
the preferred setting until a check mark
appears next to the setting, showing that setting
has been selected. Once the setting is
complete, press the Back Arrow button on the
touchscreen to return to the previous menu or
press the X button on the touchscreen to close
out of the settings screen. Pressing the Up or
Down Arrow buttons on the touchscreen on the
right side of the screen will allow you to toggle
up or down through the list of available settings.
NOTE:
All settings should be changed with the ignition
in the ON/RUN position.
1 — Uconnect Buttons On The Touchscreen
2 — Uconnect Buttons On The Faceplate
20_DJD2_OM_EN_USC_t.book Page 484
Page 494 of 568

492MULTIMEDIA
Mirrors & Wipers
After pressing the Mirrors & Wipers button on the touchscreen, the following settings will be available:Forward Collision Warning
Sensitivity — If Equipped Near
Med Far
NOTE:
Sets the distance in which a Forward Collision Warning occurs. Front ParkSense Volume — If Equipped Low
Med High
Rear ParkSense Volume — If Equipped Low
Med High
Power Side Steps — If Equipped Auto Store
Blind Spot Alert — If Equipped OffLightsLights & Chime
Hill Start Assist — If Equipped On Off
Tire Fill Assist — If Equipped On Off
Setting Name Selectable Options
Setting NameSelectable Options
Tilt Side Mirrors In Reverse — If Equipped OnOff
NOTE:
When the “Tilt Side Mirrors In Reverse” feature is selected, the outside side-view mirrors will tilt downward when the ignition is in the ON/RUN position
and the transmission gear selector is in the REVERSE position. The mirrors will move back to their previous position when the transmission is shifted
out of REVERSE.
20_DJD2_OM_EN_USC_t.book Page 492
Page 507 of 568

MULTIMEDIA505
UCONNECT 4C NAV WITH 12-INCH
D
ISPLAY SETTINGS
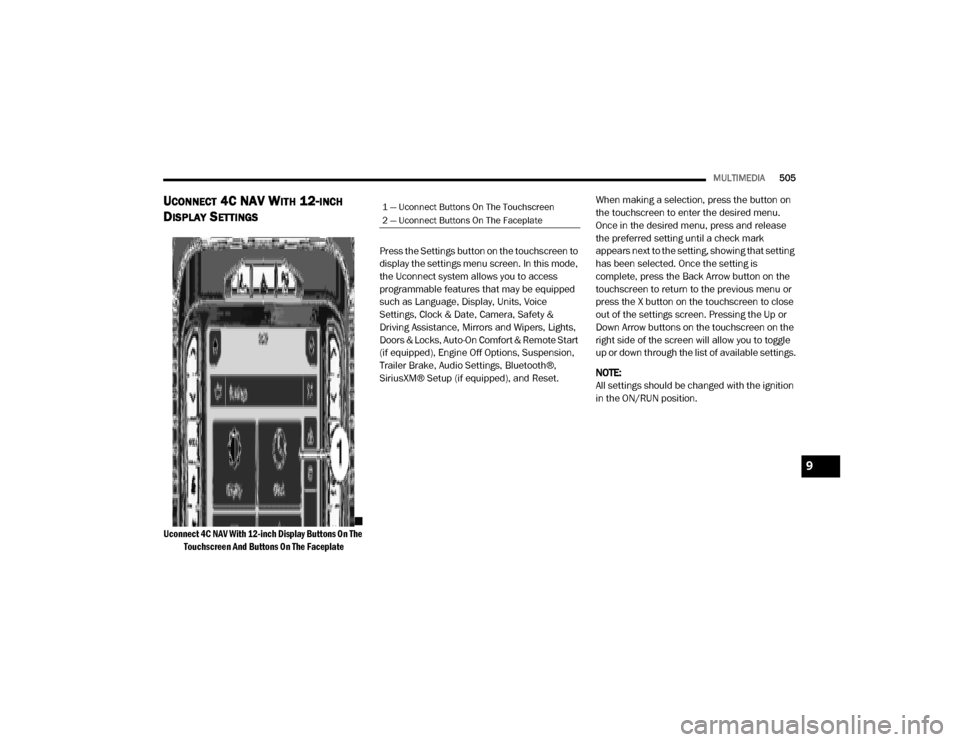
Uconnect 4C NAV With 12-inch Display Buttons On The
Touchscreen And Buttons On The Faceplate
Press the Settings button on the touchscreen to
display the settings menu screen. In this mode,
the Uconnect system allows you to access
programmable features that may be equipped
such as Language, Display, Units, Voice
Settings, Clock & Date, Camera, Safety &
Driving Assistance, Mirrors and Wipers, Lights,
Doors & Locks, Auto-On Comfort & Remote Start
(if equipped), Engine Off Options, Suspension,
Trailer Brake, Audio Settings, Bluetooth®,
SiriusXM® Setup (if equipped), and Reset.
When making a selection, press the button on
the touchscreen to enter the desired menu.
Once in the desired menu, press and release
the preferred setting until a check mark
appears next to the setting, showing that setting
has been selected. Once the setting is
complete, press the Back Arrow button on the
touchscreen to return to the previous menu or
press the X button on the touchscreen to close
out of the settings screen. Pressing the Up or
Down Arrow buttons on the touchscreen on the
right side of the screen will allow you to toggle
up or down through the list of available settings.
NOTE:
All settings should be changed with the ignition
in the ON/RUN position.
1 — Uconnect Buttons On The Touchscreen
2 — Uconnect Buttons On The Faceplate
9
20_DJD2_OM_EN_USC_t.book Page 505
Page 514 of 568

512MULTIMEDIA
Mirrors & Wipers
After pressing the Mirror & Wipers button on the touchscreen, the following settings will be available:
Lights
After pressing the Lights button on the touchscreen, the following settings will be available:
Setting Name Selectable Options
Tilt Side Mirrors In Reverse — If Equipped OnOff
NOTE:
When the “Tilt Side Mirrors In Reverse” feature is selected, the outside side-view mirrors will tilt downward when the ignition is in the ON/RUN position
and the transmission gear selector is in the REVERSE position. The mirrors will move back to their previous position when the transmission is shifted
out of REVERSE. Rain Sensing Auto Wipers OnOff
NOTE:
Automatically adjusts the wiper speed based on the amount of precipitation. Headlights with Wipers OnOff
Setting Name Selectable Options
Headlight Off Delay-+
NOTE:
When the “Headlight Off Delay” feature is selected, the driver can choose to have the headlights remain on for 0, 30, 60, or 90 seconds when exiting
the vehicle.
20_DJD2_OM_EN_USC_t.book Page 512