2020 Ram 1500 suspension
[x] Cancel search: suspensionPage 481 of 674

IN CASE OF EMERGENCY 479
Proper towing or lifting equipment is required to prevent
damage to your vehicle. Use only tow bars and other equip-
ment designed for this purpose, following equipment manu-
facturer’s instructions. Use of safety chains is mandatory.
Attach a tow bar or other towing device to main structural
members of the vehicle, not to bumpers or associated
brackets. State and local laws regarding vehicles under tow
must be observed.
If you must use the accessories (wipers, defrosters, etc.)
while being towed, the ignition must be in the ON/RUN
mode, not the ACC mode. If the key fob is unavailable or the vehicle's battery is
discharged, refer to ”Manual Park Release” in this section for
instructions on shifting the transmission out of PARK for
towing.
Towing
Condition Wheels OFF
The Ground 2WD Models
4WD Models
Flat Tow NONE If transmission is operable:
• Transmission in
NEUTRAL
• 30 mph (48 km/h) max speed
• 30 miles (48 km) max distance See instructions in “Recreational Towing”
under “Starting And Operating”
• Automatic Transmission in
PARK
• Transfer Case in NEUTRAL (N)
• Tow in forward direction
Wheel Lift Or Dolly Tow Front
NOT ALLOWED
Rear OK NOT ALLOWED
Flatbed ALL BEST METHOD BEST METHOD
CAUTION!
• Do not use sling type equipment when towing. Vehicle damage may occur.
• When securing the vehicle to a flat bed truck, do not attach to front or rear suspension components. Damage
to your vehicle may result from improper towing.
6
2020_DT_1500_OM_US.book Page 479
Page 486 of 674

484 SERVICING AND MAINTENANCE
Mileage or time passed
(whichever comes first)
20,000
30,000
40,00050,00060,00070,000
80,00090,000
100,000
110,000120,000130,000140,000150,000
Or Years: 2 3 4 5 6 7 8 9 10 11 12 13 14 15
Or Kilometers:
32,000 48,000
64,00080,00096,000
112,000
128,000144,000160,000
176,000192,000208,000224,000240,000
Additional Inspections
Inspect the CV/Universal joints. X X X X X X X X X X X X X X Inspect front suspension, tie rod
ends, and replace if necessary. X X X
XX XX
Inspect the front and rear axle
surfaces. If gear oil leakage is
suspected, check the fluid level.
If using your vehicle for police,
taxi, fleet, off-road or frequent
trailer towing, change axle fluid. X
X XXX
Inspect the brake linings,
replace as necessary. X X X
XX XX
Inspect transfer case fluid. X
Additional Maintenance
Replace cabin air filter. X X X XX XX
Replace engine air filter. XX XXX
2020_DT_1500_OM_US.book Page 484
Page 533 of 674

SERVICING AND MAINTENANCE 531
Tire Types
All Season Tires — If Equipped
All Season tires provide traction for all seasons (Spring,
Summer, Autumn, and Winter). Traction levels may vary
between different all season tires. All season tires can be
identified by the M+S, M&S, M/S or MS designation on the
tire sidewall. Use all season tires only in sets of four; failure
to do so may adversely affect the safety and handling of your
vehicle.
Summer Or Three Season Tires — If Equipped
Summer tires provide traction in both wet and dry condi-
tions, and are not intended to be driven in snow or on ice. If
your vehicle is equipped with Summer tires, be aware these
tires are not designed for Winter or cold driving conditions.
Install Winter tires on your vehicle when ambient tempera -
tures are less than 40°F (5°C) or if roads are covered with ice
or snow. For more information, contact an authorized dealer.
Summer tires do not contain the all season designation or
mountain/snowflake symbol on the tire sidewall. Use
Summer tires only in sets of four; failure to do so may
adversely affect the safety and handling of your vehicle.
WARNING!
• Do not use a tire, wheel size, load rating, or speed rating other than that specified for your vehicle. Some combi -
nations of unapproved tires and wheels may change
suspension dimensions and performance characteris -
tics, resulting in changes to steering, handling, and
braking of your vehicle. This can cause unpredictable
handling and stress to steering and suspension compo -
nents. You could lose control and have a collision
resulting in serious injury or death. Use only the tire
and wheel sizes with load ratings approved for your
vehicle.
• Never use a tire with a smaller load index or capacity, other than what was originally equipped on your
vehicle. Using a tire with a smaller load index could
result in tire overloading and failure. You could lose
control and have a collision.
• Failure to equip your vehicle with tires having adequate speed capability can result in sudden tire
failure and loss of vehicle control.
CAUTION!
Replacing original tires with tires of a different size may
result in false speedometer and odometer readings.
7
2020_DT_1500_OM_US.book Page 531
Page 538 of 674

536 SERVICING AND MAINTENANCE
(Continued)
Dark Vapor Chrome, Black Satin Chrome, or Low Gloss
Clear Coat Wheels
Tire Chains (Traction Devices)
Use of traction devices require sufficient tire-to-body clear-
ance. Follow these recommendations to guard against
damage.
• Traction device must be of proper size for the tire, as recommended by the traction device manufacturer. Please follow the table below for proper tire size, chain type,
and axle recommendations:
CAUTION!
If your vehicle is equipped with these specialty wheels,
DO NOT USE wheel cleaners, abrasives, or polishing
compounds. They will permanently damage this finish
and such damage is not covered by the New Vehicle
Limited Warranty. HAND WASH ONLY USING MILD
SOAP AND WATER WITH A SOFT CLOTH. Used on a
regular basis; this is all that is required to maintain this
finish.
Vehicle Axle Recom
-
mendations Tire Sizes Chain Class
1500 Models Rear Only 275/65R18
275/55R20S Class
WARNING!
Using tires of different size and type (M+S, Snow)
between front and rear axles can cause unpredictable
handling. You could lose control and have a collision.
CAUTION!
To avoid damage to your vehicle or tires, observe the
following precautions:
• Because of restricted traction device clearance between tires and other suspension components, it is important
that only traction devices in good condition are used.
Broken devices can cause serious damage. Stop the
vehicle immediately if noise occurs that could indicate
device breakage. Remove the damaged parts of the
device before further use.
2020_DT_1500_OM_US.book Page 536
Page 562 of 674

560 MULTIMEDIA
Push the MORE or SETTINGS button on the faceplate, then
press the Settings button on the touchscreen (if equipped) to
display the Settings menu screen. In this mode, the Uconnect
system allows you to access programmable features that may
be equipped such as Display, Units, Voice, Clock, Safety &
Driving Assistance, Brakes, Lights, Doors & Locks, Power
Side Steps (if equipped), Auto-On Comfort (if equipped),
Engine Off Options, Suspension (if equipped), Trailer Brake,
Audio, Phone/Bluetooth®, SiriusXM® Setup (if equipped),
Restore Settings, Clear Personal Data, and System Informa-
tion.
NOTE:
Only one category may be selected at a time. When making a selection, press the button on the touch
-
screen to enter the desired mode. Once in the desired mode,
press and release the preferred setting until the button is
highlighted. Once the setting is complete, either press the
Back arrow or the Done button on the touchscreen. Pressing
the Up or Down arrow buttons on the touchscreen on the
right side of the screen will allow you to toggle up or down
through the list of available settings.
NOTE:
All settings should be changed with the ignition in the ON/
RUN position.
2020_DT_1500_OM_US.book Page 560
Page 572 of 674

570 MULTIMEDIA
Suspension — If Equipped
After pressing the Suspension button on the touchscreen, the following settings will be available:Setting Name Selectable Options
Sound Horn With Lower OnOff
Flash Lights With Lower OnOff
Auto Entry/Exit Suspension OnOff
NOTE:
When the “Auto Entry/Exit Suspension” feature is selected, the vehicle automatically lowers from ride height position when
vehicle shifted to park for easy entry/exit. Display Suspension Messages AllWarning Only
Automatic Aero Mode OnOff
NOTE:
When the “Automatic Aero Mode” feature is selected, the Ride Height will automatically be adjusted depending on the
vehicle speed. Tire Jack Mode OnOff
NOTE:
When this feature is selected, the air suspension system is disabled to prevent auto leveling of the suspension while the
vehicle is on a jack changing a tire. Transport Mode OnOff
NOTE:
When the “Transport Mode” feature is selected, the air suspension system is disabled to assist with flat bed towing.
2020_DT_1500_OM_US.book Page 570
Page 573 of 674

MULTIMEDIA 571
Trailer Brake
After pressing the Trailer Brake button on the touchscreen, the following settings will be available:Wheel Alignment Mode
OnOff
NOTE:
The “Wheel Alignment Mode” feature prevents auto leveling of the air suspension while performing a wheel alignment
service. Before performing a wheel alignment, this mode must be enabled. Refer to an authorized dealer for further informa -
tion. Setting Name
Selectable Options
Setting NameSelectable Options
Trailer Select Trailer 1Trailer 2Trailer 3 Trailer 4
Trailer Brake Type Light Electric Heavy Electric Light EOHHeavy EOH
Trailer Name List of Trailer Names Available
NOTE:
You can select and personalize your trailer name depending on the type of trailer you are hauling. Select the trailer name
from the following list: trailer, boat, car, cargo, dump, equipment, flatbed, gooseneck, horse, livestock, motorcycle, snow
mobile, travel, utility, and 5th wheel.
9
2020_DT_1500_OM_US.book Page 571
Page 578 of 674

576 MULTIMEDIA
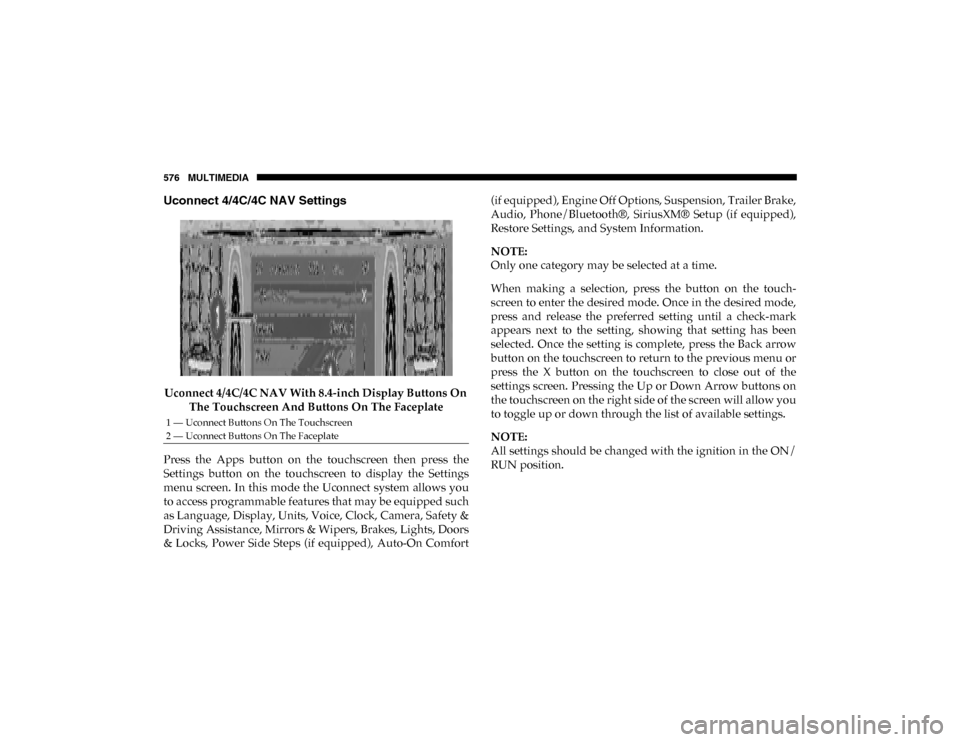
Uconnect 4/4C/4C NAV Settings
Uconnect 4/4C/4C NAV With 8.4-inch Display Buttons On The Touchscreen And Buttons On The Faceplate
Press the Apps button on the touchscreen then press the
Settings button on the touchscreen to display the Settings
menu screen. In this mode the Uconnect system allows you
to access programmable features that may be equipped such
as Language, Display, Units, Voice, Clock, Camera, Safety &
Driving Assistance, Mirrors & Wipers, Brakes, Lights, Doors
& Locks, Power Side Steps (if equipped), Auto-On Comfort (if equipped), Engine Off Options, Suspension, Trailer Brake,
Audio, Phone/Bluetooth®, SiriusXM® Setup (if equipped),
Restore Settings, and System Information.
NOTE:
Only one category may be selected at a time.
When making a selection, press the button on the touch
-
screen to enter the desired mode. Once in the desired mode,
press and release the preferred setting until a check-mark
appears next to the setting, showing that setting has been
selected. Once the setting is complete, press the Back arrow
button on the touchscreen to return to the previous menu or
press the X button on the touchscreen to close out of the
settings screen. Pressing the Up or Down Arrow buttons on
the touchscreen on the right side of the screen will allow you
to toggle up or down through the list of available settings.
NOTE:
All settings should be changed with the ignition in the ON/
RUN position.
1 — Uconnect Buttons On The Touchscreen
2 — Uconnect Buttons On The Faceplate
2020_DT_1500_OM_US.book Page 576