Page 468 of 674
466 IN CASE OF EMERGENCY
the jack lift plate onto the rear axle Jack Lifting Point. At-
tach the extension with jack hook extending to the rear of
the vehicle.
Rear Lifting Point Rear Jacking Location
Connect the long extensions to the lug wrench.
5. By rotating the lug wrench clockwise, raise the vehicle until the wheel just clears the ground surface.
CAUTION!
Before raising the wheel off the ground, make sure that
the jack will not damage surrounding truck parts and
adjust the jack position as required.
2020_DT_1500_OM_US.book Page 466
Page 472 of 674
470 IN CASE OF EMERGENCY
4. Rotate the lug wrench handle clockwise until the wheel isdrawn into place against the underside of the vehicle.
Continue to rotate until you feel the winch mechanism
slip, or click three or four times. It cannot be overtight -
ened. Push against the tire several times to ensure it is
firmly in place.
Rotating The Lug Wrench Handle
NOTE:
The winch mechanism is designed for use with the extension
tube only. Use of an air wrench or other power tools is not
recommended and can damage the winch.Reinstalling The Jack And Tools
1. Tighten the jack all the way down by turning the jack turn-screw counterclockwise until the jack is snug.
2. Position the jack and tool bag. Make sure the lug wrench is under the jack near the jack turn-screw.
Jack And Tool Bag
2020_DT_1500_OM_US.book Page 470
Page 473 of 674
IN CASE OF EMERGENCY 471
3. Secure the tool bag straps to the jack.Jack And Tools Tied
4. Place the jack and tools in the storage position holding the jack by the jack turn-screw, slip the jack and tools under
the seat so that the bottom slot engages into the fastener
on the floor.
NOTE:
Ensure that the jack slides into the front hold down location. 5. Turn the wing bolt clockwise to secure to the floor pan.
Reinstall the plastic cover.
Jack Hold Down Wing Bolt
WARNING!
After using the jack and tools, always reinstall them in
the original carrier and location. While driving you may
experience abrupt stopping, rapid acceleration or sharp
turns. A loose jack, tools, bracket or other objects in the
vehicle may move around with force, resulting in serious
injury.
6
2020_DT_1500_OM_US.book Page 471
Page 562 of 674

560 MULTIMEDIA
Push the MORE or SETTINGS button on the faceplate, then
press the Settings button on the touchscreen (if equipped) to
display the Settings menu screen. In this mode, the Uconnect
system allows you to access programmable features that may
be equipped such as Display, Units, Voice, Clock, Safety &
Driving Assistance, Brakes, Lights, Doors & Locks, Power
Side Steps (if equipped), Auto-On Comfort (if equipped),
Engine Off Options, Suspension (if equipped), Trailer Brake,
Audio, Phone/Bluetooth®, SiriusXM® Setup (if equipped),
Restore Settings, Clear Personal Data, and System Informa-
tion.
NOTE:
Only one category may be selected at a time. When making a selection, press the button on the touch
-
screen to enter the desired mode. Once in the desired mode,
press and release the preferred setting until the button is
highlighted. Once the setting is complete, either press the
Back arrow or the Done button on the touchscreen. Pressing
the Up or Down arrow buttons on the touchscreen on the
right side of the screen will allow you to toggle up or down
through the list of available settings.
NOTE:
All settings should be changed with the ignition in the ON/
RUN position.
2020_DT_1500_OM_US.book Page 560
Page 564 of 674
562 MULTIMEDIA
Units — If Equipped
After pressing Units on the touchscreen, the following will be available:
Voice
After pressing the Voice button on the touchscreen, the following settings will be available:
Clock
After pressing the Clock button on the touchscreen, the following settings will be available:Setting Name
Selectable Options
Units USMetric Custom
Setting Name Selectable Options
Voice Response Length Brief Detailed
Show Command List AlwaysWith Help Never
Setting Name Selectable Options
Set Time 12 hour24 hour
NOTE:
Within the “Set Time” feature, press the corresponding arrow above and below the current time to adjust, and then select
“AM” or “PM”.
2020_DT_1500_OM_US.book Page 562
Page 577 of 674
MULTIMEDIA 575
Restore Settings
After pressing the Restore Settings button on the touchscreen, the following settings will be available:
Clear Personal Data
After pressing the Clear Personal Data Settings button on the touchscreen, the following settings will be available:Setting Name
Selectable Options
Restore Settings YesCancel
NOTE:
When the “Restore Settings” feature is selected, it will reset the Display, Clock, Audio, and Radio Settings to their default
settings. If “Yes” is selected, a pop-up will appear asking "Are you sure you want to reset your settings to default?” Select
“Yes” to restore or “Cancel” to exit.
Setting Name Selectable Options
Clear Personal Data YesCancel
NOTE:
When this feature is selected, it will remove all personal data including Bluetooth® devices and presets. If “Yes” is selected,
a pop-up will appear asking "Are you sure you want to clear all personal data?” Select “Yes” to Clear or “Cancel” to exit.
9
2020_DT_1500_OM_US.book Page 575
Page 578 of 674

576 MULTIMEDIA
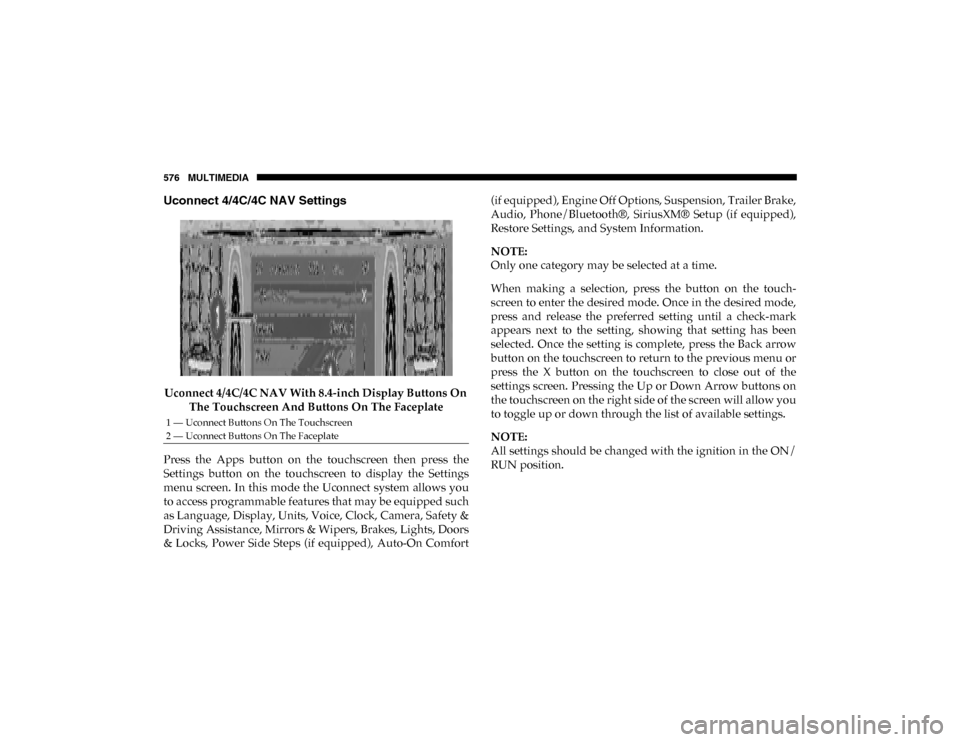
Uconnect 4/4C/4C NAV Settings
Uconnect 4/4C/4C NAV With 8.4-inch Display Buttons On The Touchscreen And Buttons On The Faceplate
Press the Apps button on the touchscreen then press the
Settings button on the touchscreen to display the Settings
menu screen. In this mode the Uconnect system allows you
to access programmable features that may be equipped such
as Language, Display, Units, Voice, Clock, Camera, Safety &
Driving Assistance, Mirrors & Wipers, Brakes, Lights, Doors
& Locks, Power Side Steps (if equipped), Auto-On Comfort (if equipped), Engine Off Options, Suspension, Trailer Brake,
Audio, Phone/Bluetooth®, SiriusXM® Setup (if equipped),
Restore Settings, and System Information.
NOTE:
Only one category may be selected at a time.
When making a selection, press the button on the touch
-
screen to enter the desired mode. Once in the desired mode,
press and release the preferred setting until a check-mark
appears next to the setting, showing that setting has been
selected. Once the setting is complete, press the Back arrow
button on the touchscreen to return to the previous menu or
press the X button on the touchscreen to close out of the
settings screen. Pressing the Up or Down Arrow buttons on
the touchscreen on the right side of the screen will allow you
to toggle up or down through the list of available settings.
NOTE:
All settings should be changed with the ignition in the ON/
RUN position.
1 — Uconnect Buttons On The Touchscreen
2 — Uconnect Buttons On The Faceplate
2020_DT_1500_OM_US.book Page 576
Page 582 of 674

580 MULTIMEDIA
Clock
After pressing the Clock button on the touchscreen, the following settings will be available:
Camera
After pressing the Camera button on the touchscreen, the following settings will be available:Setting Name
Selectable Options
Sync Time With GPS — If Equipped OnOff
Set Time Hours –+
Set Time Minutes –+
Time Format 12 hrs
24 hrs
AM PM
Show Time In Status Bar — If Equipped On
Off
NOTE:
The “Show Time In Status Bar” feature allows you to turn on or shut off the digital clock in the status bar.
Setting Name Selectable Options
ParkView Backup Camera Delay OnOff
NOTE:
The “ParkView Backup Camera Delay” setting determines whether or not the screen will display the rear view image with
dynamic grid lines for up to 10 seconds after the vehicle is shifted out of REVERSE. This delay will be canceled if the vehicle’s
speed exceeds 8 mph (13 km/h), the transmission is shifted into PARK, or the ignition is switched to the OFF position.
2020_DT_1500_OM_US.book Page 580