2020 NISSAN KICKS ECU
[x] Cancel search: ECUPage 285 of 500
ON (Normal operating position)
This position turns on the ignition system
and electrical accessories.
ON has a battery saver feature that will
place the ignition switch in the OFF posi-
tion, if the vehicle is not running, af ter some
time under the following conditions:
• The shif t lever is in P (Park).
• The hazard lamps are off.
• The turn signals are off.
The battery saver feature will be canceled if
any of the following occur:
• The shif t lever is moved out of the P (Park)position.
• The ignition switch changes position.
• The hazard lamps are turned on.
• The turn signals are turned on.
CAUTION
Do not leave the vehicle with the igni-
tion switch in the ON or AUTO ACC posi-
tion when the engine is not running for
an extended period. This can discharge
the battery. OFF
The ignition switch is in the OFF position
when the engine is turned off using the
ignition switch.
AUTO ACC:
With the vehicle in the P (Park) position, the
Intelligent Key with you, and the ignition
switch placed from the ON to the OFF po-
sition, the radio can still be used for a period
of time, or until the driver’s door is opened.
Af ter a period of time, functions such as
radio, navigation, and Bluetooth® Hands-
Free Phone System may be restarted by
pressing the “POWER button/VOLUME con-
trol knob” or the key fob unlock button. For
additional information, refer to “Monitor, cli-
mate, audio, phone and voice recognition
systems” in this manual.EMERGENCY ENGINE SHUT OFF
To shut off the engine in an emergency
situation while driving, perform the follow-
ing procedure:
• Rapidly push the ignition switch three
consecutive times in less than 1.5 sec-
onds, or
• Push and hold the ignition switch for more than 2 seconds.
NISSAN INTELLIGENT KEY®
BATTERY DISCHARGE
If the battery of the NISSAN Intelligent Key®
is discharged or environmental conditions
interfere with the Intelligent Key operation,
start the engine according to the following
procedure:
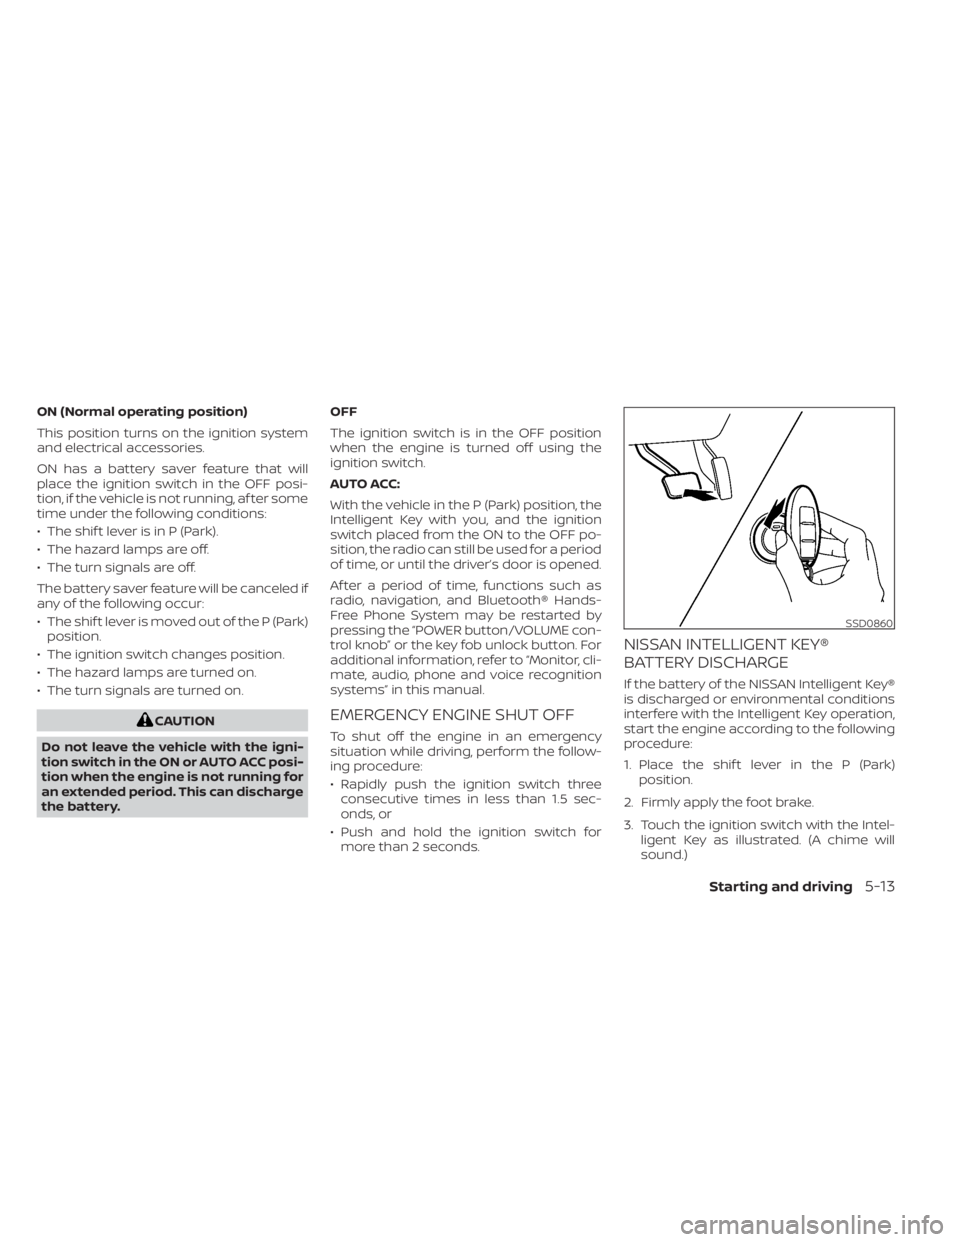
1. Place the shif t lever in the P (Park) position.
2. Firmly apply the foot brake.
3. Touch the ignition switch with the Intel- ligent Key as illustrated. (A chime will
sound.)
SSD0860
Starting and driving5-13
Page 384 of 500
SPECIAL WINTER EQUIPMENT
It is recommended that the following items
be carried in the vehicle during winter:
• A scraper and stiff-bristled brush to re-move ice and snow from the windows
and wiper blades.
• A sturdy, flat board to be placed under the jack to give it firm support.
• A shovel to dig the vehicle out of snow- drif ts.
• Extra washer fluid to refill the windshield- washer fluid reservoir.
DRIVING ON SNOW OR ICE
WARNING
• Wet ice (32°F, 0°C and freezing rain),
very cold snow or ice can be slick and
very hard to drive on. The vehicle will
have much less traction or “grip” un-
der these conditions. Try to avoid
driving on wet ice until the road is
salted or sanded.
• Whatever the condition, drive with
caution. Accelerate and slow down
with care. If accelerating or down-
shif ting too fast, the drive wheels will
lose even more traction. •
Allow more stopping distance under
these conditions. Braking should be
started sooner than on dry
pavement.
• Allow greater following distances on
slippery roads.
• Watch for slippery spots (glare ice).
These may appear on an otherwise
clear road in shaded areas. If a patch
of ice is seen ahead, brake before
reaching it. Try not to brake while on
the ice, and avoid any sudden steer-
ing maneuvers.
• Do not use the cruise control on slip-
pery roads.
• Snow can trap dangerous exhaust
gases under your vehicle. Keep snow
clear of the exhaust pipe and from
around your vehicle.
PARKING BRAKE
When parking in an area where the outside
temperature is below 32°F (0°C), do not ap-
ply the parking brake to prevent it from
freezing. For safe parking:
• Place the shif t lever in the P (Park) posi- tion.
• Securely block the wheels.
ENGINE BLOCK HEATER (if so
equipped)
Engine block heaters are used to assist
with cold temperature starting.
The engine block heater should be used
when the outside temperature is 20°F (-7°C)
or lower.
WARNING
• Do not use your engine block heater
with an ungrounded electrical sys-
tem or a 2-pronged adapter. You can
be seriously injured by an electrical
shock if you use an ungrounded
connection.
• Disconnect and properly store the
engine block heater cord before
starting the engine. Damage to the
cord could result in an electrical
shock and can cause serious injury.
• Use a heavy-duty 3-wire, 3-pronged
extension cord rated for at least 10 A.
Plug the extension cord into a
Ground Fault Interrupt (GFI) pro-
tected, grounded 110-VAC outlet.
Failure to use the proper extension
cord or a grounded outlet can result
in a fire or electrical shock and cause
serious personal injury.
5-112Starting and driving
Page 388 of 500
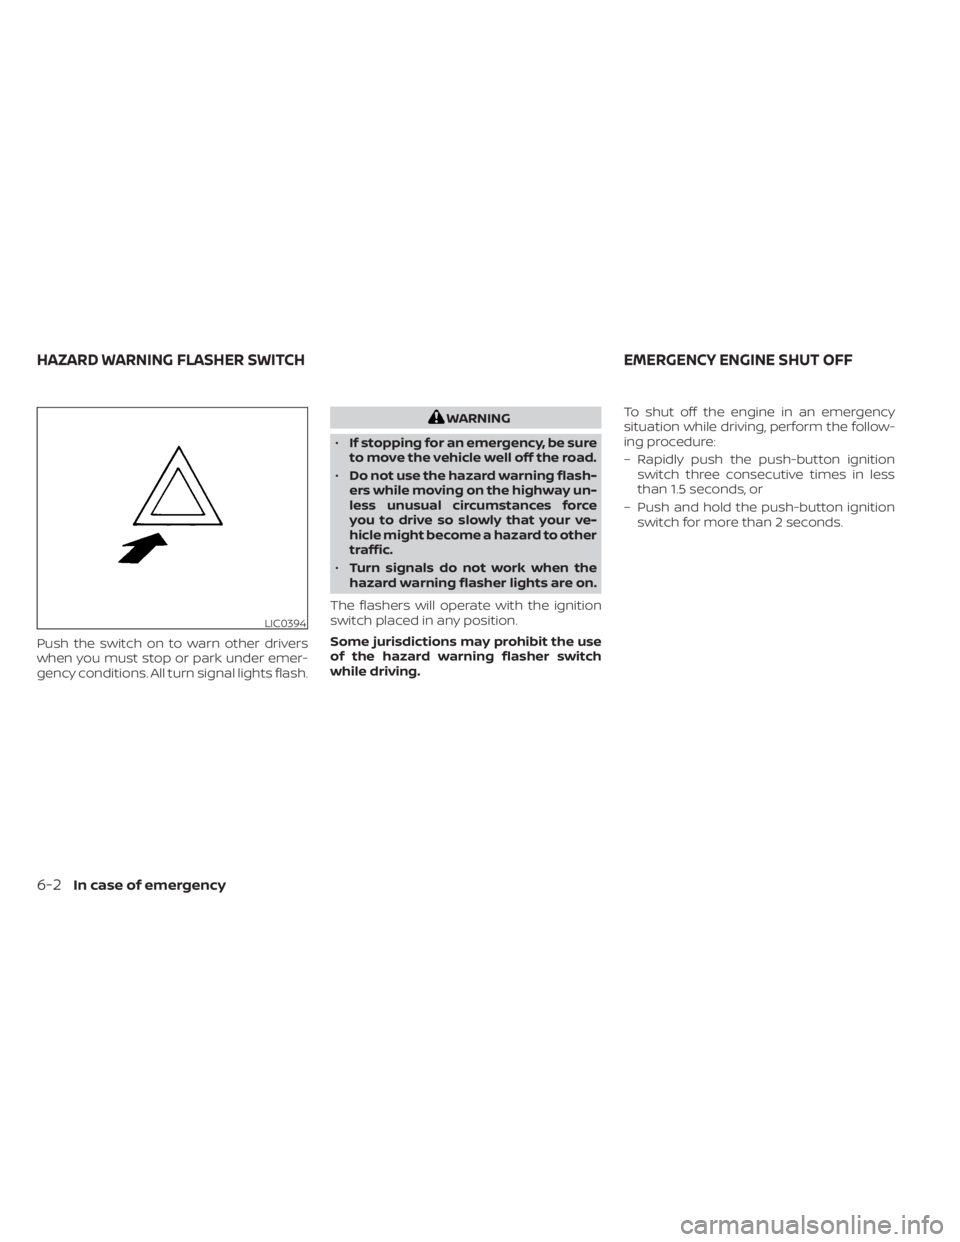
Push the switch on to warn other drivers
when you must stop or park under emer-
gency conditions. All turn signal lights flash.
WARNING
• If stopping for an emergency, be sure
to move the vehicle well off the road.
• Do not use the hazard warning flash-
ers while moving on the highway un-
less unusual circumstances force
you to drive so slowly that your ve-
hicle might become a hazard to other
traffic.
• Turn signals do not work when the
hazard warning flasher lights are on.
The flashers will operate with the ignition
switch placed in any position.
Some jurisdictions may prohibit the use
of the hazard warning flasher switch
while driving. To shut off the engine in an emergency
situation while driving, perform the follow-
ing procedure:
– Rapidly push the push-button ignition
switch three consecutive times in less
than 1.5 seconds, or
– Push and hold the push-button ignition switch for more than 2 seconds.
LIC0394
HAZARD WARNING FLASHER SWITCH EMERGENCY ENGINE SHUT OFF
6-2In case of emergency
Page 394 of 500

Always refer to the proper illustrations for
the correct placement and jack-up points
for your specific vehicle model and jack
type.
Carefully read the caution label attached
to the jack body and the following in-
structions.
1. Loosen each wheel nut 1 or 2 turns byturning counterclockwise with the wheel
nut wrench. Do not remove the wheel
nuts until the tire is off the ground. 2. Place the jack directly under the jack-up
point as illustrated so the top of the jack
contacts the vehicle at the jack-up point.
Align the jack head between the 2
notches in the front or the rear as
shown. Also fit the groove of the jack
head between the notches as shown.
The jack should be used on firm and
level ground.
3. To lif t the vehicle, securely hold the jack lever and rod with both hands. Carefully
raise the vehicle until the tire clears the
ground. Remove the wheel nuts, and
then remove the tire.Installing the spare tire
1. Clean any mud or dirt from the surfacebetween the wheel and hub.
2. Carefully put the spare tire on and tighten the wheel nuts finger tight.
3. With the wheel nut wrench, tighten wheel nuts alternately and evenly in the
sequence illustrated (
OA,OB,OC,OD) until
they are tight.
LCE2059WCE0048
6-8In case of emergency
Page 395 of 500

4. Lower the vehicle slowly until the tiretouches the ground. Then, with the
wheel nut wrench, tighten the wheel
nuts securely in the sequence illustrated
(
OA,OB,OC,OD). Lower the vehicle
completely.
WARNING
• Incorrect wheel nuts or improperly
tightened wheel nuts can cause the
wheel to become loose or come off.
This could cause an accident.
• Do not use oil or grease on the wheel
studs or nuts. This could cause the
nuts to become loose.
• Retighten the wheel nuts when the
vehicle has been driven for 600 miles
(1,000 km) (also in cases of a flat
tire,etc.).
As soon as possible, tighten the wheel
nuts to the specified torque with a
torque wrench.
Wheel nut tightening torque: 83 f t-lb (113 N·m)
The wheel nuts must be kept tightened
to specification at all times. It is recom-
mended that wheel nuts be tightened to
specification at each lubrication interval. Adjust tire pressure to the COLD pres-
sure.
COLD pressure: Af ter vehicle has been
parked for 3 hours or more or driven less
than 1 mile (1.6 km).
COLD tire pressures are shown on the
Tire and Loading Information label.
5. Securely store the jack and the tool kit in
its storage area.
6. Place the spare tire cover and lif tgate floor carpeting over the jack and tool kit.
7. Securely store the damaged tire in the vehicle.
8. Close the lif tgate.
WARNING
• Always make sure that the spare tire
and jacking equipment are properly
secured af ter use. Such items can be-
come dangerous projectiles in an ac-
cident or sudden stop.
• The spare tire is designed for emer-
gency use. For additional informa-
tion, refer to “Wheels and tires” in the
“Do-it-yourself ” section of this
manual. To start your engine with a booster battery,
the instructions and precautions below
must be followed.
WARNING
• If done incorrectly, jump starting can
lead to a battery explosion, resulting
in severe injury or death. It could also
damage your vehicle.
• Explosive hydrogen gas is always
present in the vicinity of the battery.
Keep all sparks and flames away
from the battery.
• Do not allow battery fluid to come
into contact with eyes, skin, clothing
or painted surfaces. Battery fluid is a
corrosive sulfuric acid solution which
can cause severe burns. If the fluid
should come into contact with any-
thing, immediately flush the con-
tacted area with water.
• Keep battery out of the reach of
children.
• The booster battery must be rated at
12 volts. Use of an improperly rated
battery can damage your vehicle.
JUMP STARTING
In case of emergency6-9
Page 400 of 500
–Place the ignition switch in the
OFF position, and secure the
steering wheel in a straight-ahead
position with a rope or similar de-
vice. Never secure the steering
wheel by placing the ignition
switch in the LOCK position. This
may damage the steering lock
mechanism (for models with a
steering lock mechanism).
VEHICLE RECOVERY (freeing a
stuck vehicle)
WARNING
To avoid vehicle damage, serious per-
sonal injury or death when recovering a
stuck vehicle:
• Contact a professional towing ser-
vice to recover the vehicle if you have
any questions regarding the recov-
ery procedure.
• Tow chains or cables must be at-
tached only to main structural mem-
bers of the vehicle.
• Do not use the vehicle tie-downs to
tow or free a stuck vehicle. •
Only use devices specifically de-
signed for vehicle recovery and fol-
low the manufacturer's instructions.
• Always pull the recovery device
straight out from the front of the ve-
hicle. Never pull at an angle.
• Route recovery devices so they do
not touch any part of the vehicle ex-
cept the attachment point.
If your vehicle is stuck in sand, snow, mud,
etc., use a tow strap or other device de-
signed specifically for vehicle recovery. Al-
ways follow the manufacturer's instruc-
tions for the recovery device.
Rocking a stuck vehicle
WARNING
• Stand clear of a stuck vehicle.
• Do not spin your tires at high speed.
This could cause them to explode
and result in serious injury. Parts of
your vehicle could also overheat and
be damaged. If your vehicle is stuck in sand, snow, mud,
etc., use the following procedure:
1. Turn off the Vehicle Dynamic Control
(VDC) system .
2. Make sure the area in front and behind the vehicle is clear of obstructions.
3. Turn the steering wheel right and lef t to clear an area around the front tires.
4. Slowly rock the vehicle forward and backward.
• Shif t back and forth between R (Re- verse) and D (Drive).
• Apply the accelerator as little as pos- sible to maintain the rocking motion.
• Release the accelerator pedal before shif ting between R (Reverse) and D
(Drive).
• Do not spin the tires above 34 mph (55 km/h).
5. If the vehicle cannot be freed af ter a few tries, contact a professional towing ser-
vice to remove the vehicle.
6-14In case of emergency
Page 406 of 500
When installing Genuine NISSAN floor mats,
follow the installation instructions provided
with the mat and the following:
1. With the ignition in the OFF position, theshif t lever in P (Park) position and with
the parking brake fully applied, position
the floor mat in the floorwell so that the
floor mat grommet holes are aligned
with the hook(s).
2. Secure the grommet holes into the hook(s) and ensure that the floor mat is
properly positioned.
3. Make sure the floor mat does not inter- fere with pedal operation. With the igni-
tion still in the OFF position, the shif t le-
ver in the P (Park) position and with the
parking brake applied, fully apply and re-
lease all pedals. The floor mat must not
interfere with pedal operation or prevent
the pedal from returning to its normal
position.
It is recommended that you visit a NISSAN
dealer for details about installing the floor
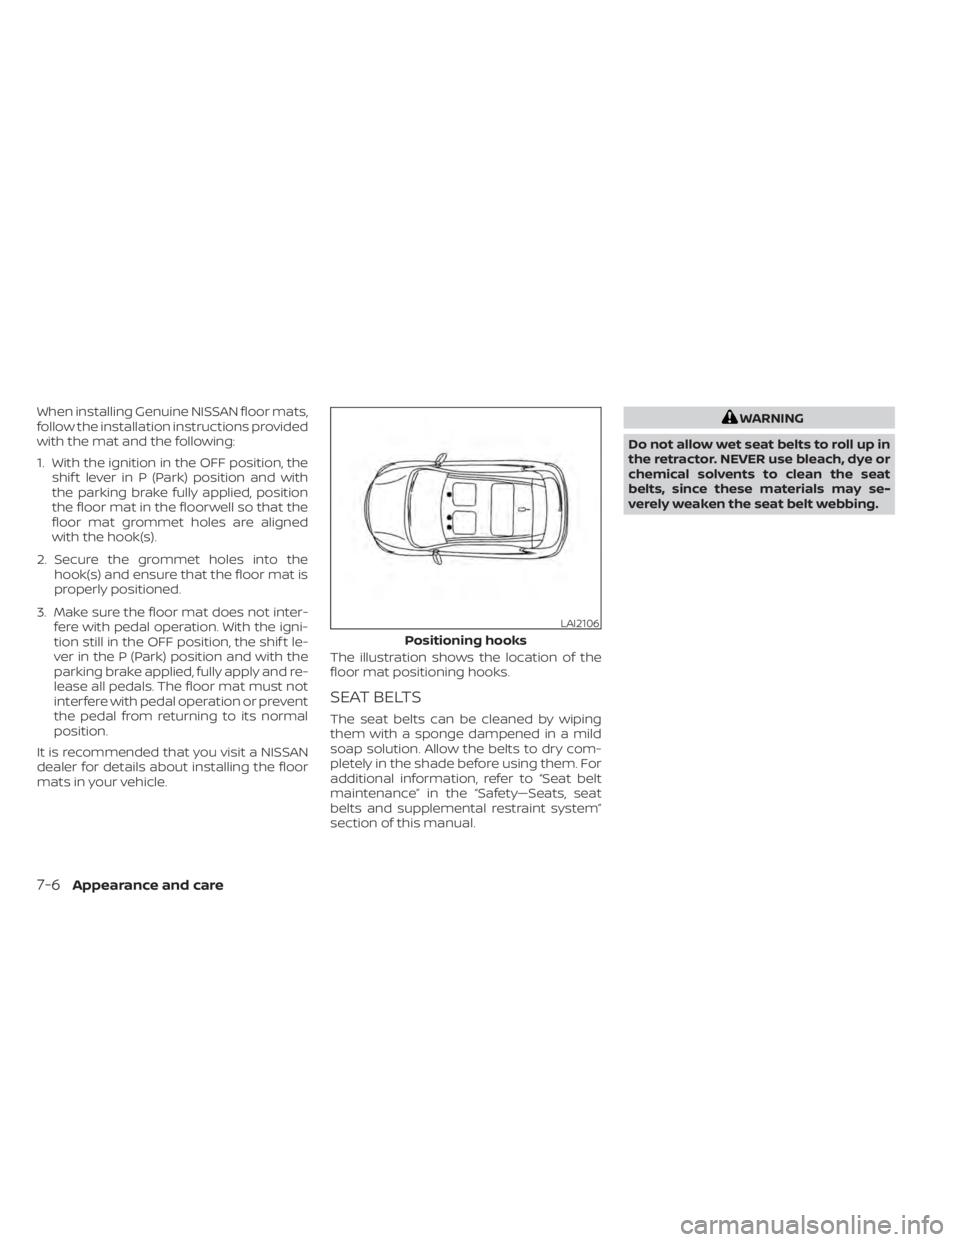
mats in your vehicle. The illustration shows the location of the
floor mat positioning hooks.
SEAT BELTS
The seat belts can be cleaned by wiping
them with a sponge dampened in a mild
soap solution. Allow the belts to dry com-
pletely in the shade before using them. For
additional information, refer to “Seat belt
maintenance” in the “Safety—Seats, seat
belts and supplemental restraint system”
section of this manual.
WARNING
Do not allow wet seat belts to roll up in
the retractor. NEVER use bleach, dye or
chemical solvents to clean the seat
belts, since these materials may se-
verely weaken the seat belt webbing.
LAI2106
Positioning hooks
7-6Appearance and care
Page 410 of 500
When performing any inspection or main-
tenance work on your vehicle, always take
care to prevent serious accidental injury to
yourself or damage to the vehicle. The fol-
lowing are general precautions which
should be closely observed.
WARNING
• Park the vehicle on a level surface,
apply the parking brake securely and
block the wheels to prevent the ve-
hicle from moving. Move the shif t le-
ver to P (Park).
• Be sure the ignition switch is in the
OFF or LOCK position when perform-
ing any parts replacement or repairs.
• If you must work with the engine run-
ning, keep your hands, clothing, hair
and tools away from moving fans,
belts and any other moving parts.
• It is advisable to secure or remove
any loose clothing and remove any
jewelry, such as rings, watches, etc.
before working on your vehicle.
• Always wear eye protection when-
ever you work on your vehicle. •
Your vehicle is equipped with an au-
tomatic engine cooling fan. It may
come on at any time without warn-
ing, even if the ignition switch is in
the OFF position and the engine is
not running. To avoid injury, always
disconnect the negative battery
cable before working near the fan.
• If you must run the engine in an en-
closed space such as a garage, be
sure there is proper ventilation for
exhaust gases to escape.
• Never get under the vehicle while it is
supported only by a jack. If it is nec-
essary to work under the vehicle,
support it with safety stands.
• Keep smoking materials, flame and
sparks away from the fuel tank and
battery.
• Because the fuel lines on gasoline
engine models are under high pres-
sure even when the engine is off, it is
recommended that you visit a
NISSAN dealer for service of the fuel
filter or fuel lines.
CAUTION
• Do not work under the hood while
the engine is hot. Turn the engine off
and wait until it cools down. •
Avoid contact with used engine oil and
coolant. Improperly disposed engine
oil, engine coolant and/or other ve-
hicle fluids can damage the environ-
ment. Always conform to local regula-
tions for disposal of vehicle fluid.
• Never leave the engine or Continu-
ously Variable Transmission (CVT) re-
lated component harnesses discon-
nected while the ignition switch is in
the ON position.
• Never connect or disconnect the bat-
tery or any transistorized compo-
nent while the ignition switch is in
the ON position.
This “Do-it-yourself ” section gives instruc-
tions regarding only those items which are
relatively easy for an owner to perform.
A Genuine NISSAN service manual is also
available. For additional information, refer
to “Owner's Manual/Service Manual order
information” in the “Technical and con-
sumer information” section of this manual.
You should be aware that incomplete or
improper servicing may result in operating
difficulties or excessive emissions, and
could affect warranty coverage. If in doubt
about any servicing, it is recommended
that you have it done by a NISSAN dealer.
MAINTENANCE PRECAUTIONS
8-2Do-it-yourself