2020 NISSAN 370Z brake rotor
[x] Cancel search: brake rotorPage 329 of 455

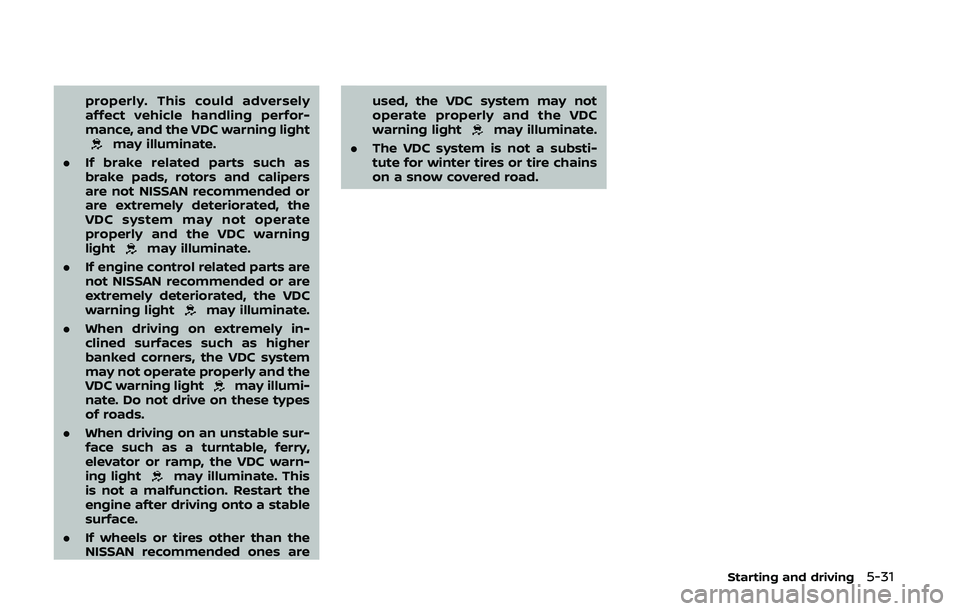
properly. This could adversely
affect vehicle handling perfor-
mance, and the VDC warning light
may illuminate.
. If brake related parts such as
brake pads, rotors and calipers
are not NISSAN recommended or
are extremely deteriorated, the
VDC system may not operate
properly and the VDC warning
light
may illuminate.
. If engine control related parts are
not NISSAN recommended or are
extremely deteriorated, the VDC
warning light
may illuminate.
. When driving on extremely in-
clined surfaces such as higher
banked corners, the VDC system
may not operate properly and the
VDC warning light
may illumi-
nate. Do not drive on these types
of roads.
. When driving on an unstable sur-
face such as a turntable, ferry,
elevator or ramp, the VDC warn-
ing light
may illuminate. This
is not a malfunction. Restart the
engine after driving onto a stable
surface.
. If wheels or tires other than the
NISSAN recommended ones are used, the VDC system may not
operate properly and the VDC
warning light
may illuminate.
. The VDC system is not a substi-
tute for winter tires or tire chains
on a snow covered road.
Starting and driving5-31
Page 342 of 455

6-8In case of emergency
aligned with the pin on the brake
rotor.
3. With the wheel nut wrench, tighten wheel nuts alternately and evenly in
the sequence illustrated (
,,,,)
until they are tight.
4. Lower the vehicle slowly until the tire touches the ground. Then, with the
wheel nut wrench, tighten the wheel
nuts securely in the sequence as
illustrated. Lower the vehicle comple-
tely.
WARNING
.Incorrect wheel nuts or impro-
perly tightened wheel nuts can
cause the wheel to become loose
or come off. This could cause an
accident.
. Do not use oil or grease on the
wheel studs or nuts. This could
cause the nuts to become loose.
. Retighten the wheel nuts when
the vehicle has been driven for
600 miles (1,000 km) (also in
cases of a flat tire, etc.).
. As soon as possible, tighten the
wheel nuts to the specified torque
with a torque wrench. Wheel nut tightening torque:
80 ft-lb (108 N·m)
The wheel nuts must be kept tigh-
tened to specification at all times. It
is recommended that wheel nuts be
tightened to specifications at each
lubrication interval.
. Adjust tire pressure to the COLD
pressure.
COLD pressure:
After the vehicle has been parked for
three hours or more or driven less
than 1 mile (1.6 km).
COLD tire pressures are shown on
the Tire and Loading Information
label affixed to the driver side center
pillar.
Stowing the damaged tire and
tools
Coupe models:
1. Securely store the damaged tire and
jacking tools in the storage area.
2. Place the spare tire cover and the cargo room carpet over the damaged
tire.
3. Close the rear hatch.
SCE0845
Roadster models:
Securely store the jacking tools in the
storage area.
Place the spare tire cover and trunk room
carpet back in the trunk, and then close
the trunk lid.
Securely store the damaged tire accord-
ing to the following procedure as illu-
strated.
1. Put the damaged tire in the plastic bag
stored in the trunk.
2. Move the passenger seat forward, and then place the damaged tire
wrapped in the plastic bag behind
the seat.
Page 402 of 455

8-34Do-it-yourself
use of a winter traction device (tire chains
or cables). The minimum clearances are
determined using the factory equipped
tire size. Other types may damage your
vehicle. Use chain tensioners when re-
commended by the tire chain manufac-
turer to ensure a tight fit. Loose end links
of the tire chain must be secured or
removed to prevent the possibility of
whipping action damage to the fenders
or underbody. If possible, avoid fully load-
ing your vehicle when using tire chains. In
addition, drive at a reduced speed. Other-
wise, your vehicle may be damaged and/
or vehicle handling and performance may
be adversely affected.
Tire chains must be installed only on
the rear wheels and not on the front
wheels.
Never install tire chains on a TEMPORARY
USE ONLY spare tire.
Do not use tire chains on dry roads.
Driving with tire chains in such conditions
can cause damage to the various me-
chanisms of the vehicle due to some
overstress.CHANGING WHEELS AND TIRES
Tire rotation
Tires cannot be rotated on this
vehicle because the front tires are
a different size than the rear tires.
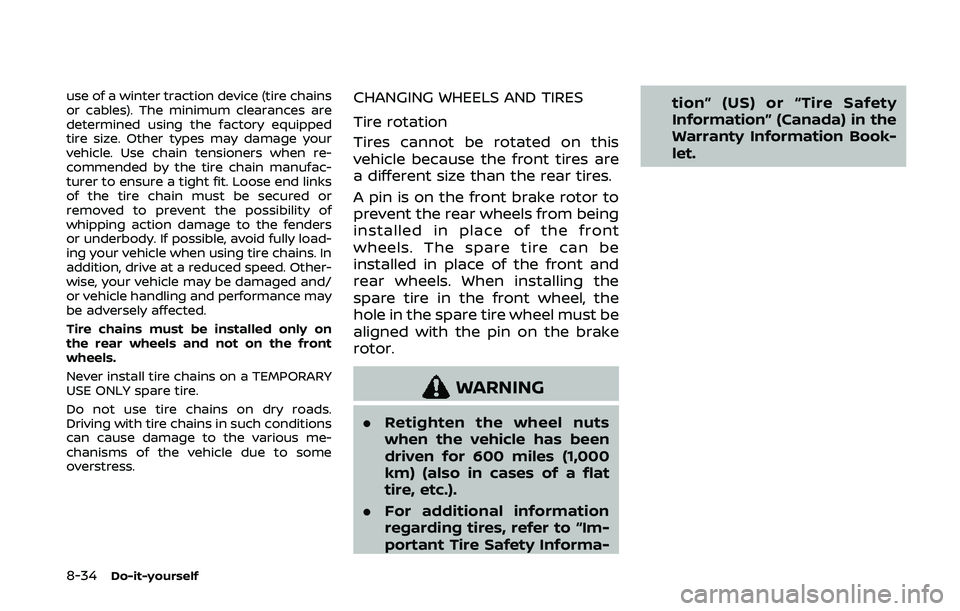
A pin is on the front brake rotor to
prevent the rear wheels from being
installed in place of the front
wheels. The spare tire can be
installed in place of the front and
rear wheels. When installing the
spare tire in the front wheel, the
hole in the spare tire wheel must be
aligned with the pin on the brake
rotor.
WARNING
.Retighten the wheel nuts
when the vehicle has been
driven for 600 miles (1,000
km) (also in cases of a flat
tire, etc.).
. For additional information
regarding tires, refer to “Im-
portant Tire Safety Informa- tion” (US) or “Tire Safety
Information” (Canada) in the
Warranty Information Book-
let.
Page 412 of 455

9-6Maintenance and schedules
Engine oil and oil filter:
Replace engine oil and oil filter at the
specified intervals. For recommended oil
grade and viscosity refer to “Capacities
and recommended fluids/lubricants”
(P.10-2).
Evaporative Emissions Control Vapor
Lines*:
Check vapor lines for leaks or looseness.
Tighten connections or replace parts as
necessary.
Fuel lines*:
Check the fuel hoses, piping and connec-
tions for leaks, looseness, or deterioration.
Tighten connections or replace parts as
necessary.
Spark plugs:
Replace at specified intervals. Install new
plugs of the type as originally equipped.
CHASSIS AND BODY MAINTENANCE
Brake lines and cables:
Visually inspect for proper installation.
Check for chafing, cracks, deterioration,
and signs of leaking. Replace any deterio-
rated or damaged parts immediately.
Brake pads and rotors:
Check for wear, deterioration and fluid
leaks. Replace any deteriorated or da-
maged parts immediately.Exhaust system:
Visually inspect the exhaust pipes, muffler
and hangers for leaks, cracks, deteriora-
tion, and damage. Tighten connections or
replace parts as necessary.
In-cabin microfilter:
Replace at specified intervals. When driv-
ing for prolonged periods in dusty condi-
tions, replace the filter more frequently.
Steering gear and linkage, axle and
suspension parts:
Check for damage, looseness, and leak-
age of oil or grease. Under severe driving
conditions, inspect more frequently.
Tire rotation:
Tires cannot be rotated, as the front tires
are a different size from the rear tires and
the direction of wheel rotation is fixed in
each tire.
Transmission fluid/oil, differential oil:
Visually inspect for signs of leakage at
specified intervals.
To help ensure smooth, safe and eco-
nomical driving, NISSAN provides two
maintenance schedules that may be
used, depending upon the conditions in
which you usually drive. These schedules
contain both distance and time intervals,
up to 120,000 miles (192,000 km)/96
months. For most people, the odometer
reading will indicate when service is
needed. However, if you drive very little,
your vehicle should be serviced at the
regular time intervals shown in the sche-
dule.
After 120,000 miles (192,000 km)/96
months, continue maintenance at the
same mileage/time intervals.
ADDITIONAL MAINTENANCE ITEMS
FOR SEVERE OPERATING CONDI-
TIONS
Additional maintenance items for se-
vere operating conditions;
should be
performed on vehicles that are driven
under especially demanding conditions.
Additional maintenance items should be
performed if you primarily operate your
vehicle under the following conditions:
. Repeated short trips of less than 5
miles (8 km).
. Repeated short trips of less than 10
miles (16 km) with outside tempera-
tures remaining below freezing.
MAINTENANCE SCHEDULES
Page 414 of 455

9-8Maintenance and schedules
STANDARD MAINTENANCE
Abbreviations: I = Inspect and correct or replace as necessary, R = Replace
MAINTENANCE OPERATION
Perform at number of miles, kilometers or months,
whichever comes first.Miles × 1,000
(km × 1,000) Months MAINTENANCE INTERVAL
7.5
(12) 6 15
(24) 12 22.5
(36) 18 30
(48) 24 37.5
(60) 30 45
(72) 36 52.5
(84) 42 60
(96) 48 67.5
(108) 54 75
(120) 60 82.5
(132) 66 90
(144) 72 97.5
(156) 78 105
(168) 84 112.5
(180) 90 120
(192) 96
Air cleaner filter NOTE (1)RR R R
Automatic transmission fluid NOTE (2)
Brake fluid$ RR RR
Brake lines and cables II II I I I I
Brake pads and rotors$ II II I I I I
Drive belts NOTE (3) I*I* I* I*I*
Engine coolant NOTE (4)(5)
Engine oil and oil filter$ RRRRRRRRRR RR R RR R
EVAP vapor lines and Fuel lines I*I* I* I*
Exhaust system$ II II
Fuel filter NOTE (6)
Intelligent Key battery IRRRR
In-cabin microfilter RR RR R R R R
Intake & exhaust valve clearance NOTE (7)
Manual transmission gear oil & differential gear oil NOTE (8)II II I I II
Spark plugs NOTE (9)Replace every 105,000 miles (168,000 km)
Steering gear and linkage, axle and suspension parts$ II II
Tire rotation NOTE (10)
Page 416 of 455

9-10Maintenance and schedules
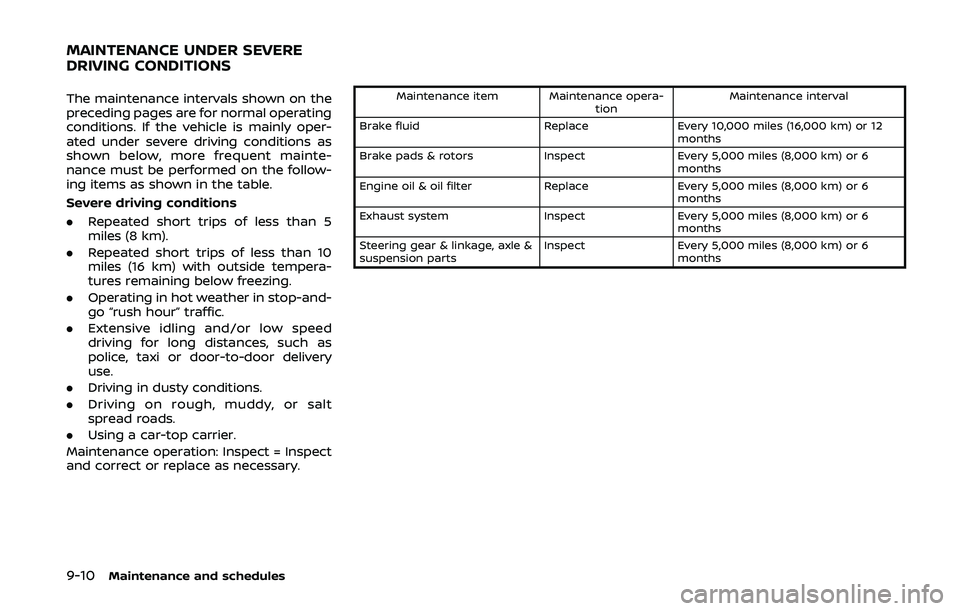
The maintenance intervals shown on the
preceding pages are for normal operating
conditions. If the vehicle is mainly oper-
ated under severe driving conditions as
shown below, more frequent mainte-
nance must be performed on the follow-
ing items as shown in the table.
Severe driving conditions
.Repeated short trips of less than 5
miles (8 km).
. Repeated short trips of less than 10
miles (16 km) with outside tempera-
tures remaining below freezing.
. Operating in hot weather in stop-and-
go “rush hour” traffic.
. Extensive idling and/or low speed
driving for long distances, such as
police, taxi or door-to-door delivery
use.
. Driving in dusty conditions.
. Driving on rough, muddy, or salt
spread roads.
. Using a car-top carrier.
Maintenance operation: Inspect = Inspect
and correct or replace as necessary.Maintenance item Maintenance opera- tionMaintenance interval
Brake fluid ReplaceEvery 10,000 miles (16,000 km) or 12
months
Brake pads & rotors InspectEvery 5,000 miles (8,000 km) or 6
months
Engine oil & oil filter ReplaceEvery 5,000 miles (8,000 km) or 6
months
Exhaust system InspectEvery 5,000 miles (8,000 km) or 6
months
Steering gear & linkage, axle &
suspension parts Inspect
Every 5,000 miles (8,000 km) or 6
months
MAINTENANCE UNDER SEVERE
DRIVING CONDITIONS